0
Created: Nov 20,2026 | COD: Modern Warfare 4
MW4 DMZ Weapon Manual & Gun Farming Route: Solo Iron Citadel Guides

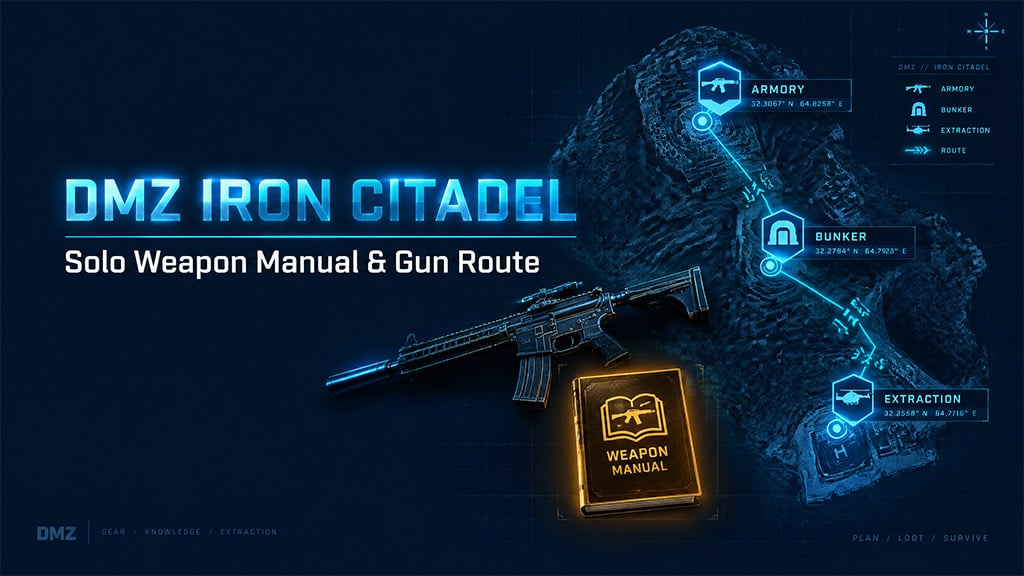
Run Operation Iron Citadel solo, breach the armory, hit the nearby bunker, and extract. In our testing, this route consistently yields Weapon Manuals and high-tier guns, though manual drops are not guaranteed.
- Prepare the Run
- Reach and Open the Armory
- Fight the Colossus and Loot
- Continue to the Bunker and Extract
- FAQ (Frequently Asked Questions)
- Are Weapon Manuals guaranteed on every run?
- Must you finish the story mission to farm manuals?
- Does solo deployment remove other players?
- How many Weapon Manuals do you need?
- Is the Final Intel perk required for this route?
Check your target weapon's exact manual requirements in-game before deploying.
Prepare the Run
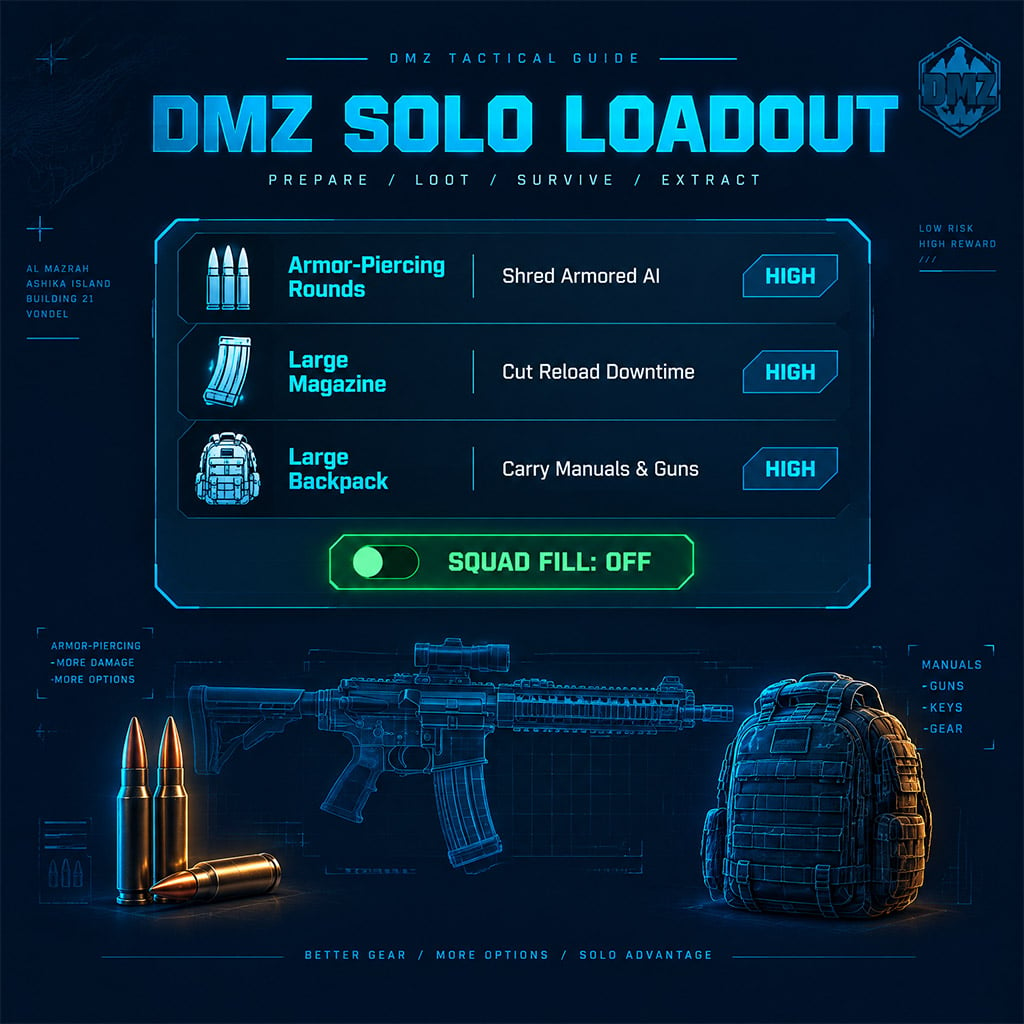
Select Operation Iron Citadel and toggle squad fill off. You deploy solo, but enemy operators still populate the instance.
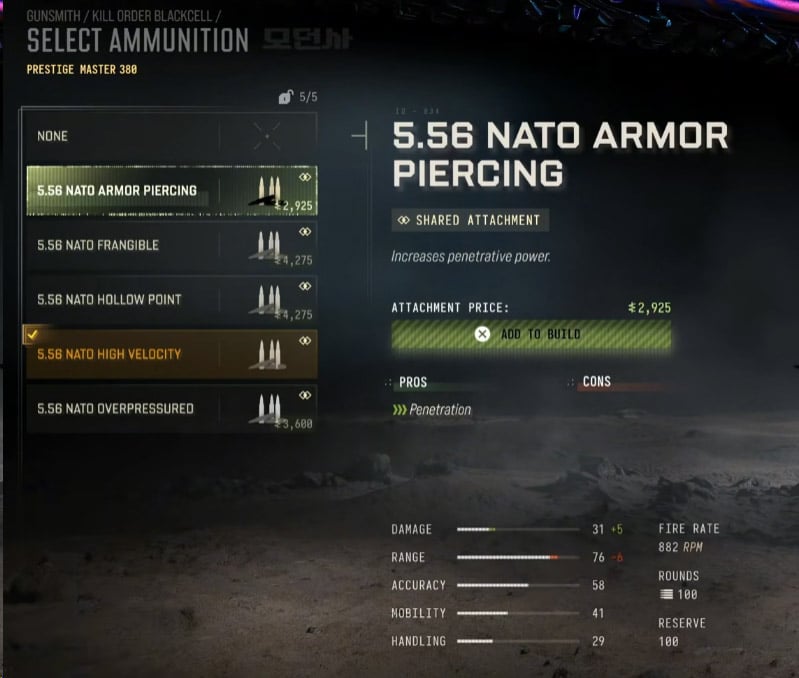
Equip this loadout to minimize reload downtime and maximize carry capacity:
| Item or Perk | Purpose | Priority |
|---|---|---|
| Armor-piercing rounds | Shred armored AI fast. | High |
| Large magazine | Cut reloads during armory waves. | High |
| Large backpack | Carry extra guns and Weapon Manuals. | High |
| Quick Fix | Trigger health regen between fights. | Optional |
| Free revive | Recover from solo downs. | Optional |
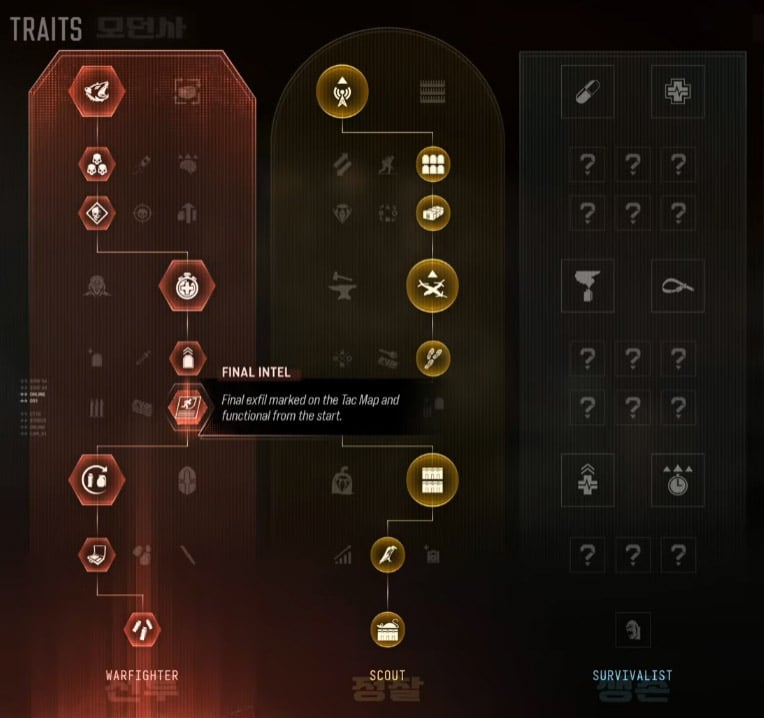
| Final Intel | Unlocks early final extraction. | Optional |
Skip extra valuables if you forget a Large backpack—we had to drop loot mid-run when running standard storage.
Reach and Open the Armory
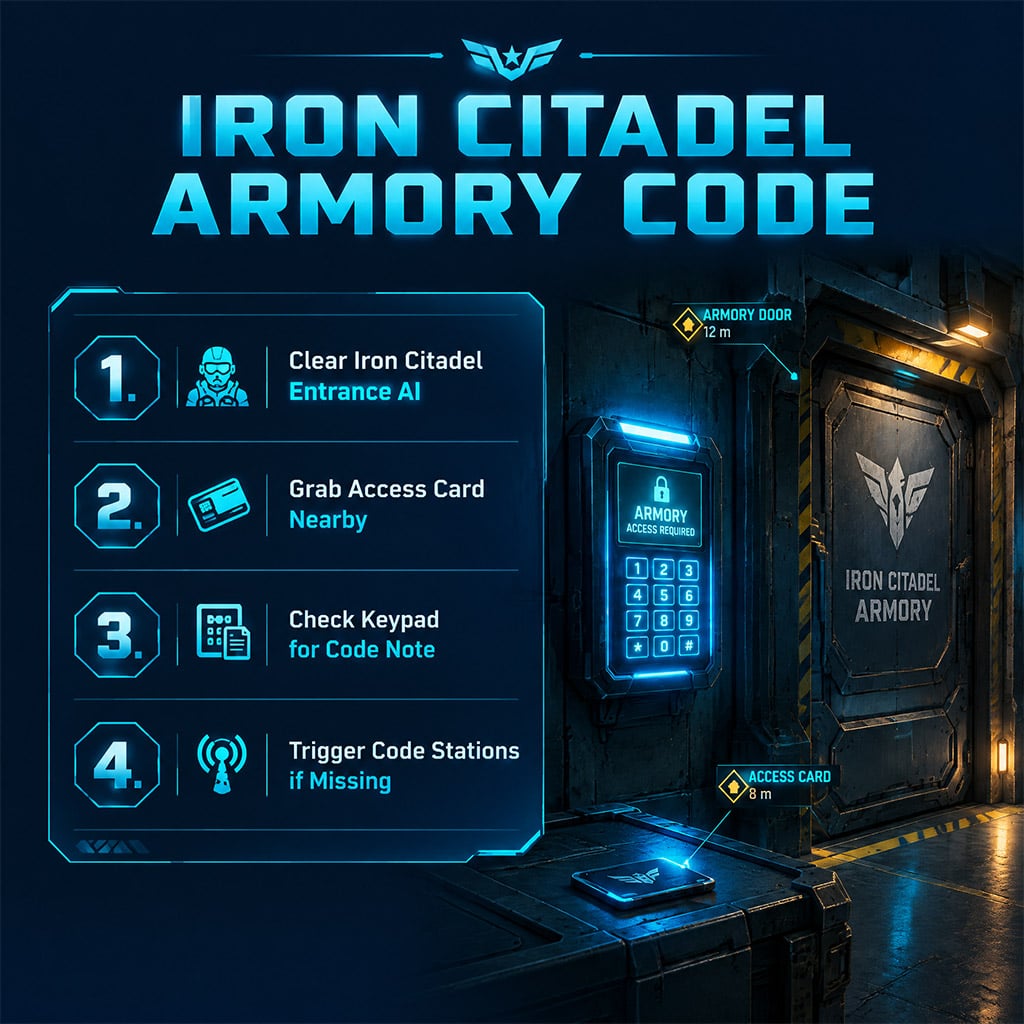
If the code note is missing, trigger the armory keypad objective to mark the code stations on your map.
- Clear the approach: Eliminate AI guarding the Iron Citadel entrance before looting.
- Grab the access card: Search nearby rooms for the access card required to enter the facility.
- Check the keypad: Inspect the armory keypad area for the code note first.
- Run the fallback: Interact with the keypad to reveal code stations if the note is absent.
- Input your code: Return and enter the match-specific code, as codes reset every deployment.
Pro Tip: Never copy an armory code from a previous match; codes randomize per instance.
Fight the Colossus and Loot
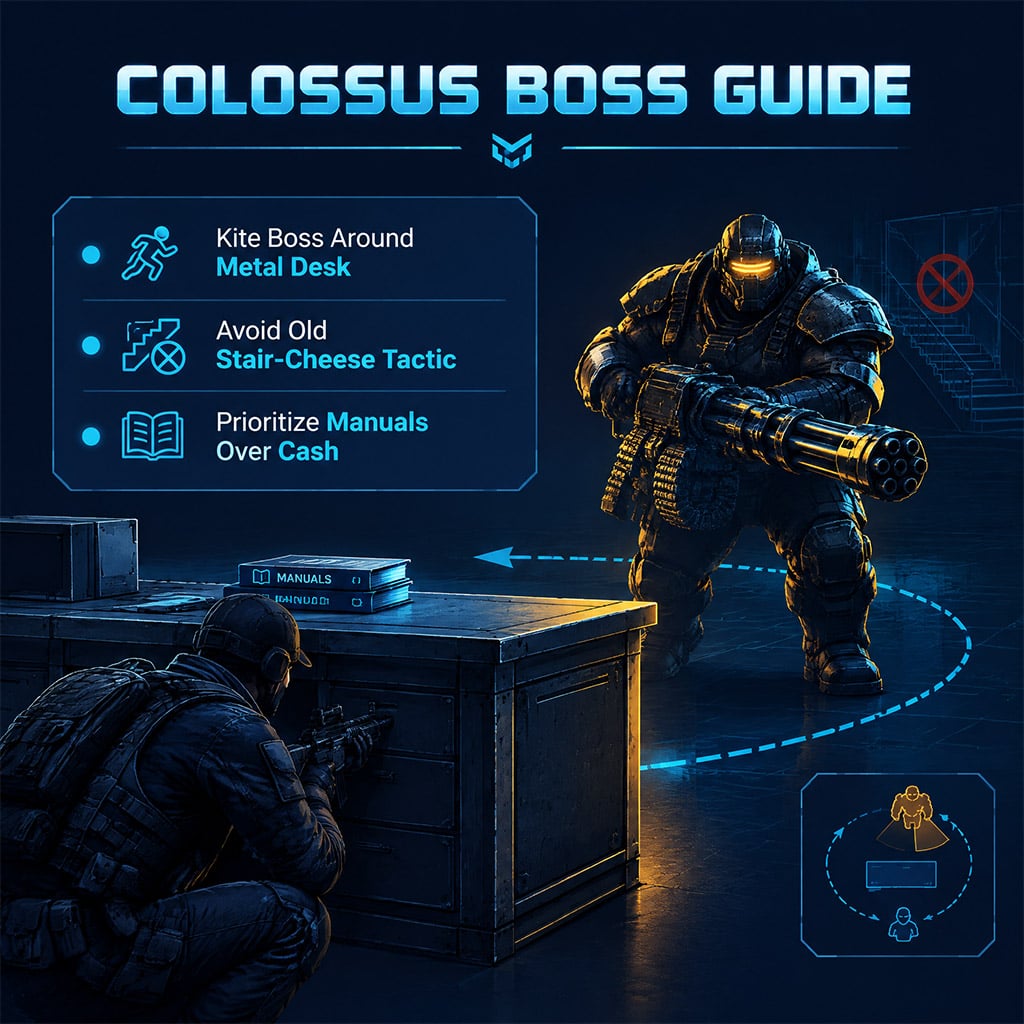
The Colossus can exit the gate, making the old stair-cheese tactic obsolete. Kite the boss around the desk as hard cover while clearing flanking AI.
Once the room is clear, loot the weapon lockers and crates for Weapon Manuals and stash guns.
Pro Tip: Prioritize Weapon Manuals and target guns over raw cash; dropping a manual for a low-tier valuable ruins the run.
Continue to the Bunker and Extract
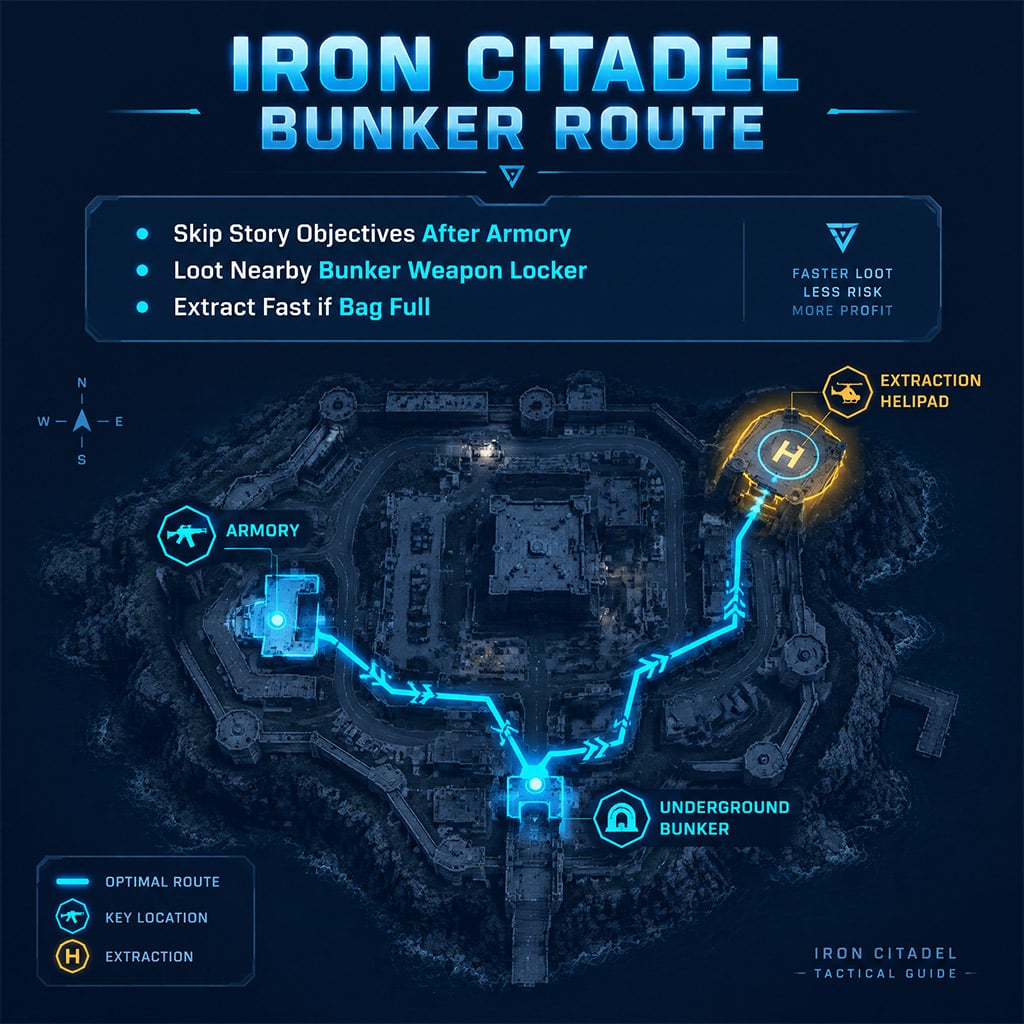
Skip the remaining story objectives after the armory and push to the nearby bunker for an extra weapon locker. Cut the route short and extract immediately if your bag is full or you spot enemy operators.
Treat Final Intel as a backup rather than a core requirement, as we verified you can extract safely without it.
Pro Tip: Listen for distant gunfire near the bunker; an extra locker is not worth losing your existing Weapon Manuals.
FAQ (Frequently Asked Questions)
Are Weapon Manuals guaranteed on every run?
No. Drops are RNG-based, though we secured a Weapon Manual on most successful armory clears.
Must you finish the story mission to farm manuals?
No. Loot the armory and bunker, then extract immediately without completing the mission.
Does solo deployment remove other players?
No. Turning squad fill off only removes your teammates; enemy operators remain in the match.
How many Weapon Manuals do you need?
Requirements vary by weapon. Check your specific gun's unlock menu in-game before farming.
Is the Final Intel perk required for this route?
No. Final Intel is optional and only helps if you plan to contest the final extraction.

I’m Tomás Ferreira, a Portuguese SEO Content Editor at GGWTB covering Roblox competitive games, tower defense, and resource-control modes. I organize guides around the decisions that matter in a short match: when to push, where to defend, and whether to spend resources now or save for an upgrade. The goal is to make the answer easy to find before the next round starts.
Most Popular Posts
- MW4 Beta Meta Weapons Class Setups: Attachments, Perks, and Tuning included
- MW4 Beta Easter Eggs: All 15 Secrets, Locked Doors, Hidden Routes & Unlocks Tested
- Modern Warfare 4 Settings: Best Controller, Graphics & PC Config for Max FPS
- Modern Warfare 4 Beta Best Weapons, Loadouts, Perks & Killstreaks
- MW4 Beta Guide: Maps, Weapons, Perks, and the Fastest Way to Level 20
- MW4 DMZ Hajin Map: Confirmed Features, Release Date and What's Still Unknown
Popular Category Lists
- ARC Raiders / (376)
- Grow a Garden / (301)
- Star Citizen / (173)
- CoD: Black Ops 7 / (168)
- MLB 26 / (159)
- Monopoly Go / (153)
- ARK Survival Ascended / (132)
- Steal a Brainrot / (101)
- Adopt Me / (80)
- Blox Fruits / (74)
- Forza Horizon 6 / (72)
- Sailor Piece / (68)
- Grow a Garden 2 / (68)
- Aion 2 / (67)
- COD: Modern Warfare 4 / (63)
- Diablo IV / (62)
- CoD: BLACK OPS 6 / (55)
- Maplestory Classic / (51)
- Path of Exile 2 / (48)
- Monster Hunter Wilds / (46)