0
0 Created: Oct 3,2026 | RuneScape: Dragonwilds
RuneScape Dragonwilds Best Weapons: Tier Scaling & Upgrade Traps


Choosing the wrong weapon tier in RuneScape: Dragonwilds drains high-grade ascension cores on gear that falls off within two zones. Stop chasing raw base attack; real combat efficiency depends on attack recovery windows, stamina consumption, and kill-threshold breakpoints.
- Weapon Archetype Decision Matrix
- Melee: Managing Recovery Windows & Whip Crafting
- The Abyssal Whip Progression Route
- Ranged: Reload Mechanics and the Bone Crossbow
- Dorgeshuun Crossbow Scaling Realities
- Unlock Checklist: Even More Restless Ghosts
- Magic: Hit-to-Kill Breakpoints
- Staff of Light vs. Necromancer's Staff
- Production Setup: Avoiding the Fellhollow Deadlock
- Ascend Current Weapon or Craft Next Tier?
- FAQ (Frequently Asked Questions)
- What is the best all-around weapon in RuneScape: Dragonwilds?
- How do I trigger the Abyssal Whip recipe?
- Is the Dorgeshuun Crossbow bleed passive worth upgrading?
- When should I choose the Staff of Light over the Necromancer's Staff?
- What causes the Fellhollow Blast Furnace to stop smelting?
Weapon Archetype Decision Matrix
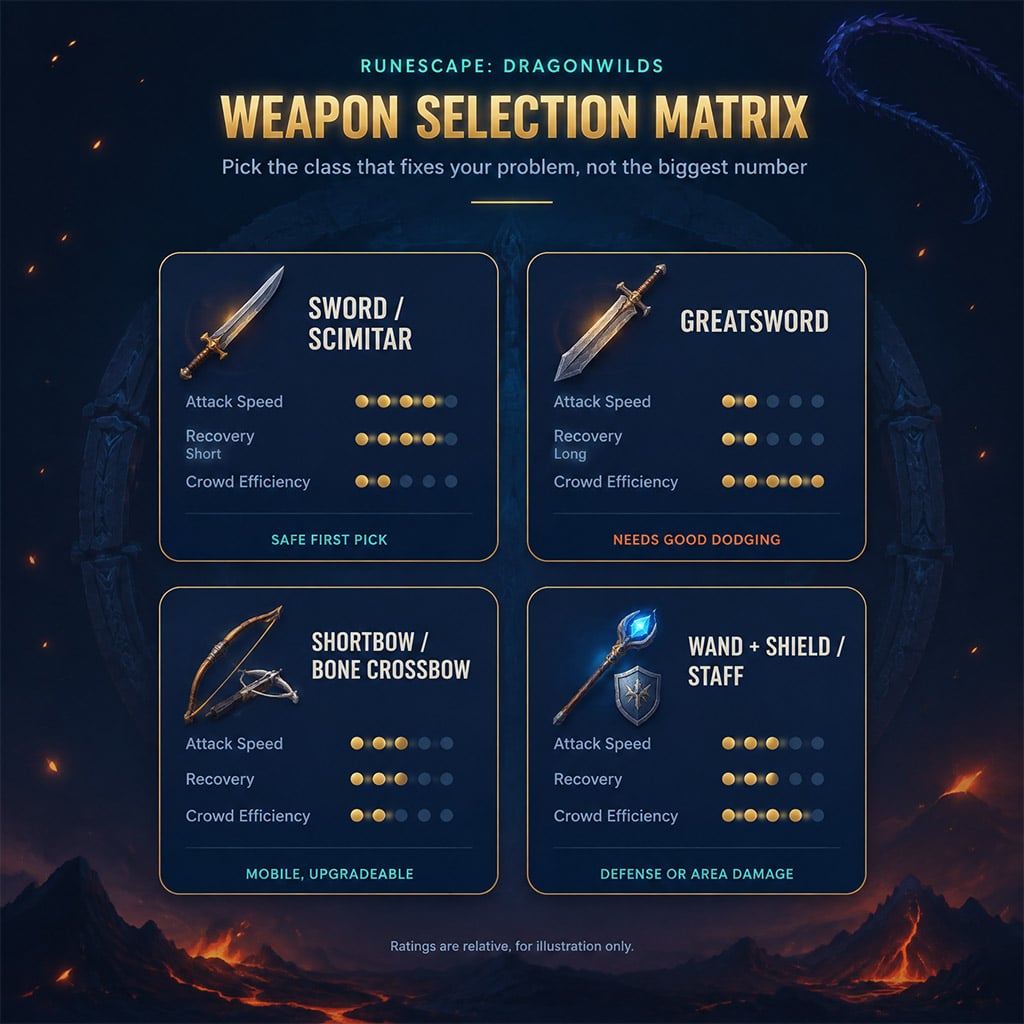
Use this operational matrix to match your gear to specific encounter mechanics rather than general progression:
| Class / Weapon | Best-in-Slot Scenario | Primary Failure Point | Skip If... |
|---|---|---|---|
| Scimitar + Shield | Boss learning runs; reactive blocking | Poor wide-arc cleave in mob swarms | You already dodge-roll perfectly |
| Greatsword | Group clearing; staggering heavy brutes | Excessive recovery animation lock | You chain full light-attack combos |
| Abyssal Whip | Extended single-target boss encounters | Bleed requires ramp-up time to tick | Target dies in under 4 hits |
| Dorgeshuun Crossbow | Mid-range kite-farming; mobile DPS | Hard-locked to Bone Bolts | You lack a steady bone-farming route |
| Staff of Light | Sustained elemental combat; dungeon runs | Lower burst ceiling against elites | You require burst-down damage spikes |
| Necromancer's Staff | Fast burst DPS on low-durability targets | 20% durability tax; rapid repair costs | You are on long expeditions without a forge |
Melee: Managing Recovery Windows & Whip Crafting
Two-handed heavy weapons punish aggressive greed. With Greatswords and Greataxes, your bread-and-butter loop is strict: bait the attack, sidestep the hitbox, land one heavy strike, and immediately reset your stance. Chaining light attacks into a three-hit combo leaves you vulnerable during the recovery frames.
The Abyssal Whip Progression Route
The Abyssal Whip functions as a specialized attrition weapon. It hits at Power Level 7 with high slash velocity, stacking bleed counters that punish high-HP encounters. Its active weapon skill, Abyssal Snare, spends 50 energy points to launch a tracking projectile that grounds agile targets.
Step-by-Step Acquisition Trap
1. Obtain the Abysmal Whip drop from early abyssal skirmishers.
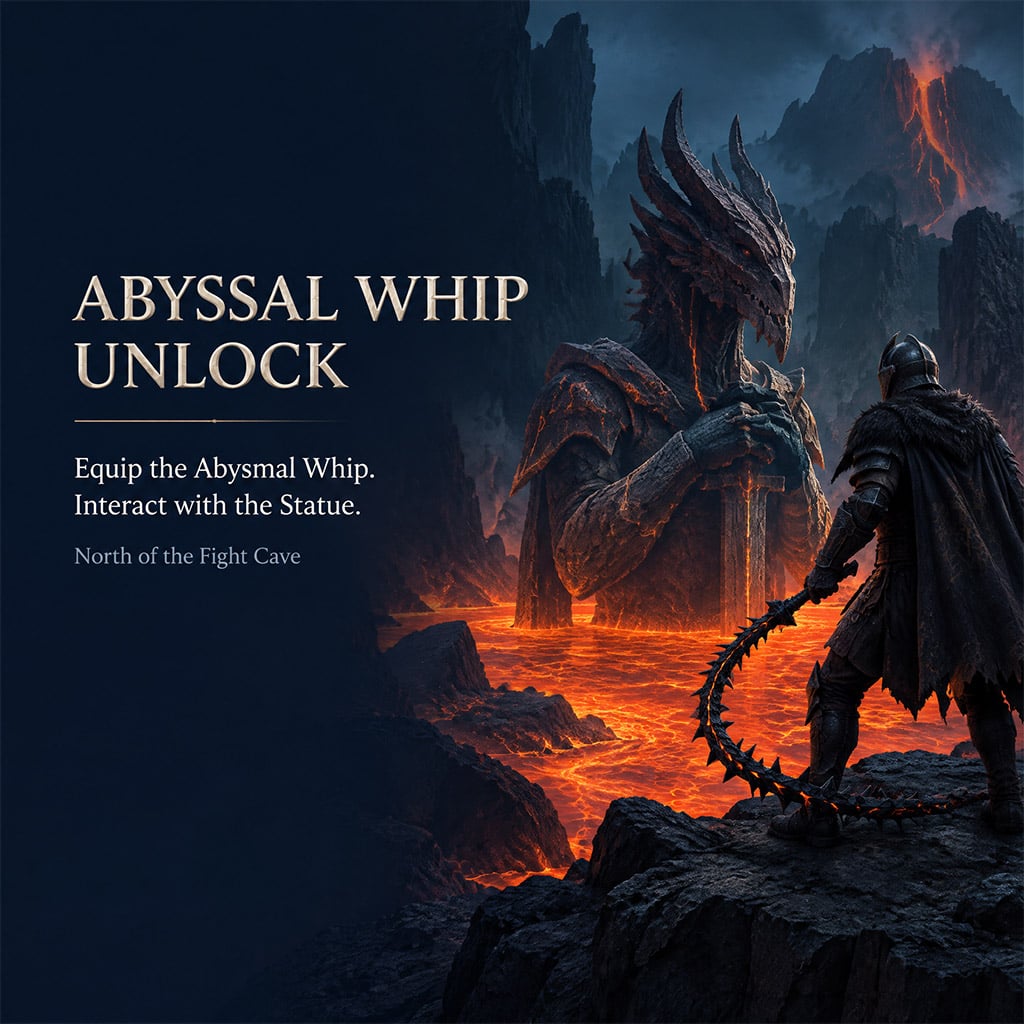
2. Equip the Abysmal Whip in your main-hand slot. Keeping it in your inventory bag will fail the check.
3. Travel directly north of the Fight Cave perimeter into the lava fields.
4. Interact with the submerged Dragonkin statue while the weapon is drawn to trigger the dialogue flag.
5. Forge the upgraded Abyssal Whip at the master anvil using your collected materials.
Execution Note: Do not craft this weapon for trash-mob farming. If your target dies in three standard swings, bleed procs deliver zero incremental damage, wasting your core investment.
Ranged: Reload Mechanics and the Bone Crossbow
Standard shortbows dominate open exploration due to rapid aim-draw cadence. However, when entering instanced dungeons, switch to the Dorgeshuun (Bone) Crossbow for direct-damage scaling.
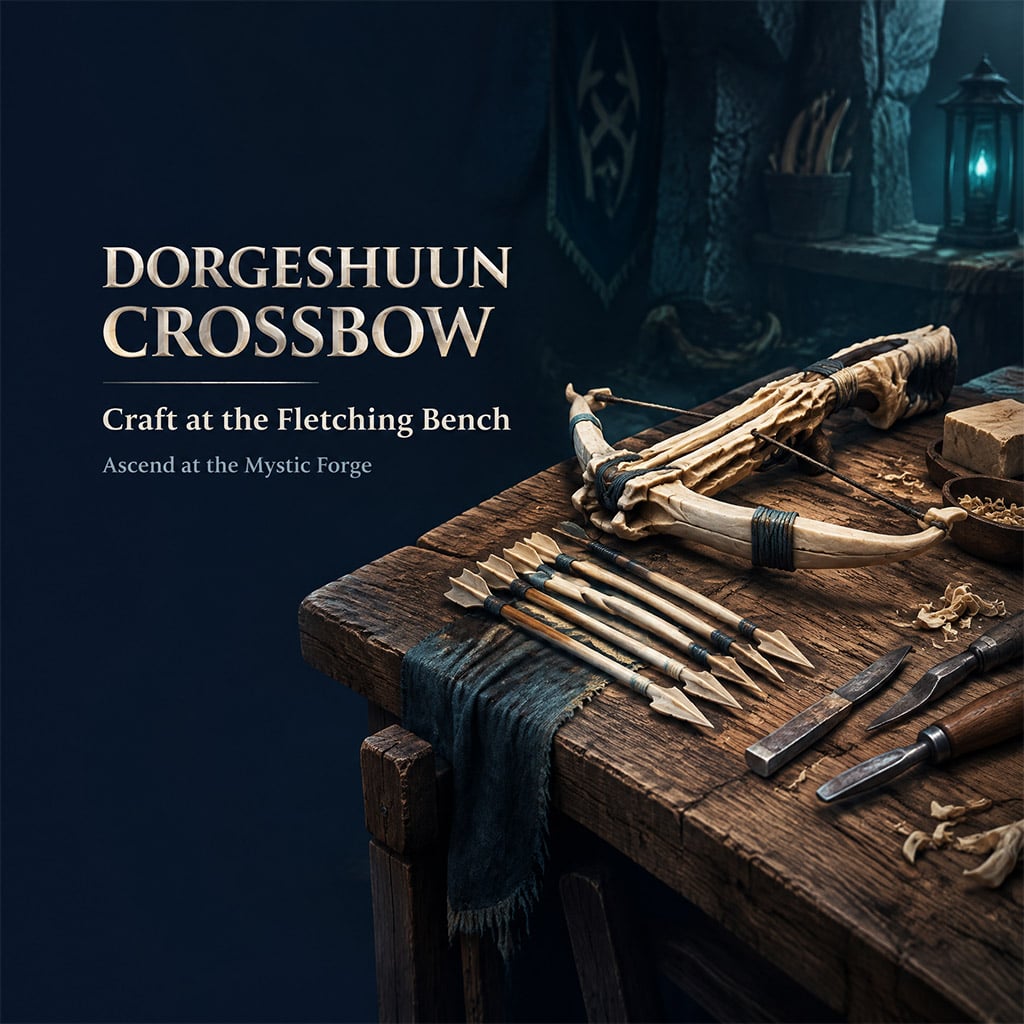
Dorgeshuun Crossbow Scaling Realities
- Acquisition Level: Starts at Power Level 5 at the Fletching Bench.
- Ammo Restriction: Exclusively fires Bone Bolts. Raw weapon damage scales with the frame, not the projectile.
- Reload Speed: 25% faster chambering frames compared to standard iron crossbows.
- Bleed Mechanics: Triggers a flat 40 bleed burst after three rapid hits within a 4-second window.
A 25% shorter reload frame does not translate to 25% higher DPS. Moving, readjusting target crosshairs, and dodging ground mechanics lower the effective output gain to roughly 12–15%. Furthermore, the flat 40 bleed damage does not scale with Mystic Forge ascension. Ascend this weapon for its base kinetic scaling and frame handling—never for its bleed passive.
Unlock Checklist: Even More Restless Ghosts
- Collect the Ghostspeak Amulet from the Bramblemead Well.
- Disable all four divine shrines across Withering Heights to unlock Zanik's dialogue in Fellhollow.
- Resolve the three spirits' conditions to receive the schematic; you do not need to finish the legacy questline to craft it.
Magic: Hit-to-Kill Breakpoints
If charging enemies consistently break your staff channel, adding spell damage will not fix the issue. Switch to a Wand and Shield setup to gain block frames mid-rotation.
[Incoming Pressure Check]
├── High mob density / Fast gap closers ──> Wand + Ward Shield (Block on demand)
└── Single boss / Telegraphed mechanics ──> Two-Handed Staff (Full damage scaling)
Staff of Light vs. Necromancer's Staff
The Staff of Light unlocks via the quest Highlighting the Problem at Power Level 4. While the Necromancer's Staff features a 0.1 higher rune damage coefficient, the actual in-game damage spread sits at a marginal 2 to 4 points per cast.
| Magic Weapon | Damage Efficiency | Base Durability | Resource Cost Per Run |
|---|---|---|---|
| Staff of Light | High sustained output | 100% (Baseline) | Low; fewer repair cycles |
| Necromancer's Staff | Marginal edge (2–4 dmg/cast) | 80% (-20% Penalty) | High; frequent forge runs |
The Breakpoint Test: Switch to the Necromancer's Staff only if that 4-damage bump reduces your total casts to kill an enemy from 4 down to 3. If an elite enemy takes 4 hits to kill with both weapons, the Necromancer's Staff simply burns 20% more durability for zero combat gain.
Production Setup: Avoiding the Fellhollow Deadlock
Before upgrading to tier-5 steel gear, establish your resource infrastructure to prevent crafting deadlocks.
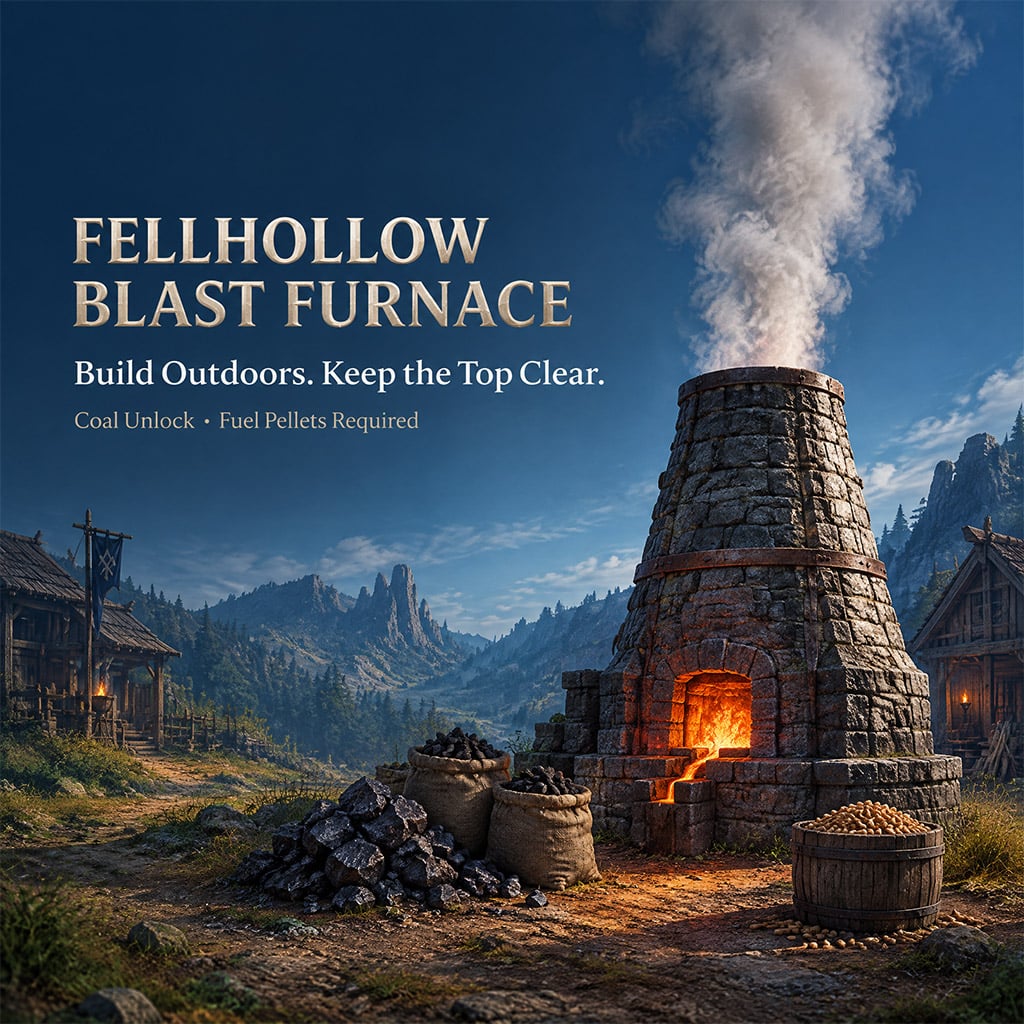
1. Maintain Overhead Clearance: Build the Blast Furnace completely outdoors. Any ceiling tile or overhanging roof piece disables the structure's ventilation, preventing the fire interface from activating.
2. Batch Fuel Pellets First: Produce fuel pellets (Charcoal + Adhesive + Coarse Fur) at the Blacksmith's Bench before mining iron ore. Unrefined ore stalls your bags without prepped fuel.
3. Preserve Corpse Cotton Seeds: Never process your final batch of Corpse Cotton into cloth without replanting seeds in your base farm plot first, or you will lock your gear upgrade chain.
4. Forging Priority: Forge your primary main-hand weapon first, then craft your mining pickaxe, and finish with defense gear.
Ascend Current Weapon or Craft Next Tier?
Ascension Cores are limited resources. Before committing materials at the Mystic Forge, run through this triage process:
[Ascension Decision Tree]
├── Does the weapon have an irreplaceable passive (e.g., bone bolt recovery)?
│ ├── YES ──> ASCEND (Preserve unique mechanics)
│ └── NO ──> Proceed to next check
└── Are your current armor pieces below local zone tier?
├── YES ──> HOLD (Invest bars into armor protection first)
└── NO ──> CRAFT NEXT TIER (Base damage beats low-tier passives)
- Ascend your existing weapon if its intrinsic handling (such as the Dorgeshuun reload profile) directly fits your combat rotation against specific mob classes.
- Craft the next baseline tier if you rely purely on direct raw damage. Standard base-tier gear from a higher zone consistently matches or outperforms fully ascended low-tier weapons without spending rare cores.
FAQ (Frequently Asked Questions)
What is the best all-around weapon in RuneScape: Dragonwilds?
No single weapon covers every scenario. A scimitar paired with a shield provides the most reliable balance of attack recovery and survivability for blind progression, while shortbows offer the safest mobile clearing speed in open zones.
How do I trigger the Abyssal Whip recipe?
Equip the Abysmal Whip directly in your active main-hand slot and interact with the submerged Dragonkin statue located in the lava field north of the Fight Cave. The interaction will not register if the item remains in your inventory.
Is the Dorgeshuun Crossbow bleed passive worth upgrading?
No. The 40 bleed burst is a static value that does not scale with higher ascension tiers. Ascend the weapon for its reduced reload frames and base kinetic damage, not for the bleed effect.
When should I choose the Staff of Light over the Necromancer's Staff?
Use the Staff of Light for general progression and extended expeditions. The Necromancer's Staff offers only a marginal 2 to 4 damage increase per spell while penalizing overall weapon durability by 20%, resulting in frequent and costly repairs.
What causes the Fellhollow Blast Furnace to stop smelting?
The Blast Furnace requires unobstructed vertical clearance. If any roof, canopy, or floor tile is placed directly above the structure, the ventilation is blocked and the smelting interface will not open. Build it in an open-air area.

I’m Hiroshi Tanaka, a Japanese Technical Content Writer at GGWTB covering action RPGs, loot farming, and gear builds. My guides connect character progression with stat priorities, gear synergies, and targeted farming routes. A build needs to work before the perfect drop arrives—not just after every slot is filled.
Most Popular Posts
- RuneScape Dragonwilds: Dreaming Stone Shards Route & Puzzle Guide
- RuneScape: Dragonwilds Best Weapons by Power Level and Core Upgrade Priority
- RuneScape Dragonwilds Early Game Guide: What to Build & Upgrade First
- RuneScape Dragonwilds: Best Lodestone Locations and Fast Travel Routes
- RuneScape Dragonwilds Best Weapons: Tier Scaling & Upgrade Traps
- RuneScape Dragonwilds Abyssal Whip Guide: Crafting Route & Upgrade
Popular Category Lists
- ARC Raiders / (355)
- Grow a Garden / (294)
- CoD: Black Ops 7 / (167)
- Star Citizen / (163)
- MLB 26 / (159)
- Monopoly Go / (153)
- ARK Survival Ascended / (128)
- Steal a Brainrot / (99)
- Blox Fruits / (74)
- Adopt Me / (74)
- Forza Horizon 6 / (72)
- Sailor Piece / (68)
- Grow a Garden 2 / (68)
- Diablo IV / (62)
- CoD: BLACK OPS 6 / (55)
- Aion 2 / (53)
- Path of Exile 2 / (48)
- Monster Hunter Wilds / (46)
- Windrose / (44)
- COD: Modern Warfare 4 / (43)