0
Created: Oct 30,2026 | RuneScape: Dragonwilds
Dragonwilds Anti-Dragon Shield Recipe: Statue Location and Vault Route

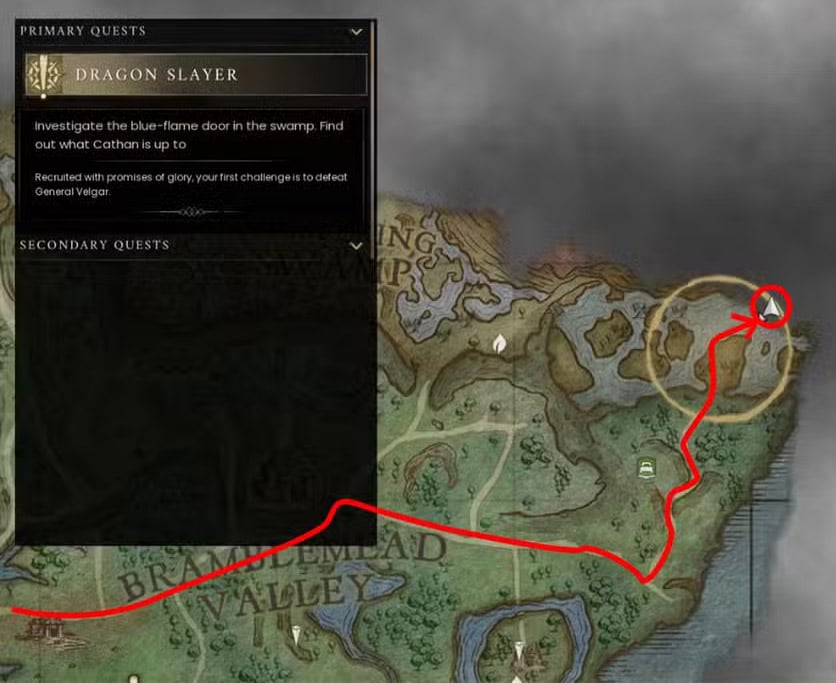
Get the Anti-Dragon Shield recipe by interacting with the Dragonkin statue inside Vertentis Kara, in eastern Whispering Swamp. We take the southern branch at the three-way junction after the flooded guardian chamber, cross the floor traps, then turn left into the statue room.

- Follow the Route to the Dragonkin Statue
- Entrance to the three-way junction
- Clear the southern statue chamber
- Prepare for Guardians, Not Just the Boss
- Choose equipment around your failure point
- Preserve stamina through traps and water
- Respond to guardian attacks
- Optional Quest Route and Rat King
- Speak to Spitfoot
- Fight the Rat King only with supplies to spare
- FAQ (Frequently Asked Questions)
- Where is the Anti-Dragon Shield recipe in Dragonwilds?
- Do we need to defeat the Rat King to get the recipe?
- What materials does the Anti-Dragon Shield require?
- Is Wind Step required to reach the statue?
- What should we bring for a recipe-only run?
The Rat King is optional. You can collect the recipe before entering its boss room.
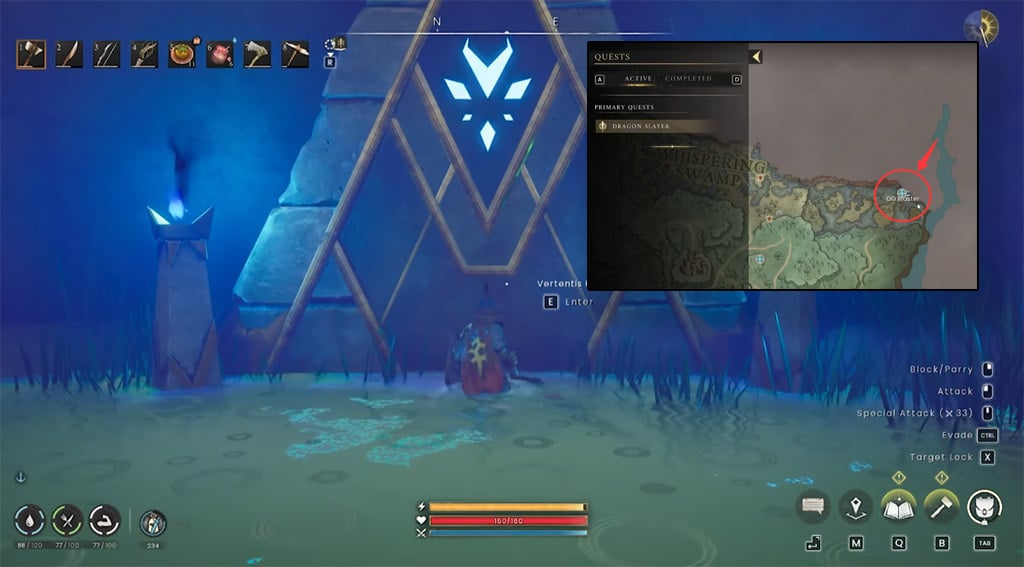
Follow the Route to the Dragonkin Statue
The biggest navigation mistake is confusing the upper hidden loot room with the statue chamber. We stay on the main route until the three-way junction; neither the elevated doorway nor the northern resource branch leads to the recipe.
Entrance to the three-way junction
Follow these landmarks rather than stopping at every mining node.
| Checkpoint | Direction and landmark | Action | Failure to avoid |
|---|---|---|---|
| Entrance chamber | First room with gathering nodes and possible rats | Head south through the doorway | Waiting to gather every resource |
| Locked boss-door room | Locked door ahead; stairs toward the northeast | Take the northeastern stairs | Searching for immediate boss access |
| Upper corridor | Resource dead end on the right | Continue west, then turn right toward the floor traps | Following the mining dead end |
| First trap corridor | Sentinel at the far end | Cross with stamina available, then defeat it | Reaching the enemy exhausted |
| Guardian chamber | Two Hulks and one Sentinel | Pull the Sentinel toward the corridor first | Assuming the Hulks will separate |
| Western passages | Spear traps, rat room, then a long floor-trap corridor | Follow the route south, then west and continue through | Rolling until your stamina empties |
| Flooded chamber | Four guardians; raised walkway on the right | Fight from dry ground where possible | Chasing enemies through water |
| Three-way junction | Beyond the flooded chamber's eastern doorway | Take the right-hand southern branch | Taking the eastern quest route |
Save your gathering detours for the return trip; reaching the statue with healing available matters more than arriving with a full inventory.
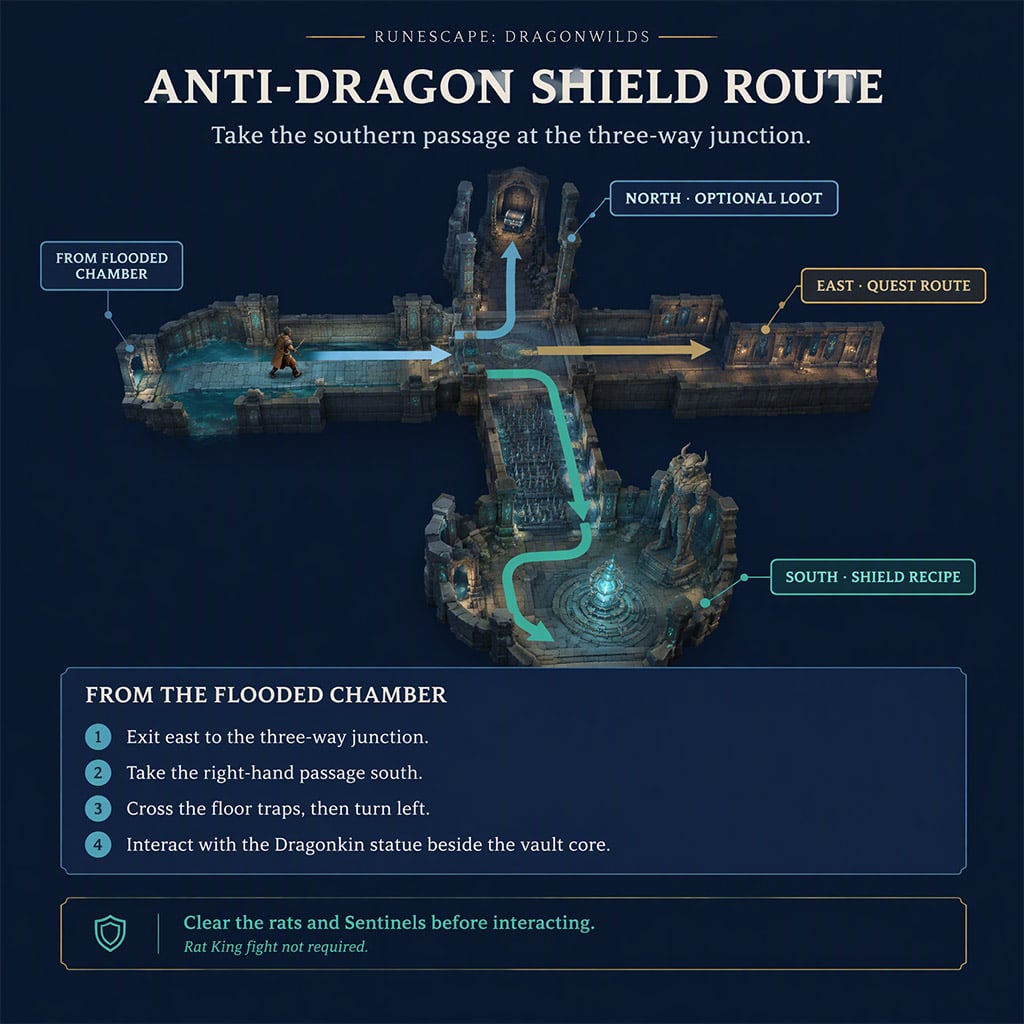
Clear the southern statue chamber
From the junction, head south across the floor traps, then turn left into the large resource room. Expect two Sentinels and several rats—this is a combat room before it is a gathering stop.
We prioritize room control over rushing the statue:
1. Draw enemies toward the entrance, away from the resource nodes.
2. Kill nearby rats first so they cannot interrupt healing.
3. Defeat both Sentinels while preserving space to dodge.
4. Find the Dragonkin statue beside the vault core.
5. Interact with the statue, then check your crafting menu.
If you retreat toward the junction, watch the traps behind you. Pulling enemies out helps only if your escape route does not become the bigger threat.
Prepare for Guardians, Not Just the Boss
A recipe-only trip still includes crowded guardian rooms and long trap crossings. We pack for those encounters instead of carrying every tool needed for a full resource sweep.
Choose equipment around your failure point
Use this loadout to cover enemy pulls, close combat, and recovery.
| Item | Purpose | Our priority |
|---|---|---|
| Crush weapon, such as a Bone Club | Guardian combat | Main melee option for the route |
| Bow and arrows | Pull enemies before entering crowded rooms | High priority |
| Healing food | Recover between encounters | Never sacrifice this space for optional loot |
| Evasive Infusion | Dodge-stamina support | Favor it if traps and evasive movement exhaust you |
| Attack-focused infusion | Stamina support for your combat style | Choose it only if attacking is your bottleneck |
| Stab weapon, such as a Bone Dagger | Rats and the optional Rat King | More valuable for a full clear |
| Pickaxe and rune essence | Optional mining and anima vents | Bring them when gathering is part of your plan |
If you keep dying during retreats, choose defensive stamina support before an attack-focused drink.
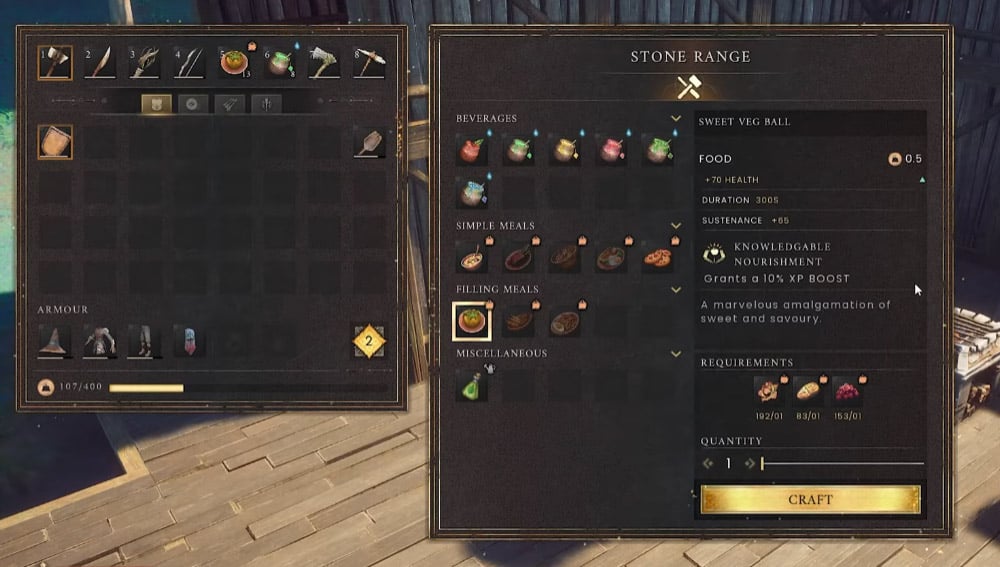
We check consumable effects in the current item tooltip before committing supplies. The recipe's ingredients and workstation should likewise come from your crafting menu—not an Anti-Dragon Shield recipe for a different RuneScape game.
Preserve stamina through traps and water
Repeated rolls are not a complete trap strategy. Start long crossings with full stamina, watch the activation cycle, and avoid entering the next fight with nothing left to dodge.
In the flooded chamber, we use the raised walkway on the right rather than chase guardians through water. Pull enemies toward dry ground when possible; faster repositioning gives you safer attack and healing windows.
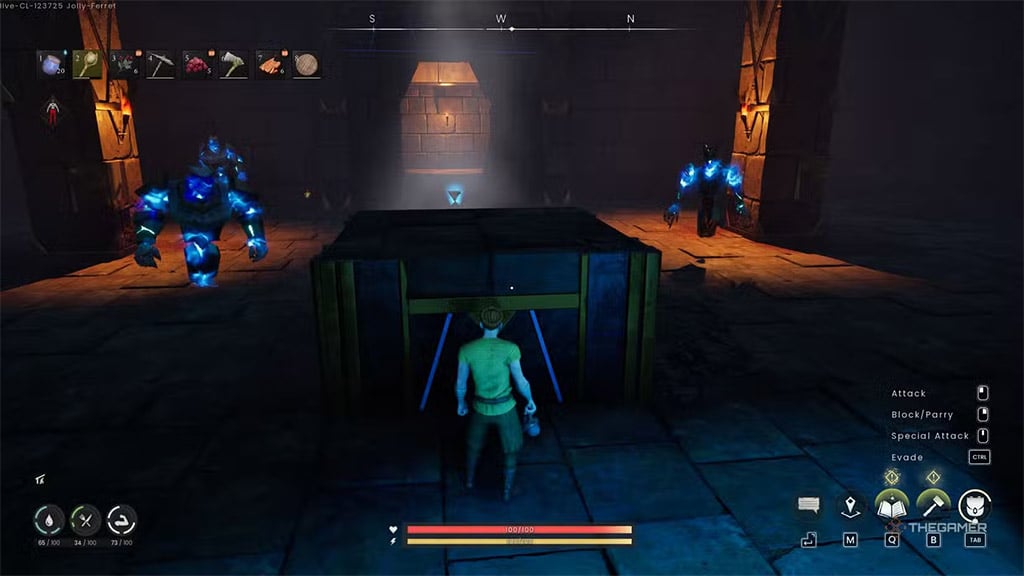
Respond to guardian attacks
Blocking every attack is the wrong default. We reserve dodges for attacks that punish stationary defense.
- Hulk spinning advance: Evade instead of holding block through repeated contact.
- Hulk double-fist slam: Dodge, then attack during recovery.
- Hulk single-fist slam: Block or parry only when you recognize the timing.
- Sentinel ground spikes: Keep moving after the first activation; expect a second.
- Paired Hulks: Use open ground and short attack windows rather than committing to a long combo.
If both Hulks engage, stop trying to separate them mid-combo. Reposition first, then punish whichever finishes an attack safely.
Optional Quest Route and Rat King
Once the statue interaction is complete, you can leave or continue for the quest and boss. We make that decision at the junction, where low healing is a clear reason to stop.
Speak to Spitfoot
Return to the three-way junction and take the eastern path.
1. Descend into the partially flooded section.
2. Watch for floor traps beneath the water.
3. Follow the stairs upward and defeat the Hulk at the top.
4. Continue east into the corridor.
5. Speak to Spitfoot, the goblin lying on the ground.
6. Use the nearby lever to open the boss route.
7. Visit the Wise Old Man in Bramblemead Village for the next Dragon Slayer step.
The conversation and lever serve different purposes. Speak before moving on so the obvious mechanism does not distract you from the quest interaction.
Fight the Rat King only with supplies to spare
Clear the smaller rats first, then use your stab weapon against the Rat King. Keep attacks short enough to leave stamina for defense, and use the pillars to create space when healing.
We do not treat an optional boss as a requirement for a successful recipe run. If your healing is low, leave with the recipe rather than risk the entire return journey for another room of loot.
FAQ (Frequently Asked Questions)
Where is the Anti-Dragon Shield recipe in Dragonwilds?
The recipe comes from the Dragonkin statue inside Vertentis Kara, in eastern Whispering Swamp. After the flooded guardian chamber, go east to the three-way junction, take the southern branch, cross the traps, and turn left into the statue room.
Do we need to defeat the Rat King to get the recipe?
No, the statue is accessible before the Rat King's boss route. Interact with it first, then continue toward the boss only if you want a full clear.
What materials does the Anti-Dragon Shield require?
Check the Anti-Dragon Shield entry in your crafting menu for its current ingredients and workstation. Getting the recipe does not provide the finished shield, so you may need further progression before crafting it.
Is Wind Step required to reach the statue?
No, the statue route does not require Wind Step. That ability is used to reach the optional elevated room above the flooded chamber's water anima vent.
What should we bring for a recipe-only run?
Bring a crush weapon, bow and arrows, healing food, and stamina support suited to your playstyle. If gathering is not your goal, leave optional resource supplies behind and preserve inventory space for recovery items.

I’m Amara Okafor, a Nigerian Contributing Writer at GGWTB covering sports, racing, and driving games, alongside casual mobile titles. My guides focus on timing a pass, finding a braking point, and choosing upgrades that suit your playstyle. For shorter sessions, I keep the priorities clear: less menu-hopping, more time playing.

Most Popular Posts
- RuneScape Dragonwilds: Dreaming Stone Shards Route & Puzzle Guide
- RuneScape: Dragonwilds Best Weapons by Power Level and Core Upgrade Priority
- RuneScape Dragonwilds Early Game Guide: What to Build & Upgrade First
- RuneScape Dragonwilds: Best Lodestone Locations and Fast Travel Routes
- RuneScape Dragonwilds Abyssal Whip Guide: Crafting Route & Upgrade
- RuneScape Dragonwilds Best Weapons: Tier Scaling & Upgrade Traps
Popular Category Lists
- ARC Raiders / (360)
- Grow a Garden / (296)
- CoD: Black Ops 7 / (167)
- Star Citizen / (164)
- MLB 26 / (159)
- Monopoly Go / (153)
- ARK Survival Ascended / (128)
- Steal a Brainrot / (99)
- Blox Fruits / (74)
- Adopt Me / (74)
- Forza Horizon 6 / (72)
- Sailor Piece / (68)
- Grow a Garden 2 / (68)
- Diablo IV / (62)
- Aion 2 / (57)
- CoD: BLACK OPS 6 / (55)
- Path of Exile 2 / (48)
- Monster Hunter Wilds / (46)
- COD: Modern Warfare 4 / (45)
- Windrose / (44)