0
0 Created: Apr 22,2026 | Star Citizen
Star Citizen 4.7.1 Janalite Mining Guide: Fast Millions aUEC on MicroTech

If you want a mining route in Star Citizen 4.7.1 that can still feel exciting while printing serious aUEC, Janalite farming on MicroTech, especially around Clio, is one of the best options right now.

What makes it strong is not just the sell price. It is the combination of high-value hand mining, a relatively simple setup, and the fact that one good cluster can completely change your session. In our testing, even with bugs, travel time, and a few bad streaks, the route still produced over 2 million aUEC in one sale cycle.
- Why Janalite on MicroTech Is Worth Farming
- What makes this route good
- Quick value comparison
- Best Location and Route
- Recommended route
- Profit Potential
- Observed results from the run
- How We Mine Janalite Efficiently
- Simple mining rule table
- Bugs and What to Do About Them
- Common issues
- Best response
- Best Practices for Consistent Profit
- FAQ
- Where is the best place to find Janalite in Star Citizen 4.7.1?
- Is Janalite better than Dolivine for money?
- How much can Janalite mining make?
- What if the Janalite cluster is bugged?
- Should we keep average-quality Janalite?
- Final Thoughts
This guide keeps things simple: where to go, what to look for, how to mine it cleanly, and when to stop pushing your luck.
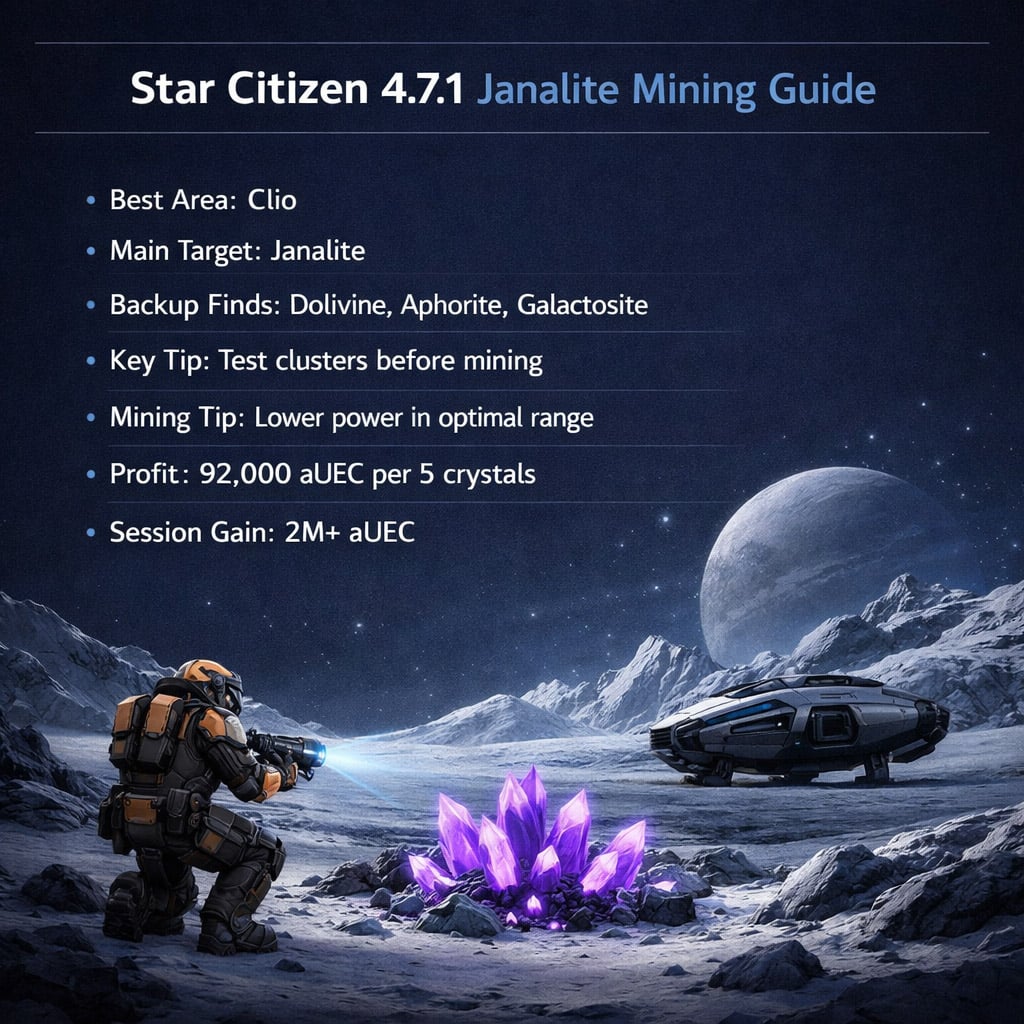
Why Janalite on MicroTech Is Worth Farming
The short version: Janalite pays so much more than common hand-minables that it easily justifies the search time.
From experience, the biggest mistake players make is treating every rock equally. That tanks profit per hour. If we are targeting Janalite, we need to stay focused on Janalite.
What makes this route good
- Very high sale value
- Low startup barrier compared to large-scale ship mining
- Good fit for short sessions
- Clio gives strong search potential
- Still profitable even if one cluster bugs out
Quick value comparison
| Resource | Typical Role | Value Impression |
|---|---|---|
| Janalite | Main target | Extremely high |
| Dolivine | Backup pickup | Low |
| Aphorite / Galactosite | Secondary finds | Situational |
In practice, this means we should treat Dolivine and similar finds as filler, not the objective.
Best Location and Route
For this method, Clio is the main place to search.
We had the best results there, including early Janalite finds and a later cluster that delivered the biggest payout of the run. Other areas around MicroTech can still work, but Clio is the first place we would check.
Recommended route
| Step | What We Do | Why It Matters |
|---|---|---|
| 1 | Base near MicroTech | Reduces travel friction |
| 2 | Fly to Clio | Best observed Janalite results |
| 3 | Search for hand-minables | Confirm spawns and scan terrain |
| 4 | Test Janalite cluster immediately | Avoid wasting time on bugged nodes |
| 5 | Mine, loot, and sell fast | Locks in profit before bugs do |
That last point matters more than it sounds. Janalite runs go bad when we get greedy.
Profit Potential
This route stands out because the numbers are not theoretical. The payouts are high enough to notice immediately.
Observed results from the run
| Sale | Amount |
|---|---|
| 5 Janalite crystals | 92,000 aUEC |
| 23 Janalite stacks | 92,000 aUEC each |
| Session balance change | 2,489,000 → 4,533,000 aUEC |
| Total gain | Over 2,000,000 aUEC |
That is the key reason this method works so well: one decent cluster can outperform a lot of safe grinding routes.
How We Mine Janalite Efficiently
The mining itself is not difficult, but clean control helps a lot.
From hands-on use, a simple approach worked best:
- Start at a stronger charge if needed
- Drop to 3 segments when you enter the optimal range
- Go down to 2 segments if the charge rises too quickly
- Do not rush the fracture
If you find the rock becomes unstable fast, lower the power earlier. If you force it, you are more likely to lose time than save it.
Simple mining rule table
| Situation | Best Move |
|---|---|
| Charge climbs too fast | Lower power |
| Rock enters optimal zone | Stabilize at lower segments |
| Cluster feels bugged | Test another node immediately |
| No collision / no interaction | Server hop |
| Inventory already valuable | Sell before pushing farther |
This is what separates a profitable run from a frustrating one. It is usually not the mining laser. It is the decision-making.
Bugs and What to Do About Them
This route is strong, but it is not clean every time. We ran into bugged clusters, awkward terrain issues, and general server weirdness. That is normal for the current patch.
The important part is reacting fast.
Common issues
- Janalite cluster has no collision
- Rocks appear valid but cannot be interacted with
- Long stretches of low-value spawns
- Random movement or server instability
Best response
If you find a Janalite cluster, check whether it is actually mineable before getting excited. That one habit saves a lot of wasted time.
If the cluster is bugged, switch servers quickly. If you keep finding only Dolivine and similar materials for too long, keep moving instead of settling into a low-value loop.
Best Practices for Consistent Profit
A few habits make this route much more reliable:
- Start with Clio
- Treat Janalite as the only real target
- Use low-value nodes only as spawn checks
- Bank profit early if the haul is already strong
- Do not assume every cluster is usable
- Do not stay out too long just because the last sale was good
That last one is classic miner greed. We all know it. The game knows it too.
FAQ
Where is the best place to find Janalite in Star Citizen 4.7.1?
From this route, Clio near MicroTech gave the best results and is the first place we recommend checking.
Is Janalite better than Dolivine for money?
Yes, by a wide margin. Dolivine is fine as a side pickup, but Janalite is the real profit driver.
How much can Janalite mining make?
In our run, Janalite sales pushed total funds from 2.489 million to 4.533 million aUEC, for a gain of just over 2 million aUEC.
What if the Janalite cluster is bugged?
Test it right away. If there is no collision or it cannot be mined properly, change servers and keep the route moving.
Should we keep average-quality Janalite?
Yes. Even lower-quality Janalite can still sell for excellent money, so quantity often matters more than waiting for perfect pieces.
Final Thoughts
If you want a mining method that feels more rewarding than repetitive cargo loops and can still produce serious aUEC, Janalite on Clio is one of the best routes to run in Star Citizen 4.7.1.
The method is simple: search smart, verify clusters fast, mine cleanly, and sell before bugs or greed ruin the session. That is how we turn a few good finds into millions, instead of just another long night chasing average rocks.

Most Popular Posts
- Star Citizen 4.9 Hull C Cargo Hauling Guide: Make Millions aUEC Without Autoload
- Star Citizen 4.9 Battaglia Missions: CQ7 Rifle Locations, Loot Routes & Bug Fixes
- Star Citizen 4.10 Quantum Drive Guide: Best Drives for Speed, Range, and Crafting
- Star Citizen 4.9 Rare Gun Attachments Farm: Echo Isles Loot Guide
- Star Citizen Alpha 4.10 Guide: Recco Battaglia Missions, Siege of Orison, Regen Crisis
- Star Citizen 4.10 PTU, 4.9 Hotfixes, Server Outage: What Actually Matters This Week
Popular Category Lists
- ARC Raiders / (354)
- Grow a Garden / (294)
- CoD: Black Ops 7 / (167)
- Star Citizen / (163)
- MLB 26 / (159)
- Monopoly Go / (153)
- ARK Survival Ascended / (128)
- Steal a Brainrot / (99)
- Blox Fruits / (74)
- Adopt Me / (74)
- Forza Horizon 6 / (72)
- Sailor Piece / (68)
- Grow a Garden 2 / (68)
- Diablo IV / (62)
- CoD: BLACK OPS 6 / (55)
- Aion 2 / (53)
- Path of Exile 2 / (48)
- Monster Hunter Wilds / (46)
- Windrose / (44)
- COD: Modern Warfare 4 / (43)