0
0 Created: Sep 13,2026 | The Finals
THE FINALS Season 11 Gadget Tier List: Best Meta Loadout Picks

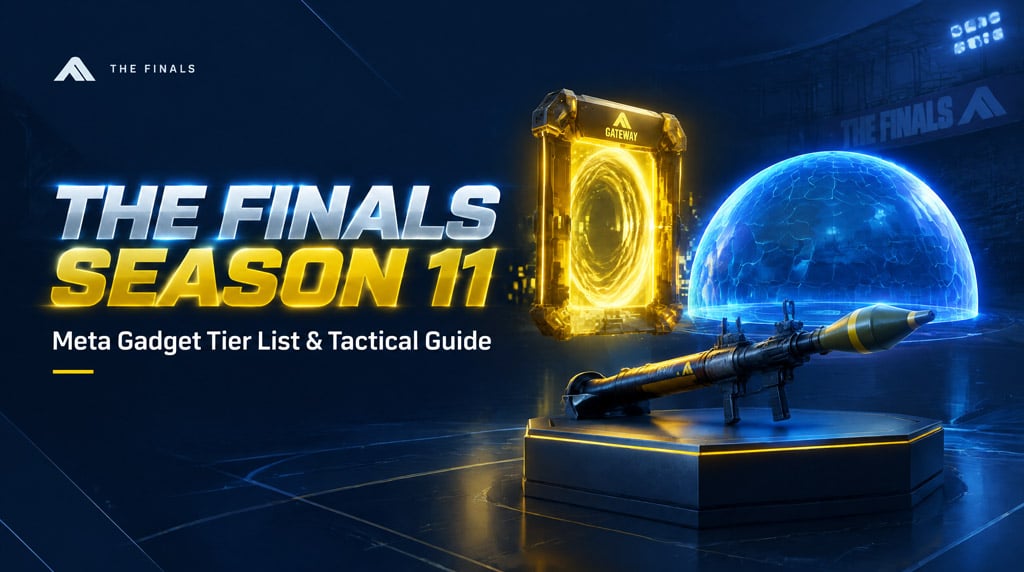
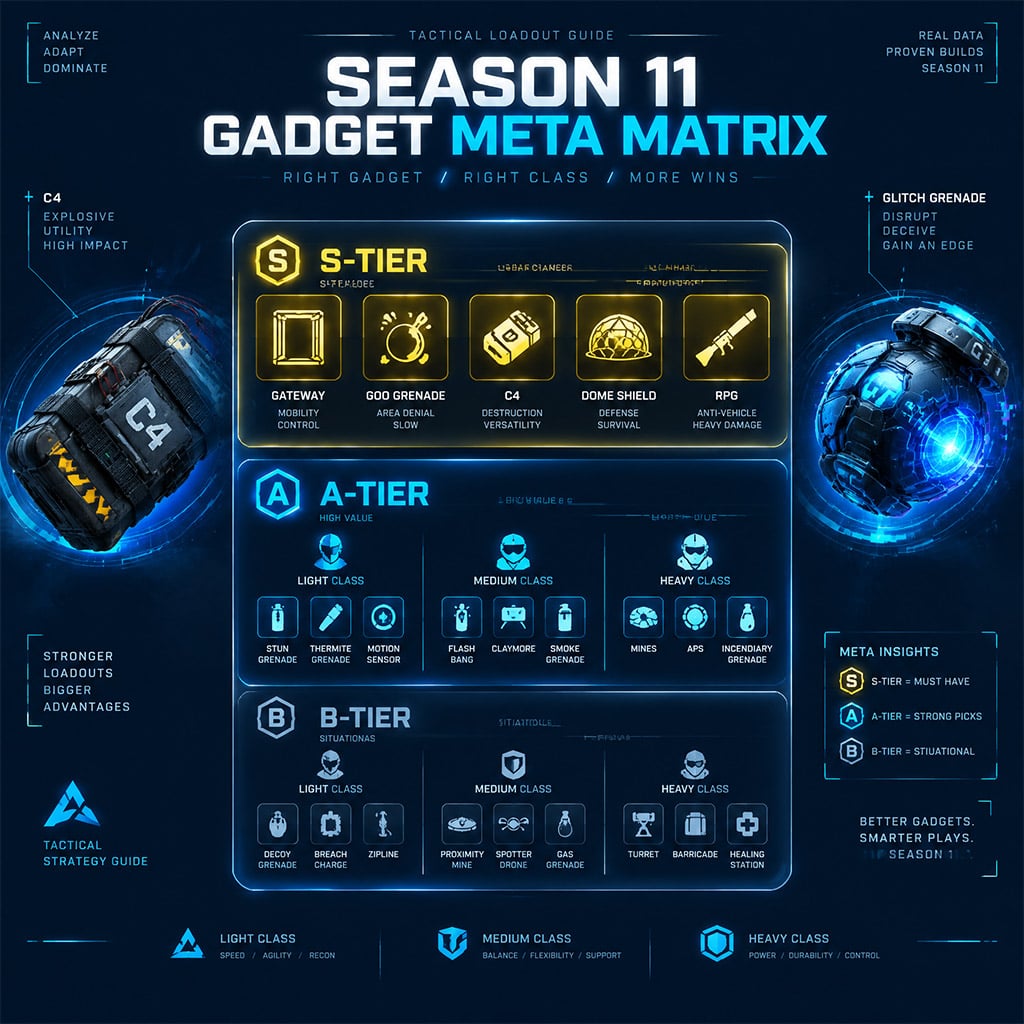
Gateway stands as the definitive top gadget in THE FINALS Season 11, with Goo Grenade, C4, Glitch Grenade, Healing Infuser, Dome Shield, and RPG completing the S tier. These selections dominate high-tier lobbies through position control, team mobility, defensive resets, and Cashout interruption rather than inflated scoreboard damage.
Every gadget across Light, Medium, and Heavy has been evaluated by two simple rules: how reliably they salvage a messy team fight, and how consistently they deny enemy Cashouts. Patch-dependent parameters reflect current in-game behavior and confirmed entries from the official THE FINALS patch notes.
- Complete Season 11 Gadget Rankings
- S-Tier Gadgets
- Gateway
- Goo Grenade
- Healing Infuser
- C4
- Glitch Grenade
- Dome Shield
- RPG
- A-Tier Gadgets
- Sonar Grenade and Proximity Sensor
- Data Reshaper
- Lockbolt
- Pyro Mine
- Vanish Bomb
- Breach Charge
- Jump Pad
- B-Tier Gadgets
- Defensive Deployables
- Explosive Mine and Gas Mine
- Defibrillator
- Healing Emitter, Thermal Bore, and Nullifier
- C-Tier and D-Tier Gadgets
- High-Performance Season 11 Loadouts
- FAQ (Frequently Asked Questions)
- What is the best overall gadget in THE FINALS Season 11?
- What are the safest gadget picks for solo queue players?
- Is Defibrillator still a mandatory pick for Medium?
- When should Heavy players fire the RPG?
- How do I choose gadgets between Light, Medium, and Heavy?
Complete Season 11 Gadget Rankings
High-tier ranking demands cross-scenario consistency. A gadget must provide defensive salvage potential when a plan collapses, not just shine during isolated highlight plays.
| Tier | Gadgets | Role in Current Meta |
|---|---|---|
| S | Gateway, Goo Grenade, Healing Infuser, C4, Glitch Grenade, Dome Shield, RPG | Game-defining tools with immediate, round-winning impact |
| A | Sonar Grenade, Data Reshaper, Lockbolt, Proximity Sensor, Pyro Mine, Vanish Bomb, Breach Charge, Jump Pad | High-impact gadgets tied to specific team compositions |
| B | APS Turret, Zipline, Explosive Mine, Barricade, Anti-Gravity Cube, Gas Mine, Thermal Bore, Nullifier, Defibrillator, Healing Emitter, Tracking Dart, Glitch Trap, Gravity Vortex | Strategy-dependent picks that require coordination |
| C | Flashbang, Smoke Grenade, Gas Grenade, Hover Pad, Frag Grenade | Low-consistency tools frequently outmatched by alternatives |
| D | Breach Drill, Pyro Grenade | Poor value return for an active gadget slot |
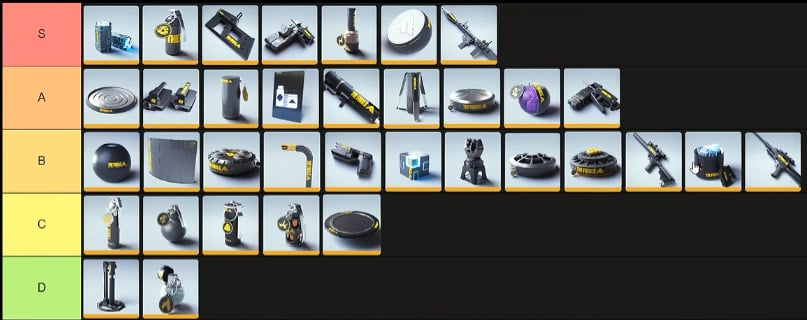
S-Tier Gadgets
S-tier gadgets resolve the critical bottlenecks of ranked play: prolonged rotations, vulnerable revives, heavy push suppression, and botched steal interruptions.
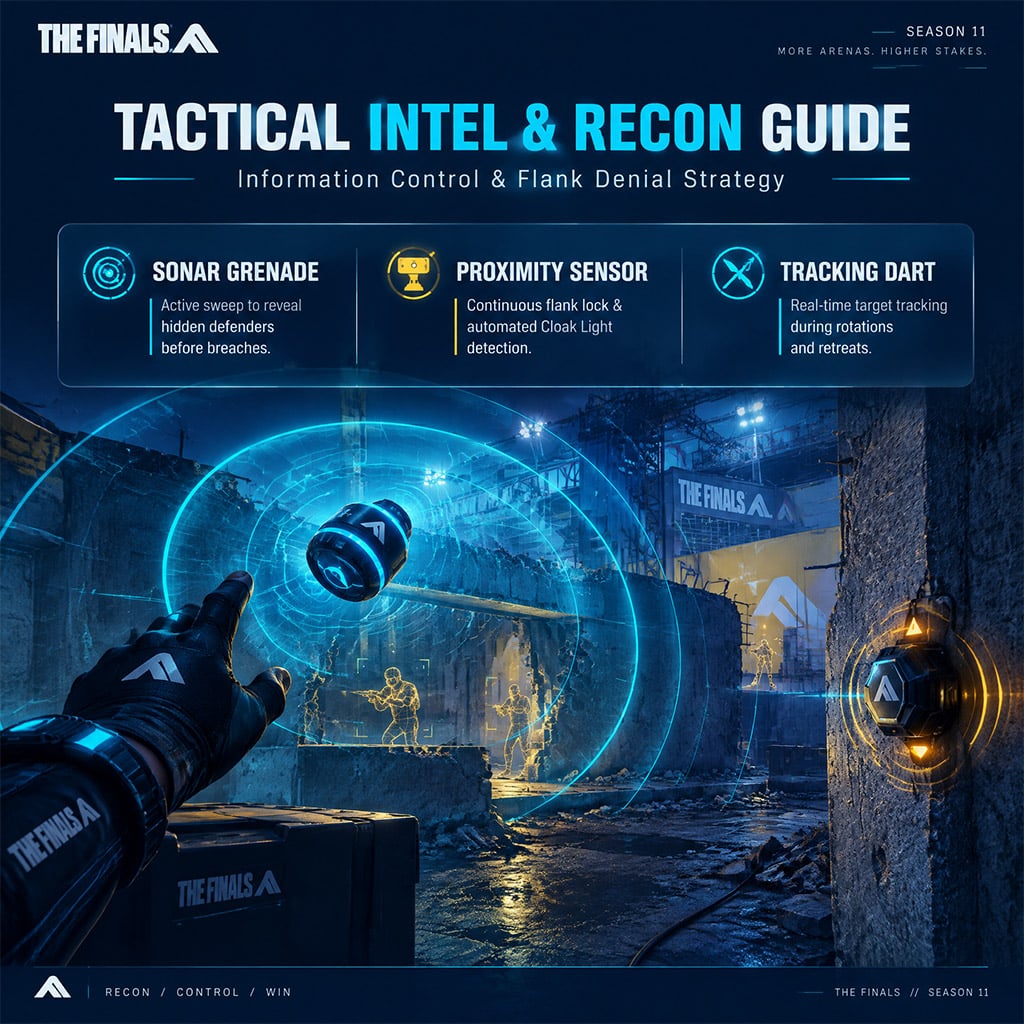
Gateway
Gateway remains Season 11's premier macro tool. It teleports an entire squad, safely relocates Cashout boxes, opens emergency exit routes, and lets your squad bypass meat-grinder stairwells and rotate between high and low ground in seconds.
Position your entry portal behind solid cover before rotating. Carry the exit node toward the target engagement, keeping the destination outside clear crossfire angles. Abandoned attack portals regularly double as instant reset lines when a push stalls.
Goo Grenade
Goo Grenade delivers flexible, instant cover across Light, Medium, and Heavy. Beyond barricading doorways, it breaks high-caliber sightlines, insulates reviving teammates, and fabricates vertical vantage points. A compact Goo wall placed to nullify a single sniper or shotgun angle consistently stalls more offensive momentum than a massive, exposed barrier.
Healing Infuser
Equipped on Medium builds, the Healing Infuser extends frontline survivability during focused trades. Trigger healing the second an allied Heavy commits to a choke point rather than waiting for critical health thresholds. Proactive sustain neutralizes burst-damage setups before defensive lines collapse.
C4
C4 remains Heavy's core objective insurance. Placing charges beneath destructible Cashout floors lets defenders trigger sudden floor drops, instantly canceling enemy steal animations. C4 isn't about padding your kill count. Its real power is blowing the floor out from under an enemy to cancel their Cashout steal on the spot.
Glitch Grenade
Glitch Grenade strips defensive structures by disabling deployable shields, mines, turrets, and evasion tools. A well-placed Glitch throw thrown directly over a contestant statue shuts down incoming Defibrillator revives and dismantles double-Heavy defensive formations.
Dome Shield
Dome Shield carves out immediate working space for open-ground steals, clutch revives, and aggressive lane crossings. Deploy the shield slightly ahead of team movement rather than directly on top of teammates, allowing players to weave across the boundary to absorb direct fire during weapon reloads.
RPG
Treat the RPG as an execution tool and structural breaching charge rather than a generic engagement opener. Long-range poke shots often yield easily healed chip damage while expending your strongest counter-burst asset. Hold the RPG to finish retreating targets, open compromised ceilings, or blow through defensive barricades.
A-Tier Gadgets
A-tier choices possess game-winning utility but demand coordinated communication or specific map matchups to achieve maximum effectiveness.
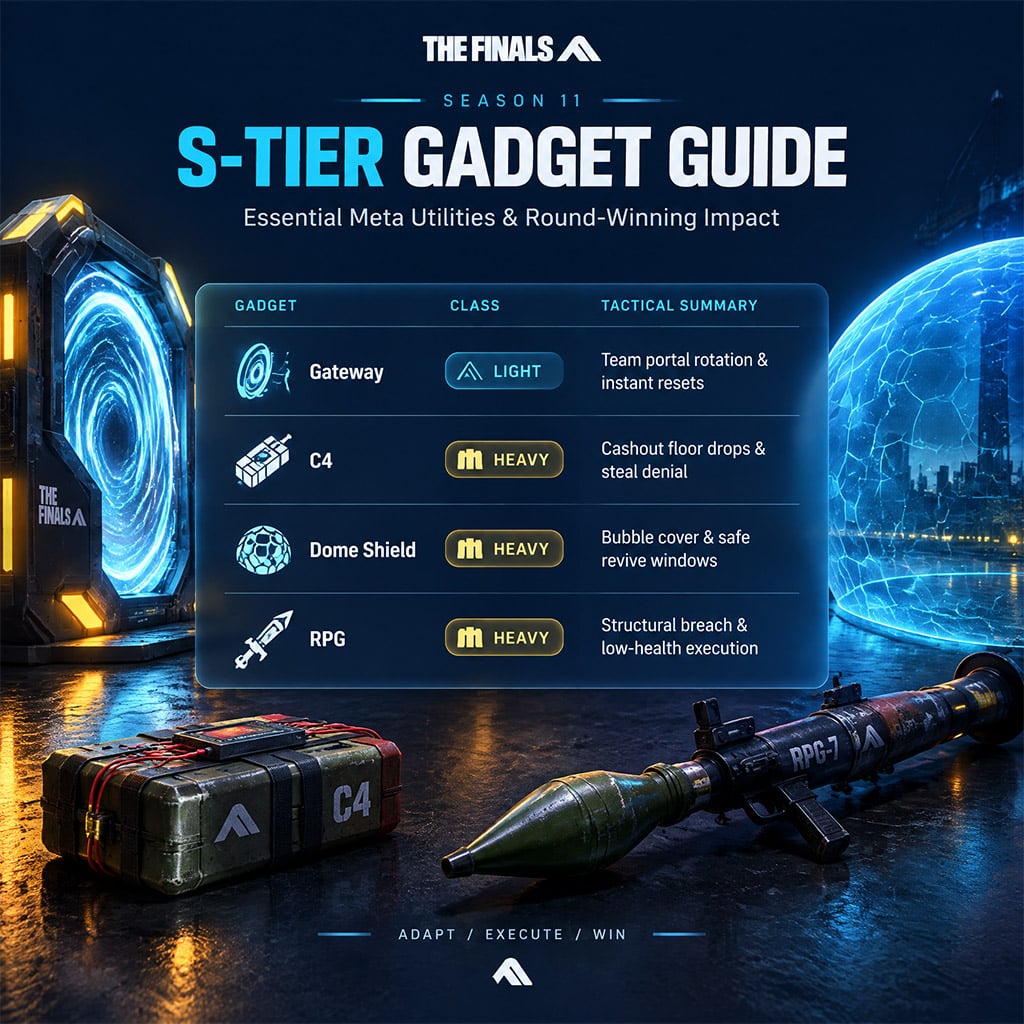
Sonar Grenade and Proximity Sensor
Information control dictates engagement outcomes. Sonar Grenade actively uncovers hidden defenders across multi-floor rooms before your team commits. Proximity Sensor functions as an automated flank guard, stripping Cloak Light users of their stealth advantage and forcing them to either abort the route or destroy the sensor.
| Recon Gadget | Primary Function | Optimal Deployment |
|---|---|---|
| Sonar Grenade | Active sweeping of unchecked space | Clear Cashout rooms before breaching |
| Proximity Sensor | Continuous flank denial | Cover blind stairwells and zipline exits |
| Tracking Dart | Sustained single-target focus | Pinpoint retreating anchors and carriers |
Data Reshaper
Data Reshaper counters minefields, C4 nests, and defensive deployables by turning deadly minefields and C4 traps into harmless clutter before your squad even steps through the door. It neutralizes fortified defensive holds instantly, provided the user scans rooms before blindly stepping through thresholds.
Lockbolt
Lockbolt anchors fast-moving targets, stopping Dash and Grapple users from disengaging cleanly. Its value multiplies when coordinated with frontline teammates ready to collapse on the tethered target immediately.
Pyro Mine
Pyro Mine outperforms standard Explosive Mines in prolonged Cashout defense. The persisting pool of fire denies manual steals and burns through light health pools long after detonation.
Vanish Bomb
Vanish Bomb provides on-demand team invisibility for Dash and Grapple Light builds. It creates silent repositioning routes across exposed sightlines without sacrificing active movement specializations.
Breach Charge
Breach Charge grants Light independent structural manipulation. Use it to drop Cashout stations through compromised floors or open flanking apertures without relying on Heavy teammates.
Jump Pad
Jump Pad serves as Medium's most dependable mobility asset. It enables rapid vertical re-positioning, disengagements, and launch trajectories for vault boxes, operating without class composition restrictions.
B-Tier Gadgets
B-tier tools excel in structured strategies but suffer from clear counterplay, fragile deployable health, or steep positioning requirements.
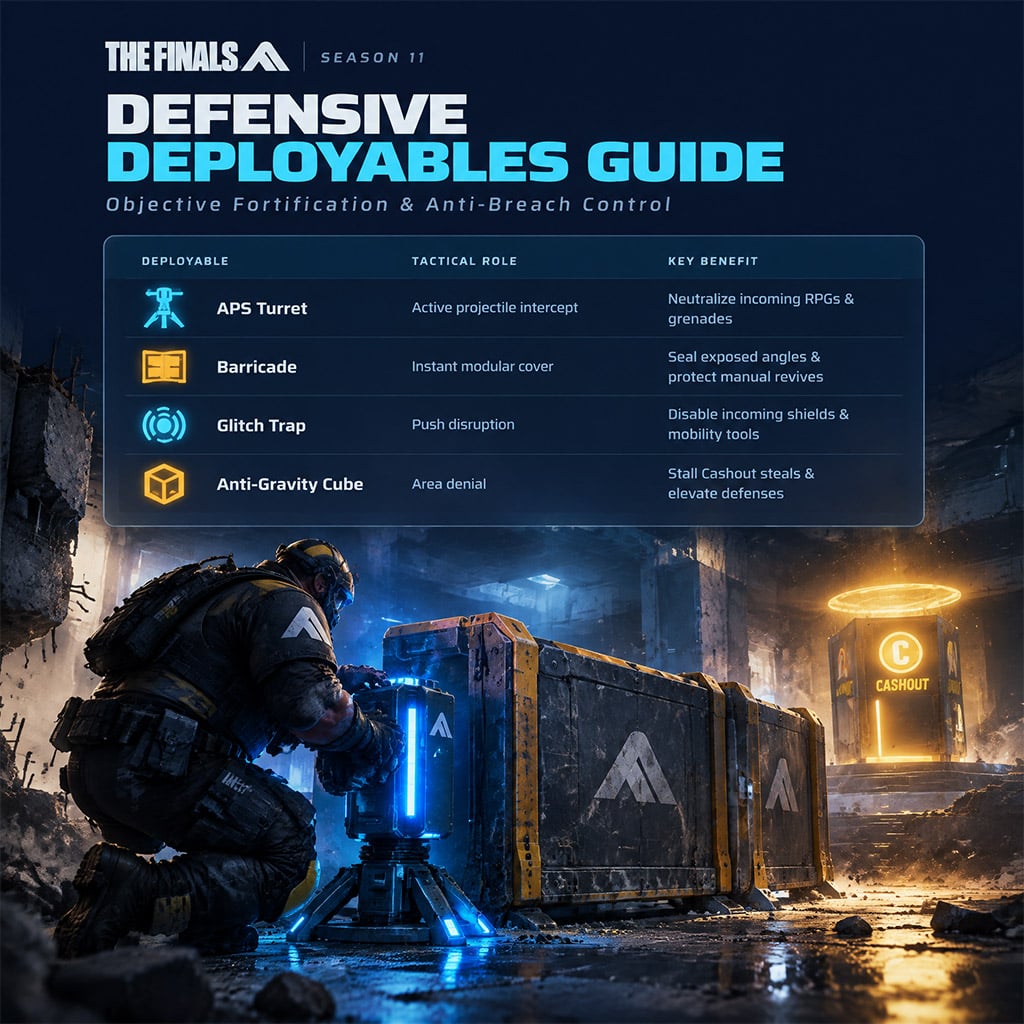
Defensive Deployables
Tools like APS Turret, Barricade, Anti-Gravity Cube, Glitch Trap, and Gravity Vortex demand deliberate placement. Mounting Glitch Traps on ceilings or high wall joints shields them from stray ground explosives. Similarly, Gravity Vortex should be positioned slightly offset from the Cashout to drag enemies out of the steal radius rather than merely shaking them inside it.
Explosive Mine and Gas Mine
Explosive Mines punish reckless chokepoint pushes, though experienced opponents routinely clear them with Data Reshaper or accurate gunfire. Gas Mine excels at protracted objective stalling, though active fire gadgets quickly ignite and dissipate the gas clouds.
Defibrillator
Defibrillator offers rapid mid-fight recoveries, yet careless revives return teammates directly into active crossfire. If immediate safety permits, manual revives save the gadget slot for direct utility like Jump Pad or Data Reshaper.
Healing Emitter, Thermal Bore, and Nullifier
- Healing Emitter: Effective for disciplined deathball squads holding small rooms; useless during fluid, wide-area rotations.
- Thermal Bore: Safely breaches distant sniper roosts, though slower than Breach Charge for immediate floor-drop tactics.
- Nullifier: Isolates key targets temporarily, but requires voice coordination to prevent interrupting your own squad's focus fire.
C-Tier and D-Tier Gadgets
These gadgets underperform due to unpredictable execution, excessive setup times, or weak combat trades.
- Flashbang & Smoke Grenade (C-Tier): Flashbang blind durations prove too inconsistent, while poorly coordinated Smoke Grenades obstruct friendly sightlines as often as enemy vision.
- Gas Grenade & Frag Grenade (C-Tier): Gas Grenades fail to match the defensive reliability of Gas Mines, while Frag Grenades give opponents ample audio-visual warning to evade fatal damage.
- Hover Pad (C-Tier): Offers flashy movement clips, but its fragility makes it an easy target in disciplined ranked lobbies.
- Breach Drill (D-Tier): Clunky activation and slow breach execution render it an inefficient use of Medium's competitive gadget slots.
- Pyro Grenade (D-Tier): Produces negligible initial contact damage and easily bypassed fire patches, leaving it outclassed by Pyro Mine and explosive ordnance.
High-Performance Season 11 Loadouts
Constructing a balanced loadout requires combining mobility, objective interruption, and direct survivability.
| Class Role | Primary Gadget Engine | Tactical Focus |
|---|---|---|
| Cloaked Scout Light | Gateway, Glitch Grenade, Vanish Bomb | Rapid map transit, trap disruption, hit-and-run flanks |
| Demolition Light | Gateway, Breach Charge, Glitch Grenade | Independent floor drops, structural destruction |
| Combat Medic Medium | Jump Pad, Goo Grenade, Defibrillator | Rapid rotations, emergency cover, clutch team recovery |
| Control Specialist Medium | Sonar Grenade, Jump Pad, Data Reshaper | Information dominance, neutralizing enemy defenses |
| Fortress Heavy | C4, Dome Shield, RPG | Cashout floor manipulation, bubble control, burst execution |
| Area Denial Heavy | C4, Pyro Mine, Dome Shield | Layered steal interruption, persistent fire stall |
FAQ (Frequently Asked Questions)
What is the best overall gadget in THE FINALS Season 11?
Gateway is the strongest gadget in Season 11. It redefines squad mobility, allows safe item and objective repositioning, establishes instant escape routes, and accelerates post-wipe returns to the Cashout.
What are the safest gadget picks for solo queue players?
Goo Grenade, Sonar Grenade, Proximity Sensor, Jump Pad, and Dome Shield represent the most consistent solo-queue picks. They provide immediate individual and team utility without requiring voice coordination.
Is Defibrillator still a mandatory pick for Medium?
No, Defibrillator is no longer mandatory. While strong for clutch revives, teams with strong positioning often find greater overall match value by running Jump Pad, Data Reshaper, and Goo Grenade instead.
How should Heavy prioritize between C4 and RPG in a single loadout?
Equip both if you are playing frontline anchor or floor denial. If forced to choose, take C4 for structured, drop-the-Cashout defense against coordinated steals, and take RPG if your squad constantly struggles to finish off escaping low-HP Lights in open skirmishes.
How do I choose gadgets between Light, Medium, and Heavy?
Balance your three gadget slots across mobility, combat survival, and objective control. Avoid equipping three gadgets dedicated exclusively to raw damage; every competitive loadout requires at least one dedicated defensive or repositioning tool.

I’m Sofia Bergström, a Swedish Managing Editor covering FPS, competitive shooters, and extraction shooters for GGWTB. My guides focus on loadout trade-offs, positioning, and when to commit—or cut your losses. A weapon’s stats tell only part of the story; I focus on how it fits your role and the fight ahead.
Most Popular Posts
- THE FINALS Season 11 Tier List: Best Weapons for the Double-Heavy Meta
- THE FINALS KS-23 Guide: Why This Heavy Shotgun Broke Season 11
- THE FINALS Season 11 Gadget Tier List: Best Meta Loadout Picks
- The Finals Season 11 Weapon Tier List: Best Loadouts After Patch 11.3
Popular Category Lists
- ARC Raiders / (354)
- Grow a Garden / (294)
- CoD: Black Ops 7 / (167)
- Star Citizen / (163)
- MLB 26 / (159)
- Monopoly Go / (153)
- ARK Survival Ascended / (128)
- Steal a Brainrot / (99)
- Blox Fruits / (74)
- Adopt Me / (74)
- Forza Horizon 6 / (72)
- Sailor Piece / (68)
- Grow a Garden 2 / (68)
- Diablo IV / (62)
- CoD: BLACK OPS 6 / (55)
- Aion 2 / (53)
- Path of Exile 2 / (48)
- Monster Hunter Wilds / (46)
- Windrose / (44)
- COD: Modern Warfare 4 / (43)