0
0 Created: Jul 28,2026 | ARC Raiders
ARC Raiders Sentinel Firing Core Guide: Best Locations, Drop Sources & Fast Farming Route

The Sentinel Firing Core is a rare material you need for Gunsmith Level 3 — and yeah, it's annoying to farm. Sentinels don't spawn every raid, so grinding one location and hoping is a waste of time. Here's the route that actually works, based on real runs.
- What Is the Sentinel Firing Core?
- Two Ways to Farm It
- Farming Priority List
- Arc Carrier Method
- Dam Battlegrounds — Best Sentinel Map
- Buried City
- Spaceport
- Blue Gate
- Best Farming Route (Step-by-Step)
- How to Kill Sentinels Without Dying
- Common Mistakes
- Quick Reference Table
- FAQ
- How do you get Sentinel Firing Cores in ARC Raiders?
- What's the best map for farming Sentinel Firing Cores?
- Do Sentinels spawn every raid?
- How many cores do you need for the Gunsmith upgrade?
- What if the Sentinel falls after dying?
- Summary
What Is the Sentinel Firing Core?
A rare crafting item dropped by destroyed Sentinel turrets and, sometimes, breached Arc Carriers.
Sentinels are sniper-type ARC turrets. They sit on rooftops, towers, bridges, and other elevated spots overlooking key areas.
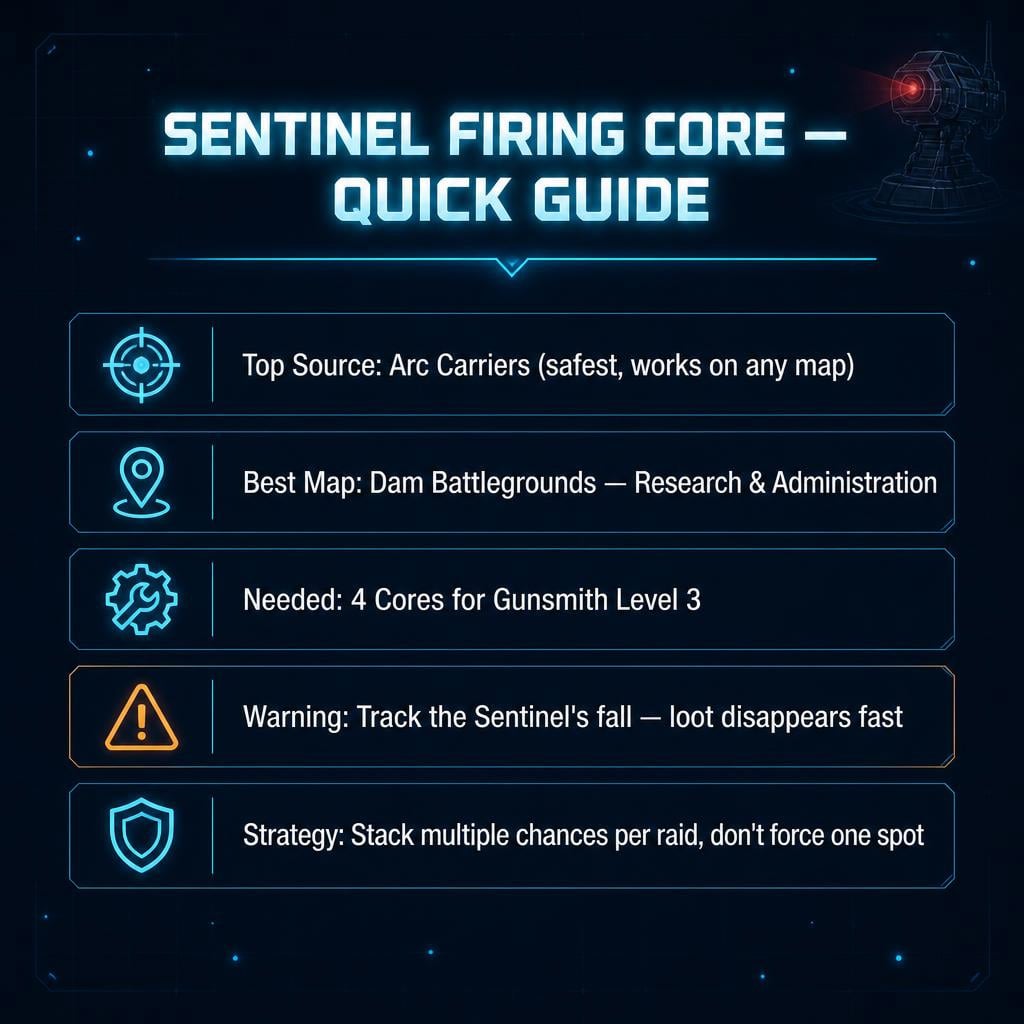
You need 4 cores for the Gunsmith Level 3 upgrade. That's the real grind.
Two Ways to Farm It
| Method | Reliability | Risk | Best For |
|---|---|---|---|
| Kill Sentinels | Medium-low | Medium-high | Targeted farming, known spawns |
| Loot Arc Carriers | Medium-high | Low-medium | Passive farming every raid |
Bottom line: check every Arc Carrier you pass. Then hit known Sentinel spawns if your route allows it. Sentinels reportedly show up once every few raids — Arc Carriers don't have that problem.
Farming Priority List
1. Arc Carriers — safest, works on any map
2. Dam Battlegrounds — most consistent Sentinel checks
3. Buried City (Town Hall) — easy landmark, lower spawn rate
4. Spaceport — multiple spots, inconsistent
5. Blue Gate — worth it only if you're already nearby
If you need 1-2 cores, go straight to Dam Battlegrounds. Need all 4? Farm normally and open every Arc Carrier on the way.
Arc Carrier Method
Arc Carriers are crashed ARC vessels, usually smoking. Don't confuse them with the long probe-shaped ARC objects.
Why they're worth it:
- No rare Sentinel spawn required
- Fits into normal loot routes
- No rooftop gunfights needed
- Works on every map
How to run it:
1. Spot the smoke, scan for enemies
2. Breach the carrier
3. Loot everything inside and around it
4. Extract if you already have other rares
If you pull a core here, treat it as the objective. Don't push your luck on a messy extraction.
Dam Battlegrounds — Best Sentinel Map
| Location | Where | Reliability | Notes |
|---|---|---|---|
| Research & Administration | South stairs, corner | High | Best known check on the map |
| Breach-side (right) | Upper bridge structure | Medium | Reach via zip line |
| Breach-side (left) | Opposite upper structure | Medium | Same route, other side |
| Hydroponic Dome approach | Upper right, facing away | Medium | Fast from forest side |
Route: Research & Administration → south stairs → check the corner. It usually snipes from there, so stay in cover.
Kill sequence: Peek → controlled shot → break LOS when it aims → re-peek different angle → destroy → loot immediately.
Warning: if it falls off the ledge, track the landing spot right away. Sentinel loot on cliffs and rooftops can be a pain to find.
No luck at Research & Admin? Rotate to the Breach-side high ground next. That's two chances in one raid.
Buried City
| Location | Where | Reliability |
|---|---|---|
| Town Hall | Bell tower, roof | Medium |
| City Hall | Under the bridge | Medium |
| Central structures | Various | Low |
Town Hall bell tower is the go-to landmark. Climb the roof, check the arch. If you kill it there, expect ground patrols below — don't relax once the turret's down.
Buried City has fewer confirmed spawns than Dam Battlegrounds. Use it as a secondary map, not your main farm.
Spaceport
| Location | Where | Reliability |
|---|---|---|
| Container Storage | Upper end of building | Medium |
| Departure Building | Rooftop | Medium |
| Trench Tower 1 & 2 | Either tower | Low-medium |
Container Storage: zip line up, approach slow, break LOS if it starts targeting.
Departure Building: if killed carefully, the body may fall closer to you — easier loot, but watch where it lands.
Trench Towers: usually one spawns, not both. Scope from distance before climbing.
Blue Gate
| Location | Where | Reliability |
|---|---|---|
| Pilgrim's Peak | Tower | Medium |
| Dungeon entrance | Checkpoint side | Medium |
| Raider's Refuge | Night raids | Medium |
| Stella Montez | Atrium | Low-medium |
Pilgrim's Peak: interior zip line to the top. Long sightlines — don't stand in the open.
Dungeon: if dropping from Head House, be combat-ready before committing. Escape routes are tight here.
Raider's Refuge at night: higher spawn chance, higher risk. Bring a focused kit, skip unnecessary fights.
Best Farming Route (Step-by-Step)
| Step | Action |
|---|---|
| 1 | Land in Dam Battlegrounds |
| 2 | Loot any visible Arc Carrier |
| 3 | Hit Research & Administration |
| 4 | Rotate to Breach-side high ground |
| 5 | Extract as soon as you secure a core |
| 6 | Repeat until you hit 4 cores |
This works because you're stacking odds, not betting on one spawn. Arc Carrier + Research & Admin + Breach-side = three real chances per raid.
How to Kill Sentinels Without Dying
| Rule | Why |
|---|---|
| Fight from cover | They punish open ground hard |
| Controlled peeks | Avoid eating repeat sniper hits |
| Clear patrols first | Don't get third-partied mid-fight |
| Watch the fall | You need the wreck, not just the kill |
| Don't overstay | Grab the core, leave — this isn't a base clear |
Squad tip: one player draws aggro, the other shoots from an angle. Don't rush the base of the turret early — it can still hit you.
Common Mistakes
| Mistake | Result | Fix |
|---|---|---|
| Skipping Arc Carriers | Miss easy cores | Breach every safe one |
| One-spot farming | Wasted raids | Multi-point routes |
| Open-ground fights | Heavy damage | Cover + angles |
| Ignoring the fall | Lost loot | Track wreck immediately |
| Overstaying after a find | Risk losing the core | Extract right away |
Sentinel farming is probability stacking, not a checklist. Give yourself multiple chances every raid.
Quick Reference Table
| Map | Best Checks | Priority |
|---|---|---|
| Any map | Arc Carriers | Very High |
| Dam Battlegrounds | Research & Admin, Breach-side | Very High |
| Buried City | Town Hall bell tower | Medium |
| Spaceport | Container Storage, Departure roof | Medium |
| Blue Gate | Pilgrim's Peak, Dungeon | Medium |
Best rhythm: Arc Carriers first → Dam Battlegrounds Sentinels second → everything else opportunistic.
FAQ
How do you get Sentinel Firing Cores in ARC Raiders?
Kill Sentinel turrets and loot the wreck, or breach Arc Carriers. Carriers are usually the safer, more reliable source.
What's the best map for farming Sentinel Firing Cores?
Dam Battlegrounds. Research & Administration, especially the south stairs, is the most consistent check on any map.
Do Sentinels spawn every raid?
No. They rotate between fixed spots and don't guarantee an appearance. That's why Arc Carriers matter — they're your backup source every raid.
How many cores do you need for the Gunsmith upgrade?
Four, for Level 3. Save every core you find until the upgrade is done.
What if the Sentinel falls after dying?
Track the landing spot immediately. Rooftop and ledge kills can send the wreck somewhere hard to find — don't wait, loot fast.
Summary
Sentinels don't spawn reliably — that's the whole problem. The fix is simple: stack your odds. Hit every Arc Carrier, run the Dam Battlegrounds loop, and treat other maps as bonus checks when your route passes them.
Find a core? Extract. One secured Sentinel Firing Core beats three near-misses lost to a bad fight.

Most Popular Posts
- ARC Raiders Update 1.42: Phantom Targets Farming Guide (Glitched Wasps, Rewards, Regional Conditions)
- ARC Raiders Hullcracker Blueprints: Fastest Way to Complete The Major's Footlocker
- ARC Raiders Best Pop Trigger Strategy: Fast Phantom Targets Damage Guide
- ARC Raiders Subway Skin Guide: Unlock the Subterranean Outfit
- ARC Raiders Looting Mk. 3 Survivor Blueprint Guide: Best Blue Gate Route and Drop Locations
- ARC Raiders Medium & Heavy Gun Parts Blueprint Guide: Best Farm Route, Locations, and Refiner Crafting
Popular Category Lists
- ARC Raiders / (353)
- Grow a Garden / (294)
- CoD: Black Ops 7 / (167)
- Star Citizen / (162)
- MLB 26 / (159)
- Monopoly Go / (152)
- ARK Survival Ascended / (128)
- Steal a Brainrot / (99)
- Blox Fruits / (74)
- Adopt Me / (74)
- Forza Horizon 6 / (72)
- Sailor Piece / (68)
- Grow a Garden 2 / (68)
- Diablo IV / (62)
- CoD: BLACK OPS 6 / (55)
- Aion 2 / (51)
- Path of Exile 2 / (48)
- Monster Hunter Wilds / (46)
- Windrose / (44)
- Maplestory Classic / (42)