



 0
0 Created: Apr 7,2026 | ARC Raiders
ARC Raiders Vaporizer Guide: Best Way to Destroy Vaporizers for Solo Players

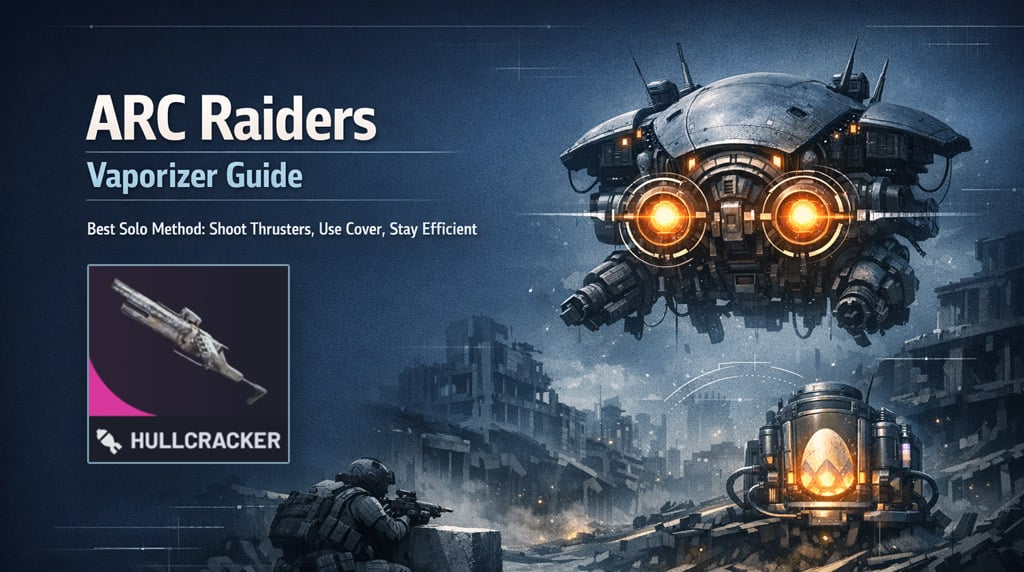
ARC Raiders Vaporizers look tougher than they really are. After testing both common methods in live matches, the most reliable answer is pretty clear: if you want a safe, cheap, repeatable solo strategy, shoot the front thrusters from cover. Belly shots can work, and they can be faster with the right weapon, but they demand better angles, better aim, and more risk. For most players, especially in event farming, consistency matters more than theory.
- Best way to destroy Vaporizers
- Thrusters vs belly: which is better?
- Best weapons for Vaporizers
- My recommendation
- A simple solo farming setup
- How to fight Vaporizers safely
- What works best in practice
- When belly shots are worth it
- Best places to fight Vaporizers
- FAQ
- Should I shoot the thrusters or the belly?
- What is the best solo weapon for Vaporizers?
- Is Hullcracker worth using?
- Are belly shots faster?
- What's the biggest mistake against Vaporizers?
- Final takeaway
Best way to destroy Vaporizers
If we strip this down to what works most often, the plan is simple:
- 1. Fight near a building or hard cover
- 2. Pull one Vaporizer at a time
- 3. Target one front thruster first
- 4. Peek for short bursts, then hide
- 5. Break the second front thruster
- 6. Finish it once it loses control or gets stuck
This is the method that feels best in actual runs, not just on paper. We take less damage, spend less on healing, and we don't need perfect aim to make it work.
Thrusters vs belly: which is better?
Both methods work, but they solve different problems. Here's the practical comparison.
| Method | Best for | Pros | Cons |
|---|---|---|---|
| Shoot thrusters | Solo, casual, budget runs | Safer, cheaper, easier from cover | Slightly slower |
| Shoot belly | Skilled aim, burst weapons | Faster if angle is clean | Riskier, harder to line up |
From experience, thrusters are the better default choice. The belly weak point is real, but in a normal fight you often spend too long trying to get the angle. That usually means more beam damage, more healing, and more wasted time.
If you find that belly shots are getting you punished, switch back to thrusters and play slower.
Best weapons for Vaporizers
You do not need a premium loadout to farm these efficiently. That's good news for the rest of us who don't enjoy setting credits on fire.
| Weapon | Why it works | Who should use it |
|---|---|---|
| Renegade | Reliable, simple, cost-effective | Best for most solo players |
| Anvil | Stable and easy to control | Good alternative |
| Osprey | Solid all-round option | Fine if already upgraded |
| Hullcracker | Heavy burst damage | Best if you have resources |
| Jupiter | Strong precision payoff | Best for strong aim |
My recommendation
- Best overall: Renegade
- Best burst option: Hullcracker
- Best high-skill option: Jupiter
If your aim is average and you mainly want clean event progress, Renegade + cover play is the safest choice.
A simple solo farming setup
This setup is the most practical if you're trying to stay efficient over multiple runs.
| Slot | Recommended pick | Why |
|---|---|---|
| Primary weapon | Renegade | Cheap, dependable, easy to use |
| Utility | Cloak | Best escape tool if things go wrong |
| Sustain | Shield recharges + healing | Vaporizer beam punishes mistakes fast |
| Optional | Wolfpack | Good finisher, but expensive |
If you're using Hullcracker, bring extra sustain. Missing a burst window can get ugly quickly.
How to fight Vaporizers safely
The big mistake most players make is overcommitting. Vaporizers punish that harder than almost anything else in the event.
What works best in practice
- Use cover before you shoot
- Never pull two Vaporizers on purpose
- Take short peeks
- Commit to one weak point
- Reset if the angle looks bad
- Use cloak if the fight starts to spiral
If you notice you're burning through shields and meds, that usually means you're staying exposed too long.
When belly shots are worth it
Belly shots are strongest when the Vaporizer is already in a bad position.
Use them if:
- it flips,
- it gets stuck,
- it loses control,
- or you have a clean under-angle with a burst weapon.
That's where Hullcracker and Jupiter can really shine. But as a default farming plan, it's still harder to recommend than thruster shots.
Best places to fight Vaporizers
The ideal spot is any area with:
- a building,
- fast cover access,
- clean peek angles,
- and enough room to isolate one target.
In Buried City-style zones, this works especially well because structures break line of sight and make Vaporizer movement less predictable. That gives us more control, and control is what makes these fights manageable.
FAQ
Should I shoot the thrusters or the belly?
For most players, shoot the thrusters. It's safer, easier, and more consistent in solo play.
What is the best solo weapon for Vaporizers?
Renegade is the best overall choice for solo players. It's reliable without being too expensive.
Is Hullcracker worth using?
Yes, if you can afford it. It kills fast, but it punishes misses and costs more to run.
Are belly shots faster?
They can be, but only when you have a clean angle. In normal fights, that angle is not always easy to get safely.
What's the biggest mistake against Vaporizers?
Overpeeking. One extra greedy shot often turns into a broken shield and a bad reset.
Final takeaway
If the goal is steady event progress, the best method is not the flashiest one. Fight from cover, isolate one Vaporizer, and break the front thrusters first. That gives us the safest and most repeatable kills, especially in solo lobbies. Belly shots still have value, but they work best as a follow-up when the Vaporizer is already unstable or trapped.

Most Popular Posts
- ARC Raiders Update 1.42: Phantom Targets Farming Guide (Glitched Wasps, Rewards, Regional Conditions)
- ARC Raiders Hullcracker Blueprints: Fastest Way to Complete The Major's Footlocker
- ARC Raiders Best Pop Trigger Strategy: Fast Phantom Targets Damage Guide
- ARC Raiders Subway Skin Guide: Unlock the Subterranean Outfit
- ARC Raiders Looting Mk. 3 Survivor Blueprint Guide: Best Blue Gate Route and Drop Locations
- ARC Raiders Medium & Heavy Gun Parts Blueprint Guide: Best Farm Route, Locations, and Refiner Crafting
Popular Category Lists
- ARC Raiders / (354)
- Grow a Garden / (294)
- CoD: Black Ops 7 / (167)
- Star Citizen / (163)
- MLB 26 / (159)
- Monopoly Go / (153)
- ARK Survival Ascended / (128)
- Steal a Brainrot / (99)
- Blox Fruits / (74)
- Adopt Me / (74)
- Forza Horizon 6 / (72)
- Sailor Piece / (68)
- Grow a Garden 2 / (68)
- Diablo IV / (62)
- CoD: BLACK OPS 6 / (55)
- Aion 2 / (52)
- Path of Exile 2 / (48)
- Monster Hunter Wilds / (46)
- Windrose / (44)
- Maplestory Classic / (42)






