0
0 Created: Sep 19,2026 | ARC Raiders
ARK Survival Ascended Tips to Stop Losing Tames and Wasting Gear

One mispressed key can unravel dozens of breeding hours, and an unseen predator will ruin a 99% taming effectiveness bar in a single strike. Surviving in ARK: Survival Ascended is not about raw combat stats—it is about controlling field variables before the game engine weaponizes pathfinding and crowd control against you.
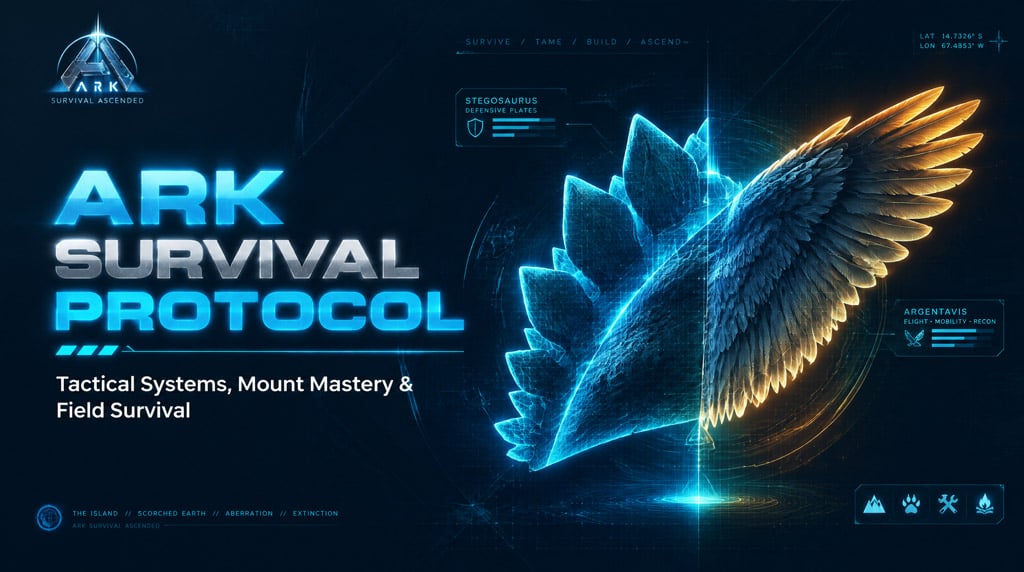
Below is your operational field manual to locking down base routines, neutralizing deadly dismount mechanics, and deploying high-utility mounts without fatal blunders.
- Eliminate the All Follow Disasters (J-Whistle Protocol)
- The Fix: Mandatory Tame Groups
- Structural Hardening:
- Lock Down Knockout Perimeters Before Firing
- Pre-Knockout Assessment Matrix
- Neutralize Forced Dismounts (Kaprosuchus & Purlovia)
- Deploy the Stegosaurus Hardened Plate
- Counter Cnidaria Stun Locks with a Basilosaurus
- The Deep-Sea Tank
- Automate Resource Gatherers Without Losing Inventory
- The Contained Orbit Routine:
- Exploit Argentavis Rapid Regeneration on Demand
- Healing Under Fire:
- Pack Tactics: Optimize Spacing Over Raw Headcount
- Pack Management Protocols:
- FAQ (Frequently Asked Questions)
- What should I do immediately if I accidentally hit the Follow All whistle?
- Can a Purlovia dismount me if I am flying an Argentavis or Pteranodon?
- How do I safely tame an ocean mount without getting killed by Cnidaria?
- Why did my wandering Doedicurus stop gathering stone?
- Does the Argentavis Rapid Regeneration buff heal the rider as well?
Eliminate the All Follow Disasters (J-Whistle Protocol)
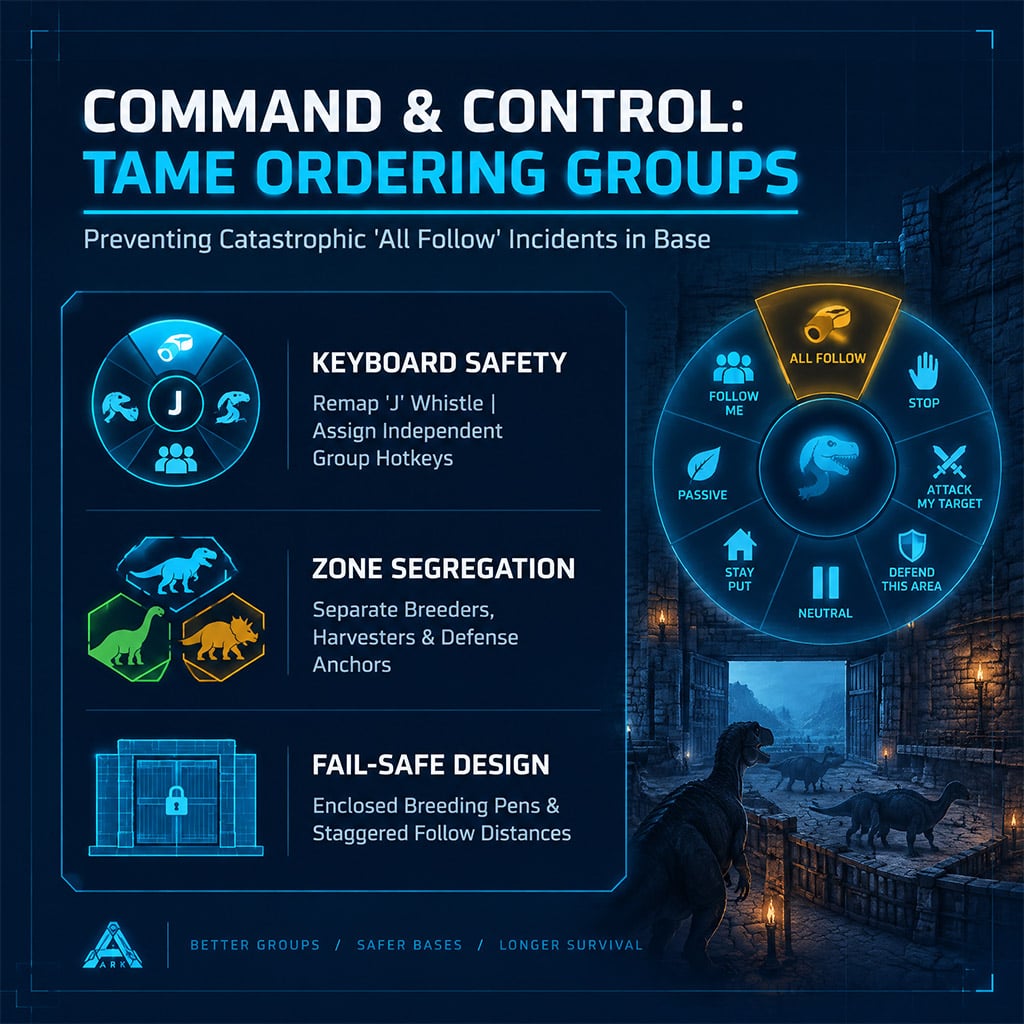
Hitting the global Follow All command (J by default on PC) triggers immediate structural pandemonium. Fliers take flight, breeders abandon their mating coordinates, and massive collision boxes trap your critical tames in a tangled, unmovable pile.
The Fix: Mandatory Tame Groups
Never leave your active ordering group set to 0 (None). Configure dedicated groups via the inventory ordering tab:
1. Travel/Scout (Pteranodons, Argies, fast ground mounts)
2. Heavy Harvesters (Ankylos, Doedics, Theris)
3. Breeding Line (Stationary breeders)
4. Base Defense (Heavy neutral anchors like Rexes or Spinos)
When active within an ordering group, global whistles only broadcast to assigned entities.
Structural Hardening:
- Unbind or Remap
J: Shift the key to a distant keycap (e.g.,Numpad 9) or require a multi-key macro. - Physical Baffling: Never keep flyers in the same staging yard as mating pairs. Build enclosed breeding pens with double-door frames; physically restrict pathfinding nodes so an errant whistle cannot break your mating lines.
Lock Down Knockout Perimeters Before Firing
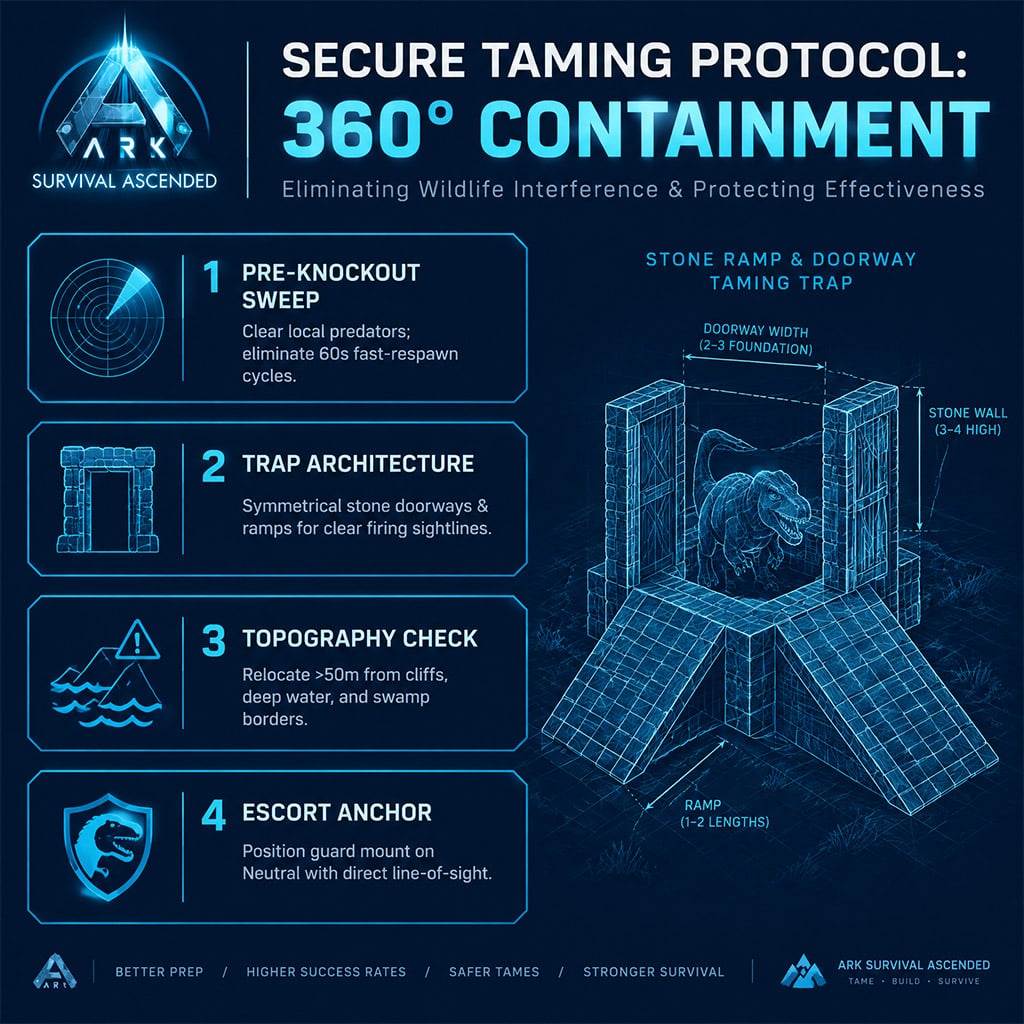
A downed creature has zero defensive agency. If a roaming Saber, Raptor, or Direwolf inflicts a single point of damage post-knockdown, your taming effectiveness drops instantly, permanently stripping away bonus levels.
Pre-Knockout Assessment Matrix
| Variable | High-Risk Hazard | Mandatory Mitigation Protocol |
|---|---|---|
| Sightlines | Dense brush, ruins, blind ravines | Defoliate with a large mount; establish clear 360° sightlines before engaging. |
| Spawn Cycles | Proximity to active predator nodes | Clear wild carnos, then wait 60 seconds to detect rapid respawns along perimeter borders. |
| Water / Topography | Swamps, cliffs, deep rivers | Never drop a target within 50 meters of water; torpor-fleeing pathfinding will drown the tame. |
| Defensive Escort | Mount set to Passive far away | Park your guard tame on Neutral just outside the trap boundary with clear line-of-sight. |
The Golden Rule: Build a trap box (stone doorways and ramps) on flat ground, lure the target into containment, and eliminate wild threats before applying top-bracket torpor.
Neutralize Forced Dismounts (Kaprosuchus & Purlovia)
Swamp and snow biomes are graveyard zones because Kaprosuchus leaps and buried Purlovia ambushes knock you clean out of the saddle, leaving you vulnerable to pack aggro while your mount sits idle.
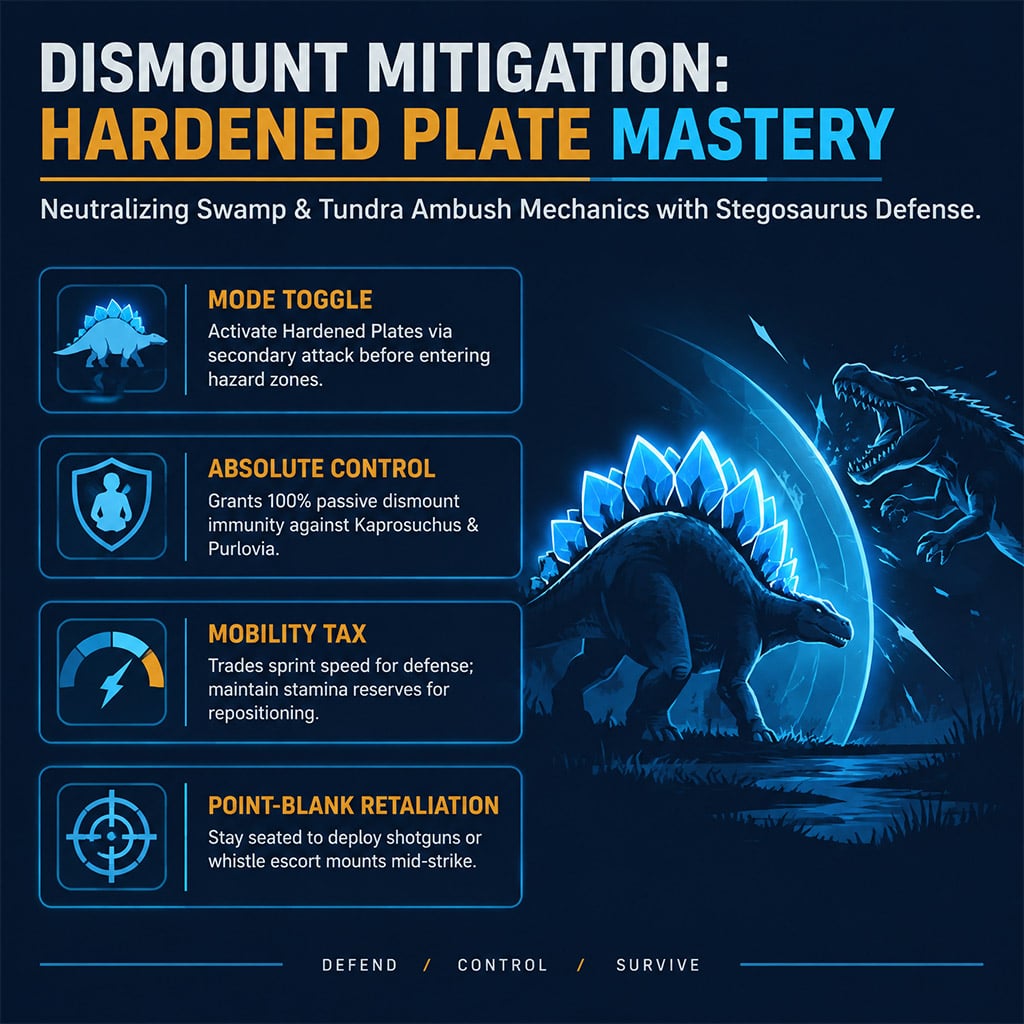
Deploy the Stegosaurus Hardened Plate
The Stegosaurus is not just an early-game berry farmer; its Hardened Plate mode provides complete passive immunity to player dismounts from wild attackers.
- Switch modes using the secondary attack key until Hardened Plates engage (visual indicator: compact plate orientation).
- You trade speed for absolute control. Purlovia stuns and Kapro jaws will hit the mount, but you stay firmly seated, retaining the ability to whistle attacks or shotgun the ambusher point-blank.
Note: While Rare Flowers can force-reveal buried Purlovia, they induce a suicidal 360-degree aggro radius on every nearby herbivore and carnivore. Stick to defensive Stego traversal or utilize target-probing explosives instead.
Counter Cnidaria Stun Locks with a Basilosaurus
Taking a high-stat Megalodon, Baryonyx, or Plesiosaur into deep water without checking for Cnidaria (Jellyfish) is a recipe for losing your tame. A single Cnidaria sting delivers a looping 4-second paralysis shock that locks down your mount until its health drains to zero.
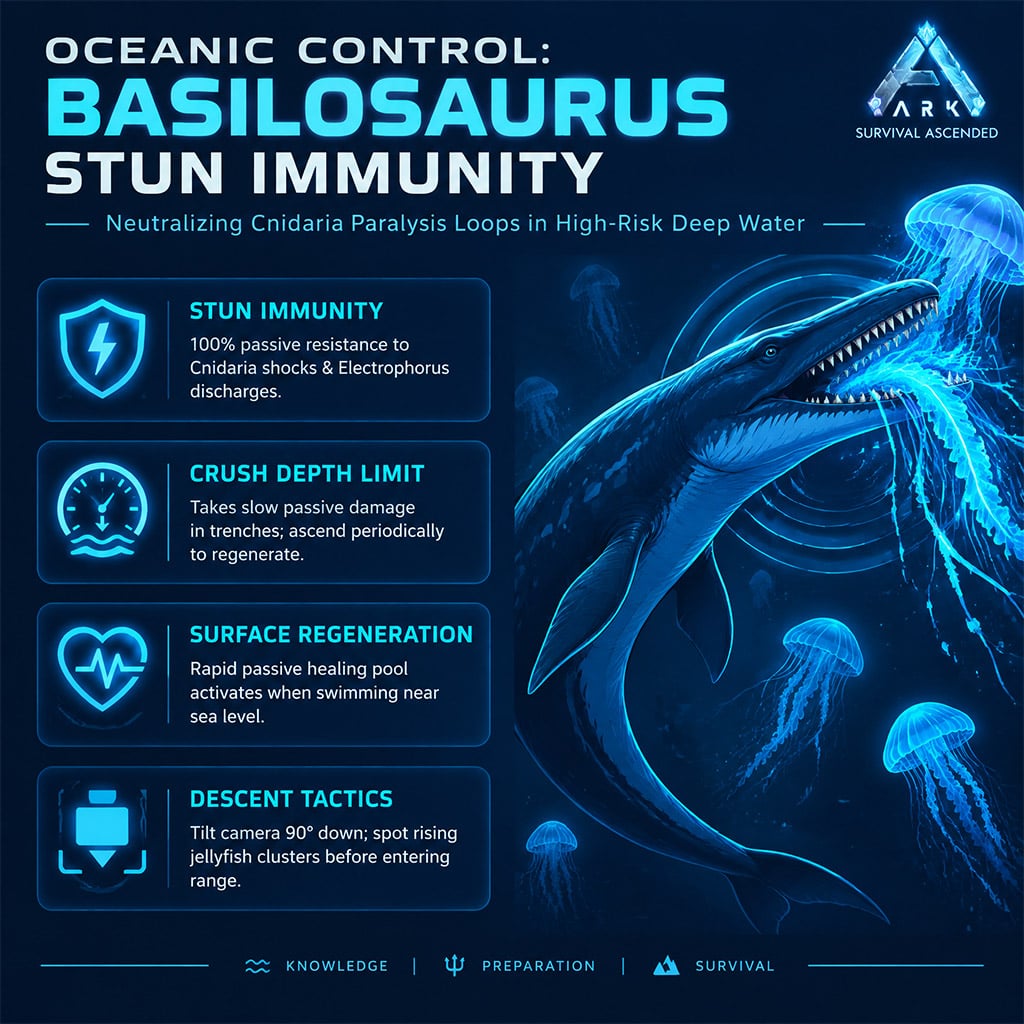
The Deep-Sea Tank
The Basilosaurus possesses total biological immunity to Cnidaria shocks and Electrophorus discharges.
- The Trade-Off: Basilosaurus takes gradual depth damage when operating in the deepest oceanic trenches. Counteract this by leveling a deep Health pool (25,000+) and surfacing periodically to trigger its massive passive health recovery near the ocean surface.
- Tactical Approach: When descending on non-immune mounts, angle your third-person camera directly downward. Cnidaria rise slowly from below; forward-facing tunnel vision causes 90% of lethal sting locks.
Automate Resource Gatherers Without Losing Inventory
Setting gatherers like Doedicurus (stone) or Castoroides (wood) on Wandering inside wild terrain guarantees two outcomes: they will get stuck on world geometry, or they will be killed by roving alphas while encumbered.
The Contained Orbit Routine:
1. Build Controlled Runways: Erect double-high stone fence frames enclosing concentrated node zones.
2. Understand the 50% Hard Cap: Wandering creatures stop auto-harvesting once their weight hits 50% of total capacity. A 1,000-weight Doedicurus stops working at 500 weight.
3. Active Pairing vs. Wandering: For actual bulk harvesting, skip passive wandering entirely. Carry your Ankylo or Doedicurus using an Argentavis or Karkinos. The mount will auto-swing at nodes when swept close to the hitboxes, bypassing terrain pathfinding bottlenecks entirely while utilizing full carry limits.
Exploit Argentavis Rapid Regeneration on Demand
The Argentavis is the premier mid-game logistics workhorse, but utilizing it purely for cargo transport ignores its primary combat survival tool: Rapid Regeneration.
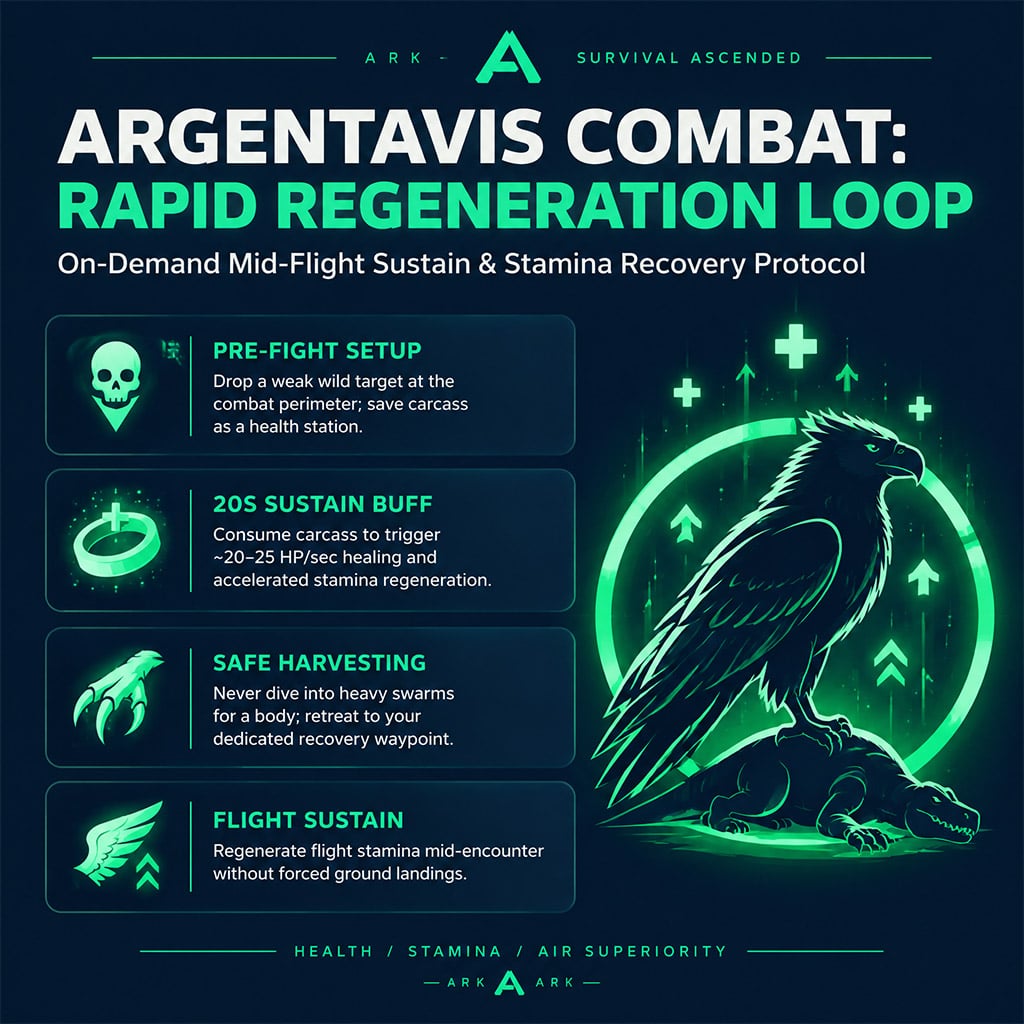
Healing Under Fire:
When an Argentavis feeds on any biological corpse (wild kill or downed escort), it triggers a 20-second Rapid Regeneration buff:
- Restores roughly 20–25 Health per second.
- Massively accelerates Stamina recovery, allowing continuous airborne flight under heavy encumbrance.
- Combat Execution: When hunting Alphas or clearing mountain ridges, intentionally kill a low-tier target (Dodo, Parasaur, raptor) near your staging area. Do not harvest it immediately. If your Argentavis takes heavy burst damage, disengage, harvest the reserved carcass to proc the green healing ring, and return to the fight fully recovered.
Pack Tactics: Optimize Spacing Over Raw Headcount
Stacking six Direwolves or Allosaurs provides immense theoretical damage output, but dense AI pathfinding turns oversized packs into useless traffic jams. When four wolves get stuck running against each other's rear hitboxes, your effective damage-per-second drops below that of a single mount.
Pack Management Protocols:
- Cap Active Wolf Packs at 3 to 4 Units: You get the +Alpha buff without the crippling body-block collisions that prevent melee hits from landing.
- Set Asymmetric Follow Distances: Set the Alpha/Leader mount to Medium follow distance, and trailing flankers to Low. This staggers the pack along an arc rather than clustering them on the exact same coordinate.
- Assign Group Attack Targets: Instead of letting pack AI scramble freely, ping target priority manually using the Attack This Target command (
.on PC) to focus single-target DPS down in seconds.
FAQ (Frequently Asked Questions)
What should I do immediately if I accidentally hit the Follow All whistle?
Press the All Stop whistle (U on PC) instantly. If mounts are already tangled in motion, select your pre-configured utility tame group via the numpad and whistle Passive (Passive: on PC) so your line-of-sight fighters do not run off tracking wild enemies.
Can a Purlovia dismount me if I am flying an Argentavis or Pteranodon?
Yes. If an airborne flyer passes close enough to the ground to trigger a buried Purlovia's proximity trap, the jumping strike will dismount you mid-air. Maintain altitude above the forest canopy when crossing Redwoods or Snow biomes.
How do I safely tame an ocean mount without getting killed by Cnidaria?
Lure your target away from deep reefs into shallow coastal waters using an amphibious or high-speed mount (such as a Sarco or Basilosaurus). Clear trailing Cnidaria with a crossbow before starting the torpor loop, as arrows fire underwater while standard firearms do not.
Why did my wandering Doedicurus stop gathering stone?
Creatures set to wander cease harvesting once their inventory weight crosses 50% of their maximum capacity. Empty the inventory into local storage vaults, or pilot an Argentavis to carry the Doedicurus directly between stone nodes.
Does the Argentavis Rapid Regeneration buff heal the rider as well?
No. Rapid Regeneration applies strictly to the Argentavis's personal Health and Stamina pools. Riders must carry Medical Brews or Cooked Meat to restore their own health pools simultaneously.

I’m Benjamin Walsh, an Australian Senior Copy Editor at GGWTB focused on survival crafting, open-world exploration, and extraction games. My guides weigh base locations, supply routes, and what deserves the last slot in your backpack. When editing, I look for skipped prerequisites and unclear directions—a useful guide shouldn’t send you across the map without the right tools.

Most Popular Posts
- ARC Raiders Update 1.42: Phantom Targets Farming Guide (Glitched Wasps, Rewards, Regional Conditions)
- ARC Raiders Hullcracker Blueprints: Fastest Way to Complete The Major's Footlocker
- ARC Raiders Best Pop Trigger Strategy: Fast Phantom Targets Damage Guide
- ARC Raiders Subway Skin Guide: Unlock the Subterranean Outfit
- ARC Raiders Looting Mk. 3 Survivor Blueprint Guide: Best Blue Gate Route and Drop Locations
- ARC Raiders Medium & Heavy Gun Parts Blueprint Guide: Best Farm Route, Locations, and Refiner Crafting
Popular Category Lists
- ARC Raiders / (345)
- Grow a Garden / (292)
- CoD: Black Ops 7 / (167)
- Star Citizen / (161)
- MLB 26 / (159)
- Monopoly Go / (152)
- ARK Survival Ascended / (126)
- Steal a Brainrot / (98)
- Blox Fruits / (74)
- Adopt Me / (73)
- Forza Horizon 6 / (72)
- Sailor Piece / (68)
- Grow a Garden 2 / (68)
- Diablo IV / (62)
- CoD: BLACK OPS 6 / (55)
- Path of Exile 2 / (48)
- Monster Hunter Wilds / (46)
- Aion 2 / (46)
- Windrose / (44)
- Donut SMP / (41)