


 0
0Bee Swarm Simulator Free Secret Items Locations & Quests Rewards on Honeyday
- WYNN
- Share
- Bee Swarm Simulator
- 12/29/25
- 3229
The Bee Swarm Simulator HoneyDay update didn't just add more stuff to grind—it quietly added several free secret pickups that can boost your progress immediately, plus a set of 10 new Bee Bear quests with rewards that matter (Tickets, Presents, planters, and more).
The trick is doing it in the right order: grab the free Bee Swarm Simulator items first, then use those boosts to make the quest chain less painful. Here's the route I'd run on a fresh session, with priorities and the why behind each step.
1) All Free Secret Item Locations
These are the pickups mentioned in your prompt. Some secret items are one-time per account or refresh on a timer.
Quick Location & Reward Table
Use this as your checklist.
| # | Where (how to find it) | What to do | What you get (as described) | Priority |
|---|---|---|---|---|
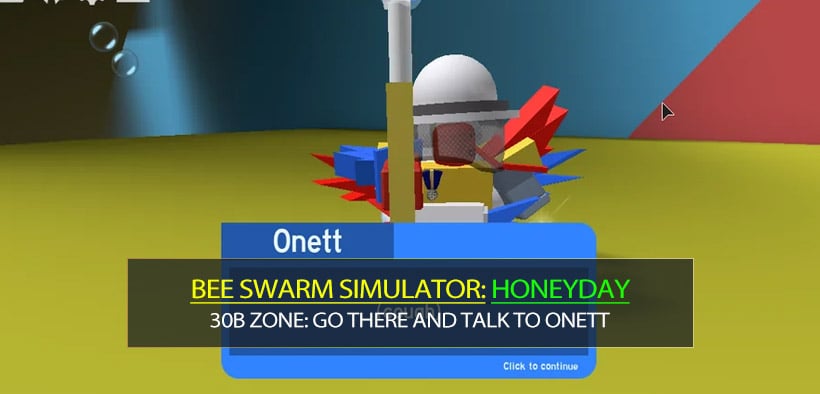
| 1 | 30B zone: go there and talk to Onett (per prompt) | Enter the zone and interact | A free key/item tied to the Onett avatar update (verify in-game dialogue) | High |
| 2 | Near the first spawn spot mentioned (a visible pickup) | Walk up and collect | Gingerbread Bear / Gingerbread-related drop | High |
| 3 | Behind the fancy sticker stack | Circle behind it | Another Gingerbread Bear | High (easy to miss) |
| 4 | On top of the gate (prompt says right on the gate) | Climb/parkour to the top | Bloom Shaker (first time available for everyone) | Highest |
| 5 | Inside the Beast Tree | Go inside and check | A Berry + another small pickup (prompt wording unclear—confirm in-game) | Medium |
Why the Bloom Shaker matters (and what this means)
The Bloom Shaker isn't just a cool new item. It's a quest accelerator.
- It matters because later Bee Bear quests demand lots of Bloom-related progress (petals/blooms/levels/colors).
- This means if you're struggling to generate or grow blooms consistently, the Bloom Shaker can reduce the stuck grinding feeling—especially if your hive isn't endgame.
My practical rule: I don't spam it randomly. I save it for the exact moment a quest is bottlenecked by bloom growth.
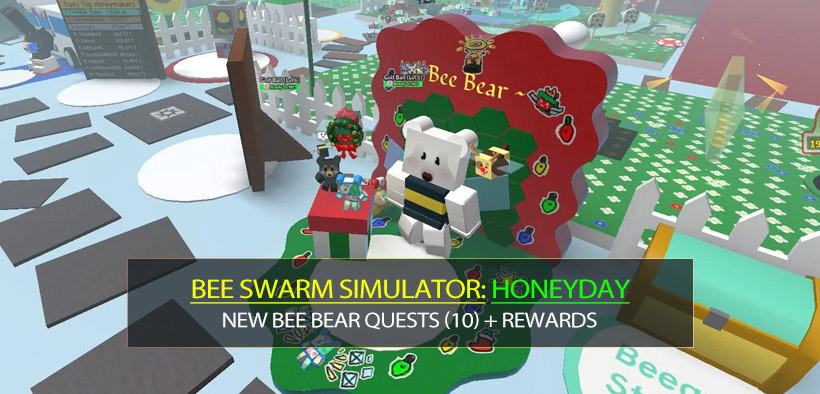
2) New Bee Bear Quests (10) + Rewards
The prompt lists 10 quests currently available and suggests more are coming later. Exact objective counts may vary slightly per player progression, so treat this as a guide map, not a word-for-word contract.
Quest List & Rewards (as described)
Here's the cleanest way to view them:
| Quest | Main goals (high level) | Rewards (as described) | Difficulty feel |
|---|---|---|---|
| Beastmas Begins | Intro tasks | 2,000 Honey, 5 Tickets, 1 Royal Jelly, 1 Cloud Vial, 1 Gingerbread Bear | Easy |
| Blooms for Bees | Blue pollen + ability tokens + petals | 20,000 Honey, 5 Tickets, 1 Present, 1 Gingerbread Bear | Easy–Medium |
| Time to Decorate | Clover/white pollen, free blooms, green petals, defeat 1 spider, gift 1 present to an NPC | Includes Paper Planter, gingerbread + extras | Medium |
| Season 4 Stickers | Sticker tasks (trade + attach to hive), red pollen, bomb tokens, etc. | 1 Present, 500k Honey, Tickets, Jelly Beans, Gingerbread Bears | Medium |
| Searching for Snowflakes | Bloom/petals in spider field, admire Black Bear honey (2x), buy 1 catalog item | Gingerbread Bear, 500k Honey, Oil, Atomic Treat (as stated) | Medium–Grindy |
| Let Bees Joy Sprout | Yellow petals, violet blooms, gumdrops, spiders, snow bears | 2 Gingerbread Bears, 1 Present, 1.5M Honey, plus listed items | Grindy |
| Present of Banters | Planter tokens (Mushroom), sparkle tokens, snowflakes, 7+ blooms, defeat 2 were elves, open gift boxes, buy Black Bear item | 2 Gingerbread Bears, 5 Tickets, Soft Wax, Box o' Frogs | Hard |
| Slaying the Slimy Scrooges | Slingshot damage, Retro Swarm goals, scans | 1 Present, 10M Honey | Medium (skill-based) |
| Festive Etching Frolic | Mixed collectibles (flowers, snowflake tokens, seeds/beans), check Mother Bear's house, lights + more | Gingerbread + Bloom Shaker mentioned | Grindy |
| Quest 10 (Final) | 7-level blooms, red/scarlet blooms, festive gift tokens, snowflake tokens, honeysuckles, treats, sticker tasks (no trading) | 50M Honey (prompt is messy here), Ticket Voucher, Festive Planter, 2 Gingerbread | Very Hard |
Important note: Your source text contains a couple of spoken-number inconsistencies (like 50k… million). I've preserved intent and flagged uncertainty rather than inventing exact values.
3) Best Completion Order (What I'd Do in a Real Session)
Doing these in a smart order saves you a lot of I'm missing one weird token type frustration.
My recommended priority path
1. Run the secret-item route first (especially the Bloom Shaker + Gingerbread).
2. Quests 1–4 right away: they build your baseline (Tickets, Presents, planters, sticker progression).
3. Quest 8 earlier than you think if you're comfortable with Retro Swarm:
- The 10M Honey payout is a great mid-chain injection.
4. Quests 5–7 once you have momentum and supplies.
5. Quests 9–10 last: these are the resource management exam.
Why this order works
- Early rewards increase your ability to complete later objectives faster.
- This means you're not burning premium items (beans/gumdrops/honeysuckles) just to crawl forward.
My common mistake: I used to brute-force bloom goals too early and waste time. Once I started stacking objectives in the same fields and saving key consumables for final push moments, the chain moved way smoother.
4) Efficiency Tips That Actually Reduce Grind
These are the tips I'd give a friend who wants results, not vibes.
1) Stack field objectives on purpose
If you notice two quests both require Spider Field petals + spiders, then commit to a single Spider session and finish as much as possible before bouncing. Field-hopping randomly is how you lose an hour.
2) Treat consumables like problem solvers, not decorations
Magic Beans, Gumdrops, Honeysuckles, etc. should be used when:
- You're close to clearing a quest, or
- You're hard-stuck on a specific mechanic (like blooms).
If you're still far from completion, spending consumables early is usually low value.
3) Sticker objectives: read the condition carefully
If you notice it says without trading, then trading won't count—so don't waste time trying to shortcut it. Build sticker progress from gameplay sources first.
FAQ
1) I went to the gate and didn't see the Bloom Shaker. Is it gone?
Not necessarily. If you notice it's missing, then:
- You may have already collected it, or
- It may be on a timer / server-dependent.
Rejoin or swap servers and check again.
2) Should I use the Bloom Shaker immediately?
If you're not stuck on bloom growth, then save it. Use it when a quest is clearly bottlenecked by bloom generation or specific bloom colors/levels.
3) Is Quest 8 worth doing early?
If you can handle Retro Swarm goals without tilting, then yes—the 10M Honey reward is one of the best mid-chain boosts described.
4) Why am I stuck even though I'm farming the right field?
If you notice your progress isn't moving, then double-check the weird requirements:
- Interactions (admire Black Bear honey),
- Purchases (Bear Catalog),
- Gift box opens,
- Giving Presents to NPCs.
Those are easy to forget and they hard-block completion.
Summary
This update is way smoother when you treat it like a route: free pickups first, then quests that increase your ability to farm, then the grind-heavy objectives once your inventory and bloom tools can support them. Instead of forcing Quest 9–10 immediately, build momentum through 1–4 (and 8 if you're capable), then finish the chain with fewer stalls and less waste.

Most Popular Posts
- Bee Swarm Simulator Progression Guide: Best Gear Order from Early Game to Endgame
- Bee Swarm Simulator Bee Bear Quest Guide: Best Fields, Blooms, Stickers & Petal Cub Tips
- The Ultimate Tadpole Alt Guide for Bee Swarm Simulator (2026)
- Bee Swarm Simulator Planters Guide: Best Fields, Nectar, Growth Times, and Buying Order
- How to Make 20B+ Pollen in Hive Hub as a Blue Hive in Bee Swarm Simulator
- Bee Swarm Simulator Best Mythic Bee: Ranked for Every Hive
Popular Category Lists
- Grow a Garden / (285)
- ARC Raiders / (260)
- CoD: Black Ops 7 / (166)
- Monopoly Go / (146)
- MLB 26 / (142)
- Star Citizen / (109)
- Steal a Brainrot / (89)
- Sailor Piece / (68)
- ARK Survival Ascended / (64)
- Forza Horizon 6 / (59)
- Diablo IV / (59)
- Blox Fruits / (59)
- CoD: BLACK OPS 6 / (55)
- Adopt Me / (51)
- Path of Exile 2 / (48)
- Monster Hunter Wilds / (46)
- Windrose / (44)
- Path of Exile / (40)
- Grow a Garden 2 / (37)
- Bee Swarm Simulator / (36)


