0
0Dune Awakening Buried Treasure: Shiel & Deep Desert Routes, Opafire Yield Data, Sandworm Evasion
- Rober
- Share
- Dune: Awakening
- 08/24/25
- 864
Dune Awakening Stuck on gear progression, short on Opafire for Lancer Rad, or just want a credit cushion? Then you need a repeatable, low‑mistake Buried Treasure loop. Most players roam aimlessly, burn fuel, overheat scanners, and get chomped mid‑pickup. Shift the mindset: break the activity into region choice → loadout → scan acquisition → compact & extract → aggression reset → data logging → iterative optimization. Why does that matter? Because once you quantify yield you can decide when to stay in Haga vs push north into the Deep Desert, and conditionals cut avoidable deaths. You're about to get a framework you can fly tonight.
- Core Mechanics Snapshot
- Preparation (Baseline & Optional)
- Scanner Choices Compared
- Haga Basin (Shiel Peak) Strategy
- Standard Action Loop (Burn it into muscle memory)
- Sandworm Risk Management
- Deep Desert (Starting Around E7) Strategy
- Loot & Yield (Data + Use Cases)
- Efficiency Boosters
- Common Mistakes & Fixes
- FAQ
- Summary
↖ Core Mechanics Snapshot
- - Spawn zone: Only on Open Sand (uncovered expanses where sandworms can trigger).
- - Visual cue: After a scan, a faint small crate icon; daylight glare lowers contrast, nighttime boosts visibility.
- - Interaction: One compact (Compactor) pulse spawns the loot container; hold to loot.
- - Risk window: Compact + loot phase spikes sandworm attention; chaining without altitude reset raises kill odds.
↖ Preparation (Baseline & Optional)
Required
- - Vehicle: Ornithopter (priority) for aerial maneuvering + wide scan radius + vertical escape.
- - Vehicle Scanner Module: Nose-mounted; ensure research unlocked.
- - Compactor: Any tier—only one activation required.
- - Fuel: Start route ≥65%; at <30% plan a refuel break.
- - Repair supplies: Welding wire + torch (scanner & hull).
Optional
- - Radiation suit: For Shiel peak / localized hot zones.
- - Spare handheld scanner: Emergency fallback if module durability collapses.
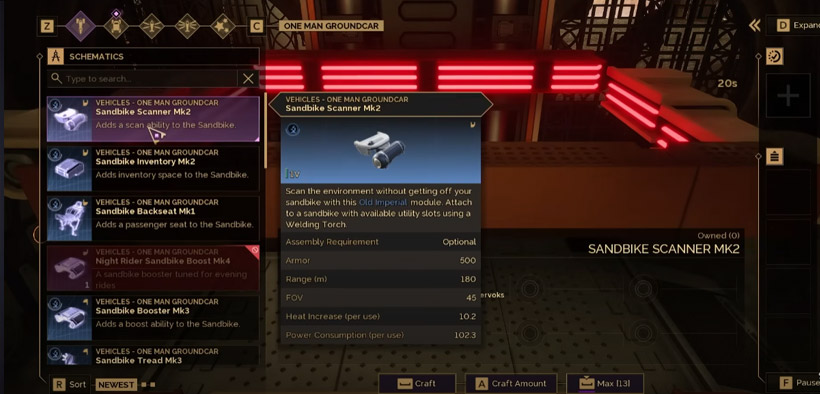
↖ Scanner Choices Compared
- - Handheld: Cheap, narrow cone, tiny radius, exposes you to ground risk—use only as a fallback.
- - Sandbike Scanner: Wider than handheld, but constant ground contact = faster sandworm threat buildup.
- - Ornithopter Scanner: Best-in-slot—high altitude pass + broad sweep + instant vertical exit.
Safety & coverage = Ornithopter > Sandbike > Handheld; micro landing precision = Handheld > Sandbike > Ornithopter.
↖ Haga Basin (Shiel Peak) Strategy
Why Shiel peak? Open geometry, smooth loops (circular or figure‑8), subjectively higher cluster occurrences (still RNG).
Cruise altitude: 90–120 m AGL for initial broad sweeps; drop to 40–60 m once multiple icons pop.
Day vs Night:
- Day: Icons wash into sand hue; increase scan cadence (tap key more often).
- Night: Better contrast → higher icons per fuel unit.
If you log 3 consecutive scan cycles (~90 sec) with zero icons in daylight, pivot to base tasks and return at dusk.
↖ Standard Action Loop (Burn it into muscle memory)
Fly & scan → Icon appears → Controlled descent (stop 10–15 m from target) → Exit / edge in → Single compact → Instant loot → Reboard → Vertical climb 400–500 m to reset worm aggro → Lateral shift 150–200 m → Repeat scan.
Mnemonic: Scan → Drop → Compact → Loot → Climb → Slide.
Time budget (field average): Single point 25–40 s; 2–4 point cluster ≈ 2 min.
↖ Sandworm Risk Management
Warning signs: Micro-sand ripples → subtle vibration → low rumble.
Rapid exit tactics:
- Mid-loot: Finish grab (fast), board, vertical climb—don't sprint horizontally on foot.
- Clusters: After second treasure + first rumble, skip greed on a third; climb then re-approach.
Vertical vs horizontal: Vertical climb 400–500 m cuts tether; horizontal ground skimming keeps you in the detection fan.
Ask yourself: Do you really want your first worm death to happen before loading repair kits?
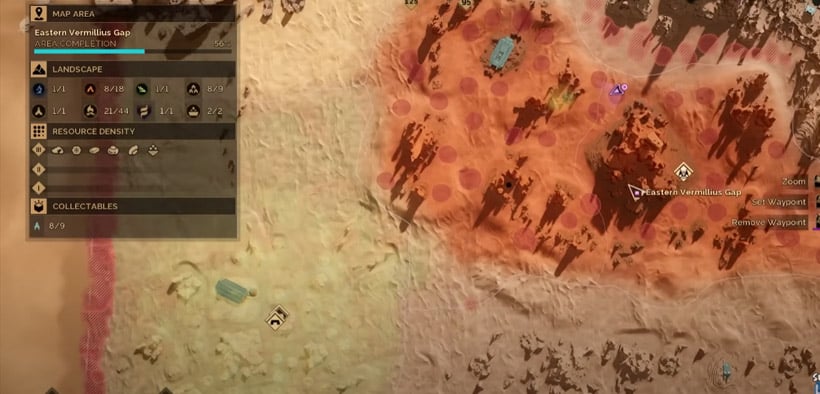
↖ Deep Desert (Starting Around E7) Strategy
- Traits: Wider spacing but frequent 4-in-line chains; perceived resource quality bump (steel plates, Ballistic Weave Fiber, steady Opafire).
- Sample note: Personal 50-treasure Deep Desert sample = zero blueprints (likely ultra-low drop or not active this version), but consistent Opafire & mid/high-tier mats.
- Directional rule: If southern segment yields <3 treasures in 10 minutes, push one sector further north; subjective density improves with latitude.
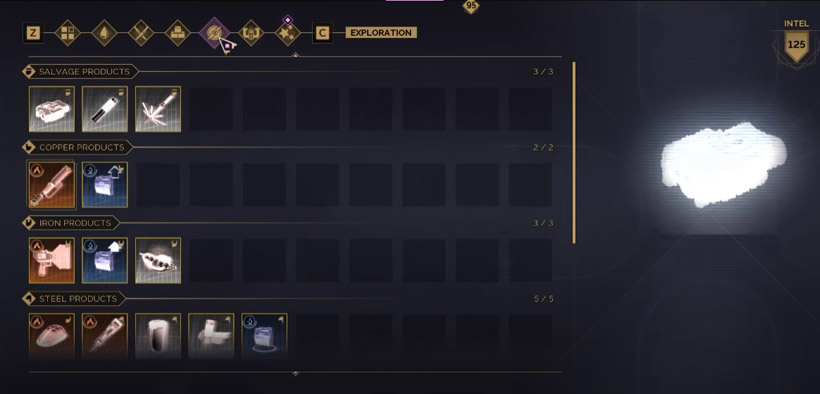
↖ Loot & Yield (Data + Use Cases)
Opafire: Lancer Rad + some structural modules; strong trading leverage—reserve internal demand before selling excess.
Steel Plates / Ballistic Weave Fiber: Mid/late armor & structural crafting.
Sample (small, version-bound): 50 Deep Desert treasures ≈ 350 Opafire (~7 each) plus multiple stacks of plates / weave / base mats.
Theoretical hourly (ideal) = 35 s loop, ~1 treasure per loop → 103 loops/hour; apply 10% operational loss → ~90 treasures → 90 × 7 ≈ 630 Opafire (realistic reduction 25–40% due to downtime, fuel, worm events).
Disclaimer: RNG heavy; gather ≥100 personal samples for steadier mean.
↖ Efficiency Boosters
- 1. Night sweeps: Condense heavy farming into night segment; daylight = logistics / craft / repair.
- 2. Inventory policy: At ≥85% capacity, purge low-value sand / common filler, keep rares & mid-tier craft parts.
- 3. Durability threshold: Abort route if scanner <25% to preempt failure mid high-density chain.
- 4. Fuel checkpoints: Inspect every 15 minutes; <30% = stop chaining, shift to conservative single-point pattern.
- 5. Cluster routing: ≥3 icons visible: execute an “L path”: far → near → lateral, reducing repeated climb cycles.
- 6. Manual log: Timestamp / region / point count / Opafire / other rares. Analyze after 10 runs for drop curve.
↖ Common Mistakes & Fixes
- Riding sandbike flat for extended scans → spike worm risk. Fix: After 2 empty scans, climb or reposition.
- Double compacting same spot → waste & danger window. Fix: One pulse; if no container, you misaligned—adjust quickly.
- Daylight glare ignoring contrast tweaks. Fix: Temporarily raise gamma or pivot to night ops focus.
- Looting with a full pack. Fix: Predefine discard list.
- Letting durability silently tank. Fix: Add durability column in log; trigger maintenance rule.
↖ FAQ
1. Why no blueprint drops for me?
Small samples can miss ultra-rare items; 50 Deep Desert tests here produced none—could be extremely low rate or version-locked. Expand sample size.
2. Should I liquidate all Opafire?
Keep a reserve = (Projected 3‑day crafting demand) ×1.5; sell only surplus for market leverage.
3. No Ornithopter yet—am I doomed?
Use sandbike as interim: scan → immediate gentle S-curve exit; minimize straight-line ground exposure.
4. Can't see well at night—worth it?
Yes if icons are clearer. Raise gamma, map perimeter landmarks (ridges / ruins), use handheld for micro-confirmation.
5. Must I always climb 400–500 m after each treasure?
No. If a second treasure is <35 m and no rumble yet, chain it; otherwise climb before greed.
6. Are bad sessions my fault or RNG?
Mostly RNG + low effective scan attempts. Track scans/min; increase altitude sweeps if attempts stagnate.
↖ Summary
You now have a reproducible Buried Treasure loop: leverage Ornithopter altitude, favor night for icon contrast, execute the Scan → Drop → Compact → Loot → Climb → Slide chain, and log actual yields. Next step: record your first 100 treasures to decide whether Opafire farming still beats alternative activities (e.g., higher-tier manufacturing). Turn volatility into stable throughput; once you sustain 50+ effective points per hour, your gear and economy curve accelerates. Go hunt for that four-point chain tonight—and if patch changes shift spawn logic, come back for an updated route.
Most Popular Posts
- Dune: Awakening Spice Guide: How to Find, Harvest, Refine, and Use Spice
- Dune Awakening Guide: Everything You Need To Know
- Dune: Awakening 20 Secrets Tips and Essential Beginner Tricks
- How to Build an Ornithopter in Dune: Awakening - Guide for Solo Players
- Best Dune Awakening Endgame Base Locations: Fast Progression vs Story Exploration
- Dune Awakening Class Guide: How to Choose?
Popular Category Lists
- Grow a Garden / (286)
- ARC Raiders / (262)
- CoD: Black Ops 7 / (166)
- Monopoly Go / (146)
- MLB 26 / (144)
- Star Citizen / (112)
- Steal a Brainrot / (89)
- Sailor Piece / (68)
- ARK Survival Ascended / (67)
- Diablo IV / (61)
- Forza Horizon 6 / (60)
- Blox Fruits / (60)
- CoD: BLACK OPS 6 / (55)
- Adopt Me / (53)
- Path of Exile 2 / (48)
- Monster Hunter Wilds / (46)
- Windrose / (44)
- Path of Exile / (40)
- Grow a Garden 2 / (40)
- Bee Swarm Simulator / (36)