0
0How to Solve Cod Black Ops 6 Zombies Easter Egg in Shattered Veil?
- Layla
- Share
- CoD: BLACK OPS 6
- 04/27/25
- 6792
In Call of Duty: Black Ops 6, players are met with an interesting Easter Egg challenge on the Shattered Veil map. Unlocking these challenges comes with unique rewards which are not instantly provided in-game. To better the experience for players, this guide focuses on the Easter Egg on Shattered Veil and walks through every step of the mission.
- Preparation for the Mission
- Step-by-step Guide
- - Open all doors up to the Pack-a-Punch
- - Repair the Elevator
- - Get the Ray Gun Mark 2
- -- Collect the Disk
- -- Convert Your Code into Numbers
- - Free and Defeat the Doppelghast
- - Open the Ray Gun Mark 2 Armory
- - Find All Canisters
- - Complete the Blue Upgrade for the Ray Gun Mark 2
- - Enter the Blue Portrait
- - Complete the Purple Upgrade for the Ray Gun Mark 2
- - Enter the Purple Portrait
- - Complete the Yellow Upgrade for the Ray Gun Mark 2
- - Enter the Yellow Portrait
- - Defeat the Z-Rex
- Rewards for the Shattered Veil Easter Egg
↖ Preparation for the Mission
Unlike multiple other missions in the game, the Easter Egg mission requires a particular approach in order to be successfully completed. Below are some of the must have dos and dont's.
Use the GS45 silenced handgun for maximum scrap drop rates. Equip silenced weapons.
Have a high damage firearm of choice with plentiful ammunition.
Pairs of Gumbdrop to bring include: Who's Keeping the Score?, On the House with Soda Fountain, Profit Sharing(for team players), Wonderful, Extra Addict, Secret Power.
Smoke bombs are useful in getting out of sticky situations from hordes of zombies.
Don't forget to customize your wall buy weapons into zombie loadouts to add your most desired attachments.
↖ Step-by-step Guide
↖ - Open all doors up to the Pack-a-Punch
To start the Easter Egg, you need to buy your way to the Pack-a-Punch. Defeat zombies and follow the marker to the elevator. You'll notice the elevator is broken and needs a fuse to be repaired, which requires two components.
↖ - Repair the Elevator
You need two parts found in the mansion:
Circuit Board: Destroy Richthofen's computer.
Fuse: Found in the large library with the spiral staircase. Once you have both, go to the back of the elevator and interact with the broken wiring. After fixing the fuse, go to the elevator doors, defeat the zombies inside, and take the elevator down to the underground lab and then to the Pack-a-Punch.
↖ - Get the Ray Gun Mark 2
For the next steps, you need the Ray Gun Mark 2. You can either get it from the Mystery Box (luck-based) or from the Armory (guaranteed, but requires preparation). Here's how:
↖ -- Collect the Disk
Keep playing until round 10. Go to the lab to S.A.M and defeat zombies until you see a lab technician zombie. Defeat him and pick up the data disk he drops.
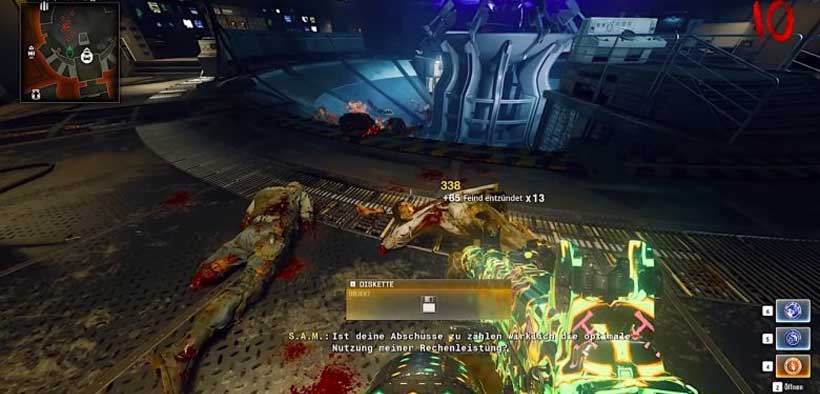
↖ -- Convert Your Code into Numbers
Take the disk to the ground floor. In the PLEASE INSERT area, find a computer with a printer. Interact with it. Some zombies and pests will spawn—kill or ignore them.
Wait for the printer to finish and give you a code, highlighted in uppercase (e.g., "WORM").
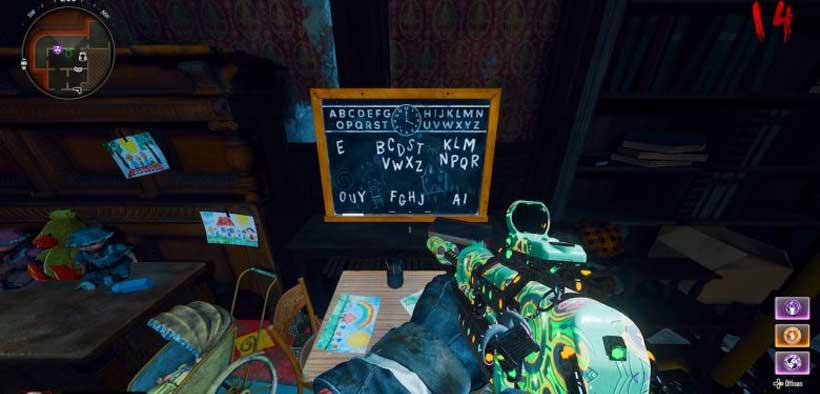
Go to the children's room in the mansion, where you'll find a board with letters. Convert each letter of your code to a number by:
Going through each letter in order,
Counting the number of times each letter appears on the board,
Noting down the number,
Doing this for each letter gives you a four-digit code (e.g., 9377).
Return to the underground near S.A.M.
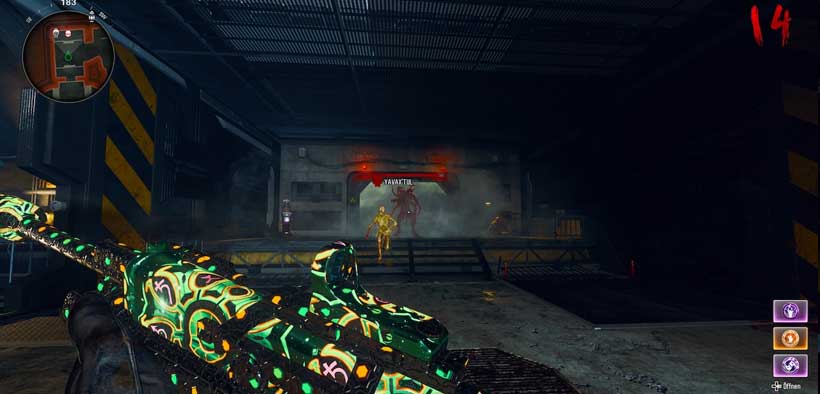
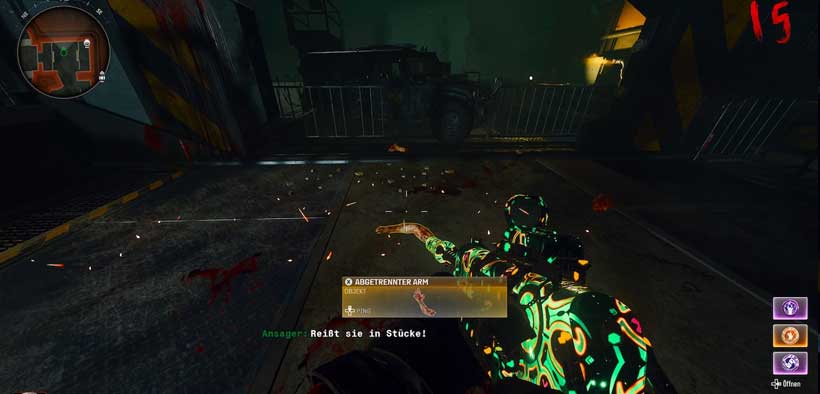
↖ - Free and Defeat the Doppelghast
In the underground, past S.A.M, buy a door and go through a corridor to a large warehouse with a sealed chamber containing the Doppelghast. Interact with the keypad on the right side of the chamber and input your code. Once freed, defeat the Doppelghast. After killing it, pick up its arm. Take the arm to the Armory.
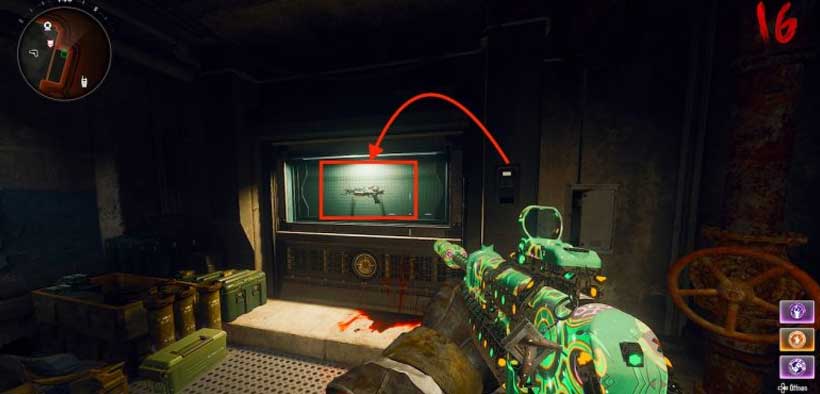
↖ - Open the Ray Gun Mark 2 Armory
In the same area, behind a roller door, go right to enter the Armory. Inside, use the fingerprint scanner and the severed hand to open the display case and claim the Ray Gun Mark 2.
↖ - Find All Canisters
You now need to find three canisters and charge them with different elements to upgrade your Ray Gun. Here's where they are:
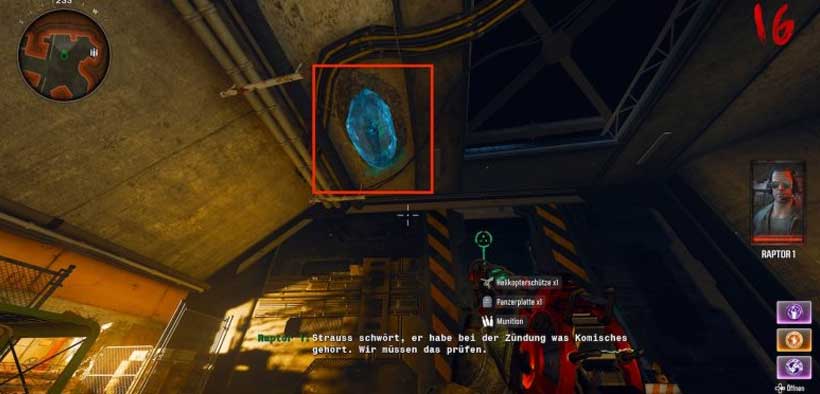
-- Canister 1
On the map's ceilings, look for blue crystal capsules. Shoot them with your Ray Gun. One contains a canister (location is random, but try the one near the roller door in the underground).
-- Canister 2
Under the Double Tap Perk-a-Cola. Use a Kasimir Grenade at the zombie spawn opening to attract and drop the canister.
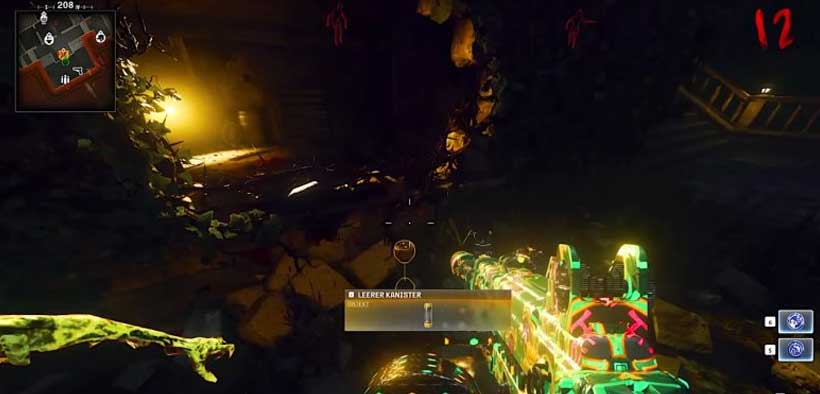
-- Canister 3
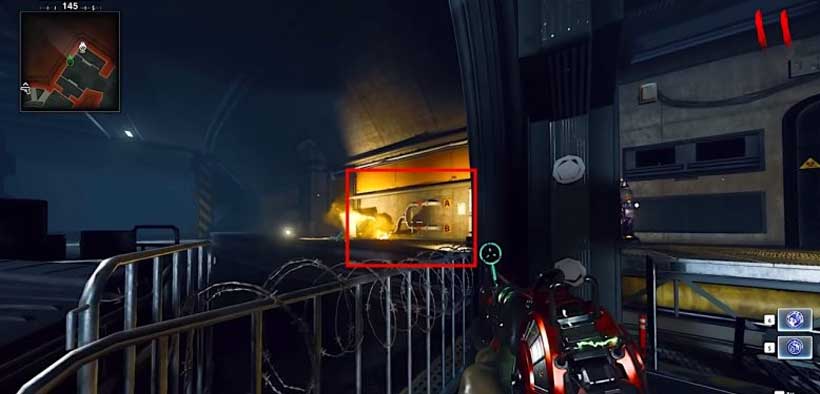
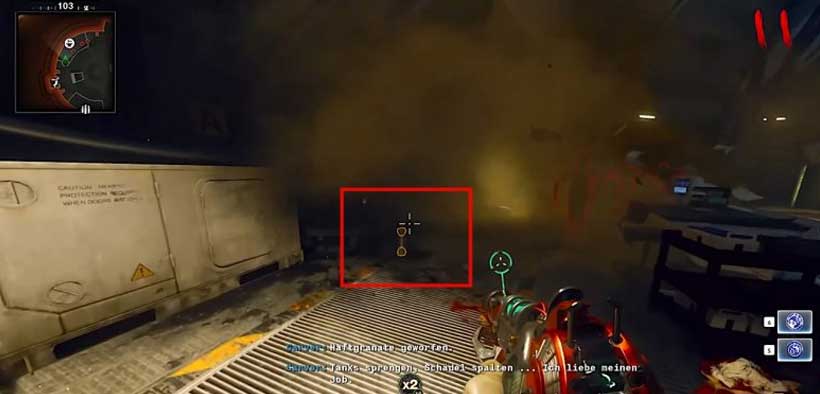
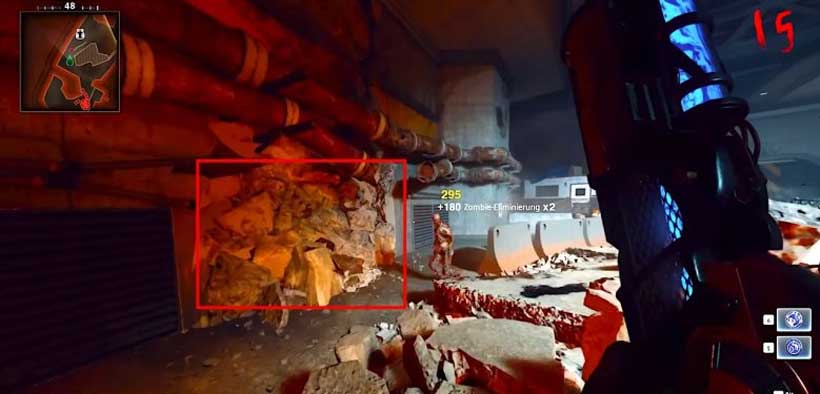
In the large room with S.A.M. Buy Tomahawks, go to the airlock where the Doppelghast was, and throw Tomahawks at the valve system on the right wall until pipe "A" is pressurized. Return to the lab, find the large broken glass cylinder emitting smoke, and throw a Semtex in. The canister will drop.
↖ - Complete the Blue Upgrade for the Ray Gun Mark 2
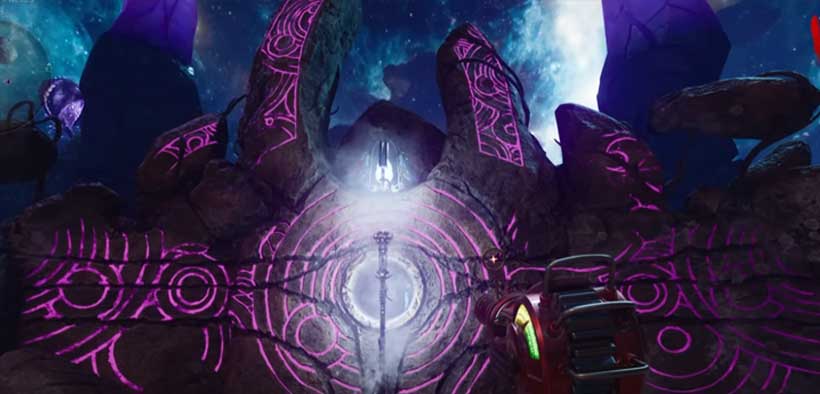
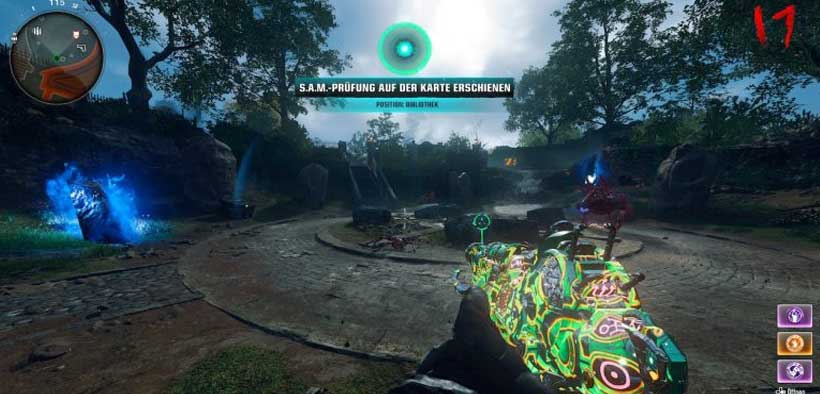
Use your canister at the machine near Speed Cola outside. A wraith will spawn. Get the wraith to hit three small stones at the base of the stone formation with its lightning attack, then loosen them with its sprint attack. Protect the portal in the center from spider zombies until the canister is filled.
Go to the underground near the Armory and use the workbench to get the blue upgrade.
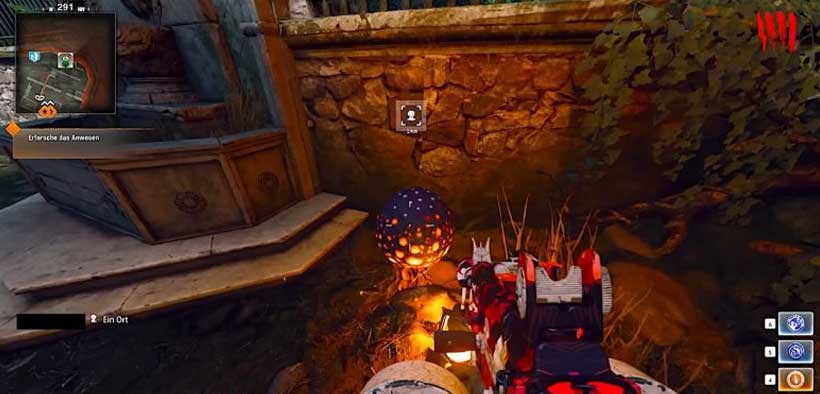
↖ - Enter the Blue Portrait
With the blue upgrade, go to the elevator room, pick up the broken lamp, and place it in the entrance hall with the T-Rex, in the hole in the wall on the right. Memorize the lamp sequence and repeat it to open a secret passage to the basement. Interact with the computer next to the painting and kill zombies with your blue Ray Gun.

The painting becomes a portal. Enter and listen to Malloy. You need: Brain Rot weapon mod
The Bell (near the SWAT 556 wall buy in a display case) Go upstairs to the bar, turn a zombie into an ally with Brain Rot, and he'll prepare the flask. Return to the painting and place the artifact on an eastern pedestal.
A boss fight starts. Destroy the elite enemy's blue shield with your Ray Gun and kill him. Pick up the artifact to finish the first upgrade.
↖ - Complete the Purple Upgrade for the Ray Gun Mark 2
Start by finding the Essence Trap by breaking white Janus crates on the map (random drop). Find two reflectors at two wells:
- Near Quick Revive
- Near Dr. Niete
With all items, go to the underground maintenance tunnel near S.A.M, interact with debris near the armor wall buy to trigger the Essence Trap, and place the reflectors on the mounts in the cave. Use the canister in the machine from the blue upgrade.
Align the light beams to hit three statues in sequence. Shoot or melee the crystal to trigger an impulse, destroying the statue and spawning a miniboss. After all are done, the canister is charged.
Go to Richthofen's bedroom and use the workbench to get the purple Ray Gun Mark 2.
↖ - Enter the Purple Portrait
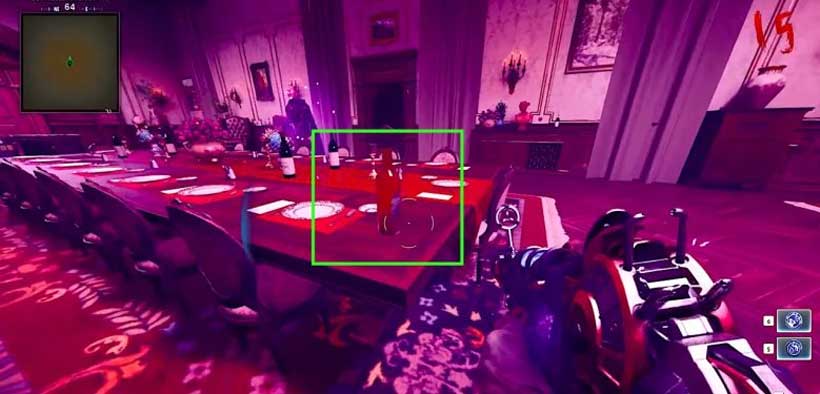
Go to the elevator and interact with the computer next to the large painting on the left. Kill zombies with your new Ray Gun and collect the ritual elixir from the right edge of the big table in the painting.
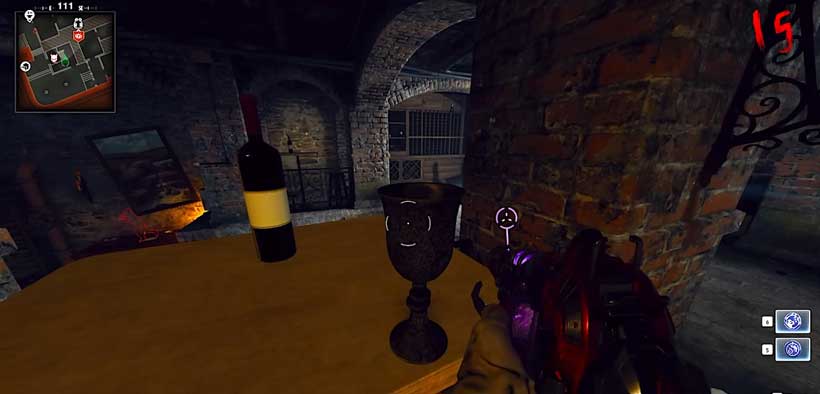
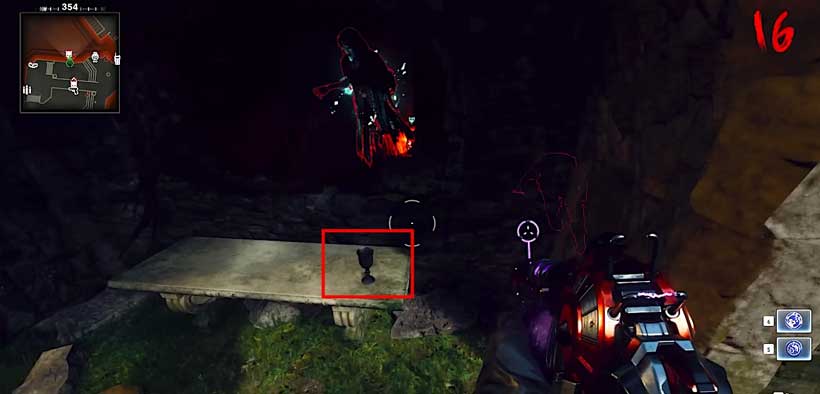
Fill three chalices and defeat their guardians at these locations:
Wine cellar near Double Tap
Spawn, left side of the bridge, on a bench near a zombie spawn
Main foyer, first floor, on a bench near the bar
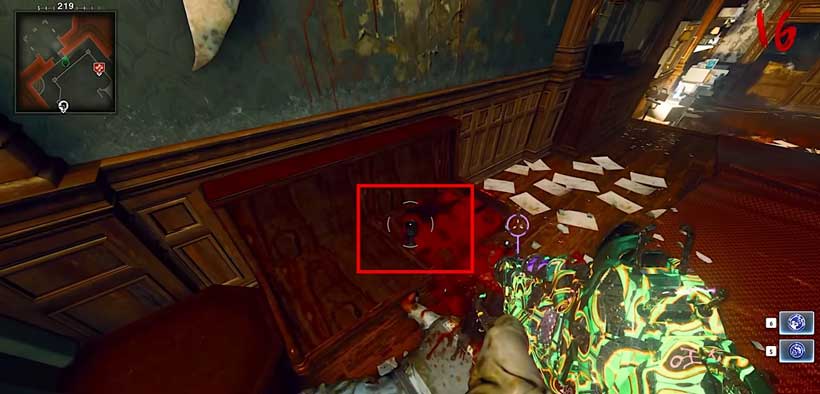
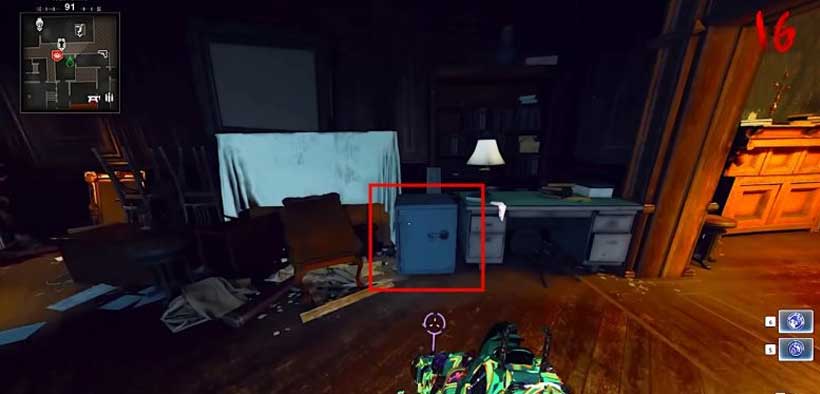
Return to the elevator room, go behind it, and note the three numbers on the adjacent walls (left to right). Go to the room with the Death Perception Perk-a-Cola and enter the numbers into the blue safe to get the antler carving.
Return to the purple painting, place the artifact on the pedestal, defeat the boss, and retrieve the artifact. Now you need the yellow upgrade.
↖ - Complete the Yellow Upgrade for the Ray Gun Mark 2
To get the yellow Ray Gun Mark 2, collect four plant seeds scattered around the map (use Semtex to free them from roots).
Go to the greenhouse area near Quick Revive, head upstairs, and insert your canister.
There are four incubators for your seeds; defend each one from zombies. After all are done, pick up the canister and upgrade your weapon at the last workbench in spawn.
↖ - Enter the Yellow Portrait
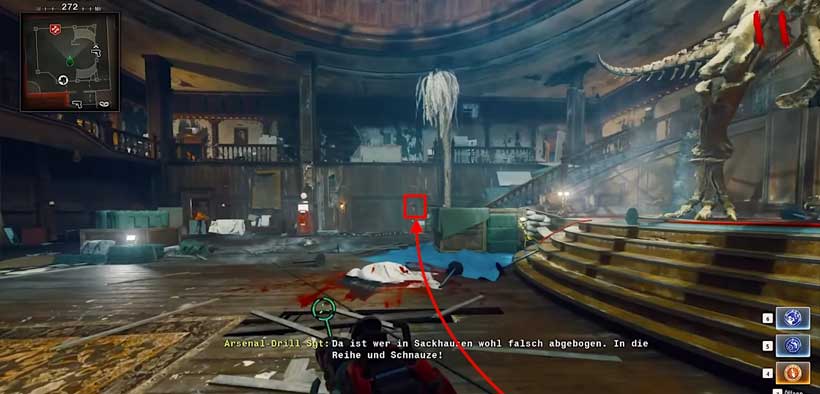
With your new weapon, go to the library and interact with the computer. Kill zombies with the yellow Ray Gun and enter the portrait. Find three items (locations are random, but you need the Aether Shroud to see them):
- Ledger: Random desk in the mansion
- Audio Recording: Random desk with a computer in the mansion
- Nuclear Plant ID Card: Random fireplace in the mansion
After collecting all items, return to the library and interact with the three glowing yellow books in the correct order. This opens a secret room with the Reactor Inspection Report.
Take all items back to the painting and interact with the pedestal to activate the artifact. Defeat the new boss and collect the artifact.
↖ - Defeat the Z-Rex
With all upgrades and paintings completed, return to S.A.M and place the artifact on the pedestal with the machine switch. This starts the final boss fight against the Z-Rex.
The boss is fast and jumps around the map. Use a weapon with lots of ammo. Bring items like the Chopper Gunner and as many Perk-a-Colas as possible.
The Z-Rex occasionally eats toxic zombies, causing its stomach to glow yellow—shoot it then for massive damage. Otherwise, the fight is straightforward: just survive and defeat the Z-Rex. Once done, the Easter Egg is complete.
↖ Rewards for the Shattered Veil Easter Egg
Completing the Easter Egg grants:
- A skin for Carver
- A calling card
- 5000 XP
If you finish the Easter Egg before the Guided Mode launches, you'll get an alternative banner with a golden skull, showing others you were among the first to complete it before it was made easier.
Most Popular Posts
- CoD Black Ops 6 Bot Lobbies Guide: Everything You Need To Know
- COD BO6 Ranked Play: SR Works, Hidden MMR, Matchmaking, and More
- Black Ops 6 Dark Matter Camo Guide: Tips and Best Way To Unlock
- CoD Black Ops 6 Movement Guide: Settings, Techniques, and Strategies
- Call of Duty Black Ops 6 Beginner Guide: Tips, Tricks and Settings
- Top 10 Best PVP and PVE Shooter Games Release in Year 2025
Popular Category Lists
- Grow a Garden / (286)
- ARC Raiders / (262)
- CoD: Black Ops 7 / (166)
- Monopoly Go / (146)
- MLB 26 / (144)
- Star Citizen / (111)
- Steal a Brainrot / (89)
- Sailor Piece / (68)
- ARK Survival Ascended / (66)
- Diablo IV / (61)
- Forza Horizon 6 / (60)
- Blox Fruits / (60)
- CoD: BLACK OPS 6 / (55)
- Adopt Me / (53)
- Path of Exile 2 / (48)
- Monster Hunter Wilds / (46)
- Windrose / (44)
- Path of Exile / (40)
- Grow a Garden 2 / (38)
- Bee Swarm Simulator / (36)