0
Created: Oct 31,2026 | Maplestory Classic
MapleStory Classic World Best Level 30–40 Training & Farming Maps

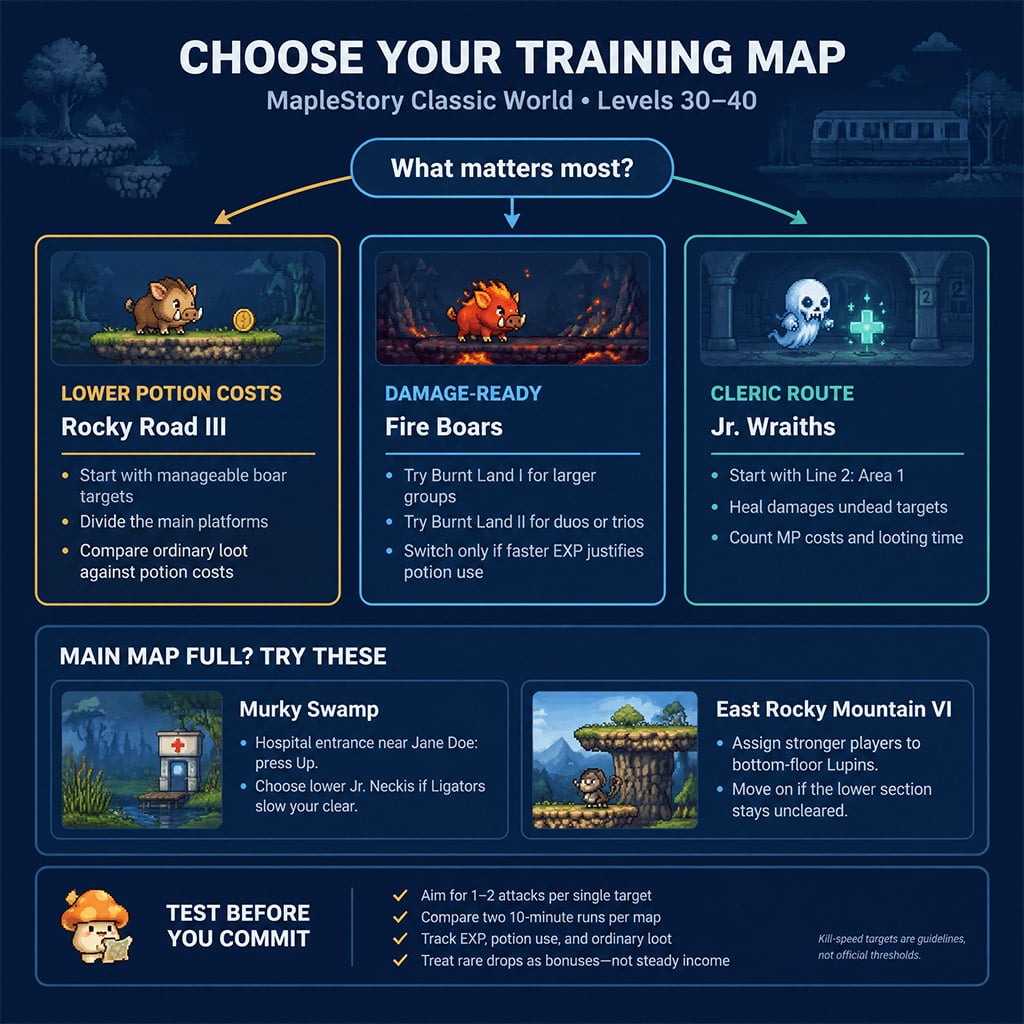
For levels 30–40, we prioritize Fire Boars when your damage is ready, Rocky Road III when potion costs matter, and Jr. Wraiths for Clerics. If those maps are crowded, switch to Murky Swamp or East Rocky Mountain VI rather than spending your grinding time searching channels.
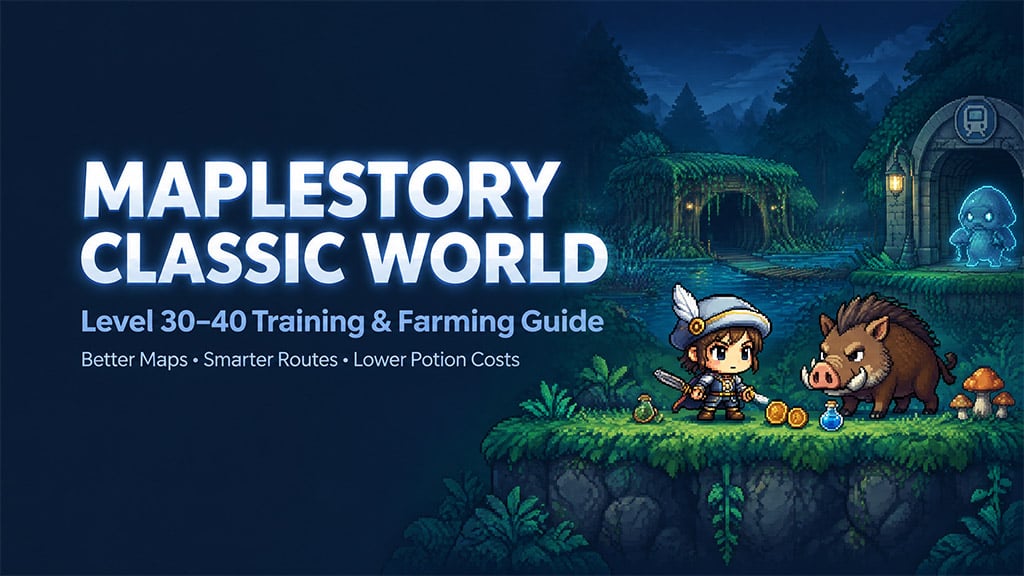
Kill speed beats reputation.
- Choose Your Map by Damage and Party Size
- Test Four Short Sessions Before Committing
- Stop Paying for the Wrong Terrain
- Clerics: Test Heal, Not Just Monster Density
- Judge Profit Without the Jackpot
- Reach Murky Swamp Without Fighting for Damp Forest
- Hospital Entrance and Platform Choice
- Make East Rocky Mountain VI Work as a Party
- Assign Strength Where It Matters
- Approach Excavation Site as a Separate Progression Route
- Check Access Before Planning the Trip
- Count Return Travel Against Tower EXP
- FAQ (Frequently Asked Questions)
- What is the best training map for levels 30–40?
- How do you reach Murky Swamp from Kerning City Hospital?
- When should you move from Wild Boars to Fire Boars?
- How do you tell whether a training map makes mesos?
- Are Excavation Site drops confirmed for Classic World?
Choose Your Map by Damage and Party Size
If your EXP slows while potion use climbs, we check whether you are fighting targets too tough for your current skills. Start with one or two attacks per single target, or roughly three to four attacks per group when your skill hits several monsters.
These are practical screening benchmarks—not official efficiency thresholds.
We use this shortlist to match your damage, class, and available party space.
| Map | Best Fit | Starting Assignment | Reason to Leave |
|---|---|---|---|
| Rocky Road III | Budget-conscious grinding | Divide the main platforms | Another map gives better EXP without excessive costs |
| Burnt Land I | Larger coordinated groups | Assign sections before attacking | Crowding leaves you chasing individual spawns |
| Burnt Land II | Duos or trios | One top; one or two bottom | Your section empties faster than it replenishes |
| Murky Swamp | An alternative to busy Necki maps | Separate lower Neckis from upper Ligators | Misses or tougher targets stall your clear |
| East Rocky Mountain VI | Mixed-strength parties | Stronger members handle bottom-floor Lupins | The bottom section stays uncleared |
| Line 2: Area 1 | Clerics | Divide upper and lower floors | Your current Heal damage is insufficient |
| Line 1: Area 2 | Backup Jr. Wraith training | Divide both floors | Stirges consume too much targeting time |
| Line 2: Area 3 | Later Wraith progression | Start with upper/lower assignments | Wraiths take too many attacks |
Choose the map your party can cover consistently; adding players to an already-empty platform does not improve your clear.
Test Four Short Sessions Before Committing
We test map value with two 10-minute runs per candidate, keeping skills, party size, and looting habits consistent.
1. Note starting EXP, mesos, and potion quantities.
2. Train for 10 minutes.
3. Log EXP gained, consumables used, and ordinary loot.
4. Repeat, then run the same comparison on another map.
5. Compare EXP per minute and meso balance after replacing consumed potions.
Do not include an unsold rare item at its advertised asking price.
An empty alternative can win even with weaker monsters because you spend more of the session attacking. If finding a popular map takes 10 minutes, include that lost time in your comparison.
Stop Paying for the Wrong Terrain
If your character spends more time chasing monsters than damaging them, we change the map before buying equipment. Terrain creates different costs for Clerics, melee characters, and ranged attackers.
We use these priorities to avoid predictable mismatches.
| Playstyle | Preferred Targets | Practical Route | Failure Point |
|---|---|---|---|
| Cleric | Undead groups | Jr. Wraiths in Line 2: Area 1 | Low Heal investment slows clearing |
| Warrior | Grounded groups on compact platforms | Boars; Another Path when accuracy permits | Misses and heavy incoming damage |
| Bandit | Accessible ground targets | Boars or suitable swamp sections | Long travel between kills |
| Ranged attacker | Targets with clear firing space | Boars, Neckis, or manageable flying mobs | Repositioning and failed targeting |
Skip flying-monster routes on melee unless a timed comparison proves they outperform your grounded alternatives.
Clerics: Test Heal, Not Just Monster Density
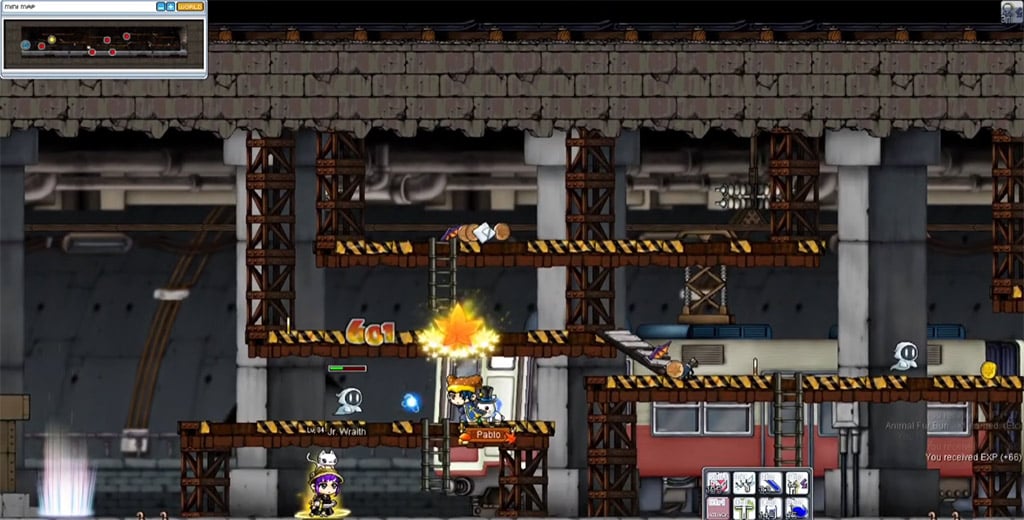
Heal damages undead Jr. Wraiths while restoring health, giving Clerics a reason to test the subway before following everyone to Fire Boars. Line 2: Area 1 avoids the Stirges found in the alternative Line 1: Area 2.
We test one 10-minute run on each subway variant, comparing EXP, MP consumption, and time spent collecting loot.
Healing does not make the route free: count MP potions as well as HP savings.
Judge Profit Without the Jackpot
Wild Boars are worth testing for their ordinary loot; Fire Boars deserve scrutiny when contact damage increases potion use. Historical loot lists also identify Wooden Tops from Dark Axe Stumps, Mokbis from Jr. Wraiths, and a possible Glass Shoe from Fire Boars.
Treat those rare items as bonuses until their availability is established for your version.
Budget from ordinary drops.
Reach Murky Swamp Without Fighting for Damp Forest
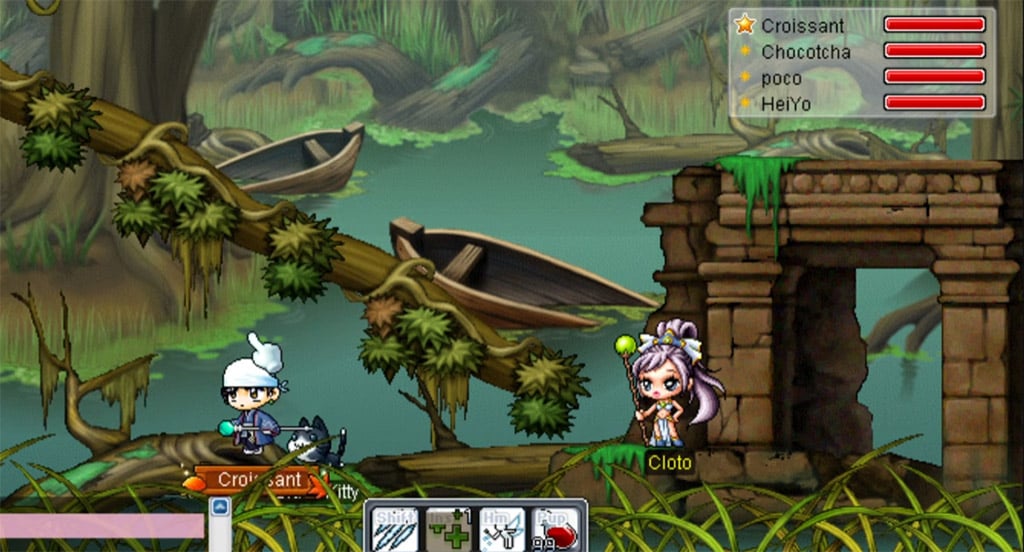
If Damp Forest has no usable space, we check the hidden hospital entrance in Kerning City. The useful distinction is not simply another map—it is the ability to choose between easier lower-floor targets and tougher upper-floor monsters.
Hospital Entrance and Platform Choice
1. Enter Kerning City Hospital.
2. Move beside Jane Doe, near the vent-like feature.
3. Press Up at the hidden entrance.
4. Check the swamp maps available in your version.
5. Choose lower-floor Jr. Neckis if upper-floor Ligators slow your clear.
Ligators are level 31, but your damage and accuracy determine whether they are suitable. A lower-level character can use the Necki section without needing to clear every monster in the map.
We test a new Necki section with 20 attacks before settling in; repeated misses are a reason to move, not proof you immediately need expensive accuracy gear.
Make East Rocky Mountain VI Work as a Party
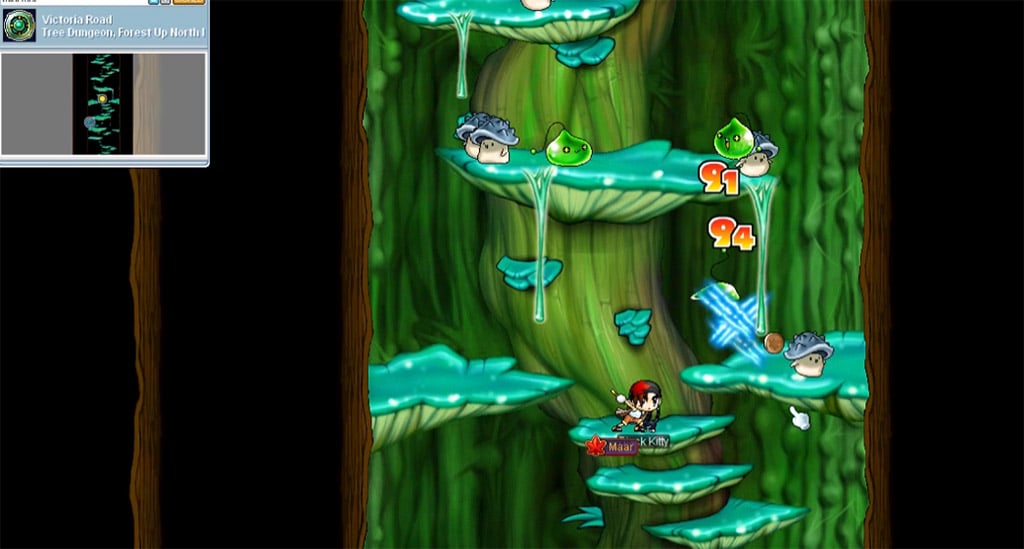
If Burnt Land is full, we consider East Rocky Mountain VI only when someone can handle its bottom-floor Lupins. An easy upper section is not enough if the party leaves another section packed with uncleared monsters.
Assign Strength Where It Matters
- Put stronger members on the bottom floor.
- Give weaker members the upper section.
- Check whether Lupin clearing keeps pace with the rest of the map.
- Rearrange or leave if the bottom assignment becomes a potion drain.
Lupins' ranged attacks make a slow clear costly. The result we want is balanced coverage—not every player choosing the easiest platform.
Approach Excavation Site as a Separate Progression Route
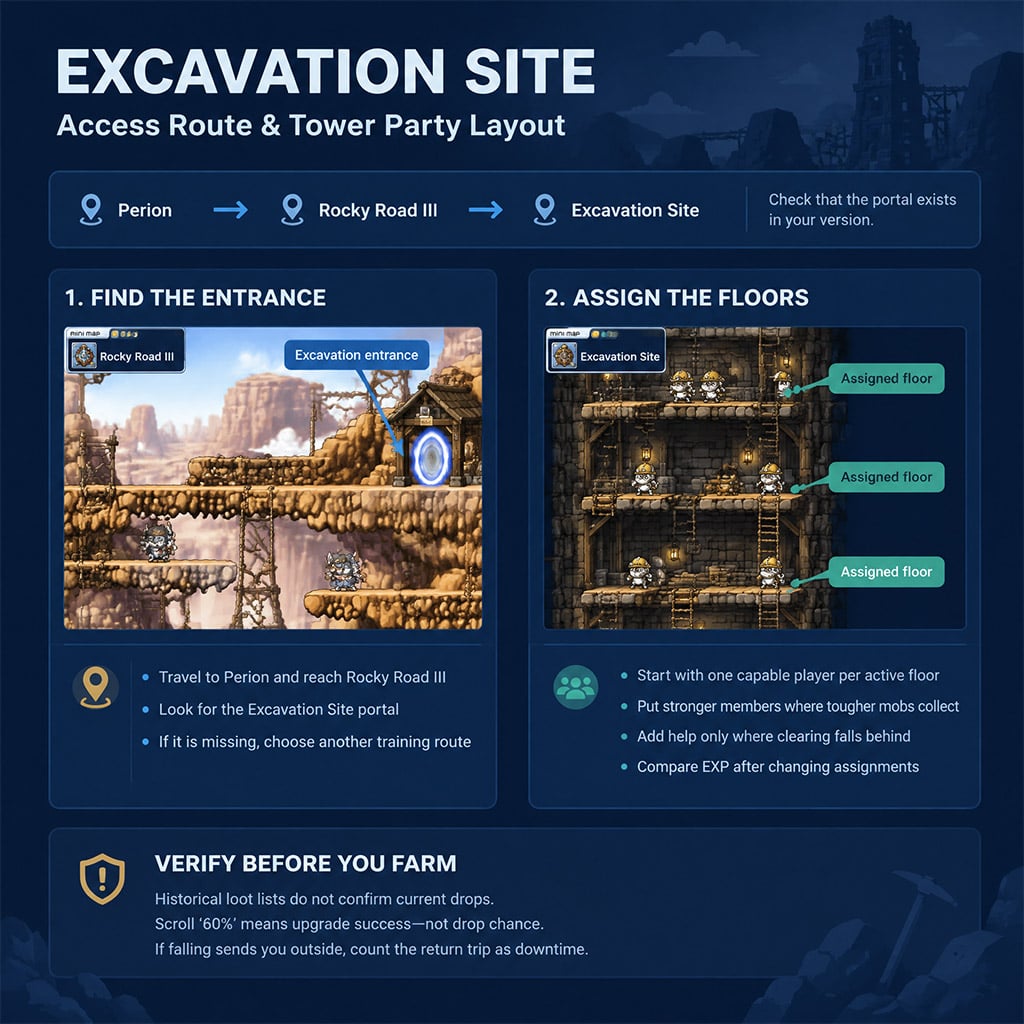
If you are still level 30–40, we do not treat the deeper Excavation monsters as an automatic upgrade. Early masks and later skeletons serve different damage ranges, and historical loot tables do not establish current farming profit.
Check Access Before Planning the Trip
Travel to Perion → Rocky Road III, then look for the Excavation Site portal. If it is absent in your version, use the established boar, swamp, or subway routes instead.
The following targets come from historical OSM loot data, not a confirmed current Classic World drop table.
| Monster | Level Information | Historical Targets |
|---|---|---|
| Ghost Stump | 19 | Overall DEX 60%, Pet Speed 60% |
| Rocky Mask | 24 | Earring INT 60%, Spear ATT 60% |
| Skelly Dog | Conflicting values: 44 or 47 | Blue-lined Kismet, Sai, Titan |
| Officer Skeleton | 63 | Blood Gigantic, Serpent's Coil |
Do not spend a long session hunting Blood Gigantic until its availability is confirmed for your version.
Count Return Travel Against Tower EXP
If you enter a tower camp, start with one capable player per active floor, then add help only where monsters accumulate. A tall map can work for a stationary party even when it is awkward to clear alone.
Where falling sends you outside, include the return trip in your session time.
Also, 60% on a scroll means its upgrade success rate—not its monster drop chance.
FAQ (Frequently Asked Questions)
What is the best training map for levels 30–40?
We start with Fire Boars for efficient damage, Rocky Road III for budget farming, or Jr. Wraiths for Clerics. Choose the available route that produces the best timed EXP without unsustainable potion costs.
How do you reach Murky Swamp from Kerning City Hospital?
Enter the hospital, stand near Jane Doe beside the vent-like entrance, and press Up. We recommend lower-floor Jr. Neckis if Ligators take too long to kill.
When should you move from Wild Boars to Fire Boars?
We test Fire Boars when you can kill them in roughly two single-target attacks without persistent misses. If the EXP increase does not justify the extra potion use, stay with Wild Boars until your next meaningful damage upgrade.
How do you tell whether a training map makes mesos?
Compare your meso balance after replacing consumed potions and selling ordinary loot. We keep rare drops separate so one lucky item does not disguise a consistently expensive route.
Are Excavation Site drops confirmed for Classic World?
The historical loot list here does not confirm current Classic World drops. We verify item availability before targeting a specific monster, and a scroll's 60% label is its upgrade success rate, not its drop rate.


I’m Kwame Asante, a Ghanaian Staff Writer at GGWTB covering anime combat, fighting games, and adventure progression. My guides connect combos and ability choices with the grind behind them: which upgrades open up your build, and which can wait. A rare unlock is exciting—but it needs to earn its place in your lineup.

Most Popular Posts
- MapleStory Classic World CBT2: The No-BS Guide to 3rd Job, Orbis, and Class Reworks
- MapleStory Classic World Early Best Maps, PQ, and Party Spot): The No-BS 1-30 Leveling Guide
- MapleStory Classic Early Leveling Guide: Best Maps, Fastest Route, Real Player Tips
- MapleStory Classic Mage Guide: 1st & 2nd Job Builds, AP & Routes
- MapleStory Classic World Release Date Guide: Launch Date, Founder Access
- MapleStory Classic World Priest Guide: Skills, Nerfs and Holy Arrow build
Popular Category Lists
- ARC Raiders / (362)
- Grow a Garden / (296)
- CoD: Black Ops 7 / (167)
- Star Citizen / (164)
- MLB 26 / (159)
- Monopoly Go / (153)
- ARK Survival Ascended / (129)
- Steal a Brainrot / (99)
- Blox Fruits / (74)
- Adopt Me / (74)
- Forza Horizon 6 / (72)
- Sailor Piece / (68)
- Grow a Garden 2 / (68)
- Diablo IV / (62)
- Aion 2 / (58)
- CoD: BLACK OPS 6 / (55)
- Path of Exile 2 / (48)
- COD: Modern Warfare 4 / (47)
- Monster Hunter Wilds / (46)
- Maplestory Classic / (45)