0
Created: Nov 3,2026 | Maplestory Classic
MapleStory Classic Training and Meso Guide: Levels 25–65+

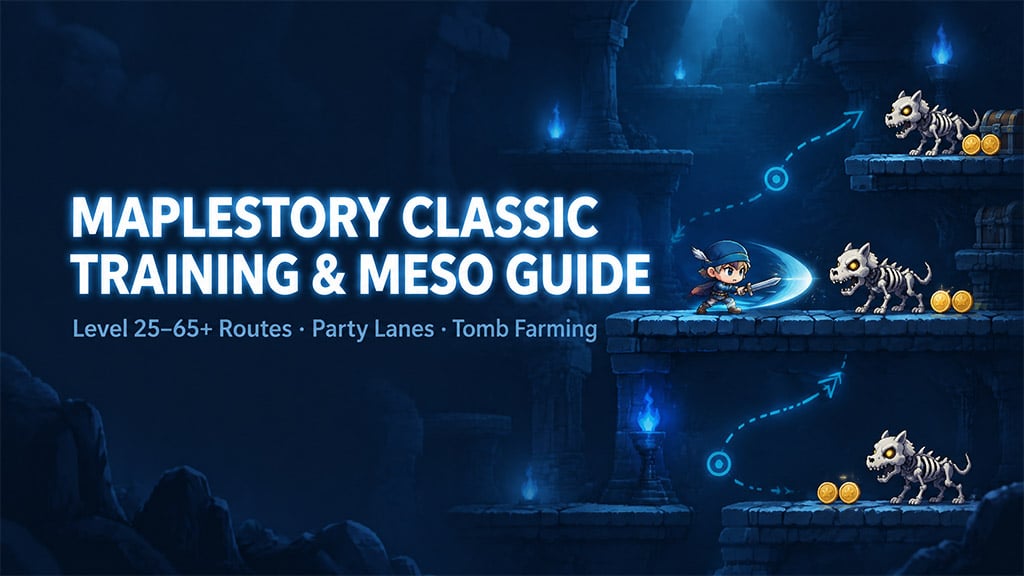
Train on an open map you can clear consistently, not a crowded map with a better theoretical EXP rate. This route covers alternatives from level 25 to 65+, party assignments, and a practical way to compare Tomb farming profits.
- Choose a Map That Pays for Your Time
- Levels 25–45: Find Open Lanes
- Levels 25–35
- Levels 35–45
- Levels 45–65+: Control Coverage and Costs
- Levels 45–55
- Levels 55–65+
- Tomb 1 vs. Tomb 2 vs. Tomb 3
- Set the party route and loot rules
- FAQ (Frequently Asked Questions)
- Where should I train at level 25 if Ant Tunnel 1 is full?
- When can I start training in Tomb 1?
- When should I move from Tomb 1 to Tomb 3?
- How do I stop losing mesos at Cold Eyes or Monkey Forest 2?
- Should I count scrolls and rare weapons as Tomb farming income?
If you spend 15 minutes searching for a channel, the contested map must deliver 33% more EXP per active hour during the remaining 45 minutes to match an alternative you could start immediately. That assumes a one-hour session and equal travel time.
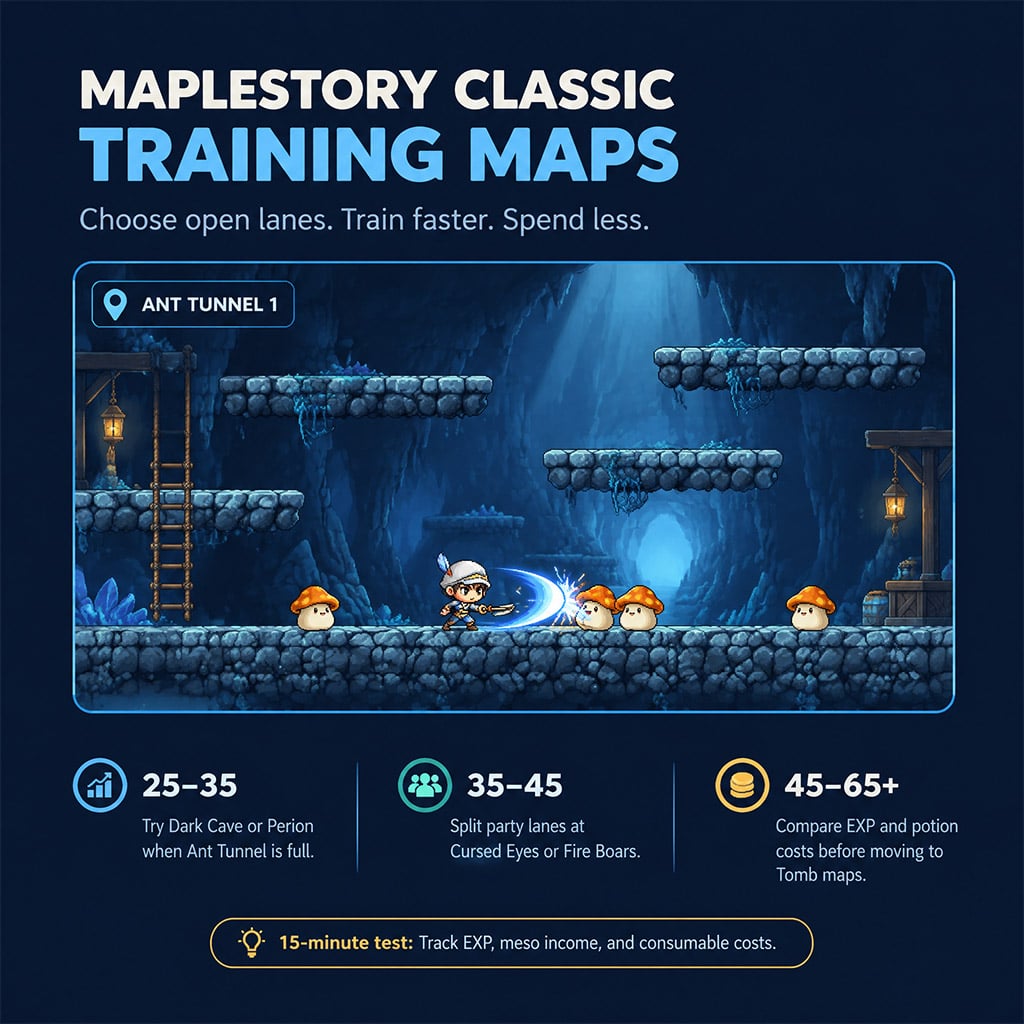
Choose a Map That Pays for Your Time
A high-level monster is not an upgrade if you miss often, need too many attacks, or spend half your session climbing. Compare maps with the same character, party size, and session length.
1. Count your attacks and misses. Three hits per monster is a useful target, not a universal rule. Multi-target skills, spawn density, and party EXP can make a slower kill worthwhile.
2. Check your route. Test whether ledges block projectiles or force melee characters to chase flying monsters. Pick a platform you can clear without constant repositioning.
3. Run a 15-minute audit. Record EXP gained, mesos picked up, NPC sale value, and consumables used. Repeat on your fallback map, then compare the results.
For a baseline profit estimate, use:
Net mesos = mesos picked up + NPC sale value − potion costs − ammunition and recharge costs.
Do not count rare scrolls or equipment at player-market prices in that baseline. Those drops are bonuses, and their sale value depends on demand.

Levels 25–45: Find Open Lanes
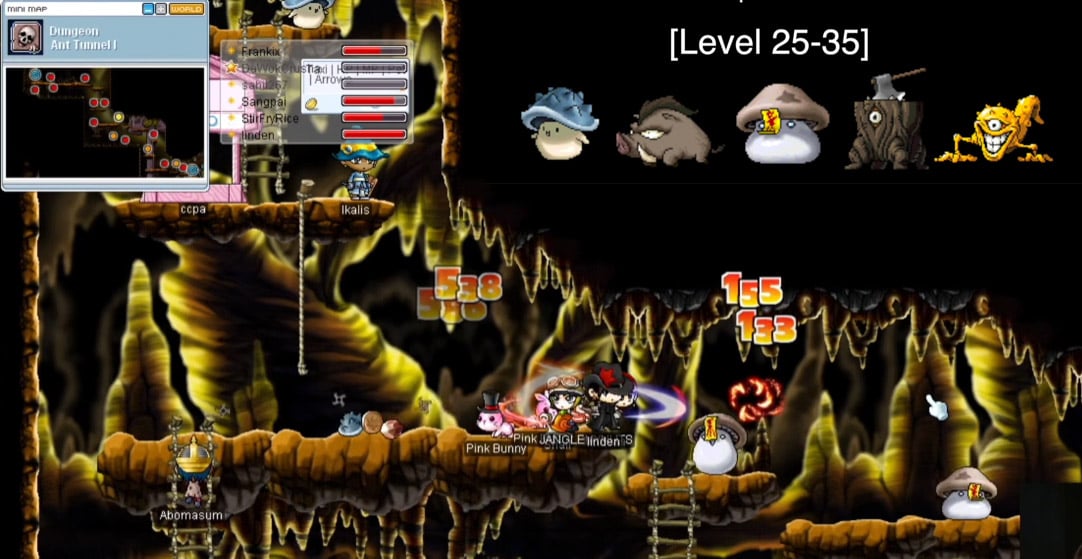
Levels 25–35
Ant Tunnel 1 is convenient when you have a lane. When it is contested, leave rather than spending your training window changing channels.
These are the first alternatives to check.
| Map | Best fit | Reason to move | Watch for |
|---|---|---|---|
| Dark Cave | Ranged solo | Ledges give ranged characters room to attack | Flying Sturges can waste melee uptime |
| Ant Tunnel Park | Solo or small party | Mushroom alternative with nearby shop access | Restocking and travel still cost time |
| Ant Tunnel 1 or 4 | Melee or multi-target | Dense mushroom platforms | Competition can erase the advantage |
| Evil Eye maps 1–3 | Characters with adequate damage | Alternative when mushroom maps are busy | Contact damage in tight spaces |
| Perion stump maps | Melee solo | Grounded targets and straightforward movement | Compare EXP against a faster open map |
| Hidden Wild Boar map | Solo farming | A quieter place to collect leather | Travel time and scattered monsters |
Pick Perion over Dark Cave if flying targets keep pulling your melee character off rotation.
For Assassins, carry spare throwing stars before a long trip. Check the local recharge price yourself rather than assuming every shop charges the same amount.
Levels 35–45
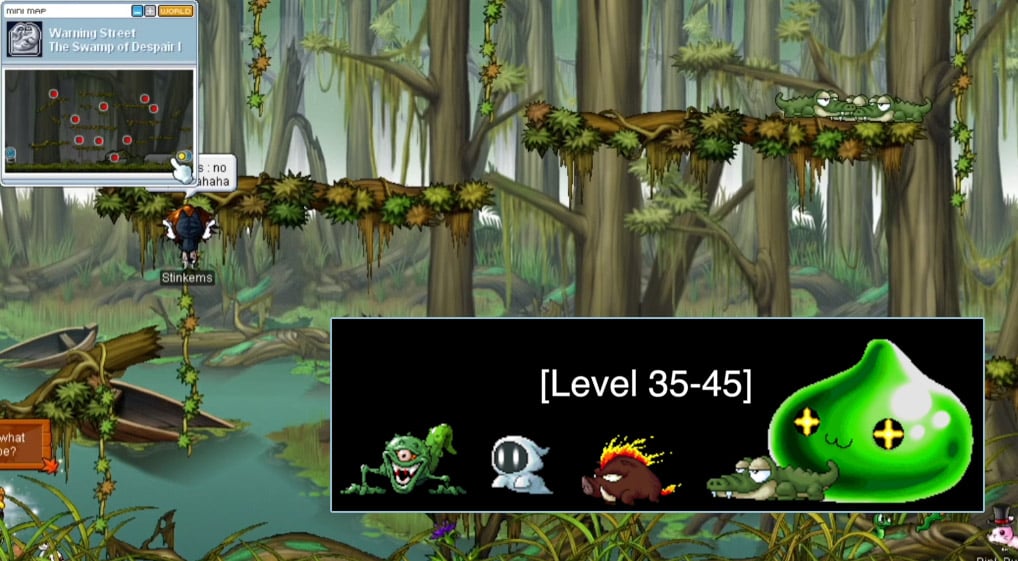
The common mistake here is moving up before your damage and accuracy are ready. A stable party lane on weaker monsters can beat a higher-level map that drains your potions.
Use this shortlist to match the map to your party.
| Map or activity | Setup | Reason to try it | Watch for |
|---|---|---|---|
| Cursed Eye tree maps | Small party | Assign one platform or zone per player | Slopes and trunks can obstruct projectiles |
| Smoky Mountain 6 | Party | Split Fire Boar platforms between players | Pack supplies for the trip and watch lower platforms |
| Burnt Land 1 | Solo or duo | Concentrated Fire Boar training | Leave if competition disrupts your rotation |
| Swamp of Despair | Solo melee or mage | Ligator-area alternative | Check whether your damage justifies the move |
| Monkey Swamp | Solo or small party | Alternative when main maps are full | Ranged monster attacks increase healing costs |
| Kerning Party Quest | Four-player party | Quest EXP and rewards | Check current level eligibility, rewards, and queue time |
Take an open Cursed Eye lane over a contested Burnt Land channel when your timed EXP is higher.
At Cursed Eyes, offer to clear an unclaimed lower section while the party settles its assignments. Ranged players should test their shots on the flattest available branches; a good-looking lane is useless if the terrain blocks attacks.
Levels 45–65+: Control Coverage and Costs
Levels 45–55
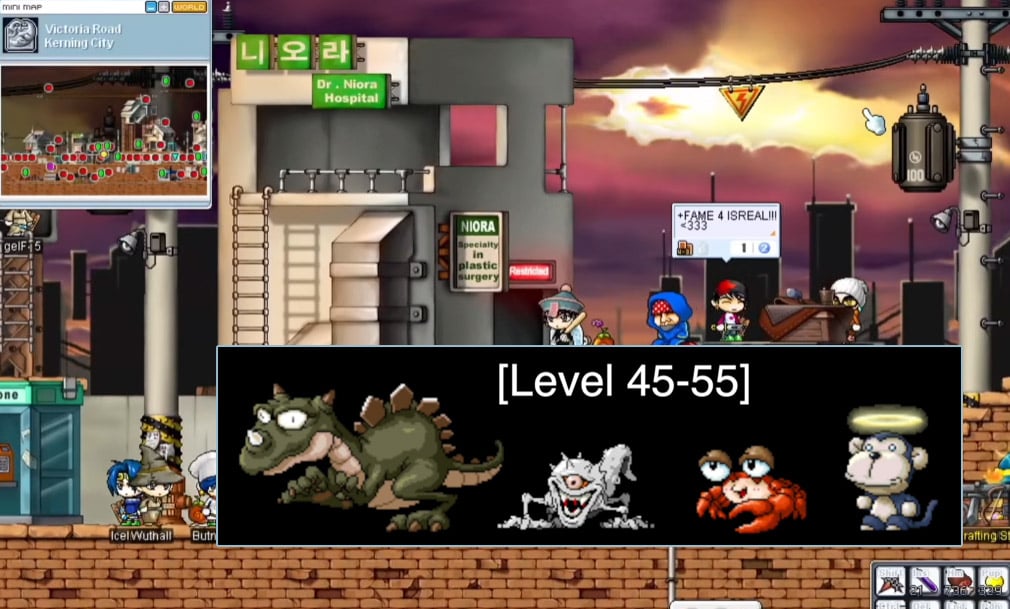
Wider maps reward coordination but punish long walks between monsters and loot. Start with a defined route, then move if a lane stays uncleared or potion spending outpaces income.
These maps cover the transition into tougher party training.
| Map | Best fit | Reason to try it | Watch for |
|---|---|---|---|
| Florina Beach | Ranged solo | Laurangs offer a change from crowded dungeon maps | Wide spacing can slow looting |
| Monkey Forest 2 | Coordinated party | Multiple players can cover a large area | A slow lane leaves part of the map uncleared |
| Monkey Swamp 2 or 3 | Solo or small party | Alternative Zombie Lupin routes | Uneven platforms demand movement |
| Mixed Cursed/Cold Eye maps | Party | Transitional target mix | Flat platforms may already be occupied |
| Another Path | Well-equipped solo or duo | Cold Eye-focused training | Hazards and contact damage increase potion use |
| Dangerous Valley | Ice/Lightning mage | A route to test against drakes | Competition and travel affect actual EXP |
| Tomb 1 | Small party | Skeledogs and party farming | Misses and contact damage can make an early move costly |
Test Another Path before committing; a rare drop does not repair a consistently negative meso balance.
At Monkey Forest 2, swap assignments if one player cannot keep up. If the party still spends too much time crossing the map, try a smaller route.
For Another Path, compare all routine income against all routine costs over 15 minutes. Covering 80% of your potion bill alone is not break-even once ammunition and other costs are included.
Levels 55–65+
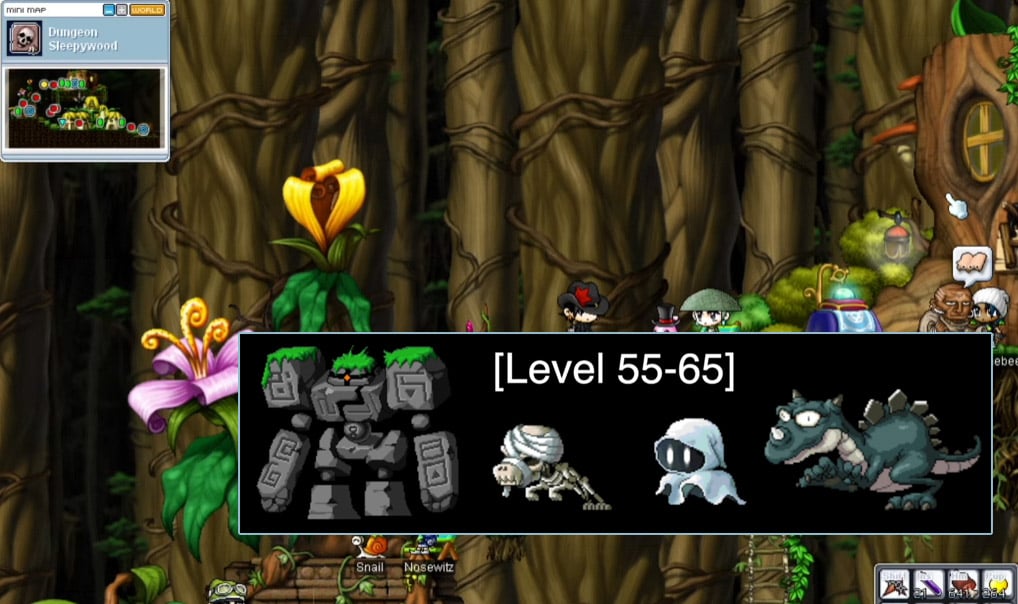
At this stage, map coverage matters as much as damage. A strong solo character may still lose time on a large map; a party can cover more ground, but only if everyone knows their area.
Compare these routes with a timed session.
| Map | Best fit | Reason to try it | Watch for |
|---|---|---|---|
| Drake Hunting Ground | Melee party | Divide the map into reachable zones | Check edges as well as central platforms |
| Sleepy Dungeon 3 or 4 | Party | Golem-area training | Competition and contact damage |
| Golem's Temple maps | Party or strong solo | Concentrated golem routes | Slow kills can drive up healing costs |
| Tomb 1–3 | Small party | Compare EXP and routine meso income | Deeper targets may strain accuracy and damage |
| Dangerous Valley 2 | Ice/Lightning mage | Red Drake route to benchmark | Crowded channels and inconsistent rare drops |
| Wraith subway maps | Cleric or ranged | Flat sections suited to repeated attacks | Check kill speed before committing |
| Camp maps | Coordinated party | Possible route beyond level 65 | Scout monsters and platform coverage first |
Do not assume a four-player party is faster: compare your personal EXP after party sharing and downtime.
At Drake Hunting Ground, give each player a zone and agree who checks the edges. If two players repeatedly clear the same area, redistribute the route instead of adding another party member.
Tomb 1 vs. Tomb 2 vs. Tomb 3
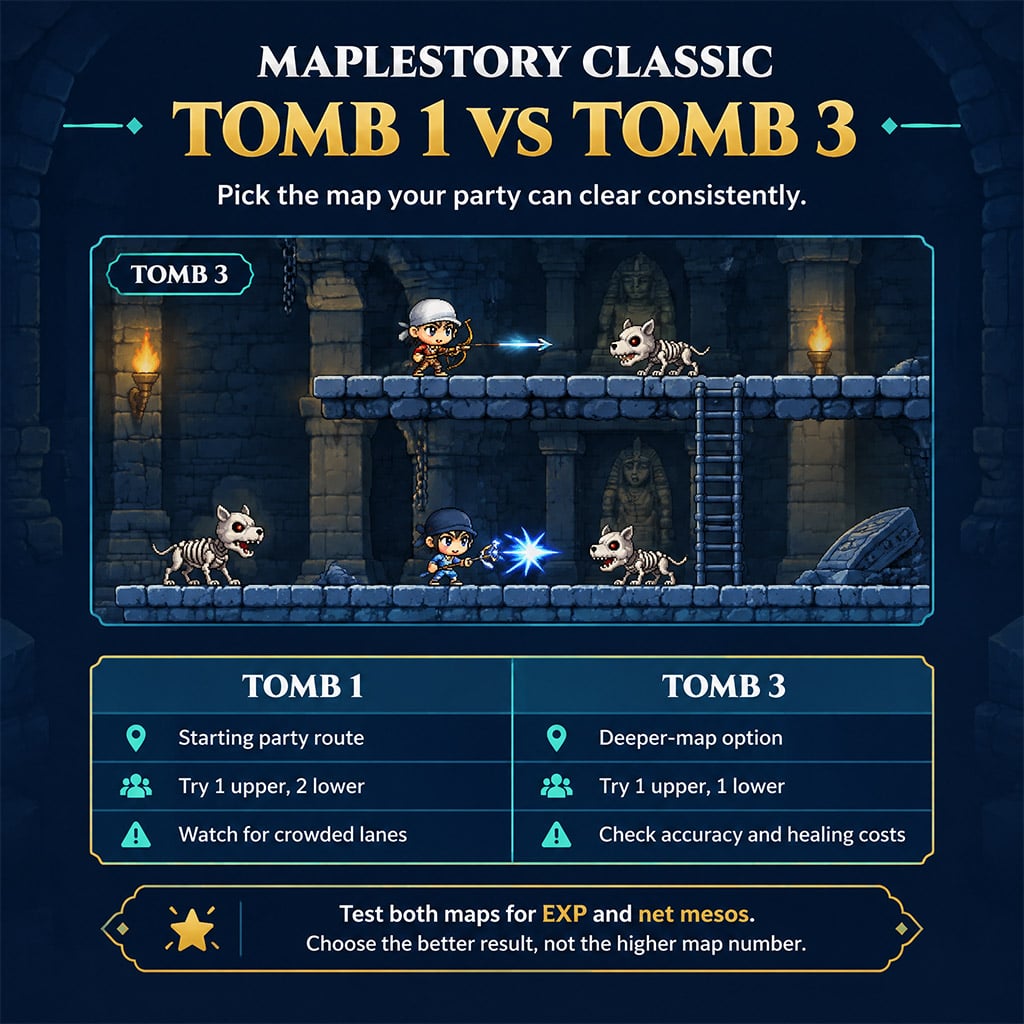
Tomb farming works best when your party can hit consistently, cover its assigned areas, and afford the healing bill. Start with the map you can clear comfortably, then test deeper rooms rather than treating the map number as an automatic upgrade.
The NiaDB MapleStory Classic database provides map, monster, item, and market information to check before a trip. Its listings can also help you inspect equipment before selling it to an NPC.
Use these party layouts as starting points, not fixed rules.
| Map | Starting setup | Reason to choose it | Move on when |
|---|---|---|---|
| Tomb 1 | Three players: one upper, two lower; or left/middle/right | Entry route for a party learning the area | Competition or shared lanes reduce your rate |
| Tomb 2 | Two or three players | Alternative worth checking when Tomb 1 is busy | Ledges and movement slow your rotation |
| Tomb 3 | Two players: one upper, one lower | A deeper-map option for stronger parties | Misses, slow kills, or healing costs outweigh the gains |
Choose Tomb 2 over a contested Tomb 1 if its open lanes produce better EXP and net mesos in your own test.
The Classic Maple Wiki lists Skeledog at level 44. Treat that as a starting point for your accuracy check, not a promise that every level 44 character will hit reliably.
Set the party route and loot rules
In Tomb 1, try one player on top and two below. If three melee characters struggle to share horizontal platforms, divide the map into left, middle, and right zones instead.
In Tomb 3, test an upper/lower split. If either player falls behind, change assignments or return to a map where both can clear consistently.
Agree on scroll and equipment ownership before starting: free-for-all, round-robin, or another split the whole party accepts. Count your own EXP and mesos over at least 15 minutes; a short burst is not a reliable hourly benchmark.
FAQ (Frequently Asked Questions)
Where should I train at level 25 if Ant Tunnel 1 is full?
Try Dark Cave as a ranged character or Ant Tunnel Park for another mushroom route. Melee characters who lose time chasing Sturges should test the Perion stump maps instead.
When can I start training in Tomb 1?
Start testing Tomb 1 around the mid-40s if you can hit its monsters consistently and survive the contact damage. Join a small party and compare your EXP and potion costs against your previous map before committing.
When should I move from Tomb 1 to Tomb 3?
Move to Tomb 3 when your party clears its targets reliably and earns better personal EXP or net mesos there. If misses or healing costs wipe out the improvement, return to Tomb 1 or test Tomb 2.
How do I stop losing mesos at Cold Eyes or Monkey Forest 2?
Track mesos picked up plus NPC sales minus potions and ammunition over a timed session. At Monkey Forest 2, fix slow party lanes; at Another Path, leave if hazard damage keeps the route unprofitable.
Should I count scrolls and rare weapons as Tomb farming income?
No—exclude rare drops from your baseline profit calculation. Treat a valuable scroll or weapon as a bonus, and check its current market value before deciding whether to sell it.

I’m Emily Zhang, an American Research Writer at GGWTB covering Korean MMORPGs and games based on classic franchises. My guides focus on class choices, leveling routes, and long-term character progression. I look at what a class needs beyond its starter skills—and which upgrades are worth your materials before the next gear tier arrives.

Most Popular Posts
- MapleStory Classic World CBT2: The No-BS Guide to 3rd Job, Orbis, and Class Reworks
- MapleStory Classic World Early Best Maps, PQ, and Party Spot): The No-BS 1-30 Leveling Guide
- MapleStory Classic Mage Guide: 1st & 2nd Job Builds, AP & Routes
- MapleStory Classic World Release Date Guide: Launch Date, Founder Access
- MapleStory Classic World Priest Guide: Skills, Nerfs and Holy Arrow build
- MapleStory Classic Meso Guide: Farm, Save, and Merch for Fast Profit
Popular Category Lists
- ARC Raiders / (363)
- Grow a Garden / (297)
- CoD: Black Ops 7 / (167)
- Star Citizen / (166)
- MLB 26 / (159)
- Monopoly Go / (153)
- ARK Survival Ascended / (130)
- Steal a Brainrot / (99)
- Blox Fruits / (74)
- Adopt Me / (74)
- Forza Horizon 6 / (72)
- Sailor Piece / (68)
- Grow a Garden 2 / (68)
- Diablo IV / (62)
- Aion 2 / (59)
- CoD: BLACK OPS 6 / (55)
- COD: Modern Warfare 4 / (50)
- Path of Exile 2 / (48)
- Maplestory Classic / (48)
- Monster Hunter Wilds / (46)