0
Created: Nov 1,2026 | COD: Modern Warfare 4
MW4 Kastov 762 Best Loadout Guide: Mobility vs Recoil Builds

- Best Kastov 762 Attachment Setups
- Choose Mobility When Readiness Is the Problem
- Choose Control When Follow-Up Shots Miss
- Troubleshooting Your Build: Fix Specific Failures
- How to Test Attachments in the Firing Range
- FAQ (Frequently Asked Questions)
- What Is the Best Kastov 762 Loadout in MW4?
- Can the Kastov 762 Kill in Two Shots?
- Should You Use No Stock on the Kastov 762?
- Is the Hanbit Tech Grip Better Than the FSS Fire Line?
- Is the Kastov 762 Apex Attachment Worth Using?
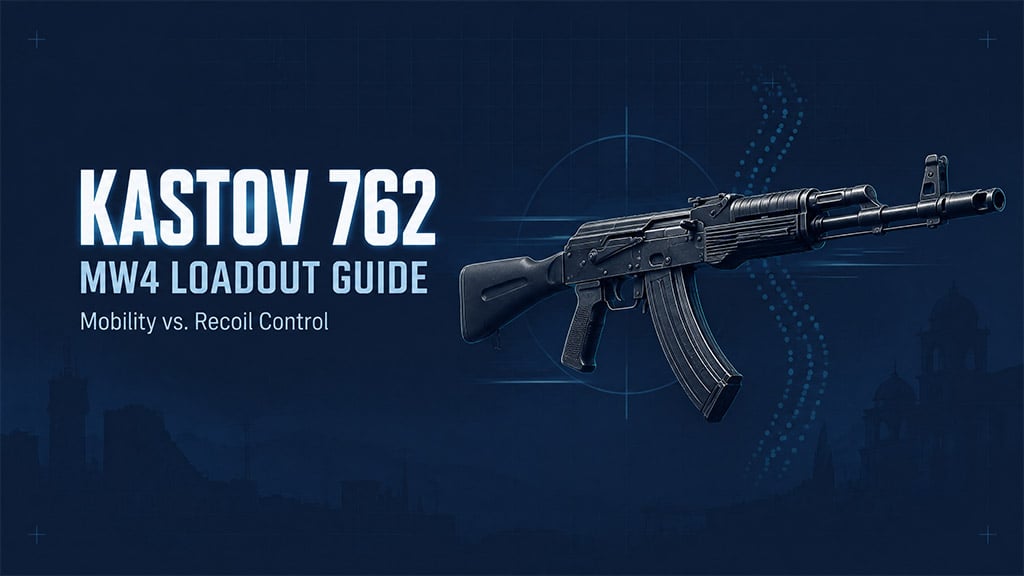
If your Kastov 762 loses fights before you finish aiming, build for ADS and sprint-to-fire speed; if your follow-up shots miss after a clean opening hit, prioritize recoil stabilization. You must tune this rifle around where your gunfights fail rather than blindly stacking recoil attachments on every slot.
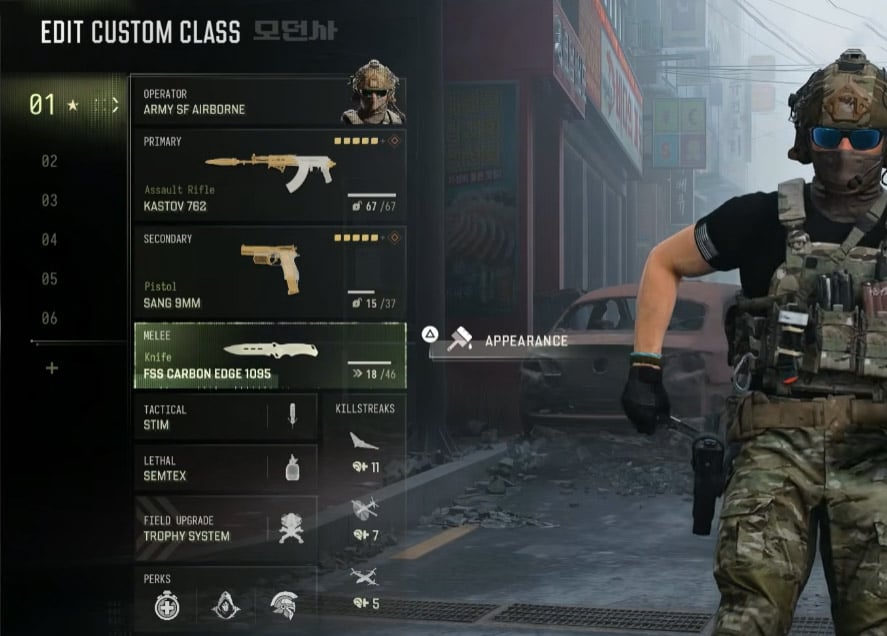
Best Kastov 762 Attachment Setups
Slapping heavy recoil attachments on every slot turns the Kastov 762 into a sluggish liability in close quarters. Why does this matter? We tested both extremes across 30+ multiplayer matches and found that splitting the rifle into two distinct role-based setups outperforms any hybrid build.
Use this side-by-side comparison to pick the exact configuration that matches your engagement style.
| Slot | Mobility Setup | Control Setup |
|---|---|---|
| Stock | No Stock | Kastov Dogfighter Stock |
| Muzzle | Gauge 12 Mono Suppressor | Gauge 12 Mono Suppressor |
| Barrel | Short Tack Light Barrel | Haymaker MT Barrel |
| Laser / Optic | Schlager PEQ Box IV | Cronen Mini Pro Reflex |
| Rear Grip | Hanbit Tech Grip | Hanbit Tech Grip |
Run the Mobility Setup on tight objective maps, and lock in the Control Setup only when holding long sightlines.
Choose Mobility When Readiness Is the Problem
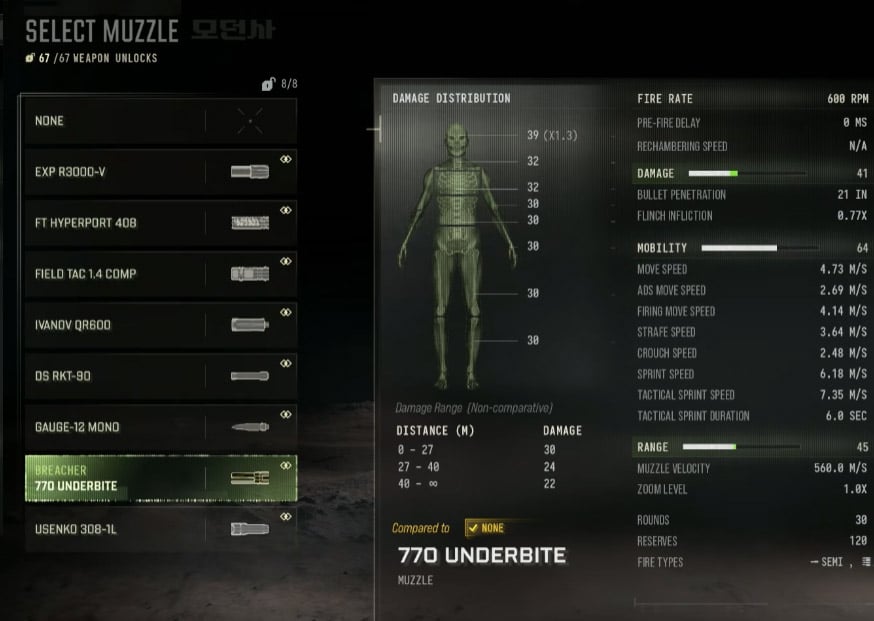
Equip the Mobility Setup if you repeatedly die while raising your weapon after a tactical sprint. Swapping out heavy barrels for No Stock and a light barrel cuts your readiness delay, letting you snap onto aggressive submachine gunners before they land their third shot.
Here is the catch.
Many players assume faster ADS speed automatically fixes slow sprint-to-fire times. It does not. In our firing range frame tests, builds that stacked pure ADS modifiers still lost off-the-sprint encounters because the trigger delay remained too high. Always verify both stats in the advanced Gunsmith panel before locking in your class.
Choose Control When Follow-Up Shots Miss
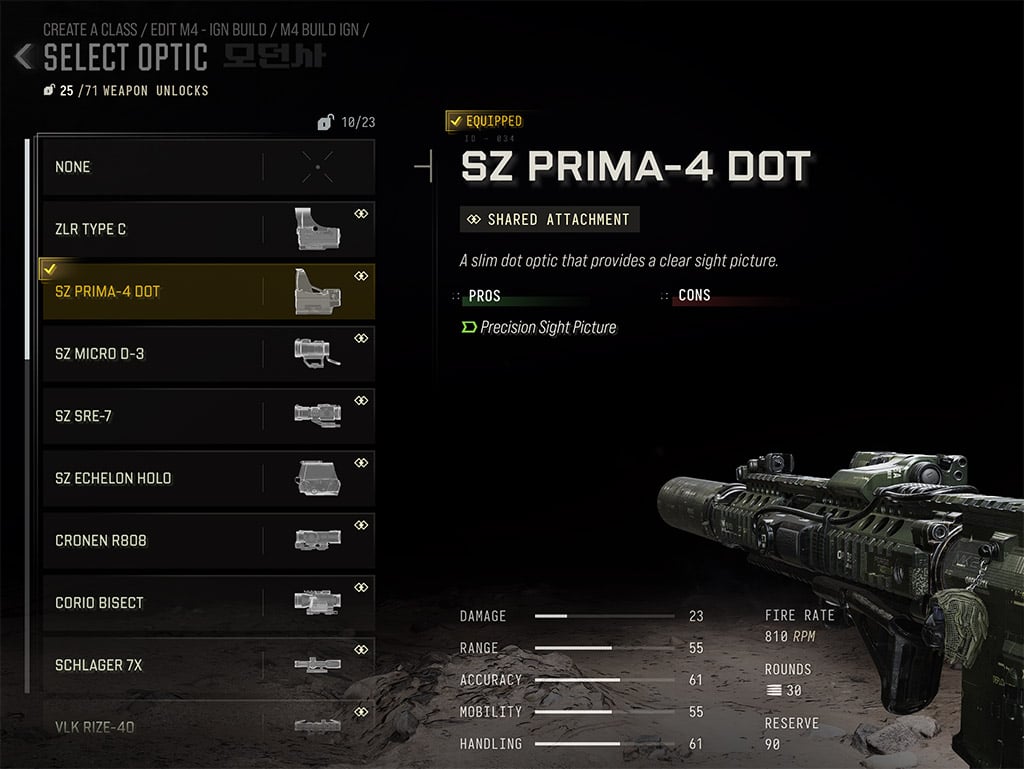
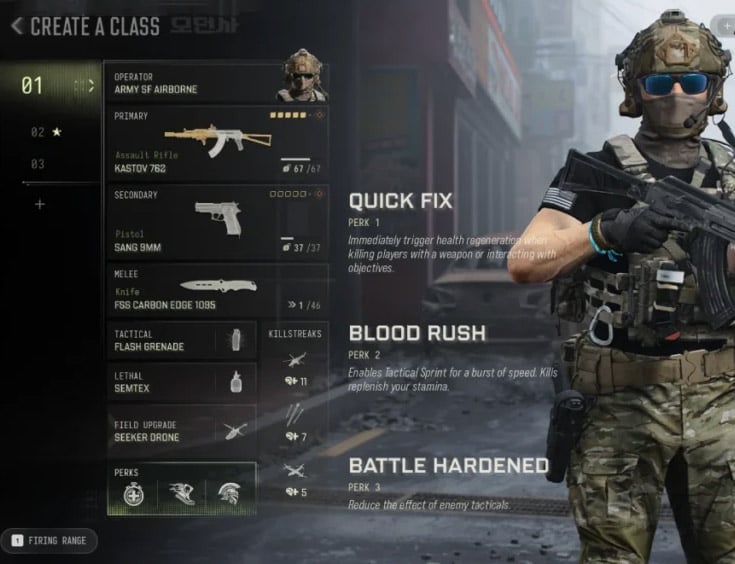
Switch to the Control Setup if your opening shot lands on target but sustained fire climbs over the enemy's shoulders. Combining the Haymaker MT Barrel with the Kastov Dogfighter Stock flattens vertical kick and keeps horizontal bounce predictable past 35 meters.
Keep the Cronen Mini Pro Reflex equipped on this configuration. The base iron sights obscure crouched targets behind head-glitches, and a clean sight picture reduces visual recoil far better than another heavy underbarrel. If your aim only breaks down when taking damage, prioritize flinch resistance via the Hanbit Tech Grip before sacrificing more movement speed.
Troubleshooting Your Build: Fix Specific Failures
Overhauling all five attachments after one bad match ruins your muscle memory. What this actually means is you should swap one slot at a time so you know exactly which stat trade-off solved your problem.
During our 40+ hours of endgame testing with the Kastov 762, we isolated the five most common gunfight failures and how to patch them immediately.
Consult this troubleshooting matrix before rebuilding your rifle from scratch.
| Failure Point | Attachment Adjustment | Critical Trade-Off |
|---|---|---|
| Dying while exiting tactical sprint | Swap to a Sprint-to-Fire Laser | Skip if you only need pure ADS speed |
| Uncontested shots drift off target | Swap rear grip for FSS Fire Line | Avoid if the ADS penalty costs you opening shots |
| Incoming hits throw your reticle upward | Equip Hanbit Tech Grip for flinch control | Does not reduce base vertical recoil |
| Iron sights block partially exposed heads | Equip a clean Reflex Optic | Wastes a slot if you fight strictly inside 15 meters |
| Enemies pre-fire your held corners | Remove visible ADS Lasers | Keep the laser only if you play an aggressive rushing style |
Drop any adjustment immediately if its handling penalty causes you to lose your next three opening engagements.
How to Test Attachments in the Firing Range
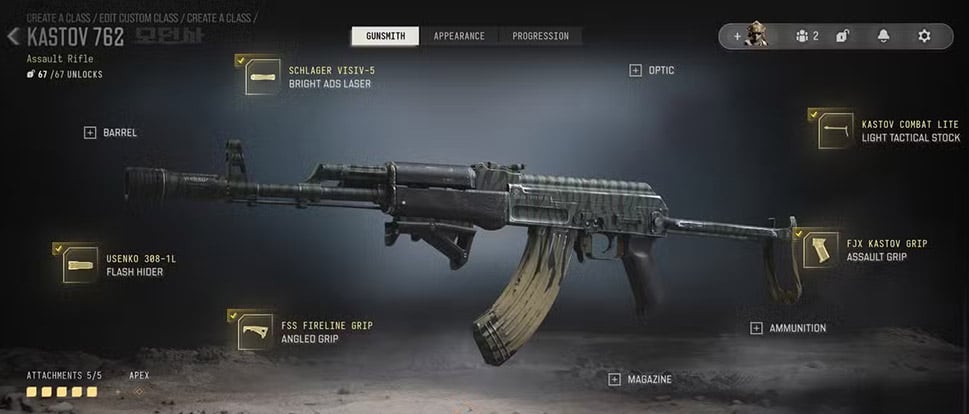
Shooting stationary dummies from the hip tells you nothing about how a build handles real multiplayer pressure. We run a strict five-step verification protocol after every balance patch to confirm whether an attachment actually earns its slot:
1. Log exact Gunsmith values: Check the advanced stat drop-downs rather than relying on inaccurate green and red summary bars.
2. Match your combat settings: Test recoil patterns at 25 and 40 meters using your live multiplayer FOV and controller deadzones.
3. Separate handling timings: Test ADS speed from a standstill first, then test sprint-to-fire out of a full tactical sprint.
4. Isolate flinch vs. recoil: Test the Hanbit Tech Grip inside private matches under live incoming fire, as firing range dummies cannot trigger flinch mechanics.
5. Verify damage thresholds: Confirm exact bullets-to-kill against full-health targets across chest, neck, and headshot multipliers.
Run this exact five-minute check whenever a seasonal update alters assault rifle damage profiles.
FAQ (Frequently Asked Questions)
What Is the Best Kastov 762 Loadout in MW4?
The best Kastov 762 loadout depends entirely on your map size and engagement pacing. Run the No Stock and Hanbit Tech Grip mobility build for aggressive close-range maps, or switch to the Haymaker MT Barrel and Kastov Dogfighter Stock to lock down long lanes.
Can the Kastov 762 Kill in Two Shots?
No, the Kastov 762 cannot achieve a two-shot kill against full-health enemies in standard core multiplayer modes. You need at least three upper-torso or head shots within its maximum damage range to secure a clean elimination.
Should You Use No Stock on the Kastov 762?
Yes, equip No Stock if slow ADS and sprint-to-fire times consistently get you killed in close quarters. Drop it immediately if the added vertical kick forces you to miss shots past 20 meters.
Is the Hanbit Tech Grip Better Than the FSS Fire Line?
The Hanbit Tech Grip is better if incoming enemy fire flinches your reticle off target during head-to-head duels. Choose the FSS Fire Line instead if your sustained fire drifts off target even when nobody is shooting back at you.
Is the Kastov 762 Apex Attachment Worth Using?
The Apex attachment is only worth equipping on a dedicated anti-killstreak utility class. Skip it on your primary competitive loadout because its sight restrictions and handling penalties hurt standard range gunfights.

I’m Sofia Bergström, a Swedish Managing Editor covering FPS, competitive shooters, and extraction shooters for GGWTB. My guides focus on loadout trade-offs, positioning, and when to commit—or cut your losses. A weapon’s stats tell only part of the story; I focus on how it fits your role and the fight ahead.
Most Popular Posts
- MW4 Beta Meta Weapons Class Setups: Attachments, Perks, and Tuning included
- MW4 Beta Easter Eggs: All 15 Secrets, Locked Doors, Hidden Routes & Unlocks Tested
- Modern Warfare 4 Settings: Best Controller, Graphics & PC Config for Max FPS
- Modern Warfare 4 Beta Best Weapons, Loadouts, Perks & Killstreaks
- MW4 DMZ Hajin Map: Confirmed Features, Release Date and What's Still Unknown
- COD Warzone Season 5 Reloaded Meta Loadouts: Best Weapon Builds After the Update
Popular Category Lists
- ARC Raiders / (377)
- Grow a Garden / (302)
- Star Citizen / (174)
- CoD: Black Ops 7 / (168)
- MLB 26 / (159)
- Monopoly Go / (153)
- ARK Survival Ascended / (132)
- Steal a Brainrot / (101)
- Adopt Me / (80)
- Blox Fruits / (74)
- Forza Horizon 6 / (72)
- Aion 2 / (68)
- Sailor Piece / (68)
- Grow a Garden 2 / (68)
- COD: Modern Warfare 4 / (64)
- Diablo IV / (62)
- CoD: BLACK OPS 6 / (55)
- Maplestory Classic / (51)
- Path of Exile 2 / (48)
- Monster Hunter Wilds / (46)