0
0 Created: Jul 25,2026 | Star Citizen
Star Citizen 4.9 Battaglia Missions: CQ7 Rifle Locations, Loot Routes & Bug Fixes

Battaglia missions in 4.9 are finally worth your time. The hotfix cleaned up most of the mess, but a few bugs can still torch a clean run if you treat these like standard bunker contracts. Because loot tables here are deeper than normal combat missions, they're now the best source for the CQ7 Bullpup, Palatino armor, and Testudo pieces — no shop RNG required.
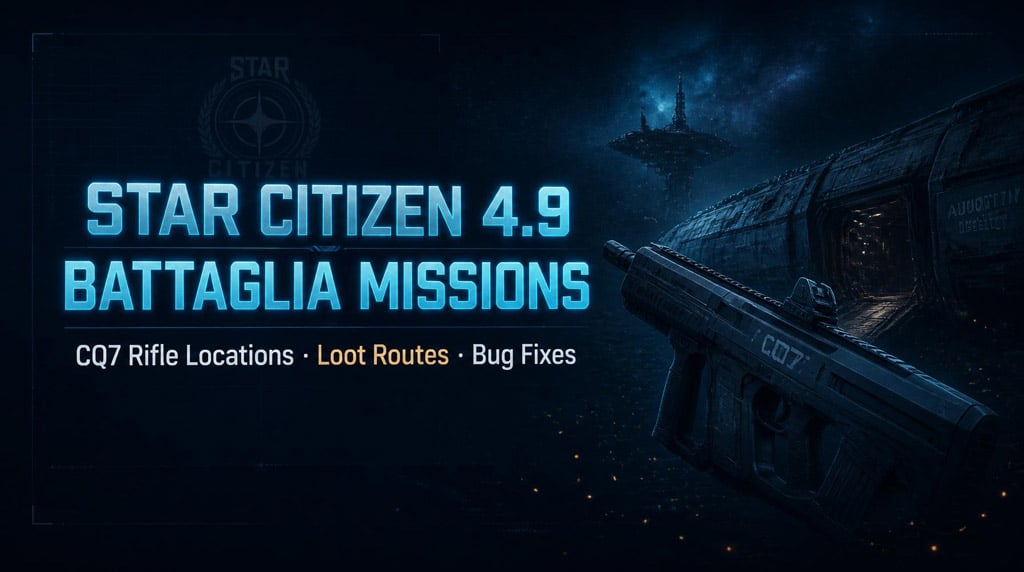
This guide covers two missions: Ship in Distress and Moraine Data Retrieval. Start, loot, avoid bugs, deliver correctly. That's it.
- Battaglia Missions: Quick Overview
- Loadout Before You Launch
- 4.9 Hotfix Bugs You'll Actually Run Into
- Mission 1: Ship in Distress
- Loot You'll Find
- Mission 2: Moraine Data Retrieval
- Why It's Worth the Trip
- Step-by-Step
- CQ7 Farming Strategy
- What's Worth Keeping
- Materials Worth Grabbing
- Field Fixes for Common Bugs
- Suggested Farming Route
- FAQ
- How do we get the rare CQ7 Bullpup rifle in Star Citizen 4.9?
- Can we solo Battaglia missions?
- Where do we deliver the Moraine Data Retrieval card?
- Why doesn't Ship in Distress complete after clearing enemies?
- Is the Cutlass Black loot respawn exploit still working?
- Bottom Line
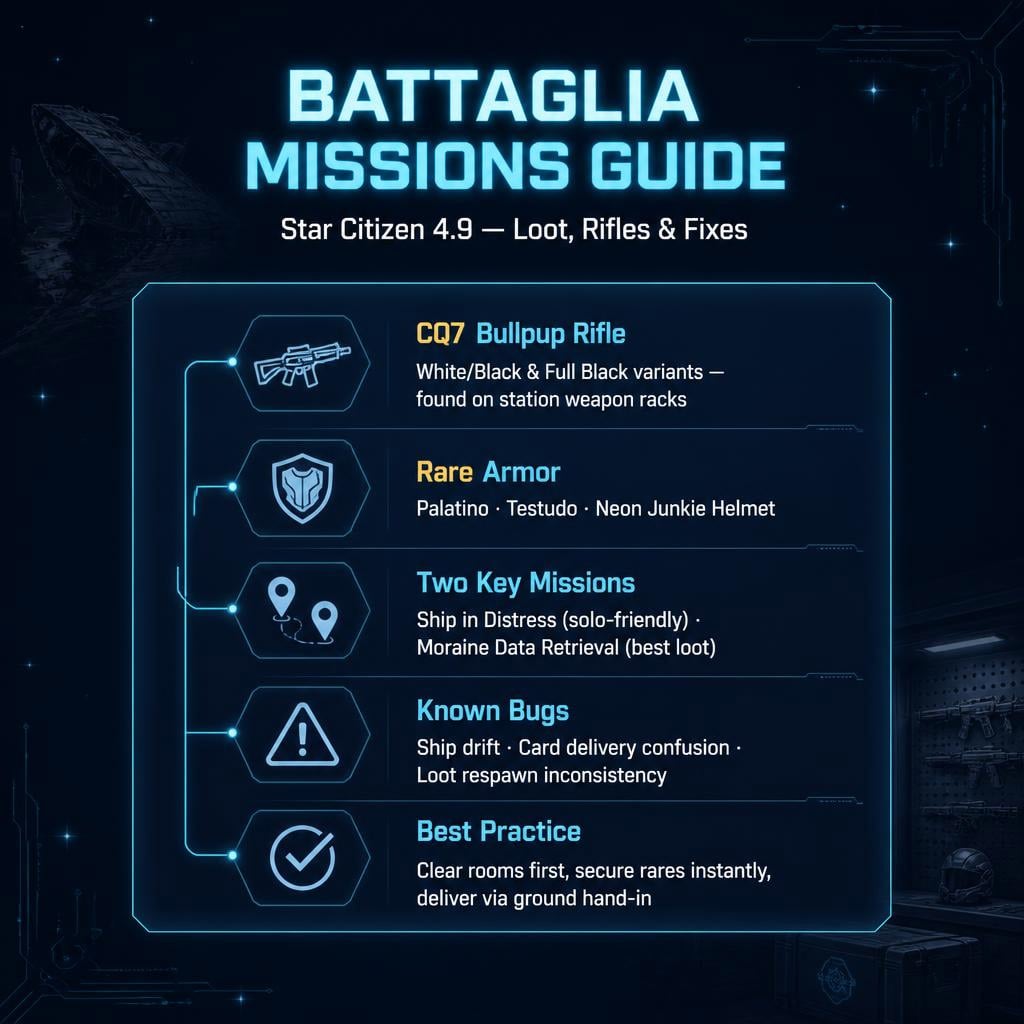
Battaglia Missions: Quick Overview
| Mission | Objective | Best Loot | Main Risk | Group Size |
|---|---|---|---|---|
| Ship in Distress | Clear boarded ship, leave area | P6-R, FS-9, grenade launcher, Testudo, Palatino | Ship drift bug, tight-corridor AI | 1–2 |
| Moraine Data Retrieval | Insert card, download, deliver | White/black CQ7, black CQ7, Palatino, Neon Junkie helmet | Confusing delivery step | 2 |
| Cutlass Black loot | Loot enemy ship near target | Components, weapons, armor boxes | Respawn exploit inconsistent | 1 |
| Station sweep | Search racks/crates | CQ7 variants, materials | Racks empty if pre-looted | 2 |
Takeaway: Want the CQ7? Run Moraine. Want a fast solo loot grab? Run Ship in Distress.
Loadout Before You Launch
Don't overpack. These missions chain multiple rooms — you need survivability, not a museum collection.
| Slot | Pick | Why |
|---|---|---|
| Primary | FS-9, P4-AR, Demeco | Sustained fire in tight interiors |
| Secondary | Pistol/compact SMG | Backup when primary runs dry |
| Armor | Medium/heavy | Survives surprise AI bursts |
| Utility | Tractor beam | Moves loot and bodies |
| Backpack | Medium/large | Room for helmets and rare drops |
Ship choice: Reliant, Cutlass, or Spirit for easy access. Bring a C8R Pisces or Cutlass Red if you want to set a regen imprint nearby — dying without one turns a loot run into a recovery nightmare, especially if you're carrying a rare CQ7.
If your inventory is full before you land, you'll spend half the mission playing Tetris instead of shooting.
4.9 Hotfix Bugs You'll Actually Run Into
| Issue | What Happens | Fix |
|---|---|---|
| Ship drift | Ship floats away with engines off | Don't fully power down in space |
| Marker ambiguity | Delivery destination unclear | Check location name + local terminals |
| Loot respawn inconsistency | Cutlass Black loot may not refresh | Treat as bonus, not a guaranteed farm |
| Tractor beam glitch | Objects won't attach | Re-equip, change angle |
| Late enemy spawns | Enemies land mid-loot | Keep one player on watch |
Because the ship drift bug is still active, never fully cut engines mid-mission. Re-enter and stabilize immediately if it starts drifting — chasing your own ship for ten minutes is not the extraction plan you signed up for.
Mission 1: Ship in Distress
Fast, solo-friendly, generous loot. Here's the run:
1. Accept the contract — confirm your Battaglia rep is high enough.
2. Fly to the disabled ship. Don't overshoot the marker.
3. Check the hostile Cutlass Black outside first. It often has loot before you even reach the objective.
4. Loot it.
5. Enter the boarded ship slowly. Enemies cluster near doors.
6. Clear every hostile before looting. Tougher enemies spawn deeper in.
7. Grab priority loot — rare armor, heavy guns, color variants.
8. Fly away from the zone. That's what triggers completion.
Loot You'll Find
| Type | Examples | Notes |
|---|---|---|
| Components | P-2 Radiance, Military Grade C | Upgrade/resale value |
| Heavy weapons | FS-9, grenade launcher, Demeco | Strong combat picks |
| Sniper | P6-R | Excellent long-range pickup |
| Armor | Testudo, mixed rare sets | Worth full clears |
| Boss loot | Palatino core/arms/helmets | Main reason to push deep |
In our runs, the P6-R and FS-9 were the most consistent finds. Boss-tier enemies dropped unusual armor combos you won't find in shops.
Cutlass Black respawn tip: Some players parked this ship in a hangar and farmed respawning loot. This may be patched or inconsistent now — test it, don't build your whole route around it.
Mission 2: Moraine Data Retrieval
This is the CQ7 mission. More travel, more payoff.
Why It's Worth the Trip
- White/black CQ7 Bullpup
- Full black CQ7 Bullpup
- Palatino armor pieces
- Cobalt/yellow armor variants
- Neon Junkie helmets
- Laranite, thorite, borax, tungsten, pressurized ice
Step-by-Step
1. Travel to the station. Expect long Nyx-route hauls — bring quantum fuel and patience.
2. Land and set an imprint if you brought a medical ship. This turns a risky run into a safe farm.
3. Clear the first group before looting anything. Expect 4–5 enemies. One player watches front, one checks angles. Don't stand in doorways.
4. Check every weapon rack for CQ7 variants:
| Variant | Look | Where | Value |
|---|---|---|---|
| CQ7 white/black | White body, black accents | Racks/station loot | Rare, matches white armor |
| CQ7 full black | Mostly black | Deeper loot areas | Pairs with dark Palatino sets |
| Standard CQ7 | Varies | Less reliable | Fine if you just need the model |
If you spot a white/black CQ7, grab it immediately. Dropped weapons clip, vanish, or bury under bodies during firefights.
5. Insert the data card and download. Enemies can still move in during this step — one player handles the card, one covers the entry.
6. Sweep side areas: racks, armor boxes, crates, lower storage, boss bodies. This is where the real loot lives.
7. Deliver the card.
If the freight elevator rejects the card, the mission isn't broken — you likely need a ground hand-in instead. For this route, the drop-off is at Labsky, mid/lower ground barter area.
Fix sequence:
1. Re-read the mission destination.
2. Travel to the named location.
3. Find the ground barter/hand-in point.
4. Deliver the card there.
5. Confirm contract completion.
CQ7 Farming Strategy
| Step | Action | Reason |
|---|---|---|
| 1 | Build Battaglia rep | Unlocks better contracts |
| 2 | Prioritize Moraine | Best CQ7 odds |
| 3 | Bring one teammate | Faster, safer looting |
| 4 | Check every rack | CQ7 spawns are rack-based |
| 5 | Secure rares instantly | Prevents despawn/physics loss |
| 6 | Finish delivery | Rep progress matters |
| 7 | Repeat on refresh | Consistency = more rifles |
Solo? Doable, but riskier. Move slow, loot after clearing, disengage if you hear a ship land nearby.
Duo is the sweet spot. One carries the card and covers hallways. The other clears rooms, checks racks, and handles medical support. Faster clears, fewer surprise deaths.
What's Worth Keeping
Keep: CQ7 white/black, CQ7 full black, P6-R, FS-9, grenade launcher, Demeco, Palatino core/arms, incomplete Testudo sets, Neon Junkie helmet, craftable minerals.
Skip: common undersuits, duplicate low-grade armor, excess ammo, low-value components, generic mixed armor.
If your backpack's nearly full, grab uniques over replaceables. A common rifle is a shop trip away. A CQ7 colorway might not show up again for a dozen runs.
Materials Worth Grabbing
| Material | Why |
|---|---|
| Laranite | High commodity value |
| Thorite | Rare, worth the cargo space |
| Borax | Crafting/fabrication use |
| Tungsten | Industrial material |
| Pressurized Ice | Extraction/system use |
Running a cargo ship? Grab everything, sort later. Running small? Take only the rarest boxes.
Field Fixes for Common Bugs
| Problem | Fix |
|---|---|
| Contract won't complete | Fly away from the mission zone |
| Card rejected at freight elevator | Find the ground barter hand-in point |
| Tractor beam won't grab | Re-equip, change angle, move closer |
| Weapon vanishes from rack | Grab rares immediately, don't wait |
| Ship drifts away | Never fully power down in space |
| Enemies keep spawning | Clear fully before looting |
If a mission feels broken, check for a location-based hand-in before assuming it's bugged. In 4.9, unclear wording — not broken code — is usually the real problem.
Suggested Farming Route
| Order | Action | Purpose |
|---|---|---|
| 1 | Ship in Distress | Warm-up loot + rep |
| 2 | Check Cutlass Black | Bonus components |
| 3 | Moraine Data Retrieval | CQ7 and rare armor |
| 4 | Sweep station crates | Materials |
| 5 | Deliver card | Complete contract |
| 6 | Store loot | Avoid crash/death losses |
| 7 | Repeat | Unlock better contracts |
FAQ
How do we get the rare CQ7 Bullpup rifle in Star Citizen 4.9?
Run Moraine Data Retrieval. Check weapon racks and side loot rooms. The white/black and full black variants are the ones to watch for.
Can we solo Battaglia missions?
Yes, but duo is safer. Solo players should clear rooms fully before looting and secure rare weapons the moment they see them.
Where do we deliver the Moraine Data Retrieval card?
If the freight elevator rejects it, head to Labsky, mid/lower ground barter area. Use the ground hand-in, not the elevator.
Why doesn't Ship in Distress complete after clearing enemies?
You're still inside the mission zone. Fly away from the boarded ship to trigger completion.
Is the Cutlass Black loot respawn exploit still working?
Inconsistent at best. Test it yourself before relying on it — treat any respawn as a bonus, not a farming method.
Bottom Line
Battaglia in 4.9 is rough around the edges but genuinely worth running. Ship in Distress for fast solo loot and rep. Moraine Data Retrieval for CQ7 farming. Fix the delivery bug by hitting the ground hand-in instead of forcing the freight elevator. Keep engines live in space, clear before you loot, and grab rares the second you see them — that's the whole difference between a clean farming loop and a wasted night.

Most Popular Posts
- Star Citizen 4.9 Mining Guide: Best Laser Buffs, Crafted Heads, Scanning, Materials and Nyx Missions
- Star Citizen 4.9 Ship Buying Guide: What to Buy, Skip, and Prioritize
- Star Citizen 4.9 Salvage Guide: Easy AUEC from Battaglia Ship in Distress + Golem Module Fix
- Star Citizen 4.9 Battaglia Contracts, Persistence Fixes, Best Loot, Scanning Changes, and Ship Rewards
- Star Citizen 4.9 Hull C Cargo Hauling Guide: Make Millions aUEC Without Autoload
- Star Citizen 4.9 Alleso Money Guide: Best Pyro Trade Route for Fast aUEC
Popular Category Lists
- ARC Raiders / (349)
- Grow a Garden / (293)
- CoD: Black Ops 7 / (167)
- Star Citizen / (161)
- MLB 26 / (159)
- Monopoly Go / (152)
- ARK Survival Ascended / (127)
- Steal a Brainrot / (99)
- Blox Fruits / (74)
- Adopt Me / (73)
- Forza Horizon 6 / (72)
- Sailor Piece / (68)
- Grow a Garden 2 / (68)
- Diablo IV / (62)
- CoD: BLACK OPS 6 / (55)
- Path of Exile 2 / (48)
- Aion 2 / (48)
- Monster Hunter Wilds / (46)
- Windrose / (44)
- Donut SMP / (41)