0
0 Created: Jul 21,2026 | Star Citizen
Star Citizen 4.9: Recco Battaglia Moraine Data Retrieval Guide – CQ7 Rifle, Loot & Rewards

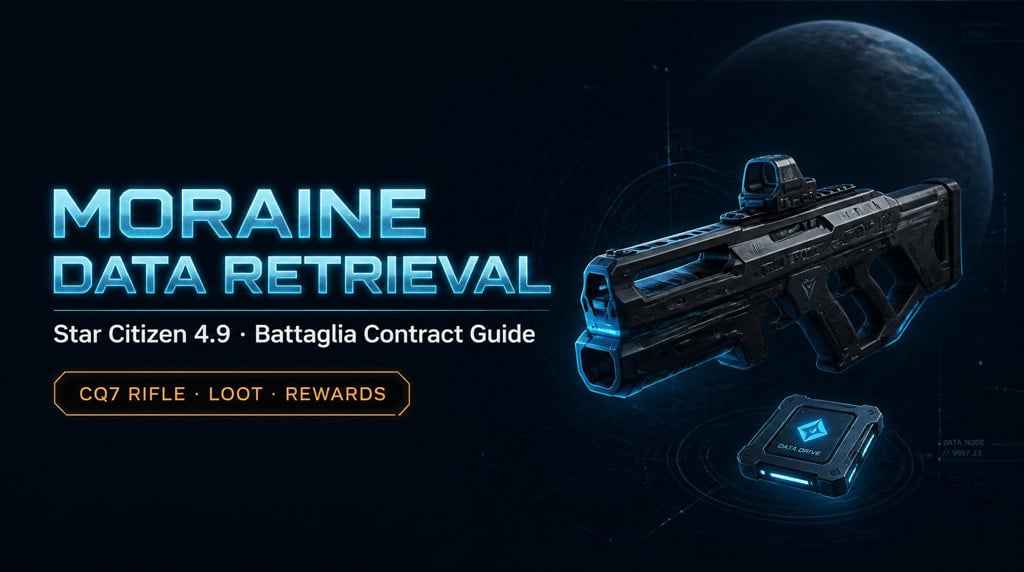
The Moraine Data Retrieval contract is new Recco Battaglia content in Patch 4.9. Short version from my runs: mediocre pay, solid loot, and a real shot at the new CQ7 Infantry Rifle. Run it once or twice for gear and blueprints — don't farm it for credits.
- Mission
- How to Unlock It
- Loadout Checklist
- Entry: The Weapon Draw Bug
- Combat & Enemy Types
- CQ7 Infantry Rifle Spawn
- Loot Priorities
- Objective Walkthrough
- Is It Worth Running?
- FAQ
- What rep level unlocks Moraine Data Retrieval?
- Is the CQ7 rifle a guaranteed spawn?
- Why can't I draw my weapon at the entrance?
- Where do I deliver the data drive?
- Is this good for reputation farming?
- Summary
Mission
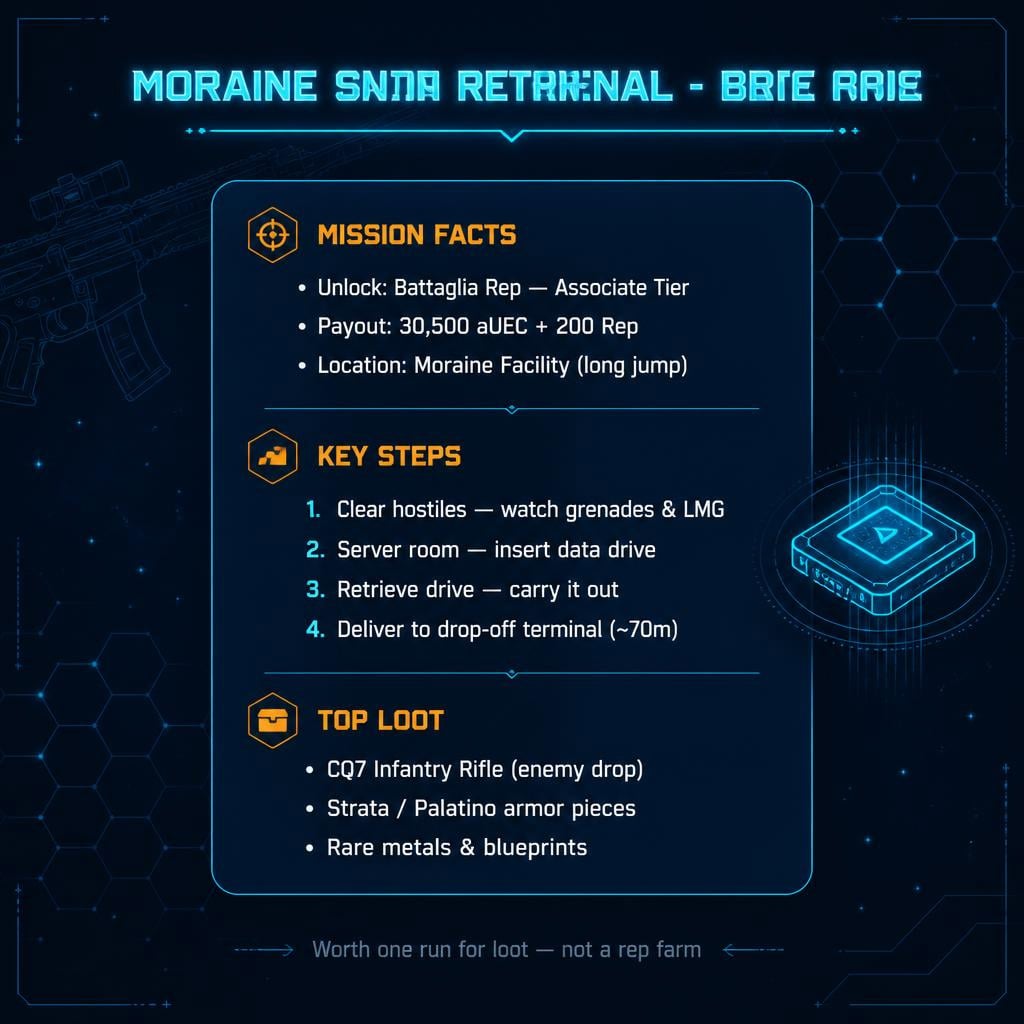
| Category | Details |
|---|---|
| Faction | Recco Battaglia (Associate rep required) |
| Payout | ~30,500 aUEC |
| Reputation | 200 Battaglia rep |
| Key Loot | CQ7 rifle, Strata/Palatino armor, rare metals |
| Weakness | Long quantum jump (90+ GM in my run), extra delivery step |
How to Unlock It
Grind Battaglia rep to the second tier (Associate). The contract then rotates into your mission pool.
One warning before you accept: check the jump distance first. My run required a 90+ GM quantum jump. At 30.5K aUEC, travel time kills the efficiency. Treat this as a content/loot run, not a money run.
Loadout Checklist
Enemies here throw grenades and at least one carried a Pulverizer LMG. Gear up like a bunker run:
- Rifle or LMG + spare mags (I entered low on ammo — don't repeat my mistake)
- Medium/heavy armor
- MedPens — grenade spam punishes greed
- Medium+ backpack for loot
- Tractor beam optional
If you're light on ammo, loot enemy mags early. Most NPC weapons share magazine types.
Entry: The Weapon Draw Bug
Heads-up: near the entrance/customs area, your weapon may refuse to draw. This is not a broken mission.
Fix: keep moving deeper into the facility. Once the game registers you're in the hostile zone, weapon handling returns. Just don't sprint blindly forward — enemies can spawn right past the checkpoint, and you don't want to eat rifle fire empty-handed.
Combat & Enemy Types
NPC loadouts are noticeably less copy-paste in 4.9 — mixed armor sets means better loot checks per body.
What to expect:
- Standard rifle enemies throughout
- Grenade users behind cover — reposition immediately
- Heavy weapon carriers (Pulverizer LMG) — kill these first
- Some enemies carry the CQ7
Clear corners slowly, confirm kills, and loot each section before pushing. Don't tunnel vision on blue boxes while hostiles are alive.
CQ7 Infantry Rifle Spawn
The headline loot. I found mine on an NPC in the upper area of the facility. It's an enemy loot pool spawn, not guaranteed — check every body before you leave.
Attachment transfer tip:
1. Strip optic/laser/suppressor off your current rifle
2. Pick up the CQ7
3. Reattach everything
4. Verify magazine compatibility
Do this on the spot. Swapping weapons in a hurry and leaving your suppressor on a dropped rifle is a classic self-own.
Loot Priorities
| Source | Contents | Priority |
|---|---|---|
| Enemy bodies | CQ7, mags, mixed armor | High |
| Armor boxes | Cores, backpacks, leg armor | High |
| Rare metals | Damaged Six Platoon / Cartography Metal | High |
| Blue boxes | Clothing, utility items | Medium |
Notable pulls from my run: CQ7 rifle, Crease Copperhead Jacket, Strata backpack/core pieces, Supernova legs, Palatino armor, and a Pulverizer LMG. Loot value can outperform the mission payout — sweep side rooms.
Objective Walkthrough
The step that traps people: the mission does NOT end at the server room.
1. Land close, enter, clear hostiles
2. Follow the marker to the server room
3. Pick up the data drive and interact with the server
4. Retrieve the drive again — do not leave it behind
5. Follow the new marker ~70m to the drop-off terminal (mailbox-style)
6. Select the drop-off option, place the drive, wait for confirmation
If the terminal says no appropriate item: open inventory, move the drive to your hand, close inventory, interact again. Same logic applies to keycards and fuses in other contracts.
Don't drop the drive on the ground. Mission items despawn or bug — losing it means the whole jump was wasted.
Is It Worth Running?
Yes for loot and blueprints. No for farming.
| Run it for | Skip it because |
|---|---|
| CQ7 rifle chance | Only 200 rep (distress contracts give 300) |
| Blueprint reward pool (mining/crafting) | 30.5K aUEC doesn't cover the travel time |
| Mixed-armor NPC loot | Extra delivery step pads the runtime |
The blueprint pool is the real long-term value here. If you're grinding Battaglia rep, do this once for gear, then rotate back to the 300-rep contracts.
FAQ
What rep level unlocks Moraine Data Retrieval?
Associate (second tier) with Recco Battaglia. It appears in the contract pool after that.
Is the CQ7 rifle a guaranteed spawn?
No. It's part of the enemy loot pool. Check every armed NPC — mine was in the upper section.
Why can't I draw my weapon at the entrance?
The customs/transition zone temporarily blocks weapons. Keep moving inward; it resolves once you're fully in the hostile area.
Where do I deliver the data drive?
A separate drop-off terminal roughly 70 meters from the server room. The mission only completes after this handoff — don't leave early.
Is this good for reputation farming?
No. 200 rep with long travel time loses to ship distress contracts at 300 rep. Run Moraine for loot and blueprints, farm rep elsewhere.
Summary
Moraine Data Retrieval is a fun 4.9 addition with weak economics. ~30,500 aUEC and 200 rep won't justify repeat runs, especially with a long quantum jump attached. But the CQ7 spawn chance, mixed-armor loot, rare metals, and blueprint rewards make the first clear absolutely worth it.
The formula: check jump distance before accepting, bring spare mags, expect the weapon-draw delay at entry, sweep every body for the CQ7, and remember — the contract ends at the drop-off terminal, not the server room. Run it, loot it, then go back to higher-rep contracts.

Most Popular Posts
- Star Citizen 4.9 Mining Guide: Best Laser Buffs, Crafted Heads, Scanning, Materials and Nyx Missions
- Star Citizen 4.9 Ship Buying Guide: What to Buy, Skip, and Prioritize
- Star Citizen 4.9 Salvage Guide: Easy AUEC from Battaglia Ship in Distress + Golem Module Fix
- Star Citizen 4.9 Battaglia Contracts, Persistence Fixes, Best Loot, Scanning Changes, and Ship Rewards
- Star Citizen Alpha 4.9 Guide: Best Features, Mining Scan Upgrade, Weapon Nerfs
- Star Citizen 4.9 Hull C Cargo Hauling Guide: Make Millions aUEC Without Autoload
Popular Category Lists
- ARC Raiders / (345)
- Grow a Garden / (292)
- CoD: Black Ops 7 / (167)
- Star Citizen / (161)
- MLB 26 / (159)
- Monopoly Go / (152)
- ARK Survival Ascended / (126)
- Steal a Brainrot / (98)
- Blox Fruits / (74)
- Adopt Me / (73)
- Forza Horizon 6 / (72)
- Sailor Piece / (68)
- Grow a Garden 2 / (68)
- Diablo IV / (62)
- CoD: BLACK OPS 6 / (55)
- Path of Exile 2 / (48)
- Monster Hunter Wilds / (46)
- Aion 2 / (46)
- Windrose / (44)
- Donut SMP / (41)