0
0 Created: Jul 21,2026 | Star Citizen
Star Citizen 4.9 Gem Mining: ATLS GEO vs ROC - Which One Actually Makes aUEC

Gem mining is back on the radar in 4.9, mostly because Janalite can turn one short ground run into serious aUEC. Everyone defaults to the ROC out of habit. We ran both extensively — here's what actually happens in the field.
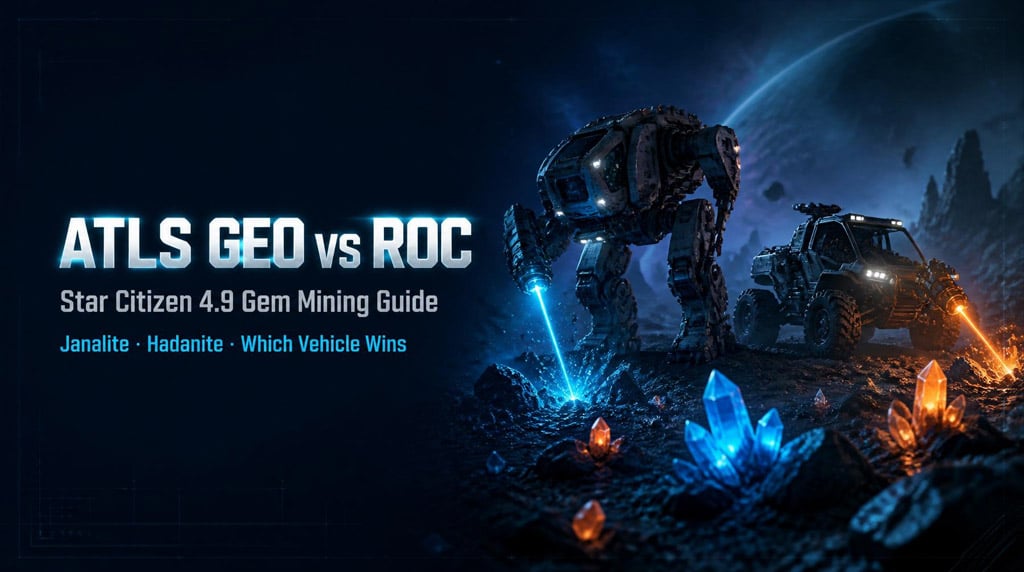
Short answer: take the GEO. It's faster to deploy, easier to control, and more forgiving on bad terrain. The ROC only wins on raw storage. Everything else, GEO takes the win.
- Quick Verdict
- Setup: GEO Skips the Hassle
- Mining Control: Low Power Mode Is the Real Reason to Switch
- Ship Loading: GEO Handles Bad Terrain Better
- Storage: The ROC's One Real Advantage
- Unloading & Inventory: Trust the Container, Not the Vehicle
- Selling: Expect Some Terminal Weirdness
- Why Janalite Changes the Math
- Recommended Loadout
- GEO Mining Loop (Step-by-Step)
- ROC Mining Loop (Step-by-Step)
- Common Mistakes to Avoid
- FAQ
- Is the ATLS GEO better than the ROC for gem mining in 4.9?
- How much storage does each vehicle have?
- Why does low power mode matter so much on the GEO?
- What container size should I bring?
- Is Janalite actually worth mining?
- Bottom Line
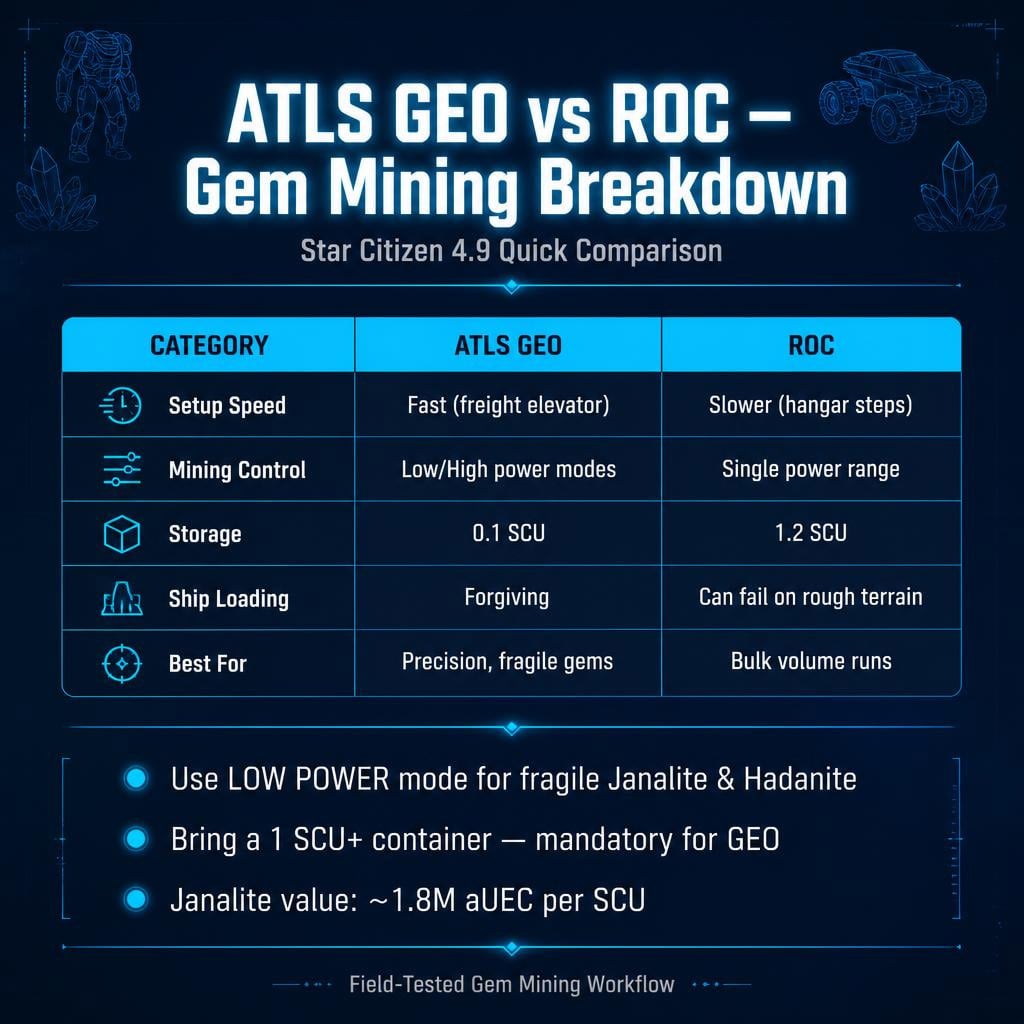
Quick Verdict
| Category | ATLS GEO | ROC | Winner |
|---|---|---|---|
| Setup speed | Freight elevator, instant | Hangar + ship juggling | GEO |
| Mining control | Low/high power modes | Single range, needs feathering | GEO |
| Storage | 0.1 SCU | 1.2 SCU | ROC |
| Ship loading | Very forgiving | Choke on bad ramps | GEO |
| Overall | Smooth, flexible | Strong but clunky | GEO |
GEO = easier loop. ROC = longer loop before you have to stop and unload. Pick based on which pain you'd rather deal with.
Setup: GEO Skips the Hassle
The GEO spawns straight from the freight elevator. Grab it, grab a container, go. Four steps, done.
The ROC forces you through a full hangar sequence: call a ship, store it, call the ROC, load it, fix the ramp angle, then finally leave. That's real time lost — and gem mining is a repetition game. Every wasted minute compounds across your session.
Setup Rating: GEO 9/10, ROC 6/10.
If you're optimizing profit-per-hour, the GEO wins before your laser even fires.
Mining Control: Low Power Mode Is the Real Reason to Switch
This is the GEO's killer feature: low power and high power modes.
Gems like Janalite and Hadanite are fragile. Push too hard, too fast, and the rock overcharges — you lose the deposit or spend way too long babysitting instability.
ROC: single power range, you have to feather the throttle manually. One sloppy input and the rock spikes. Manageable if you're experienced, punishing if you're not.
GEO: flip to low power, hold steady pressure, done. Less babysitting, fewer blown rocks, way more relaxed sessions — especially good for newer miners.
Switch to high power only when:
- The rock barely reacts on low.
- You're cracking tougher material like Karanite.
For gems specifically, low power is the move 90% of the time.
Ship Loading: GEO Handles Bad Terrain Better
Ground mining means uneven terrain. Uneven terrain means bad ramp angles. Bad ramp angles mean the ROC refuses to climb in cleanly.
We've all been there: ship lands slightly nose-up, ramp floats above ground, ROC bounces off the geometry, you reposition the whole ship just to load one vehicle.
The GEO's movement is more forgiving. It recovers from sketchy landings way more reliably. Less repositioning, fewer interrupted sessions.
If your ship has a rough ramp, the GEO is the safer bet.
Storage: The ROC's One Real Advantage
No spin here — ROC holds 1.2 SCU. GEO holds 0.1 SCU. That's a massive gap.
| Vehicle | Storage | Practical Meaning |
|---|---|---|
| ATLS GEO | 0.1 SCU | You'll unload constantly |
| ROC | 1.2 SCU | You mine longer before stopping |
Fix for the GEO: bring a container. A 1 SCU box minimum turns the GEO's biggest weakness into a non-issue.
| Container | Best For |
|---|---|
| 1 SCU | Solo runs |
| 2 SCU | Longer routes |
| 4+ SCU | Group mining |
A 1 SCU container with the GEO isn't optional — it's mandatory gear.
Unloading & Inventory: Trust the Container, Not the Vehicle
Star Citizen's inventory system is not your friend. Vehicle bags, cargo boxes, and local inventory don't always sync cleanly.
Best workflow:
1. Keep a container on your ship.
2. Mine with GEO/ROC.
3. Transfer gems into the container.
4. Sell from the container.
Watch out: the ROC's detachable bag can bug out — once removed and reattached, it sometimes behaves like it's still welded to the vehicle, and your tractor tool won't move it. If that happens, stop fighting it — transfer contents into a separate box instead.
The GEO fills fast. No container = constant interruptions or an early end to your run.
Selling: Expect Some Terminal Weirdness
Selling gems isn't always clean. Sometimes the terminal only lets you sell in small batches. Sometimes it doesn't recognize where your cargo actually is.
Checklist before selling:
- Gems inside a recognized container.
- Container placed on the cargo grid or freight elevator.
- If quantity is capped, sell smaller batches.
- If it fails outright, move the container and retry the interaction.
Avoid selling loose gems from your backpack for anything beyond a tiny amount — it's the least reliable method by far. Containers are the most consistent option, full stop.
Why Janalite Changes the Math
At reported rates around 1.8 million aUEC per SCU, even the GEO's tiny 0.1 SCU tank is worth ~180,000 aUEC per fill.
| Storage | Value at 1.8M/SCU |
|---|---|
| 0.1 SCU | 180,000 aUEC |
| 1.0 SCU | 1,800,000 aUEC |
| 1.2 SCU | 2,160,000 aUEC |
If you're mining common gems, ROC's capacity wins on raw numbers. If you're mining fragile high-value stuff like Janalite, the GEO's control matters more than the tank size — especially once you're running a container anyway.
Recommended Loadout
| Item | Pick |
|---|---|
| Vehicle | ATLS GEO |
| Power mode | Low power for gems |
| Container | 1–2 SCU |
| Ship | Ramp-access cargo ship |
| Tool | Tractor beam attachment (for containers) |
GEO Mining Loop (Step-by-Step)
1. Call GEO via freight elevator.
2. Grab a 1 SCU+ container.
3. Load both into your ship.
4. Fly to your gem site.
5. Land — doesn't need to be perfect.
6. Switch to low power mode.
7. Mine until GEO storage fills.
8. Transfer gems to your container.
9. Repeat.
10. Sell from the container.
ROC Mining Loop (Step-by-Step)
1. Call a hangar-ready ship, load the ROC.
2. Bring a container if you can.
3. Land with a flat ramp — non-negotiable.
4. Mine while feathering power.
5. Avoid holding full power too long.
6. Transfer to container before selling.
7. Be careful detaching the ROC bag.
8. Sell in smaller batches if the terminal acts up.
Common Mistakes to Avoid
- No container on the GEO → constant interruptions. Bring one.
- Mining gems on high power → instability, wasted time. Start low.
- Trusting the ROC bag blindly → transfer to a container instead.
- Ignoring ramp angle → reposition before forcing a load-in.
- Selling from backpack → fine for tiny amounts, painful at scale.
FAQ
Is the ATLS GEO better than the ROC for gem mining in 4.9?
For most players, yes. Faster setup, better control, more forgiving loading. ROC still wins on raw storage.
How much storage does each vehicle have?
GEO: ~0.1 SCU. ROC: ~1.2 SCU. Bring a container for the GEO — it's non-negotiable.
Why does low power mode matter so much on the GEO?
It gives steady, controlled pressure on fragile gem rocks. Less overcharging, less babysitting, more consistent yields.
What container size should I bring?
1 SCU minimum. Go 2 SCU if your ship has room and you're running longer sessions.
Is Janalite actually worth mining?
Yes. At rates around 1.8 million aUEC per SCU, even small loads pay off fast — and the GEO's control makes fragile Janalite rocks much easier to work.
Bottom Line
Take the GEO. Faster setup, better mining control, easier ship loading — pair it with a 1–2 SCU container and its only real weakness (tiny internal storage) disappears.
Take the ROC only if raw capacity matters more to you than convenience, and you don't mind feathering power and fighting occasional ramp angles.
For chasing Janalite and other high-value gems, the GEO's precision beats the ROC's tank size almost every time.
Most Popular Posts
- Star Citizen 4.9 Mining Guide: Best Laser Buffs, Crafted Heads, Scanning, Materials and Nyx Missions
- Star Citizen 4.9 Ship Buying Guide: What to Buy, Skip, and Prioritize
- Star Citizen 4.9 Salvage Guide: Easy AUEC from Battaglia Ship in Distress + Golem Module Fix
- Star Citizen 4.9 Battaglia Contracts, Persistence Fixes, Best Loot, Scanning Changes, and Ship Rewards
- Star Citizen Alpha 4.9 Guide: Best Features, Mining Scan Upgrade, Weapon Nerfs
- Star Citizen 4.9 Hull C Cargo Hauling Guide: Make Millions aUEC Without Autoload
Popular Category Lists
- ARC Raiders / (344)
- Grow a Garden / (292)
- CoD: Black Ops 7 / (167)
- Star Citizen / (160)
- MLB 26 / (159)
- Monopoly Go / (152)
- ARK Survival Ascended / (126)
- Steal a Brainrot / (98)
- Blox Fruits / (74)
- Adopt Me / (73)
- Forza Horizon 6 / (72)
- Sailor Piece / (68)
- Grow a Garden 2 / (68)
- Diablo IV / (62)
- CoD: BLACK OPS 6 / (55)
- Path of Exile 2 / (48)
- Monster Hunter Wilds / (46)
- Aion 2 / (46)
- Windrose / (44)
- Donut SMP / (41)