


 0
0ARC Raiders Blaze Grenade Trial Guide: Best Damage Method, Targets, and Loadout
- KITE
- Share
- ARC Raiders
- 05/26/26
- 542
The fastest way to beat the ARC Raiders Blaze Grenade Trial is not spamming grenades. The score appears to favor the best damage from one Blaze Grenade, so the play is simple: find the right ARC target, place the fire correctly, and stop wasting materials.
- ARC Raiders Blaze Grenade Trial: Core Strategy
- What Actually Works
- Best Blaze Grenade Trial Targets Ranked
- Best Target: Bombardier
- Best Backup: Leaper
- Avoid Forcing Matriarch
- Best Map and Farming Route
- Blaze Grenade Blueprint Farm
- Blaze Grenade Crafting Prep
- Key Materials
- Best Loadout for Blaze Grenade Trial
- Best Method: Step-by-Step
- High-Score Method: Lure Grenade + Blaze Grenade
- Execution
- Common Mistakes
- Throwing Too Many Blaze Grenades
- Throwing on Top Armor
- Chasing Matriarch Core
- Ignoring Movement
- Overpacking
- FAQ
- What is the best target for the ARC Raiders Blaze Grenade Trial?
- Can one Blaze Grenade three-star the trial?
- Do Blaze Grenades stack for trial score?
- Where do you find the Blaze Grenade blueprint?
- How many Blaze Grenades should you bring?
- Summary
↖ ARC Raiders Blaze Grenade Trial: Core Strategy
Your goal is to get the biggest damage tick from one clean Blaze Grenade.
Do not build your run around throwing 50 grenades. We tested that. The score did not scale properly when multiple Blaze Grenades were thrown together.
↖ What Actually Works
| Priority | Action | Why It Matters |
|---|---|---|
| 1 | Target a Bombardier | Best single-target score tested |
| 2 | Use a Leaper as backup | Can reach strong three-star damage |
| 3 | Throw under the body or legs | Fire hits more parts |
| 4 | Avoid grenade spam | Stacking is unreliable |
| 5 | Use Lure Grenade for groups | Best high-score setup |
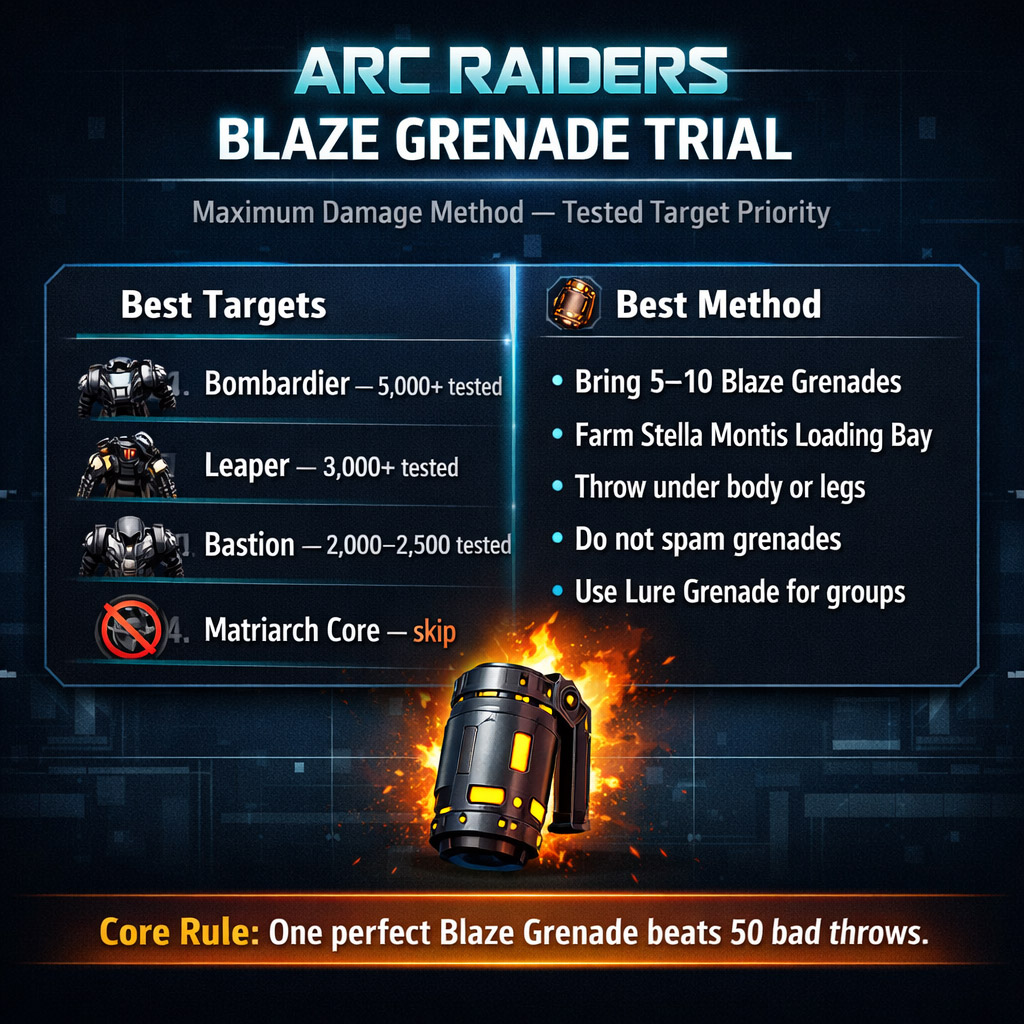
If you only remember one thing: one good Blaze Grenade on a Bombardier beats a pile of bad throws.
↖ Best Blaze Grenade Trial Targets Ranked
Target choice matters more than grenade count. Big does not always mean better.
| Rank | ARC Target | Score Potential | Verdict |
|---|---|---|---|
| 1 | Bombardier | 5,000+ tested | Best single-target option |
| 2 | Leaper | 3,000+ tested | Reliable three-star target |
| 3 | Bastion | 2,000–2,500 tested | Usable, not optimal |
| 4 | ARC groups | High if stacked | Best with Lure Grenade |
| 5 | Matriarch core | Lower than expected | Not worth forcing |
↖ Best Target: Bombardier
The Bombardier gave the best tested result: roughly 5,000+ points from one Blaze Grenade.
Why it works:
- Large body.
- Multiple damage zones.
- Easier to keep inside fire than a Leaper.
- Better return than Bastion or Matriarch core.
Best throw: under its body, close to the legs.
↖ Best Backup: Leaper
A Leaper can give enough score for a strong clear, especially if it pauses or lands in place.
Wait for:
- Landing animation.
- Attack recovery.
- Aggro on another target.
- Tight indoor pathing.
Best throw: at its feet as it stops moving.
↖ Avoid Forcing Matriarch
The Matriarch core looks like the obvious play. It is not.
It takes setup, attracts players, and the fire can fall off the core. In testing, it scored worse than a clean Bombardier or Leaper burn.
↖ Best Map and Farming Route
The best tested map for this trial is Stella Montis, especially Loading Bay.
It has the right mix:
- Industrial containers.
- ARC density.
- Bombardier, Leaper, Bastion spawns.
- Vertical angles for safer throws.
- Good reset routes.
↖ Blaze Grenade Blueprint Farm
The Blaze Grenade blueprint appears in industrial-style loot spawns.
| Location | Why Farm It |
|---|---|
| Stella Montis Loading Bay | Best tested industrial route |
| Dam Primary Facility | Good backup industrial area |
| Any industrial container zone | Blueprint can appear in the industrial loot pool |
| Night raids | Felt better in testing, not confirmed |
While farming the blueprint, loot anything that breaks down into Oil. You will need a lot of it.
↖ Blaze Grenade Crafting Prep
You do not need 50 Blaze Grenades. That is overkill.
Bring enough for mistakes, not enough to ruin your stash if you die.
| Run Type | Blaze Grenades to Bring | Use Case |
|---|---|---|
| Basic clear | 3–5 | One good target |
| Safe run | 5–10 | Misses and bad movement |
| Score push | 12–20 | Lure Grenade setups |
| Testing only | 25+ | Not needed for normal clears |
↖ Key Materials
| Material | Use | Best Source |
|---|---|---|
| Oil | Blaze Grenades, Explosive Compound | Break down industrial loot |
| Explosive Compound | Blaze Grenade crafting | Security containers or Refiner |
| Crude Explosives | Refiner crafting | Explosive loot containers |
If you craft Explosive Compound, expect to spend:
- 2 Crude Explosives
- 2 Oil
Oil becomes the bottleneck fast. Do not burn it all on failed grenade spam.
↖ Best Loadout for Blaze Grenade Trial
Keep the kit lean. You need control, not luxury gear.
| Item | Reason |
|---|---|
| 5–10 Blaze Grenades | Enough for most clears |
| Lure Grenade | Best high-score tool |
| Snap Hook | Positioning and escape |
| Medium-range weapon | Pull ARC enemies safely |
| Reliable shield/defense | Survive bad aggro or third parties |
Do not bring a full treasure chest. This trial happens in contested areas, and players know where people are farming.
↖ Best Method: Step-by-Step
Use this route for the cleanest result.
1. Load into Stella Montis.
2. Move toward Loading Bay.
3. Look for a Bombardier first.
4. If no Bombardier appears, take a Leaper.
5. Wait until the target slows, lands, attacks, or turns.
6. Throw one Blaze Grenade under the body or legs.
7. Watch the score tick.
8. Do not spam extra grenades unless the first throw missed.
9. Rotate if players arrive.
The trial is won on placement. Not volume.
↖ High-Score Method: Lure Grenade + Blaze Grenade
For a better score, group enemies first.
The best setup is a Bombardier plus Leaper or Bombardier plus smaller ARC units.
| Setup | Potential | Difficulty |
|---|---|---|
| Bombardier alone | High | Medium |
| Leaper alone | Good | Medium |
| Bombardier + Leaper | Very high | Hard |
| ARC group + Lure Grenade | High | Medium |
| Random small ARC enemies | Low | Easy |
↖ Execution
1. Find a Bombardier.
2. Check for nearby ARC enemies.
3. Throw a Lure Grenade into a tight space.
4. Let enemies cluster.
5. Throw one Blaze Grenade into the center.
6. Leave immediately.
If both a Bombardier and Leaper burn from the same grenade, the score can spike hard. This is the best known push strategy.
↖ Common Mistakes
↖ Throwing Too Many Blaze Grenades
Multiple grenades did not reliably stack in testing. You waste materials and gain little.
↖ Throwing on Top Armor
Fire performs better when it hits legs, joints, and lower body parts. Aim low.
↖ Chasing Matriarch Core
Too much setup. Too much player traffic. Not enough score.
↖ Ignoring Movement
A moving target can walk out of the flame instantly. Throw where it will stop, not where it was.
↖ Overpacking
If you bring 50 Blaze Grenades and die, that is not preparation. That is a donation.
↖ FAQ
↖ What is the best target for the ARC Raiders Blaze Grenade Trial?
The Bombardier is the best tested target. One clean Blaze Grenade landed around the body and legs can score 5,000+ points.
↖ Can one Blaze Grenade three-star the trial?
Yes. A strong throw on a Leaper can reach three-star territory. A Bombardier is even better if you find one.
↖ Do Blaze Grenades stack for trial score?
Not reliably. Throwing multiple Blaze Grenades at once did not produce strong scaling in testing. Focus on one high-damage grenade.
↖ Where do you find the Blaze Grenade blueprint?
Farm industrial containers, especially in Stella Montis Loading Bay. Dam Primary Facility is a decent backup.
↖ How many Blaze Grenades should you bring?
Bring 5–10 for a normal run. Bring 12–20 only if you are using Lure Grenades for high-score attempts.
↖ Summary
For the ARC Raiders Blaze Grenade Trial, stop thinking like a grenade spammer. Think like a hunter.
Best route:
- Farm the blueprint in Stella Montis Loading Bay.
- Bring 5–10 Blaze Grenades.
- Target Bombardier first, Leaper second.
- Throw low, under the body or legs.
- Use Lure Grenade if chasing a high score.
- Avoid forcing Matriarch.
The best tested result came from one clean Blaze Grenade on a Bombardier. That is the method to beat.

Most Popular Posts
- ARC Raiders Riven Tides Key Room Guide: Best Hotel Keys, Loot Routes, Secure & Crane Storage
- ARC Raiders Damage Fireflies Trial Guide: Best Farm Method on Buried City Night Raid
- ARC Raiders Riven Tides Update: New Map & Items, ARC Turbine, Rewards, and Best Early Strategy
- ARC Raiders Bettina Guide: Best Build, Buffs, and How to Use It Against ARC
- Arc Raiders Season 4 Riven Tides Update, Rewards, Safe Skins, and Release Timeline
- ARC Raiders Solo Search Supply Drops Guide: Best Buried City Route, Beacon Locations
Popular Category Lists
- Grow a Garden / (286)
- ARC Raiders / (262)
- CoD: Black Ops 7 / (166)
- Monopoly Go / (146)
- MLB 26 / (144)
- Star Citizen / (111)
- Steal a Brainrot / (89)
- Sailor Piece / (68)
- ARK Survival Ascended / (66)
- Diablo IV / (61)
- Forza Horizon 6 / (60)
- Blox Fruits / (60)
- CoD: BLACK OPS 6 / (55)
- Adopt Me / (53)
- Path of Exile 2 / (48)
- Monster Hunter Wilds / (46)
- Windrose / (44)
- Path of Exile / (40)
- Grow a Garden 2 / (38)
- Bee Swarm Simulator / (36)


