



 0
0 Created: Apr 29,2026 | ARC Raiders
ARC Raiders Turbine Guides: Best Ways To Fight ARC Turbines and Loot

The Turbine showed up with the latest update and immediately started wrecking people who tried to fight it like a normal ARC. We learned that lesson the hard way—walked up thinking we'd dump some rounds into it, ate a lightning volley, and spent the next minute staring at the respawn screen.
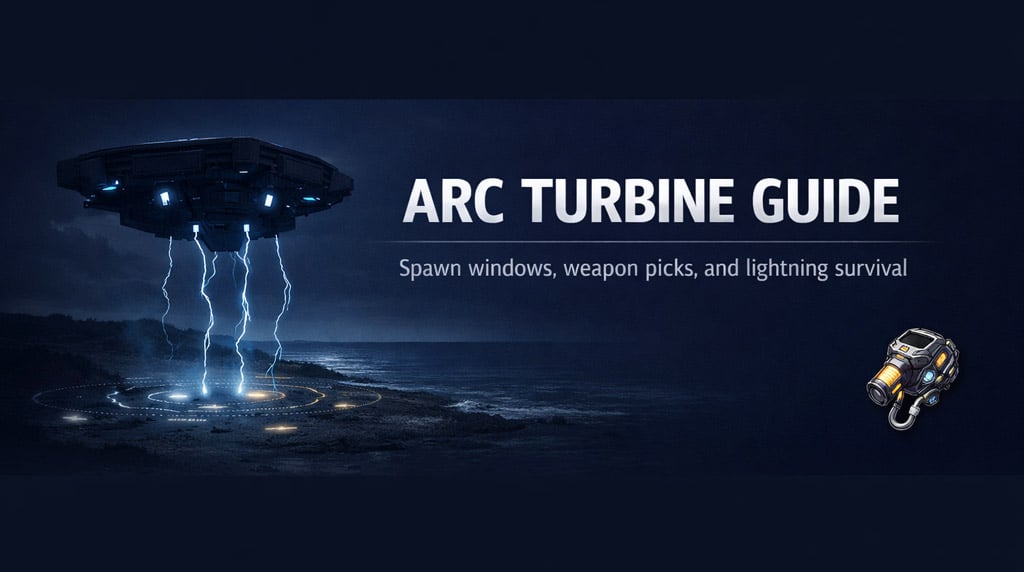
This thing is different. It spawns rarely, punishes bad positioning instantly, and drops loot you actually want. After multiple kills and a lot of failed attempts, here's what works.
Getting One to Actually Spawn
This was the most frustrating part for us. You can't just queue up and expect a Turbine. There's a system to it.
| Detail | What We've Confirmed |
|---|---|
| Map | Riven Tides only. Don't bother elsewhere. |
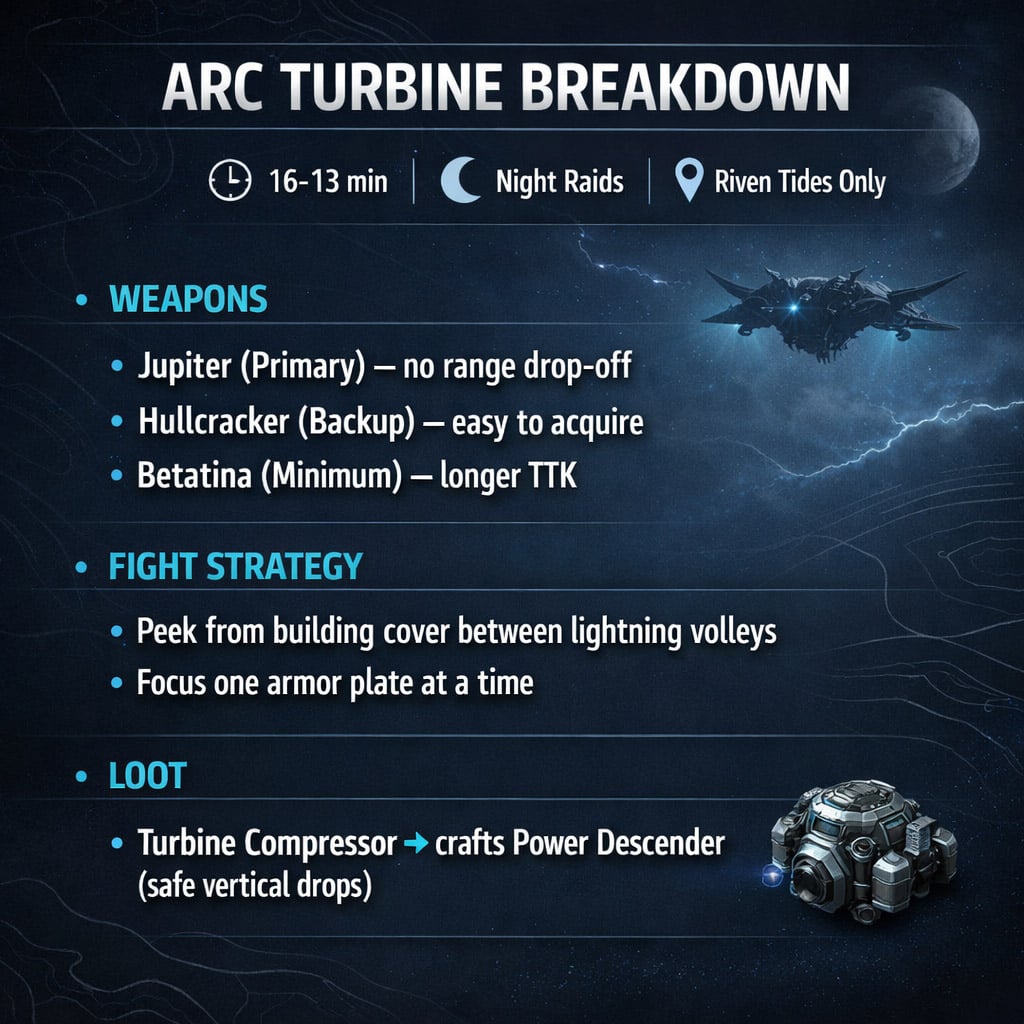
| Time Window | 16 to 13 minutes remaining is the sweet spot. Nothing by 10 minutes? Extract and reset. |
| Night Raids | Higher spawn chance. We've seen a noticeable difference during night rotations. |
| Multiple Drops | Rare but possible. Had three in one match once—absolute chaos. |
Our rule: always have a backup plan on Riven Tides. Loot containers for the Power Descender blueprint, knock out quests, whatever. If the Turbine shows up, great. If not, you still made progress.
How the Fight Works
The Turbine has two modes, and knowing the transition keeps you alive.
Grounded mode. It lands, plants itself, and scatters mines in a 10-meter ring. Three yellow canisters become exposed—these are the weak points. A few shots break the protective plating, and hitting the exposed core deals heavy damage. You get about 15 seconds before it lifts off. Do not be standing in that minefield when the thrusters ignite.
Flight mode. Once airborne, it fires an orb that splits into three lightning trails. One volley strips shields and takes half your health. The second kills you. There's no time to heal between hits. If you're in the open when those trails lock, you go down. Period. We've tested dodge timing, and nothing works consistently except breaking line of sight.
What to Bring
Arc armor laughs at under-leveled guns. Bring penetration or don't bother.
| Weapon | Notes |
|---|---|
| Jupiter | Best option. No range drop-off, consistent damage, shreds plates fast. |
| Hullcracker | Solid backup. Easier to get from traders, still punches through armor. |
| Betatina | Minimum viable. It works but burns more ammo and time. |
Bring at least 200 rounds. The Turbine's health pool rivals two to three Bastions. Running dry mid-fight after waiting 10 minutes for a spawn feels terrible.
The Strategy That Actually Works
Fight from a building. Find cover with a window or doorway near the Turbine. The rhythm is simple: peek, focus one armor plate until it breaks, hide during the lightning volley, repeat. Do not spread damage across multiple plates—pick one section and commit. Even a Jupiter takes several concentrated hits to crack the armor, and scattered shots just prolong the fight.
The lightning trails have a max range. Position far enough back and the black smoke expires before reaching you, dealing zero damage. We've watched it fizzle out from rooftop distance. If you can see the trails dissipating, you're in the right spot.
Wolf Packs help. Toss one during your peek window for passive damage while you reload.
What about sneaking up while it's grounded? In theory, you creep through the mines, dump damage into the canisters, retreat, and wait for it to de-aggro and land again. Deadlines work here—roughly 2,000 damage per stick—but you can't place them inside the yellow core (we've tried, geometry blocks it). The real problem is other players. Randoms almost always start shooting the moment the Turbine lifts off, locking it in flight mode permanently. Unless you're in a coordinated squad, this approach falls apart fast.
Snap hook Deadline strat. Grapple onto the Turbine, plant two Deadlines, bail. Two sticks blow it up. It's fast and flashy. It's also incredibly risky—miss the hook and you land in the minefield with no cover. Most attempts we've seen ended with a down. We don't recommend it unless your snap hook movement is dialed in.
The Loot
The main compartment drops a guaranteed Turbine Compressor. Side compartments can drop extras at a lower rate. Most kills net one or two.
The compressor crafts the Power Descender—a downward thruster that lets you drop safely from height. About 15 meters of controlled descent before cooldown. Key detail: activate it early. If you trigger it right before impact, you still take full fall damage. The thruster needs a moment to spool. We learned that off the Spaceport tower.
The blueprint drops from standard Riven Tides containers at a common rate. We found three just looting normally, so the Turbine isn't required to unlock the item—it just speeds up crafting.
FAQ
When should I give up and reset?
If nothing drops by the 10-minute mark, extract and re-queue. Don't waste time hoping for a late spawn—it doesn't happen.
Why does the lightning sometimes miss me?
The trails have a range limit. If you're far enough back—rooftop to shoreline distance—they expire before connecting. Combine distance with building cover and you take no damage.
Can I solo this?
Yes, with patience. A Jupiter and a safe building to peek from is all you need. Expect it to take several minutes. Wolf Packs speed things up.
Is the Power Descender worth it?
We run it regularly now. It's not a jetpack, but safe vertical drops change how you navigate the map. The blueprint is common enough that you'll likely find it before you even need the compressor.
The Turbine is a proper event enemy—rare, punishing, and satisfying to bring down. The spawn RNG can be annoying, but going in with a secondary goal keeps it from feeling like wasted time. Stick to cover, focus your shots, and don't get greedy when it's grounded. If those lightning trails start tracking and you're nowhere near a doorway, you've already lost. Play patient and the compressor is yours.

Most Popular Posts
- ARC Raiders Update 1.42: Phantom Targets Farming Guide (Glitched Wasps, Rewards, Regional Conditions)
- ARC Raiders Hullcracker Blueprints: Fastest Way to Complete The Major's Footlocker
- ARC Raiders Best Pop Trigger Strategy: Fast Phantom Targets Damage Guide
- ARC Raiders Subway Skin Guide: Unlock the Subterranean Outfit
- ARC Raiders Looting Mk. 3 Survivor Blueprint Guide: Best Blue Gate Route and Drop Locations
- ARC Raiders Medium & Heavy Gun Parts Blueprint Guide: Best Farm Route, Locations, and Refiner Crafting
Popular Category Lists
- ARC Raiders / (354)
- Grow a Garden / (294)
- CoD: Black Ops 7 / (167)
- Star Citizen / (163)
- MLB 26 / (159)
- Monopoly Go / (153)
- ARK Survival Ascended / (128)
- Steal a Brainrot / (99)
- Blox Fruits / (74)
- Adopt Me / (74)
- Forza Horizon 6 / (72)
- Sailor Piece / (68)
- Grow a Garden 2 / (68)
- Diablo IV / (62)
- CoD: BLACK OPS 6 / (55)
- Aion 2 / (53)
- Path of Exile 2 / (48)
- Monster Hunter Wilds / (46)
- Windrose / (44)
- COD: Modern Warfare 4 / (43)






