0
0ARK Survival Ascended Best Loot Cave on The Island: Location, Gear, and Fast Route
- LUKE
- Share
- ARK Survival Ascended
- 04/28/26
- 1363
If we're farming serious blueprints on The Island, this cave is one of the best places to check regularly in ARK Survival Ascended. It has multiple loot drop spawns, including red drops, and the route becomes pretty simple once we know where to turn.
The cave can feel confusing on the first run, mostly because of the branching paths and environmental damage. But with a Baryonyx, a few pieces of scuba gear, and a simple left-wall route, we can turn it into a reliable loot farm instead of a messy corpse run.
- Cave Location and Entrance
- Best Gear for This Loot Cave
- Fast Route to the Loot Drops
- Step 1: Enter and Take the First Left
- Step 2: Reach the Open Area and Turn Left Again
- Step 3: Check the Yellow Drops
- Red Drop Section: Main Reason to Farm This Cave
- Extra Tips for Safer Farming
- FAQ
- Where is the best loot cave on The Island in ARK Survival Ascended?
- What mount should we use for this cave?
- Why do we take damage inside the cave?
- Are red drops guaranteed to spawn?
- Is this cave good for boss preparation?
- Can beginners run this cave?
- Summary
↖ Cave Location and Entrance
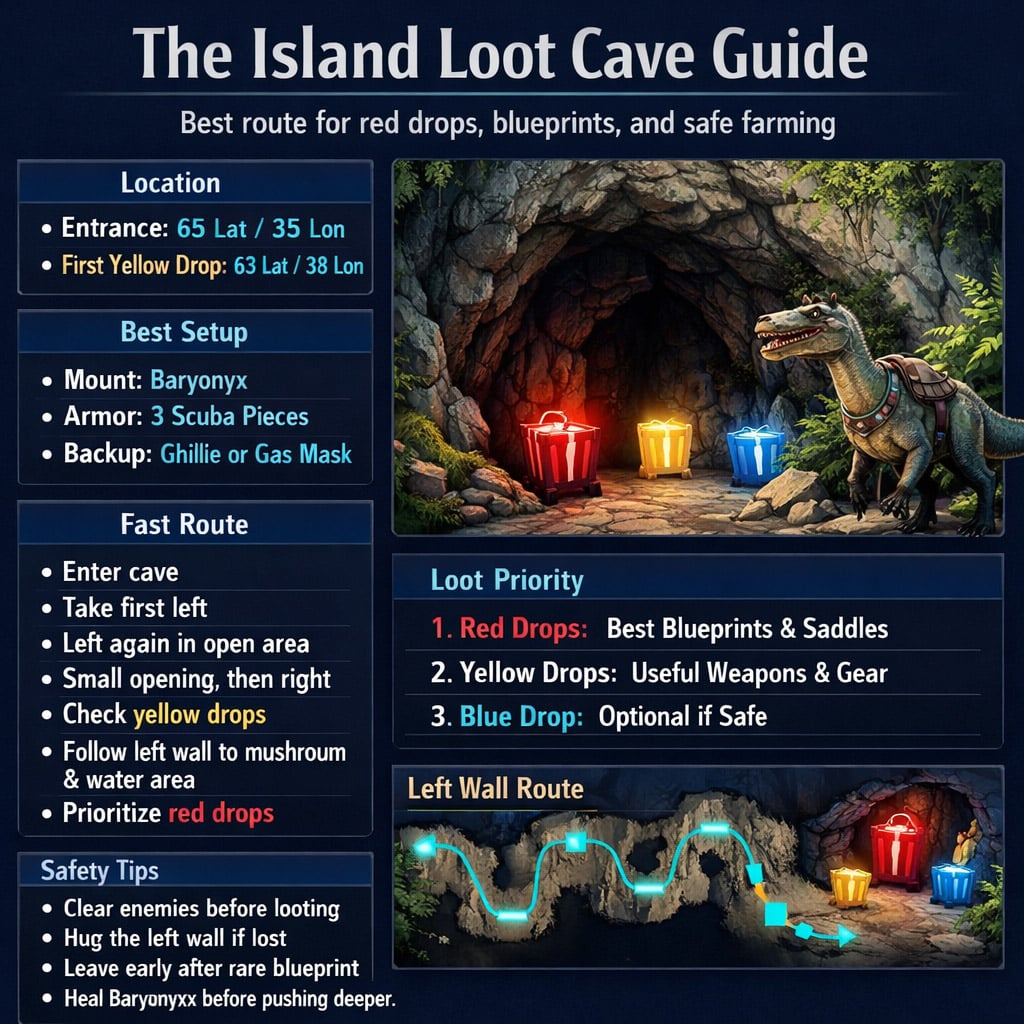
The cave entrance is around 65 Lat / 35 Lon on The Island. It is built into the cliffside, so it's easy to miss if you come in from the wrong angle.
A simple way to find it is to fly toward the small island landmark nearby, then turn toward the eastern side of the map and look for a dark opening in the rock wall.
| Spot | Coordinates | What to Look For |
|---|---|---|
| Cave Entrance | 65 Lat / 35 Lon | Hole in the cliff wall |
| First Yellow Drop Area | 63 Lat / 38 Lon | After the early left-side route |
| Red Drop Area | Deeper inside | Near mushrooms and water |
| Final Blue Drop Path | After red drops | Keep following the left wall |
This cave is worth marking on your map because it can become part of a regular loot farming loop.
↖ Best Gear for This Loot Cave
The main thing to know before entering is that this cave can damage your character over time. If you go in with normal armor and ignore it, your health will keep dropping while you fight.
From our runs, the easiest setup is a Baryonyx plus three scuba pieces. Ghillie can reduce the damage, but scuba pieces can stop it completely, which makes the run much cleaner.
| Gear / Mount | Recommended? | Why It Helps |
|---|---|---|
| Baryonyx | Yes | Great cave mount, strong in water, easy to control |
| 3 Scuba Pieces | Yes | Stops the cave's environmental damage |
| Ghillie Armor | Optional | Reduces damage if you lack scuba |
| Gas Mask | Optional | Works, but usually less economical |
| Medical Brews | Yes | Backup if you get dismounted |
| Cryopod | Useful | Helps recover or move your mount safely |
A decent Baryonyx does not need to be perfect, but we'd avoid bringing a fresh low-level tame. In one practical run, a Baryonyx can lose around 2,000 health while clearing enemies, so give yourself a safety buffer.
| Baryonyx Stat | Good Target |
|---|---|
| Health | 8,000–12,000+ |
| Melee | 350%+ |
| Stamina | 1,000+ |
| Saddle | Best armor you can craft |
If your mount is taking too much damage before you reach the red drops, leave, heal, and improve the saddle or stats first. A dead Baryonyx deep in a cave is ARK's way of billing you for overconfidence.
↖ Fast Route to the Loot Drops
The route is much easier if we follow one simple rule: keep hugging the left wall. That keeps us from getting turned around and leads us through the important loot areas.
↖ Step 1: Enter and Take the First Left
Once inside, move forward and take the first left. Expect bugs and other cave creatures if the cave has not been cleared.
If enemies are still alive, pull them in small groups. Do not sprint into the deeper rooms, because you can easily drag too many creatures at once.
↖ Step 2: Reach the Open Area and Turn Left Again
After the first section, you'll reach a larger open area. Take another left, then go through the smaller opening.
From there, take a right to reach the first main loot drop.
↖ Step 3: Check the Yellow Drops
The first important drop is usually a yellow drop around 63 Lat / 38 Lon. These can give solid blueprints, weapons, and saddles.
There may also be another yellow drop nearby. It is quick to check, so it's usually worth grabbing before heading deeper.
| Drop Type | Where It Appears | Worth Checking? |
|---|---|---|
| Yellow Drop | Early route, around 63 / 38 | Yes |
| Second Yellow Drop | Nearby side section | Yes, if safe |
| Red Drop | Mushroom and water area | High priority |
| Blue Drop | Later left-wall path | Optional |
Yellow drops are not always amazing, but they are close enough to the main route that skipping them usually isn't necessary.
↖ Red Drop Section: Main Reason to Farm This Cave
After the yellow drops, continue forward while staying close to the left wall. Eventually, you'll reach the mushroom and water section. This is where the cave gets interesting.
Red drops can spawn here, and these are the main reason this cave is so valuable.
Possible red drop rewards include:
- High-quality weapon blueprints
- Strong saddle blueprints
- Armor pieces
- Utility creature saddles
- Late-game crafting blueprints
| Loot Type | Why It Matters |
|---|---|
| Saddle Blueprints | Useful for boss prep and dangerous caves |
| Longneck / Weapon BPs | Better damage or taming support |
| Armor BPs | More durability and protection |
| Creature Saddles | Helps with farming, travel, and combat |
If you find a strong saddle blueprint, consider leaving and storing it before pushing deeper. One extra crate is not worth losing a rare blueprint to a bad fight.
↖ Extra Tips for Safer Farming
A good loot cave run is not about rushing. It is about making the route repeatable.
| Problem | What to Do |
|---|---|
| You are taking health damage | Equip scuba pieces or ghillie |
| You feel lost | Return to a known room and hug the left wall |
| Your Baryonyx is low | Stop pushing and heal outside |
| Enemies are near a drop | Clear first, loot second |
| You already got great loot | Leave and bank it |
The biggest mistake is opening drops while enemies are still nearby. Loot menus are dangerous in caves because one bad moment can get you boxed in.
For steady farming, use this loop:
1. Enter with Baryonyx and scuba.
2. Clear enemies slowly.
3. Check yellow drops.
4. Move to the mushroom and water area.
5. Check red drops.
6. Grab the blue drop only if safe.
7. Exit and store valuable loot.
This keeps the cave efficient without turning every run into a gamble.
↖ FAQ
↖ Where is the best loot cave on The Island in ARK Survival Ascended?
The entrance is around 65 Lat / 35 Lon. Look for a cave opening in the cliffside near the small island landmark.
↖ What mount should we use for this cave?
A Baryonyx is the best practical choice. It handles tight paths well, fights reliably, and performs better than most mounts in water sections.
↖ Why do we take damage inside the cave?
The cave has environmental damage. Use three scuba pieces to prevent it, or ghillie armor to reduce it.
↖ Are red drops guaranteed to spawn?
No. Loot drops are random, and spawn availability depends on your server and timing. The cave is still worth farming because it has multiple strong drop locations.
↖ Is this cave good for boss preparation?
Yes. The red drops can provide high-quality saddle blueprints, weapon blueprints, and armor pieces, all of which can help with boss progression.
↖ Can beginners run this cave?
Yes, but only with preparation. Bring a solid Baryonyx, scuba gear, healing items, and avoid rushing into large enemy groups.
↖ Summary
This cave is one of the best loot farms on The Island because it has a strong mix of yellow, red, and blue drop spawns. The entrance is around 65 Lat / 35 Lon, and the main route becomes simple once we follow the left wall through the cave.
For the cleanest run, use a Baryonyx, wear three scuba pieces, clear enemies before looting, and prioritize the red drops near the mushroom and water area. If you pull a great blueprint, bank it early. That one habit saves more gear than any just one more drop decision ever will.

Most Popular Posts
- ARK Survival Ascended Genesis 1 Best Loot and Hexagon Farm Guide
- ARK Survival Ascended Ship Guide: Best Ships, Sailing Controls, Cannons, Skills, Farming & PvP Uses
- ARK Survival Ascended Umbra Guide: Spawn Location, Taming Steps, Abilities, Skill Tree & Worth
- ARK Survival Ascended 2026 Update Guide: Lost Colony Fixes, Trait Upgrades, Creature Changes
- ARK: Survival Ascended Top Coordinates Guide: Best Genesis Base Locations
- ASA Best Boss Fighting Creatures: Ranked for Boss Arenas, Titans, and Mini Bosses
Popular Category Lists
- Grow a Garden / (286)
- ARC Raiders / (266)
- CoD: Black Ops 7 / (166)
- Monopoly Go / (146)
- MLB 26 / (145)
- Star Citizen / (120)
- Steal a Brainrot / (89)
- ARK Survival Ascended / (75)
- Sailor Piece / (68)
- Forza Horizon 6 / (64)
- Diablo IV / (61)
- Blox Fruits / (60)
- CoD: BLACK OPS 6 / (55)
- Adopt Me / (54)
- Path of Exile 2 / (48)
- Grow a Garden 2 / (47)
- Monster Hunter Wilds / (46)
- Windrose / (44)
- Path of Exile / (40)
- Bee Swarm Simulator / (36)