0
0 Created: Jul 29,2026 | ARK Survival Ascended
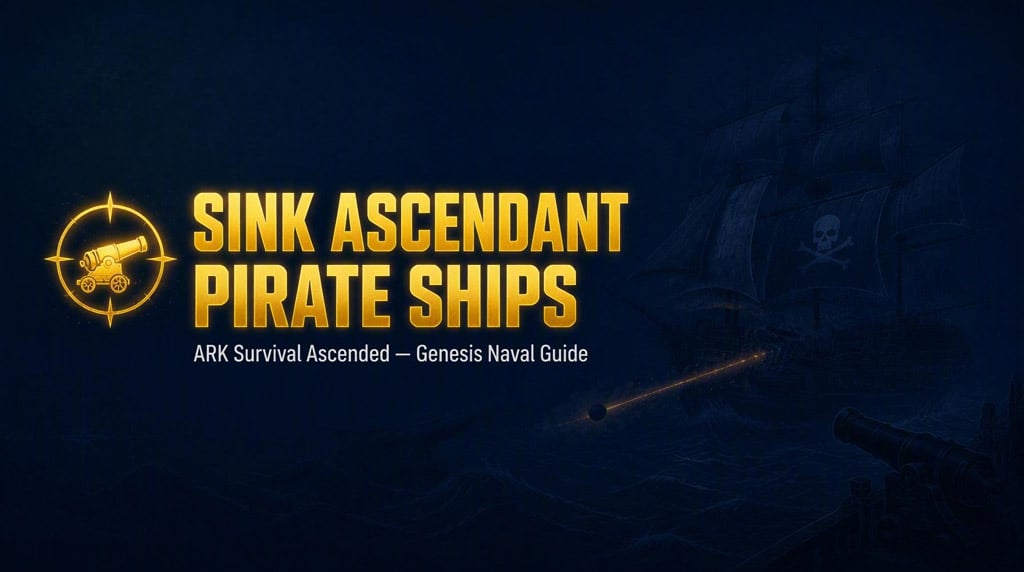
How to Sink Ascendant Pirate Ships on ARK Survival Ascended Genesis

Ascendant Pirate Ships look like free loot. They're not. These things chew through a Brigantine fast if you sail in unprepared. We've fought two — one clean win, one that ended at 20% hull health. Here's what actually works.
- What Triggers the Fight
- Gear Up Before You Sail
- Free vs Reinforced Cannonballs
- Combat Rules That Keep You Alive
- Health Thresholds — What To Do
- Mistakes That Sink Ships
- Is the Loot Actually Worth It?
- FAQ
- How do you spawn an Ascendant Pirate Ship?
- Can you sink it with free cannonballs?
- What ship do I need?
- When should I switch to reinforced cannonballs?
- Is the loot worth the risk?
- Bottom Line
What Triggers the Fight
Pick up treasure flasks on Genesis. Some roll as Ascendant-tier. Use one, and if it vanishes and drops a cannon destroy icon on your screen, you just spawned a pirate ship. That's your objective marker.
Not every Ascendant flask does this. No icon = normal treasure, no ship fight.
Gear Up Before You Sail
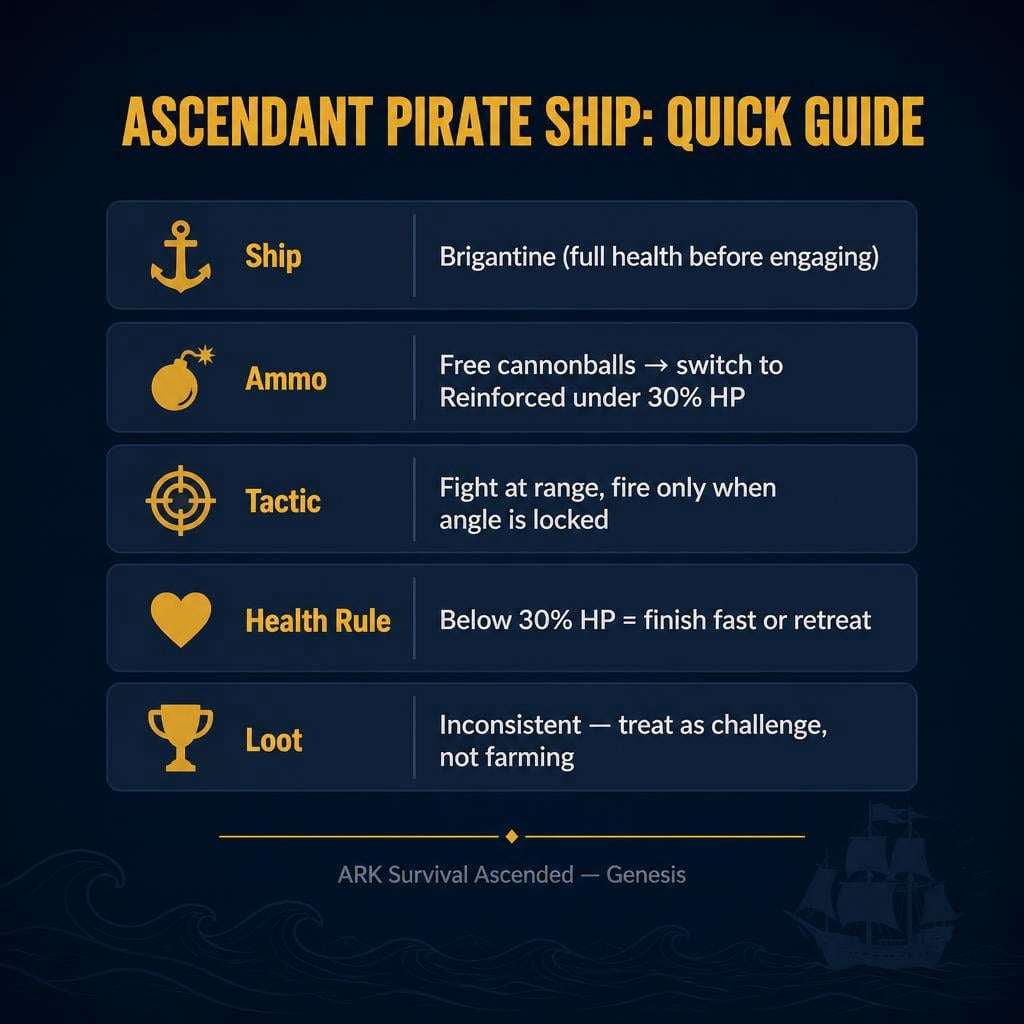
Ship: Brigantine. Nothing weaker survives this reliably.
Non-negotiables:
- Full health hull before engaging — no exceptions
- Free cannonballs loaded as your primary ammo
- Reinforced cannonballs as backup, not your opener
- Repair mats onboard
- Skills prioritized: hull durability > cannon damage > reload speed
Miss shots with free cannonballs and this fight drags. A dragged-out fight means more incoming hits than you can afford.
Free vs Reinforced Cannonballs
| Type | Use When |
|---|---|
| Free cannonballs | You're confident on aim, fighting at range |
| Reinforced cannonballs | Hull under 30%, or enemy is nearly dead |
| Mixed | Default strategy — start free, finish reinforced |
Free ammo works fine if you land shots consistently. The moment your hit rate drops, switch. Don't be stubborn about saving resources — a sunk Brigantine costs way more than a stack of cannonballs.
Combat Rules That Keep You Alive
1. Never close the distance first. Range is your defense. Close range = easy target for their guns too.
2. Only fire when your angle is locked. A missed shot at close range is a free hit back.
3. Check your health every exchange, not after the fight feels bad.
4. Reposition instead of forcing a shot. One clean hit beats three rushed misses.
Health Thresholds — What To Do
| Hull HP | Action |
|---|---|
| 80–100% | Keep pressuring normally |
| 50–80% | Tighten positioning, cut mistakes |
| 30–50% | Switch to reinforced cannonballs |
| Below 30% | Finish fast or disengage — don't gamble |
Mistakes That Sink Ships
- Bringing only free ammo, no backup plan. You're betting the whole fight on perfect aim.
- Fighting point-blank. Feels aggressive, gets you punished.
- Ignoring the health bar until it's an emergency. By 30% you're already in danger zone — react earlier.
- Refusing to burn reinforced cannonballs. Saving ammo while losing your ship is a bad trade.
Is the Loot Actually Worth It?
Honestly? Inconsistent. We've walked away from near-losses with nothing better than berries. The fight itself is genuinely fun and tense — but as a farming strategy, a standard treasure dig is often more efficient per risk taken.
Fight it for the naval combat experience. Don't count on it as a reliable loot source.
FAQ
How do you spawn an Ascendant Pirate Ship?
Use an Ascendant treasure flask. If it disappears and a cannon destroy icon appears, the ship has spawned.
Can you sink it with free cannonballs?
Yes — but only if you're landing most of your shots. Miss too often and the fight outlasts your hull.
What ship do I need?
A Brigantine, fully repaired, before you even approach the marker.
When should I switch to reinforced cannonballs?
Hull below 30%, or the enemy is nearly sunk. Either scenario, stronger ammo ends things faster.
Is the loot worth the risk?
Not reliably. Treat it as a combat challenge, not a guaranteed high-value farm.
Bottom Line
Full-health Brigantine. Free cannonballs first, reinforced held in reserve. Fight at range, watch your hull every exchange, switch ammo the moment things turn risky. Sink it clean, or back off before 30% turns into zero. This encounter rewards preparation — not good vibes and improvisation.


The GGWTB Editorial Team features 10 full-time gaming editors and 23 specialist contributors, delivering hands-on tested walkthroughs, easter egg breakdowns, and game updates.
LUKE — who spearheads our in-depth ARK Survival Ascended, COD: Modern Warfare 4 guides, and patch notes—every guide is rigorously verified on live servers for accuracy.

Most Popular Posts
- ARK Survival Ascended Lunar Biome Cave Locations: All 6 Caves From World Teleporter
- ARK: Survival Ascended Bjarnheim Farming Guide: Element, Pearls, Metal & Boss Routes
- ARK: Survival Ascended Lumina Dinos Guide: Spawn Locations, Taming Steps & Umbra Synergy
- Thylacoleo Location on Genesis 1 (ASA): Spawn Coordinates, Force-Spawn Method & Fast Taming Guide
- ARK: Survival Ascended Giant Queen Bees: Find and Tame in Genesis 1
- ARK Survival Ascended Magmasaur Guide: Egg Theft, Raising, and Metal Farming Tips
Popular Category Lists
- ARC Raiders / (354)
- Grow a Garden / (294)
- CoD: Black Ops 7 / (167)
- Star Citizen / (163)
- MLB 26 / (159)
- Monopoly Go / (153)
- ARK Survival Ascended / (128)
- Steal a Brainrot / (99)
- Blox Fruits / (74)
- Adopt Me / (74)
- Forza Horizon 6 / (72)
- Sailor Piece / (68)
- Grow a Garden 2 / (68)
- Diablo IV / (62)
- CoD: BLACK OPS 6 / (55)
- Aion 2 / (52)
- Path of Exile 2 / (48)
- Monster Hunter Wilds / (46)
- Windrose / (44)
- Maplestory Classic / (42)