0
Created: Oct 27,2026 | RuneScape: Dragonwilds
RuneScape: Dragonwilds Farming Guide - Best Plots, Compost & Level 99 Route

Reaching Farming Level 99 in RuneScape: Dragonwilds requires locking down sustainable seed loops and eliminating supply-run downtime before scaling your base layout. If you spam dozens of crop beds without matching plot tiers or automating water and compost access, you will burn through your seed reserves in two harvests.
- Match Seed Tiers to Compatible Plots Before Expanding
- Fix Your Maintenance Bottlenecks: Compost vs. Plant Cure
- The Compost Trap vs. Reactive Plant Cure
- Optimize Your Level 99 Crop Cycle: Pumpkins, Watermelons & Tools
- Evaluating Pumpkins, Watermelons, and Herbs
- Iron Secateurs vs. The Uproot Spell
- Stacking XP Buffs Without Wasting Duration
- FAQ (Frequently Asked Questions)
- What is the best crop for Farming Level 99 in RuneScape: Dragonwilds?
- Why can't I place farming plots on my base floor in Dragonwilds?
- Is Compost required for every crop cycle, or can I just use Plant Cure?
- Should I harvest with Iron Secateurs or the Uproot spell?
- How do I maximize Farming XP buffs during harvest?
Match Seed Tiers to Compatible Plots Before Expanding
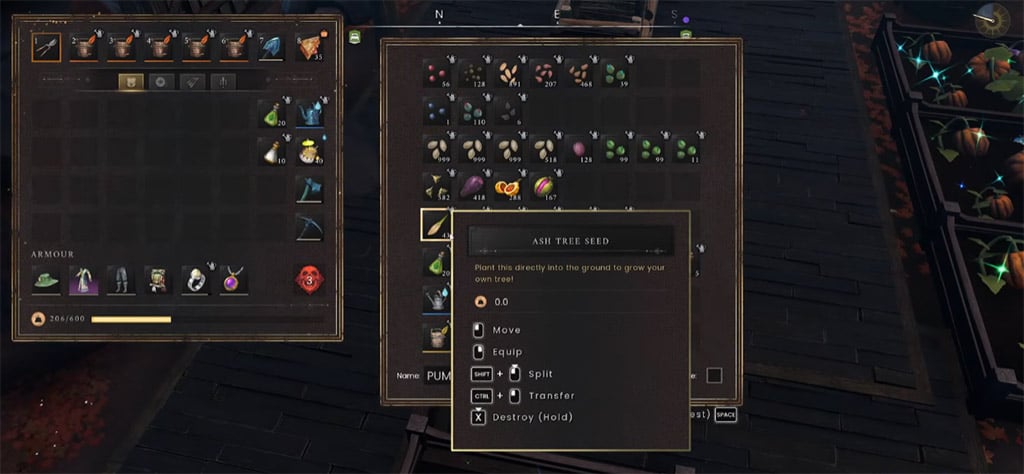
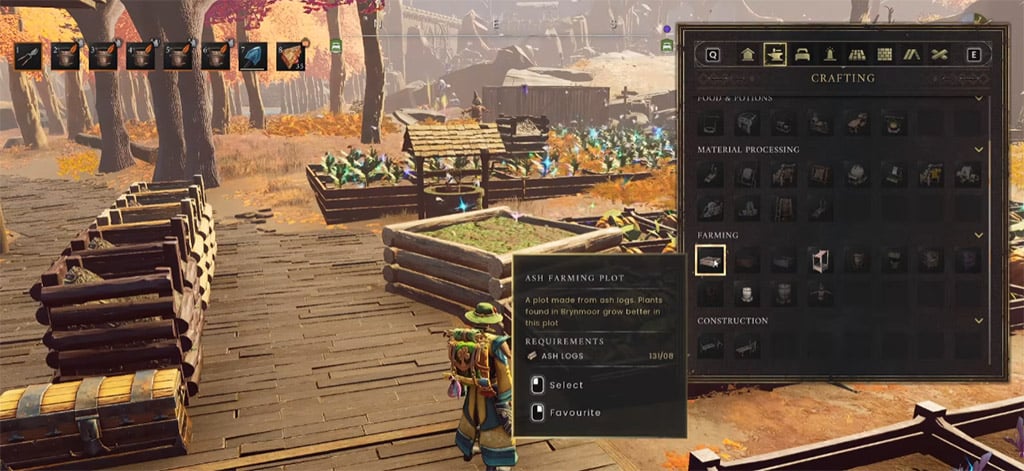
Placing a massive grid of starter beds is a guaranteed resource trap if your target seeds require higher-tier soil structures. Before crafting new beds, inspect your seed tooltip and match its requirement to the exact build-menu plot tier (such as upgrading to Willow Plots for mid-to-high tier crops).
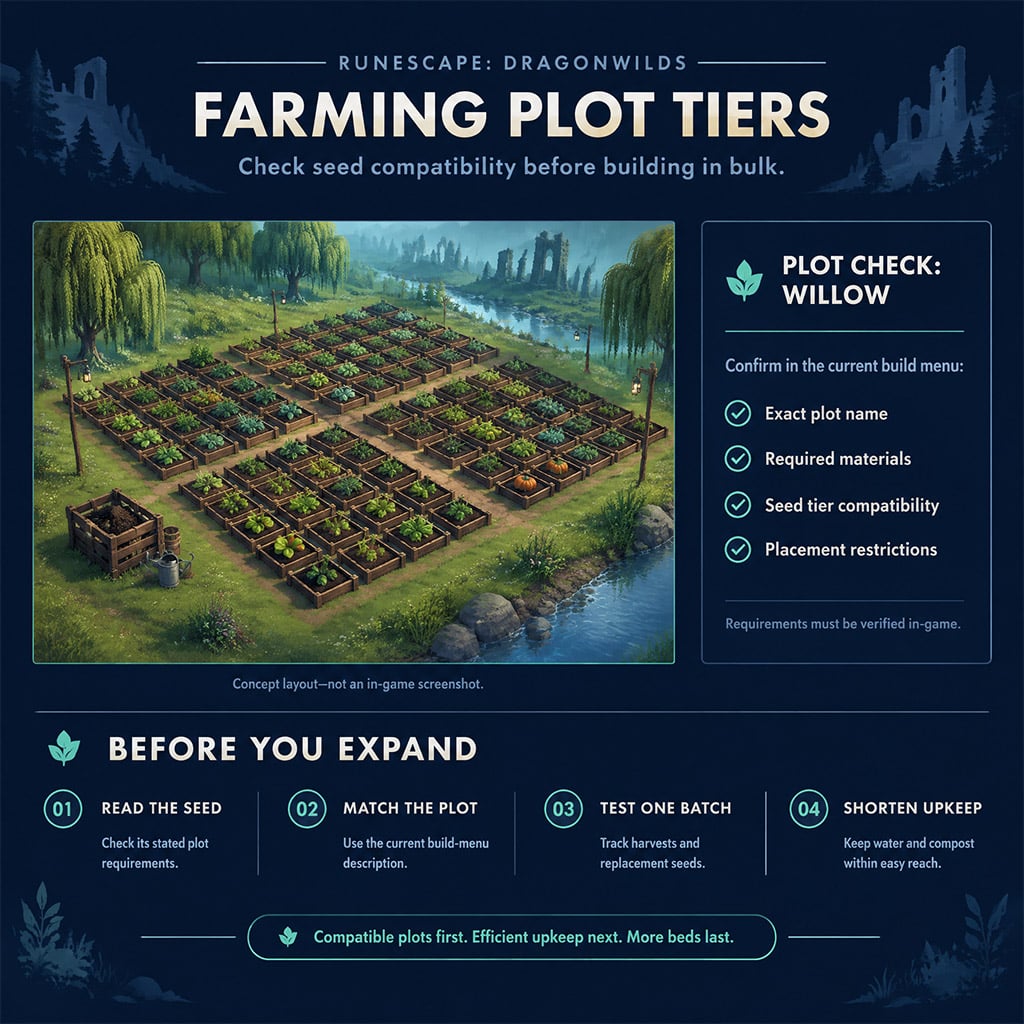
Why does plot placement break so many early farms? Farm plots function as raised planter beds—you can place them directly on solid rock or flat dirt (like Bramble Valley near the Wise Old Man), but the game blocks placement on player-built floor foundations.
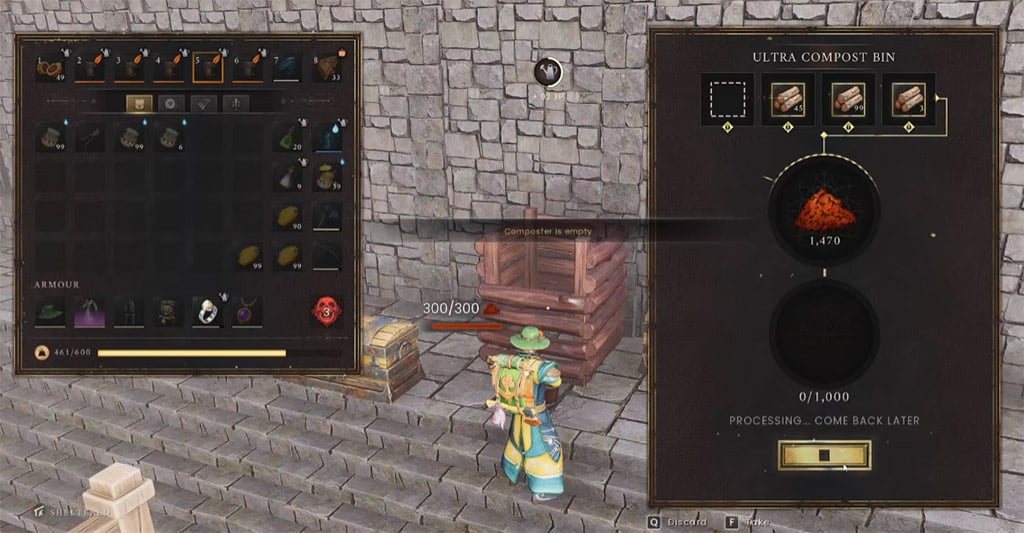
In our 40+ hours of farming loop testing, we found that building a single 10x10 working batch directly adjacent to water barrels and compost bins cuts cycle time by nearly half. Follow this exact sequence before scaling up:
1. Verify the seed's plot tier requirement in your inventory.
2. Place one compact grid on flat natural terrain next to your water and compost stations.
3. Run one complete plant, water, and harvest cycle.
4. Count your net seed return against seeds planted.
5. Add a second grid only when your seed stockpile grows after harvest.
Do not confuse a plot's material name with regional biome locks. A tier-named plot dictates what seeds it can hold, not which map zone you must build it in.
Fix Your Maintenance Bottlenecks: Compost vs. Plant Cure
Adding more plots when your watering or fertilizing routine is clunky only multiplies your downtime. You must eliminate your slowest recurring chore before expanding your farm footprint.
Use this priority matrix to fix whichever mechanic drains your active playtime:
| Active Bottleneck | Immediate Fix | When to Skip This Upgrade |
|---|---|---|
| Constant water runs | Build plots beside water sources; use area watering spells | Your current grid waters in under 15 seconds |
| Tedious 5-charge compost refills | Switch to reactive Plant Cure or batch-craft compost nearby | You rely on high-tier compost solely for bonus crop yield |
| Slow manual harvesting | Equip Iron Secateurs or cast the Uproot skill spell | Mass-harvesting drops your rare seed return below 100% |
| Net-negative seed returns | Harvest manually with Secateurs to protect seed yield | You have a massive surplus from world foraging |
| Long walking routes between beds | Condense beds into a tight 10x10 layout on flat ground | Your plots already sit within a single spell-cast radius |
Never expand your plot count until your slowest maintenance step takes less than one minute per cycle.
The Compost Trap vs. Reactive Plant Cure
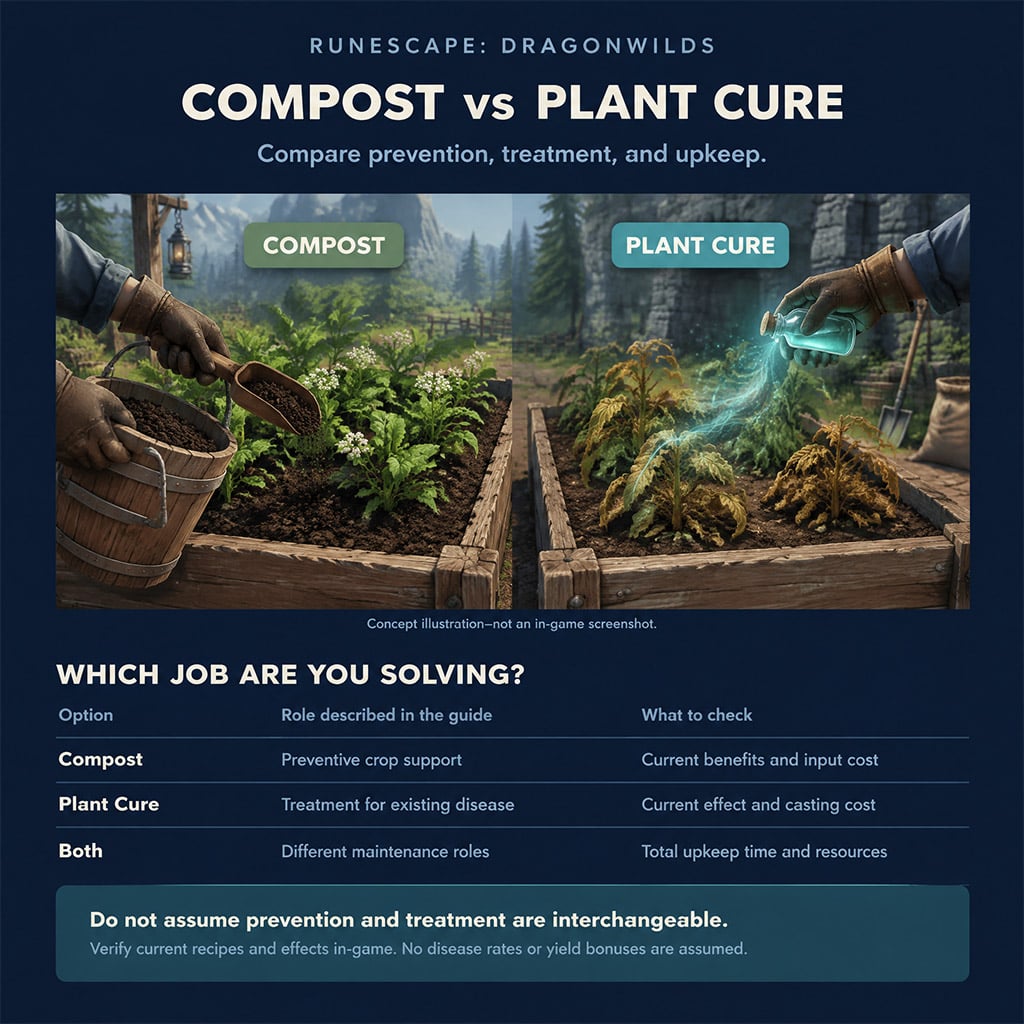
Most players assume they must compost every single plot on every cycle to prevent crop death. Here is the catch: managing 5 charges per field while constantly gathering compost ingredients often takes longer than the growth timer itself.
During our side-by-side cycle tests, skipping preventative compost on low-tier crops and keeping cheap Plant Cure on our hotbar saved three minutes of prep per run. Save your Compost for high-value harvests where maximizing raw yield matters, and use Plant Cure reactively when you only care about fast Farming XP.
Optimize Your Level 99 Crop Cycle: Pumpkins, Watermelons & Tools
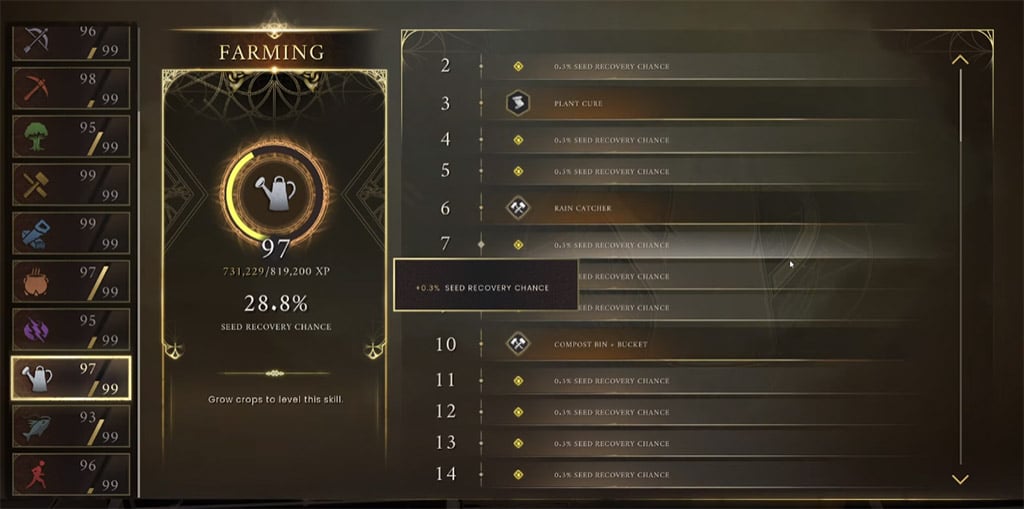
Chasing raw harvest XP numbers on paper will stall your grind to 99 if your seeds run dry. A crop with slightly lower XP per plant will beat a high-XP crop every time if it sustains a 100%+ seed return loop.
Evaluating Pumpkins, Watermelons, and Herbs
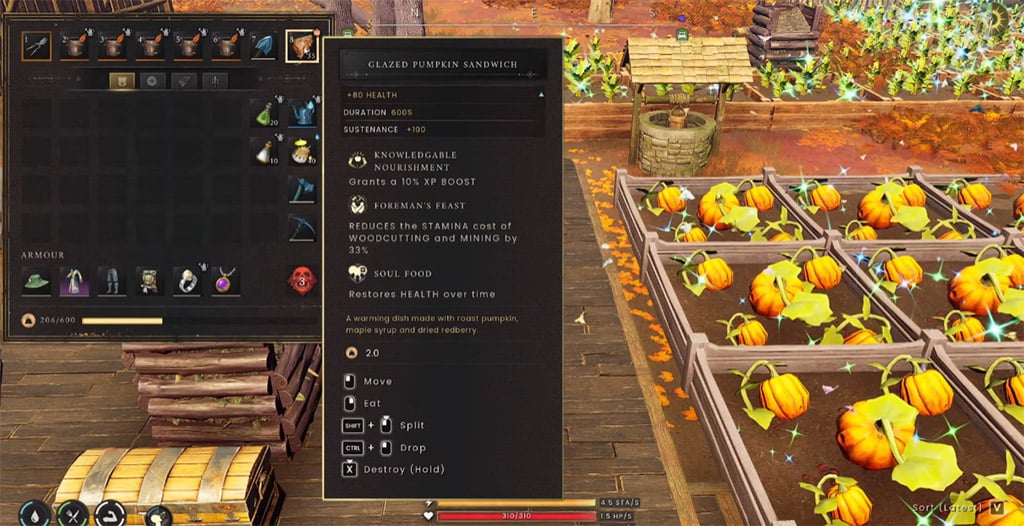
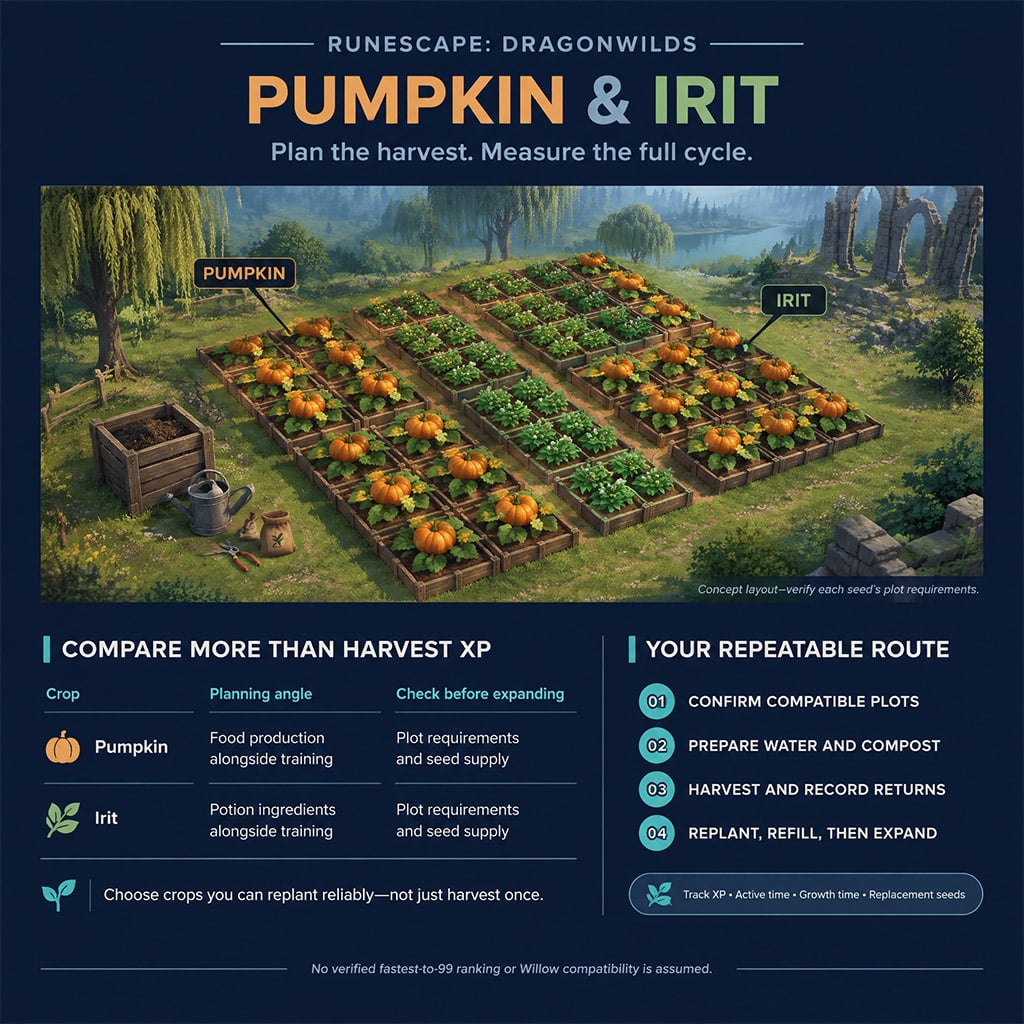
Once you transition into mid-to-late game Willow Plots, pair Pumpkins with Irit herbs as your core leveling backbone. While Watermelons look appealing for burst gains, inconsistent seed sustainability makes them risky as a solo leveling method without a backup seed stash.
When testing any new crop for your level 99 route, track these four metrics over three full harvests:
- Total XP per full grid harvest (not per single plant).
- Net seed sustainability (do you gain or lose seeds after replanting?).
- Active maintenance time (watering, curing, and replanting seconds).
- Secondary crafting value (cooking foods or brewing potions like Irit).
A massive XP drop means nothing if you spend twenty minutes foraging for replacement seeds.

Iron Secateurs vs. The Uproot Spell
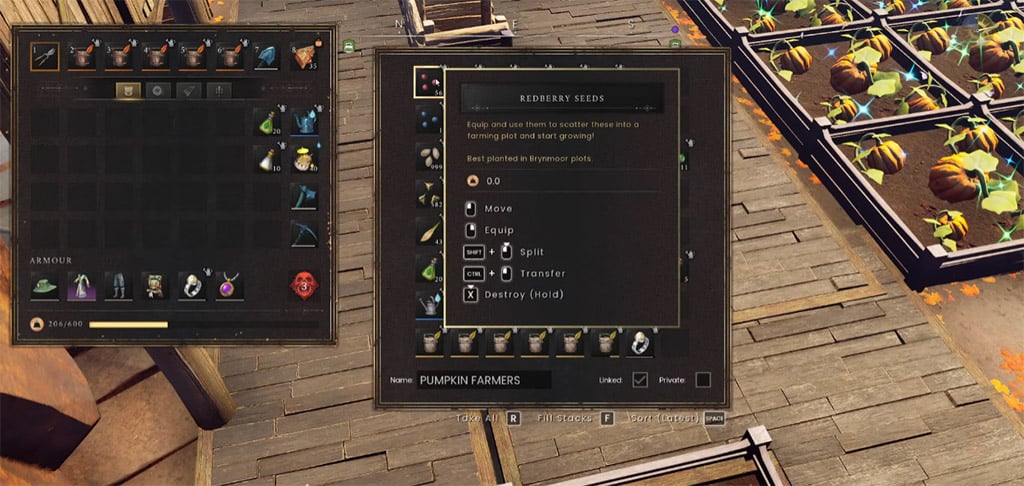
The Fellhollow farming toolkit gives you two primary ways to clear plots: manual harvesting with Iron Secateurs or casting the Uproot skill spell. If your priority is preserving your seed stack and squeezing out extra crop yield, harvest manually with Iron Secateurs equipped.
We tested Uproot across three consecutive 100-plot harvests and found that while it clears grids in seconds, you must watch your seed return closely. Use Iron Secateurs when building up scarce seed reserves (like early Pumpkins), then switch to Uproot to burn through excess seeds for rapid XP bursts.
Stacking XP Buffs Without Wasting Duration
Never pop timed Farming XP buffs—such as the Farm Ring, XP potions, or cooking buffs—while you are still watering or waiting on growth ticks. Wait until your entire 10x10 grid is 100% mature, empty your inventory, equip your Iron Secateurs and Farm Ring, and trigger your consumables right before the first harvest click.
Do not blindly trust additive tooltip numbers (like assuming three buffs equal a flat 45% bonus). Trigger your buffs only during the harvest window where the bulk of your XP drops, then immediately replant before the timer expires.
FAQ (Frequently Asked Questions)
What is the best crop for Farming Level 99 in RuneScape: Dragonwilds?
Growing Pumpkins alongside Irit in a 10x10 Willow Plot is the most reliable route to Level 99. Pumpkins deliver consistent XP and reliable seed recovery, while Watermelons often suffer from seed bottlenecks that interrupt continuous farming loops.
Why can't I place farming plots on my base floor in Dragonwilds?
Farming plots act as raised planter beds that cannot be snapped onto player-crafted floor foundations. You must place them directly on natural terrain or solid rock—flat areas like Bramble Valley near the Wise Old Man let you fit 100+ plots easily.
Is Compost required for every crop cycle, or can I just use Plant Cure?
You do not need Compost for every cycle if you are purely grinding XP. Because managing 5 charges per field is tedious, many veteran farmers skip routine composting on common crops and apply cheap Plant Cure only when disease actually spawns.
Should I harvest with Iron Secateurs or the Uproot spell?
Use Iron Secateurs when you need to protect your seed returns and maximize harvest yield on scarce crops. Switch to the Uproot skill spell only when you have a massive seed surplus and want to clear large plot grids for fast XP.
How do I maximize Farming XP buffs during harvest?
Wait until every crop in your grid is fully grown and your inventory is clear before activating consumables or equipping your Farm Ring. Pop your buffs immediately before harvesting the mature batch so zero buff duration is wasted on growth timers or compost runs.

I’m Amara Okafor, a Nigerian Contributing Writer at GGWTB covering sports, racing, and driving games, alongside casual mobile titles. My guides focus on timing a pass, finding a braking point, and choosing upgrades that suit your playstyle. For shorter sessions, I keep the priorities clear: less menu-hopping, more time playing.

Most Popular Posts
- RuneScape Dragonwilds: Dreaming Stone Shards Route & Puzzle Guide
- RuneScape: Dragonwilds Best Weapons by Power Level and Core Upgrade Priority
- RuneScape Dragonwilds Early Game Guide: What to Build & Upgrade First
- RuneScape Dragonwilds: Best Lodestone Locations and Fast Travel Routes
- RuneScape Dragonwilds Abyssal Whip Guide: Crafting Route & Upgrade
- RuneScape Dragonwilds Best Weapons: Tier Scaling & Upgrade Traps
Popular Category Lists
- ARC Raiders / (357)
- Grow a Garden / (295)
- CoD: Black Ops 7 / (167)
- Star Citizen / (163)
- MLB 26 / (159)
- Monopoly Go / (153)
- ARK Survival Ascended / (128)
- Steal a Brainrot / (99)
- Blox Fruits / (74)
- Adopt Me / (74)
- Forza Horizon 6 / (72)
- Sailor Piece / (68)
- Grow a Garden 2 / (68)
- Diablo IV / (62)
- CoD: BLACK OPS 6 / (55)
- Aion 2 / (55)
- Path of Exile 2 / (48)
- Monster Hunter Wilds / (46)
- Windrose / (44)
- COD: Modern Warfare 4 / (44)