0
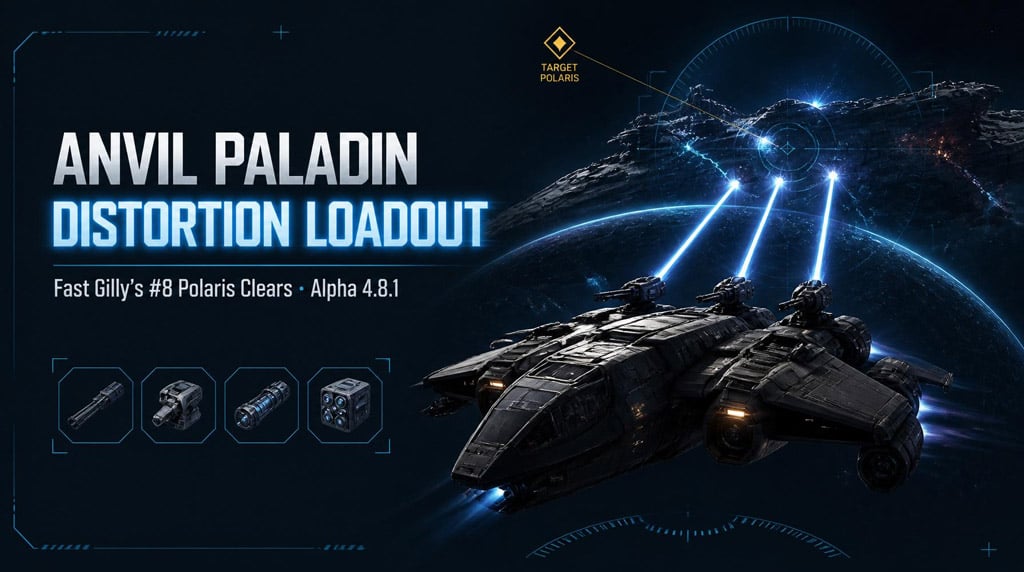
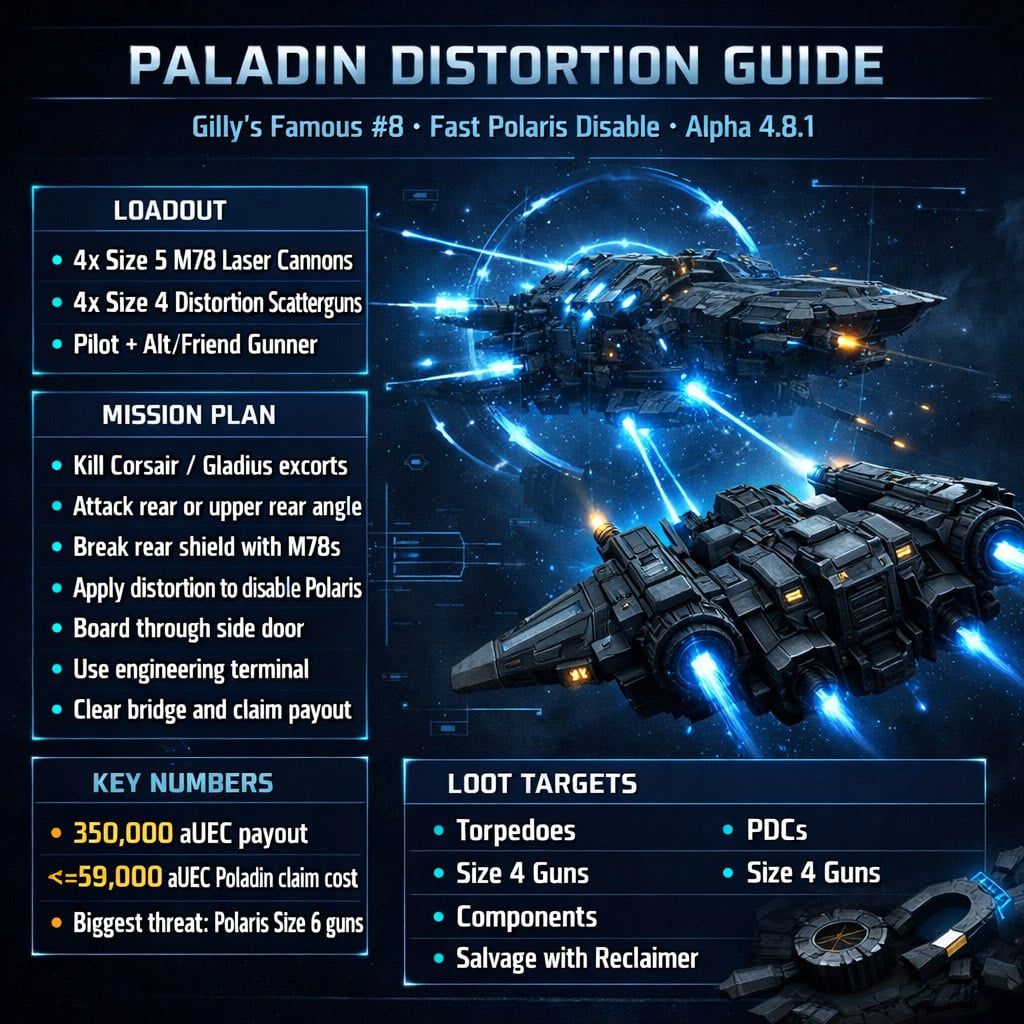
0Star Citizen Alpha 4.8.1 Anvil Paladin Distortion Loadout Guide: Fast Gilly Polaris Clears
- RCHM
- Share
- Star Citizen
- 06/12/26
- 720
The Anvil Paladin distortion build is built for one job: disable the NPC Polaris in Gilly's Famous #8 fast, board it, finish the objective, and cash out. The setup is not cheap or casual. It needs rare weapons and a second operator. But when flown right, it turns a dangerous capital fight into a controlled shutdown.
- Anvil Paladin Distortion Loadout
- How to Get Size 4 Distortion Scatterguns
- Best Crew Setup for the Paladin
- Gilly's Famous #8: Mission Value and Risk
- Combat Strategy: Disable the Polaris Fast
- Attack Flow
- Escort Priority
- Shield, Capacitor, and Survival Rules
- Practical Rules
- Repair Prep: Do Not Skip This
- Boarding the Disabled Polaris
- Fast Boarding Route
- Can We Keep the NPC Polaris?
- Quick Checklist for Fast Gilly's #8 Clears
- FAQ
- Is the Anvil Paladin distortion loadout solo-friendly?
- Why use Size 4 distortion scatterguns?
- What is the safest way to fight the Polaris?
- Should we kill escorts before attacking the Polaris?
- Can we capture and keep the NPC Polaris?
- Summary
↖ Anvil Paladin Distortion Loadout
The Paladin works here because two players can use almost all of its real firepower.
| Slot | Weapon | Role |
|---|---|---|
| Remote turret | 4x Size 5 M78 laser cannons | Strip shields, kill escorts |
| Pilot guns | 4x Size 4 distortion scatterguns | Disable Polaris systems |
| Missiles | Optional | Clear light escorts |
| Shields | Bias forward during attack runs | Survive Size 6 hits |
The loop is simple:
1. M78 cannons break the rear shield.
2. Distortion scatterguns keep pressure on.
3. Polaris loses systems.
4. We board and finish the mission.
Do not try to face-tank the Polaris. Its Size 6 guns punish bad angles fast.
↖ How to Get Size 4 Distortion Scatterguns
These guns are the bottleneck.
| Source | Notes |
|---|---|
| Contested Zone loot | Possible high-tier loot room drop |
| Origin 325a customization package | Usually gives 1x Size 4 distortion scattergun |
| Duplication methods | No longer reliable in current builds |
You need four for the full Paladin setup. That makes the build annoying to assemble, but the payoff is real.
Best use case: players who already have the guns or are willing to farm them.
↖ Best Crew Setup for the Paladin
This is not a true solo build. It is a two-operator build.
| Operator | Seat | Job |
|---|---|---|
| Main player | Pilot | Fly, position, fire distortion guns |
| Alt / friend | Remote turret | Fire 4x Size 5 M78 cannons |
Before leaving station:
- Test all four turret guns.
- Recenter the turret.
- Enable auto-gimbal if needed.
- Check that distortion guns fire correctly.
- Bring repair supplies.
If one turret gun refuses to fire, reseat or swap the weapon. Do not discover that bug in front of a Polaris.
↖ Gilly's Famous #8: Mission Value and Risk
Gilly's Famous #8 pays well, but it gets ugly if the spawn groups up.
| Item | Value / Threat |
|---|---|
| Mission payout | 350,000 aUEC |
| Observed Paladin claim cost | About 59,000 aUEC |
| Main target | NPC Polaris |
| Biggest threat | Polaris Size 6 guns |
| Common escorts | Gladius, Corsair |
| Best attack angle | Rear / upper rear |
A clean run is excellent money. A sloppy run burns time, components, and patience.
↖ Combat Strategy: Disable the Polaris Fast
The winning angle is rear or upper rear.
That keeps us away from the worst turret arcs and lets us burn one shield face down.
↖ Attack Flow
1. Kill dangerous escorts first.
2. Stay away from the Polaris nose.
3. Push behind or above the Polaris.
4. Put M78 cannon fire into the rear shield.
5. Use distortion while cannon capacitor recharges.
6. Once the rear shield drops, keep distortion pressure up.
7. Wait for the Polaris to go dead in space.
If the Polaris rotates toward you, leave the angle. Do not ego-challenge Size 6 guns.
↖ Escort Priority
| Enemy | Priority | Reason |
|---|---|---|
| Corsair | High | Heavy damage, dangerous if ignored |
| Gladius | Medium | Annoying pressure, easy to clear |
| Polaris | Main objective | Disable after escorts are controlled |
The Corsair is the real problem. If it stays near the Polaris, kill it first. Fighting both at once is how the Paladin gets shredded.
↖ Shield, Capacitor, and Survival Rules
The Paladin has strong firepower, but it is not agile. Fly clean.
↖ Practical Rules
| Situation | Action |
|---|---|
| Front shield dropping | Break off immediately |
| Cannon capacitor empty | Fire distortion to stop shield regen |
| Hull turning orange/red | Disengage and repair |
| Polaris facing you | Reposition |
| Escorts grouped with Polaris | Clear escorts first |
Put extra shield power forward during attack runs. Recharge before committing again.
If the server is responsive, NPC gunners hit harder. Treat the Polaris like it is actually crewed.
↖ Repair Prep: Do Not Skip This
Bring repair gear. This is not optional.
| Item | Why We Need It |
|---|---|
| Multi-tool | Base repair tool |
| Repair attachment | Fix damaged parts |
| RMC canisters | Required for repairs |
| Med supplies | Boarding safety |
| Personal weapon | Clear the bridge |
In testing, one bad engagement caused shield failure, fire, and system damage. Without RMC, the ship was basically done.
If you see fire detected or shields offline, stop fighting. Repair first.
↖ Boarding the Disabled Polaris
Disabling the Polaris does not finish the mission. We still need to board and clear the objective.
↖ Fast Boarding Route
| Step | Action |
|---|---|
| 1 | Shoot open a side exterior door |
| 2 | Shoot open the inner door |
| 3 | Board with a weapon |
| 4 | Go to engineering |
| 5 | Use the terminal to open doors |
| 6 | Lock key doors open |
| 7 | Move to the bridge |
| 8 | Kill the pilot / target |
The inner door can take a lot of damage. Use the Size 5 turret to open it faster.
Once inside, the engineering terminal saves time. Open the bridge route and lock doors so they do not close behind you.
↖ Can We Keep the NPC Polaris?
No. Do not rely on it.
After the mission, trying to quantum jump with the NPC Polaris can make it disappear and leave you stranded.
Loot it instead.
| Loot | Value |
|---|---|
| Torpedoes | High |
| PDCs | Useful |
| Size 4 guns | Worth stripping |
| Components | Situational |
| Salvage | Good with Reclaimer support |
Best play: finish the mission, loot what matters, bring a Reclaimer if you want extra profit.
↖ Quick Checklist for Fast Gilly's #8 Clears
Use this before every run.
| Phase | Check |
|---|---|
| Loadout | 4x M78 + 4x Size 4 distortion scatterguns |
| Crew | Pilot + alt/friend gunner |
| Pre-flight | Test all guns |
| Supplies | Repair tool, RMC, med gear, weapon |
| First contact | Identify escorts |
| Main fight | Attack rear / upper rear |
| Disable | Cannon shield down, distortion finish |
| Boarding | Side door, engineering, bridge |
| Profit | 350,000 aUEC, plus loot/salvage |
This setup works because it is focused. No wasted roles. No cute tricks. Just shield break, distortion shutdown, boarding, payout.
↖ FAQ
↖ Is the Anvil Paladin distortion loadout solo-friendly?
Not really. The full setup needs a second operator for the quad Size 5 turret. A solo pilot cannot use the Paladin's best damage package at the same time.
↖ Why use Size 4 distortion scatterguns?
They help disable the Polaris once shields are weakened or down. The M78 cannons handle shield damage. The distortion guns handle system shutdown.
↖ What is the safest way to fight the Polaris?
Stay behind or above the rear. Avoid the nose and broadside angles. If the Polaris turns toward you, reset the attack.
↖ Should we kill escorts before attacking the Polaris?
Yes, especially the Corsair. If escorts and the Polaris shoot you together, the Paladin can lose shields and systems very quickly.
↖ Can we capture and keep the NPC Polaris?
No. It can disappear after mission completion, especially if you quantum jump with it. Treat it as a loot and salvage target.
↖ Summary
The Anvil Paladin distortion loadout is one of the fastest ways to clear Gilly's Famous #8 in Star Citizen Alpha 4.8.1 with two operators.
The build is simple:
- 4x Size 5 M78 cannons break the Polaris shield.
- 4x Size 4 distortion scatterguns disable the ship.
- Rear-angle positioning keeps us alive.
- Repair prep prevents failed runs.
- Boarding through engineering finishes the job fast.
Run it clean and the mission pays around 350,000 aUEC, with extra value from torpedoes, weapons, PDCs, and salvage. The Paladin is not the safest ship for this job, but with the right angle and discipline, it hits hard enough to make the Polaris feel manageable.

Most Popular Posts
- Star Citizen Covalex Cargo Hauling 4.8: Fast Reputation Route, Best Ships, and Master Unlocks
- Star Citizen 4.8 Solo Ship Guide: Best Purchasable PvP & PvE Ships, Loadouts, Components
- Star Citizen 4.8 Salvage Guide: Best RMC Farming, Adagio Rep, and Ships to Use
- Star Citizen 4.8.3 XenoThreat Event Guide: Fast Points, Best Missions, Rewards, and Ship Strategy
- Star Citizen 4.8 Best Component Blueprints: Fast Farming Roadmap for Crafting
- Star Citizen 4.8 aUEC Farming Guide: Best Money Methods, First Ships, and Fast Progression
Popular Category Lists
- Grow a Garden / (286)
- ARC Raiders / (268)
- CoD: Black Ops 7 / (166)
- Monopoly Go / (147)
- MLB 26 / (147)
- Star Citizen / (124)
- Steal a Brainrot / (89)
- ARK Survival Ascended / (79)
- Sailor Piece / (68)
- Forza Horizon 6 / (65)
- Diablo IV / (61)
- Blox Fruits / (61)
- Adopt Me / (56)
- CoD: BLACK OPS 6 / (55)
- Grow a Garden 2 / (50)
- Path of Exile 2 / (48)
- Monster Hunter Wilds / (46)
- Windrose / (44)
- Path of Exile / (40)
- Bee Swarm Simulator / (36)