0
0Star Citizen S71 Crafting Guide: Unlock the Blueprint, Farm Materials, and Build a Better Rifle
- RCHM
- Share
- Star Citizen
- 05/01/26
- 1143
The S71 is already one of those rifles that feels good when your aim is on point, but crafting can push it much further. With the right materials, we can turn it into a faster, steadier, harder-hitting weapon that is much easier to control during rapid shots.
We'll cover where to get the S71 blueprint, which missions are worth farming, how to avoid the common ship-stealing mistakes, and where we usually go for the best crafting materials.
- S71 Blueprint: Where to Get It
- Best Way to Run the Blueprint Missions
- Mission Variant Tips
- Cutlass Variant
- Caterpillar Variant
- A2 Hercules Variant
- Cargo Handling: The Easy Part That Can Still Fail You
- Best Materials for Crafting the S71
- Best Farming Locations
- Example High-Stat S71 Craft
- Common Mistakes to Avoid
- FAQ
- How do we unlock the S71 blueprint in Star Citizen?
- What is the fastest mission for farming the S71 blueprint?
- What ship should we use for these missions?
- Where is the best place to farm aluminum?
- Where do we find hephaestinite?
- Is the crafted S71 worth it?
- Summary
↖ S71 Blueprint: Where to Get It
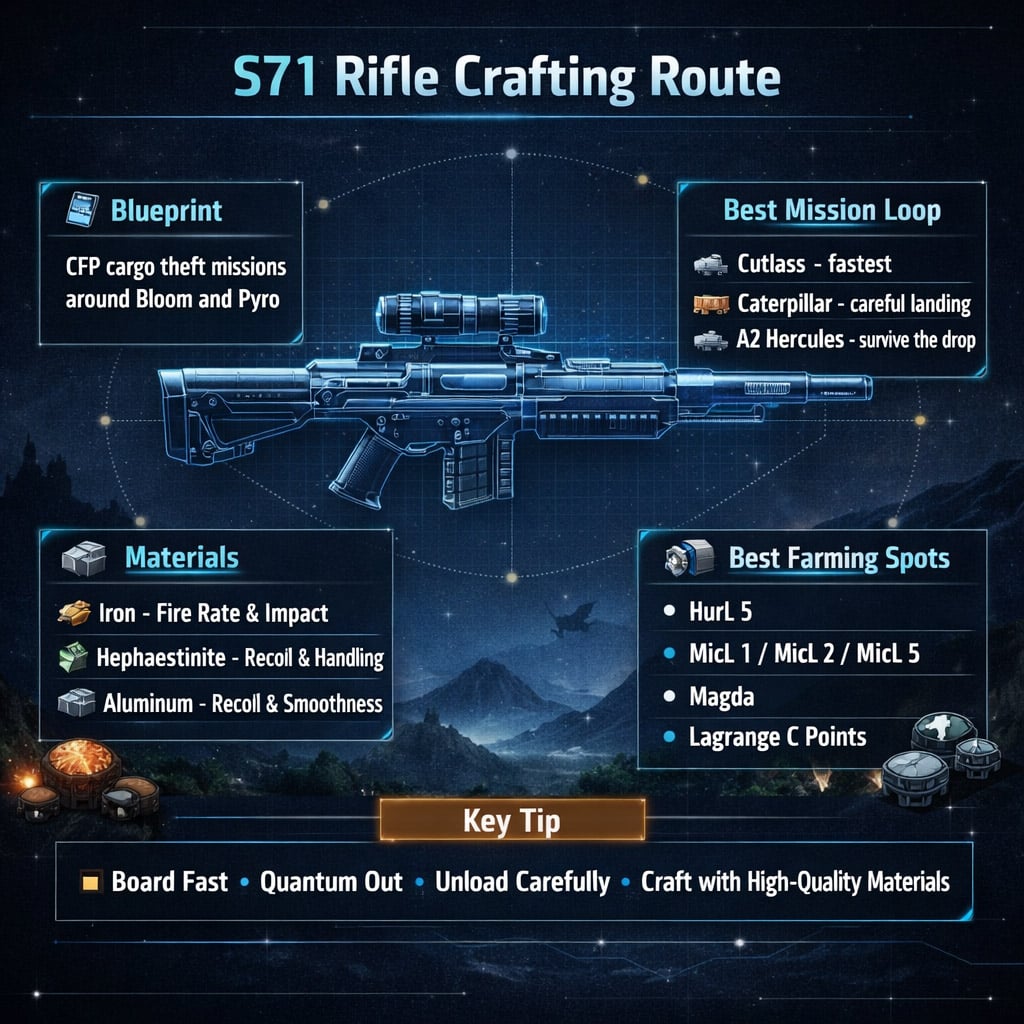
The S71 blueprint can drop from CFP cargo theft missions, mainly around Bloom and Pyro. These missions are location-specific, so if you are searching elsewhere and nothing appears, move systems before wasting too much time.
The mission pool can include several possible blueprint rewards, so do not expect the S71 every time. We may need to repeat the loop a few times.
| Mission Type | Worth Running? | Notes |
|---|---|---|
| Low-paying supply run | Yes | Fastest and easiest way to start farming |
| Mid-tier cargo mission | Yes | Good balance of time and reward |
| High-paying mission | Sometimes | More cargo, more time, same basic method |
| Large ship cargo run | Only if prepared | Slower unloads and rougher landings |
The lower-paying missions are usually the best for blueprint farming because they are quick. The high-paying ones still work, but they often involve bigger ships packed with boxes, which slows everything down.
There is also a mission cooldown of about 45 minutes, but in practice we can rotate between available contracts instead of waiting around.
↖ Best Way to Run the Blueprint Missions
The cleanest setup is a small fighter with an ejection seat. We are not trying to win a long dogfight here. We are trying to get close, board the target ship, steal it, and leave before enemy ships disable it.
| Recommended Gear | Why It Helps |
|---|---|
| Small fighter | Easy approach and positioning |
| Ejection seat | Fast boarding under fire |
| Heavy tractor beam | Faster cargo unloading |
| Clear quantum target | Saves the stolen ship from being disabled |
If you can eject close to the target, you save time and reduce the chance of your stolen ship getting shot apart before you even reach the cockpit.
↖ Mission Variant Tips
↖ Cutlass Variant
The Cutlass version is the quickest and most forgiving. Once you board it, get to the cockpit fast.
Best approach:
1. Fly in with a small fighter.
2. Eject or exit close to the Cutlass.
3. Sprint to the cockpit.
4. Boost away in nav mode.
5. Align to the station once you are safe.
6. Land and unload the cargo.
The Cutlass cannot take much punishment. If enemy ships lock you, boost first and think later. That one habit saves a lot of failed runs.
↖ Caterpillar Variant
The Caterpillar is more annoying, mostly because it can be badly damaged and terrible to land.
When boarding, aim for the door near the cockpit and get inside quickly. Once you reach the pilot seat, quantum jump to any clear destination. You can cancel and redirect after you escape.
Landing is the real issue. The ship may drop hard once it passes through the hangar shield.
| Caterpillar Landing Tip | Why It Matters |
|---|---|
| Deploy landing gear early | Helps absorb the drop |
| Keep the ship level | Reduces flipping risk |
| Aim near the freight elevator | Saves unloading time |
| Open all doors before leaving | Makes cargo work easier |
After unloading, self-destruct the ship to clear the hangar. It prevents weird hangar issues when spawning your next ship.
↖ A2 Hercules Variant
The A2 is similar: easy enough to board, messy to land.
Use the elevator entrance, head to the top deck, reach the cockpit, and jump away quickly. At the station, expect the ship to nose down or drop when it enters the hangar.
Do not try to make it pretty. Just keep it upright, survive the landing, and unload the boxes.
↖ Cargo Handling: The Easy Part That Can Still Fail You
Once the ship is parked, slow down a little. We have seen missions fail because one box got thrown too hard, clipped awkwardly, or disappeared into station geometry.
Good cargo habits:
- Use a heavy tractor beam.
- Do not slam boxes into the freight elevator.
- Keep the unloading area tidy.
- Confirm the required cargo is actually transferred.
It feels boring compared with the boarding part, but this is where a clean mission can still fall apart.
↖ Best Materials for Crafting the S71
To craft the S71, we need:
- Iron
- Hephaestinite
- Aluminum
The quality of these materials directly affects the final weapon stats. Higher-quality materials give better bonuses, so it is worth farming a little longer instead of crafting with weak rolls.
| Material | Main Benefit | Best Use |
|---|---|---|
| Iron | Fire rate, impact force | More pressure and damage output |
| Hephaestinite | Recoil control, handling | Better rapid-fire accuracy |
| Aluminum | Recoil reduction, smoothness | Easier follow-up shots |
In one strong craft, high-quality materials gave around 32% recoil kick reduction, plus a major fire-rate increase from iron. That is not just a spreadsheet upgrade — the rifle genuinely feels easier to keep on target.
↖ Best Farming Locations
Planet surface scanning can still be inconsistent, so we prefer rotating between Lagrange points and reliable moon locations.
| Material Needed | Recommended Locations |
|---|---|
| Aluminum | HurL 5, MicL 1, MicL 2, MicL 5, Magda |
| Hephaestinite | HurL 5, MicL 1, MicL 2, MicL 5, Lagrange C points |
| Iron | Magda |
| Aluminum + Iron | Magda |
| Aluminum + Hephaestinite | HurL 5, MicL points, Lagrange C |
Our usual route is simple:
1. Start at HurL 5 for aluminum and hephaestinite.
2. Rotate through MicL 1, MicL 2, and MicL 5 if the quality is poor.
3. Go to Magda when we need iron or want aluminum at the same time.
4. If the area looks mined out, server hop.
If you find lots of broken rocks or obvious signs other players have been mining there, move on. Time spent forcing a bad location is usually worse than just rotating.
↖ Example High-Stat S71 Craft
Here is a realistic example of what a strong S71 craft can produce with good materials:
| Material | Quality | Result |
|---|---|---|
| Iron | 993 | +59.16% fire rate, +7.39% impact force |
| Hephaestinite | 943 | -17.72% recoil kick, improved handling |
| Aluminum | 866 | -14.46% recoil kick, improved smoothness |
| Combined | Mixed | About -32.36% recoil kick |
The biggest difference is control. A stock S71 can hit hard, but the crafted version lets us fire faster while keeping the sight on target. Against armored enemies, that makes follow-up shots much more reliable.
↖ Common Mistakes to Avoid
| Mistake | Better Choice |
|---|---|
| Farming only high-paying missions | Run faster missions when blueprint hunting |
| Taking too long to quantum away | Pick a clear jump target before boarding |
| Landing large ships aggressively | Level out and let the ship drop safely |
| Throwing cargo boxes too hard | Move cargo carefully with a tractor beam |
| Crafting with low-quality materials | Wait for better material quality |
Most failed runs come from rushing the simple parts. Board fast, escape fast, land carefully, unload cleanly.
↖ FAQ
↖ How do we unlock the S71 blueprint in Star Citizen?
We unlock it through CFP cargo theft missions, mainly around Bloom and Pyro. The S71 is part of a blueprint reward pool, so it may take multiple completions.
↖ What is the fastest mission for farming the S71 blueprint?
The lower-paying supply run is usually the best option. It is faster, easier, and better suited for repeated farming.
↖ What ship should we use for these missions?
A small fighter with an ejection seat is ideal. It lets us approach quickly, eject near the target ship, board fast, and escape before the stolen ship gets disabled.
↖ Where is the best place to farm aluminum?
HurL 5, MicL 1, MicL 2, MicL 5, and Magda are all solid options. Magda is especially useful if we also need iron.
↖ Where do we find hephaestinite?
HurL 5, MicL 1, MicL 2, MicL 5, and Lagrange C points are good places to check.
↖ Is the crafted S71 worth it?
Yes. With high-quality materials, the S71 gets much better recoil control, handling, and fire rate. It feels noticeably stronger in real combat, especially when firing quickly.
↖ Summary
The best S71 crafting route is straightforward: farm CFP blueprint missions around Bloom and Pyro, prioritize the faster contracts, use a small eject-capable fighter, and handle the stolen cargo ships carefully.
For materials, focus on HurL 5 and MicL points for aluminum and hephaestinite, then use Magda for iron and extra aluminum. Once we have high-quality materials, the crafted S71 becomes a much smoother, faster, and more reliable rifle than the stock version.

Most Popular Posts
- Star Citizen Covalex Cargo Hauling 4.8: Fast Reputation Route, Best Ships, and Master Unlocks
- Star Citizen 4.8 Solo Ship Guide: Best Purchasable PvP & PvE Ships, Loadouts, Components
- Star Citizen 4.8 Salvage Guide: Best RMC Farming, Adagio Rep, and Ships to Use
- Star Citizen 4.8.3 XenoThreat Event Guide: Fast Points, Best Missions, Rewards, and Ship Strategy
- Star Citizen 4.8 Best Component Blueprints: Fast Farming Roadmap for Crafting
- Star Citizen 4.8 aUEC Farming Guide: Best Money Methods, First Ships, and Fast Progression
Popular Category Lists
- Grow a Garden / (286)
- ARC Raiders / (267)
- CoD: Black Ops 7 / (166)
- Monopoly Go / (147)
- MLB 26 / (146)
- Star Citizen / (122)
- Steal a Brainrot / (89)
- ARK Survival Ascended / (77)
- Sailor Piece / (68)
- Forza Horizon 6 / (65)
- Diablo IV / (61)
- Blox Fruits / (61)
- CoD: BLACK OPS 6 / (55)
- Adopt Me / (55)
- Path of Exile 2 / (48)
- Grow a Garden 2 / (48)
- Monster Hunter Wilds / (46)
- Windrose / (44)
- Path of Exile / (40)
- Bee Swarm Simulator / (36)