0
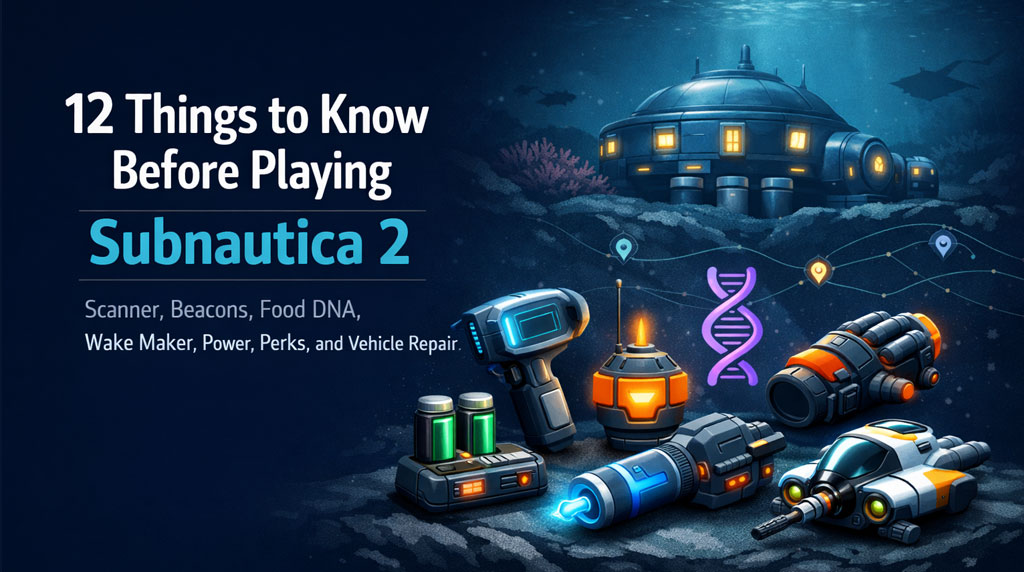
0Subnautica 2 Beginner Survival Guide: Scanner, Beacons, Food DNA, Wake Maker fragments
- Aisling
- Share
- Subnautica 2
- 05/18/26
- 266
Subnautica 2 punishes sloppy early play. No map. Limited oxygen. Weird food rules. Slow swimming. Fragile vehicles. If you rush blindly, you waste hours. Follow this order and the early game becomes much cleaner.
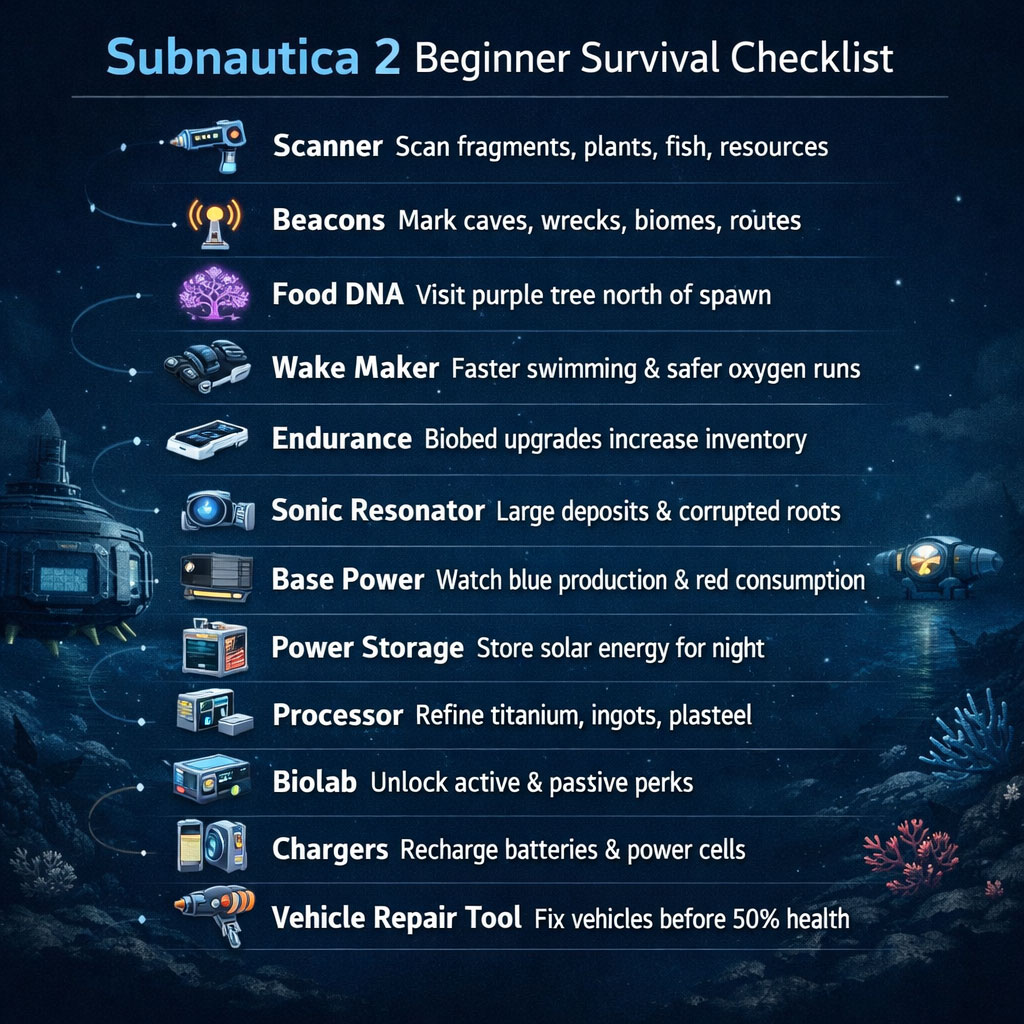
- Subnautica 2 Beginner Priority Checklist
- 1. Build the Scanner First
- Why It Matters
- Best Scanning Order
- 2. Place Beacons Everywhere Important
- Useful Beacon Names
- 3. Get Food Digestion DNA Early
- Why It Matters
- 4. Build the Wake Maker Fast
- Wake Maker Fragment Locations
- Result
- 5. Upgrade Endurance for More Inventory Space
- Endurance Upgrade Locations
- When to Do It
- 6. Build the Sonic Resonator
- Sonic Resonator Fragment Locations
- 7. Fix Base Power Before It Fails
- Power Sources Compared
- Read the Base Power Meter
- Fast Fixes
- 8. Scan Power Storage Blueprints
- Power Storage Blueprint Locations
- Build It If
- 9. Build the Processor Early
- What the Processor Unlocks
- 10. Build the Biolab and Unlock Perks
- Useful Perk Types
- Best Habit
- 11. Recharge Batteries and Power Cells
- Bad Habit vs Good Habit
- 12. Get the Vehicle Repair Tool
- Vehicle Repair Tool Fragment Locations
- Rule
- Best Early Game Route in Subnautica 2
- Common Beginner Mistakes
- FAQ
- What should I build first in Subnautica 2?
- Why does cooked food hurt in Subnautica 2?
- Where are the Wake Maker fragments?
- How do I increase inventory space in Subnautica 2?
- Is solar power enough for a base?
- Summary
↖ Subnautica 2 Beginner Priority Checklist
| Order | Priority | Why It Matters |
|---|---|---|
| 1 | Build Scanner | Unlocks blueprints and progression |
| 2 | Place Beacons | Replaces the missing map |
| 3 | Get Food Digestion DNA | Lets you eat local food safely |
| 4 | Build Wake Maker | Faster swimming, safer oxygen runs |
| 5 | Upgrade Endurance | More inventory space |
| 6 | Build Sonic Resonator | Harvests large deposits, clears roots |
| 7 | Fix Base Power | Stops night blackouts |
| 8 | Scan Power Storage | Stores solar power for night |
| 9 | Build Processor | Refines materials, unlocks recipes |
| 10 | Build Biolab | Unlocks active and passive perks |
| 11 | Recharge Batteries / Power Cells | Saves resources |
| 12 | Get Vehicle Repair Tool | Prevents vehicle loss |
↖ 1. Build the Scanner First
Your first real tool should be the Scanner.
Do not wait. The Scanner unlocks:
- Blueprint fragments
- Base modules
- Tools
- Crafting stations
- Plant and creature data
- Biolab perk progress
If it glows, moves, grows, or looks suspicious, scan it.
↖ Why It Matters
Scanning is progression. Skip it and you lock yourself out of gear, perks, and recipes.
↖ Best Scanning Order
| Scan Priority | Reason |
|---|---|
| Blueprint fragments | Unlocks tools and modules |
| Research facility objects | Often tied to progression |
| Plants | Feeds Biolab data |
| Fish / creatures | Unlocks biological perks |
| Resource nodes | Helps plan farming routes |
↖ 2. Place Beacons Everywhere Important
Subnautica 2 has no traditional map. Beacons are your map.
They are built with the base building tool, not the Fabricator.
Mark anything you may revisit:
- Resource caves
- Wrecks
- Research facilities
- Deep entrances
- Biomes
- Predator zones
- Base spots
- Story routes
If you think, I'll remember this, you probably won't.
↖ Useful Beacon Names
| Beacon Name | Use |
|---|---|
| Silver Cave | Early silver farming |
| Wake Frag | Wake Maker fragment site |
| Heat Entry | Thermal danger zone |
| Lead Wreck | Lead and repair tool area |
| Bio Upgrade | Endurance facility |
| Safe East Route | Repeat travel path |
↖ 3. Get Food Digestion DNA Early
Early cooked food can damage you. Fix this before long trips.
Go north of the starting area and find the giant purple tree. Interact with it to unlock Food Digestion DNA.
↖ Why It Matters
Without this upgrade:
- Cooked food can hurt you
- Healing supplies get wasted
- Long exploration becomes risky
- Starvation becomes common
If cooked fish damages you, stop exploring and get this DNA upgrade first.
↖ 4. Build the Wake Maker Fast
The Wake Maker is your early movement upgrade. It makes swimming much faster.
That means:
- Faster oxygen returns
- Safer cave dives
- Better wreck runs
- Less travel time
- Easier deep exploration
↖ Wake Maker Fragment Locations
You need 3 fragments.
| Fragment | Approx. Location | Marker Detail |
|---|---|---|
| 1 | 95 m from Lifepod, Lifepod southeast | Look straight down |
| 2 | 120 m from Lifepod, Lifepod southeast | Coral structure, cave entrance, scrap metal above |
| 3 | 216 m from Lifepod, Lifepod southwest | Crates on seafloor |
For Fragment 2, swim to the cave bottom and check containers.
↖ Result
Before Wake Maker, oxygen controls your route. After Wake Maker, you control the route.
↖ 5. Upgrade Endurance for More Inventory Space
Endurance upgrades increase inventory capacity.
This is huge. More space means fewer resource runs.
You usually find upgrades inside powered research facilities. Look for a hatch door, enter, then interact with the Biobed.
↖ Endurance Upgrade Locations
| Location | Approx. Position | Notes |
|---|---|---|
| Coral dome facility | North of spawn, slightly east of purple tree | Cave near silver-rich coral dome |
| Cliffside facility | 288 m from Lifepod, Lifepod northeast | Built into cliff wall |
| Thermal wreck facility | 580 m from Lifepod, Lifepod west | Hot zone, spires, thermal vents, Cyclops wreck |
| Rock spire cave | 220 m from Lifepod, Lifepod northwest | Cave inside large rock spire |
↖ When to Do It
If you keep dropping titanium, copper, or quartz, get Endurance upgrades before building bigger bases.
↖ 6. Build the Sonic Resonator
The Sonic Resonator is a progression tool, not just a mining tool.
It lets you:
- Harvest large resource outcrops
- Clear corrupted branches and roots
- Shoot corrupted nodes
- Purify root systems
- Unlock DNA paths
- Gain upgrades like heat resistance
Heat resistance opens hot regions that otherwise damage you.
↖ Sonic Resonator Fragment Locations
You need 3 fragments.
| Fragment | Location | Notes |
|---|---|---|
| 1 | Woo Woo Lang Hai facility | Right side after entering |
| 2 | Woo Woo Lang Hai facility | Corridor near fallen tables |
| 3 | 203 m from Lifepod, Lifepod east | Under coral dome |
Follow the main story to the Woo Woo Lang Hai facility. You can grab two fragments there quickly.
↖ 7. Fix Base Power Before It Fails
Solar works early. Then night happens.
A small shallow base can survive on Solar Panels. A real base with chargers, lights, and stations needs backup.
↖ Power Sources Compared
| Power Source | Best Use | Weakness |
|---|---|---|
| Solar Panels | Shallow starter base | Weak at night, worse deep |
| Power Storage | Solar backup | Needs blueprint |
| Hydroelectric Power | Current-based base | Needs natural current |
| Thermal Power | Hot zones | Requires thermal setup |
↖ Read the Base Power Meter
| Meter | Meaning |
|---|---|
| Blue | Power production |
| Red | Power consumption |
If red stays high and blue drops at night, your base is overloaded.
↖ Fast Fixes
- Add more Solar Panels
- Build Power Storage
- Turn off extra lights
- Use Hydroelectric Turbines
- Move heavy systems to Thermal Power later
↖ 8. Scan Power Storage Blueprints
Power Storage stores excess daytime solar power. It keeps your base alive at night.
Build it before running multiple chargers.
↖ Power Storage Blueprint Locations
| Blueprint | Approx. Location | Notes |
|---|---|---|
| 1 | 280 m from base, facing northeast | Facility wall near entrance |
| 2 | 590 m from base, facing west | Hot region, sulfur, thermal vents, research platform |
For the second location, bring heat protection.
↖ Build It If
- Your base loses power at night
- You rely on solar
- You use chargers
- You run several rooms
- You have not unlocked better power yet
↖ 9. Build the Processor Early
The Processor turns basic resources into advanced materials.
Scan Processor units in research facilities. They are common, but easy to ignore.
↖ What the Processor Unlocks
| Function | Use |
|---|---|
| Titanium refining | Advanced crafting |
| Titanium ingots | Bigger builds and upgrades |
| Plasteel production | Key progression material |
| Alternate recipes | Craft around resource shortages |
If you have mid-tier materials but recipes are blocked, build the Processor.
↖ 10. Build the Biolab and Unlock Perks
The Biolab converts scanning into upgrades.
It uses plant, creature, and resource data to unlock:
- 1 active perk
- Multiple passive perks
↖ Useful Perk Types
| Perk Type | Benefit |
|---|---|
| Movement | Dash or burst speed |
| Survival | Passive water generation |
| Navigation | Trail tracking in caves |
| Environment | Better biome resistance |
↖ Best Habit
Enter a new biome. Scan all new plants. Scan new creatures. Return to the Biolab. Check perk unlocks.
If you only scan tech fragments, you slow down biological progression.
↖ 11. Recharge Batteries and Power Cells
Tools and vehicles use charge. They are not breaking. They are running out of power.
Build:
- Battery Charger
- Power Cell Charger
- Vehicle charging support when available
↖ Bad Habit vs Good Habit
| Bad Habit | Better Play |
|---|---|
| Crafting new batteries constantly | Recharge empty batteries |
| Throwing away dead cells | Store and refill them |
| Charging on weak solar only | Add Power Storage |
| Leaving vehicle low | Recharge before long trips |
Recharging saves materials and keeps runs smooth.
↖ 12. Get the Vehicle Repair Tool
Once you build a vehicle, scan the Vehicle Repair Tool.
Vehicles take chip damage from creatures, terrain, and bad driving. If health hits zero, the vehicle is gone.
↖ Vehicle Repair Tool Fragment Locations
| Fragment | Approx. Location | Marker Detail |
|---|---|---|
| 1 | 278 m from Lifepod, Lifepod north | Broken Secarda ship piece, tool on ground |
| 2 | 218 m from Lifepod, Lifepod northwest | Rock spire facility, tool on table |
| 3 | 358 m from Lifepod, Lifepod southwest | Broken ship with lower moonpool-like entrance |
The 358 m southwest wreck is also a strong early lead farming spot. Check around and under the wreck.
↖ Rule
If your vehicle drops below 50% health, repair it before exploring deeper.
↖ Best Early Game Route in Subnautica 2
Follow this route for the cleanest start.
| Step | Goal | Result |
|---|---|---|
| 1 | Build Scanner | Unlock tech |
| 2 | Place Beacons | Stop getting lost |
| 3 | Get Food DNA | Eat safely |
| 4 | Build Wake Maker | Move faster |
| 5 | Upgrade Endurance | Carry more |
| 6 | Build Sonic Resonator | Mine large nodes, unlock DNA paths |
| 7 | Stabilize Base Power | Avoid blackouts |
| 8 | Build Processor | Craft advanced materials |
| 9 | Build Biolab | Unlock perks |
| 10 | Build chargers | Reuse batteries |
| 11 | Get Vehicle Repair Tool | Keep vehicles alive |
↖ Common Beginner Mistakes
| Mistake | Why It Hurts | Fix |
|---|---|---|
| Not scanning lifeforms | Slows Biolab perks | Scan every new plant and creature |
| Skipping beacons | You get lost | Mark every useful location |
| Only using solar | Base dies at night | Add Power Storage |
| Delaying Wake Maker | Slow travel, risky oxygen | Rush 3 fragments |
| Ignoring Endurance | Constant full inventory | Find Biobeds |
| Recrafting batteries | Wastes materials | Build chargers |
| Driving damaged vehicles | Risk total vehicle loss | Use Repair Tool |
↖ FAQ
↖ What should I build first in Subnautica 2?
Build the Scanner first. It unlocks blueprints, tools, base modules, resources, creature data, and Biolab progress.
↖ Why does cooked food hurt in Subnautica 2?
You need Food Digestion DNA. Find the giant purple tree north of spawn and interact with it before relying on cooked local food.
↖ Where are the Wake Maker fragments?
Wake Maker fragments are near the Lifepod: about 95 m southeast, 120 m southeast near a cave, and 216 m southwest near seafloor crates.
↖ How do I increase inventory space in Subnautica 2?
Get Endurance upgrades from Biobeds inside research facilities. Known locations include the coral dome, cliffside facility, thermal wreck, and rock spire cave.
↖ Is solar power enough for a base?
Only for a small shallow starter base. Add Power Storage quickly, then move to hydroelectric or thermal power as your base grows.
↖ Summary
The best Subnautica 2 start is not random exploration. It is a setup route.
Build the Scanner. Place Beacons. Get Food Digestion DNA. Rush the Wake Maker. Upgrade Endurance. Build the Sonic Resonator. Stabilize base power with Power Storage. Then add the Processor, Biolab, chargers, and Vehicle Repair Tool.
That order fixes the biggest early problems: getting lost, starving, swimming slowly, running out of inventory, losing power, wasting batteries, and destroying vehicles.

Most Popular Posts
- Best Base Locations in Subnautica 2: Top 5 Early and Late Game Spots
- Subnautica 2 Power Storage Guide: How to Unlock Backup Base Power and Survive the Night
- Subnautica 2 Resource Guide: Best Locations for Silver, Lithium, Deepwing Eggs, Metal Farms, and Late-Game Materials
- Subnautica 2 Best Base Locations: Safe Starts, Resource Hubs, Power Spots, and Late-Game Bases
- Subnautica 2 Best Biomes for Base Building: Ranked by Safety, Resources, and Practical Value
- Subnautica 2 Tadpole Upgrades Guide: Blueprint Locations, Depth Module, Armor, Charger & Tadpole Pens Code
Popular Category Lists
- Grow a Garden / (286)
- ARC Raiders / (262)
- CoD: Black Ops 7 / (166)
- Monopoly Go / (146)
- MLB 26 / (144)
- Star Citizen / (111)
- Steal a Brainrot / (89)
- Sailor Piece / (68)
- ARK Survival Ascended / (66)
- Diablo IV / (61)
- Forza Horizon 6 / (60)
- Blox Fruits / (60)
- CoD: BLACK OPS 6 / (55)
- Adopt Me / (53)
- Path of Exile 2 / (48)
- Monster Hunter Wilds / (46)
- Windrose / (44)
- Path of Exile / (40)
- Grow a Garden 2 / (38)
- Bee Swarm Simulator / (36)