0
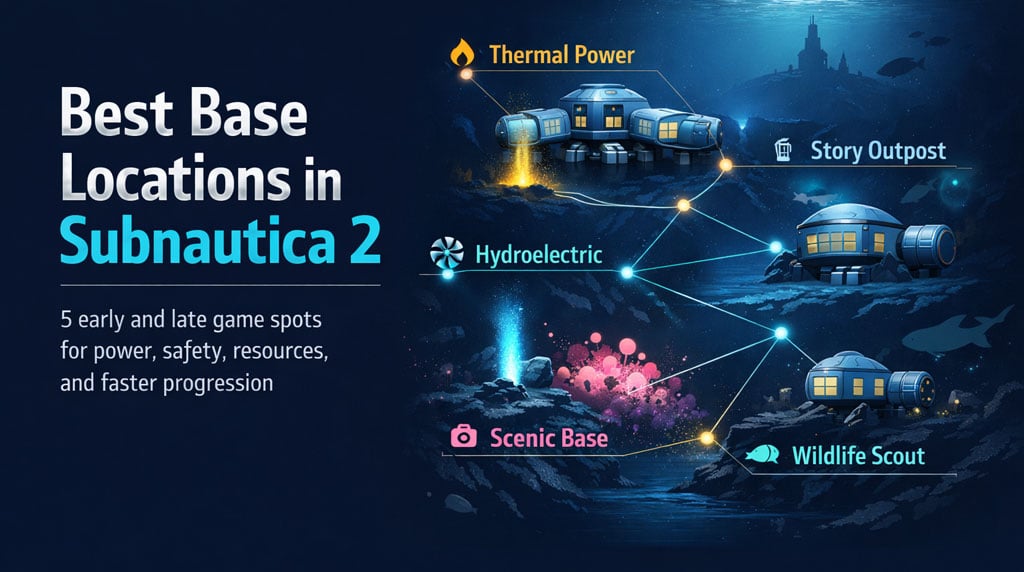
0Best Base Locations in Subnautica 2: Top 5 Early and Late Game Spots
- FROST
- Share
- Subnautica 2
- 05/18/26
- 2352
The best Subnautica 2 base locations are not just pretty places. They solve problems: power, food, water, crafting, travel time, and survival risk. After testing these routes in actual progression, these five spots give the best return for the least wasted swimming.
- Best Subnautica 2 Base Locations Overview
- 1. Thermal Vents Base: Best Power Location in Subnautica 2
- Why This Spot Works
- How to Build It
- Resources Nearby
- Best Build
- 2. Alien Route Outpost: Best Second Base for Story Progression
- Why You Build Here
- What to Install
- Nearby Resources
- Best Use
- 3. Pink Necrolyte Fields: Best Scenic Base Location
- Why It Is Worth Building
- Practical Value
- Best Build
- 4. Northern Wildlife Base: Best Observation Spot
- Why Build Here
- Wildlife Value
- Best Build
- 5. Hydroelectric Starter Base: Best Early Game Power Setup
- Why It Beats Basic Solar
- Turbine Cost
- Pro Building Tip
- Best Base Network Strategy in Subnautica 2
- Recommended Build Order
- FAQ
- What is the best overall base location in Subnautica 2?
- What is the best early game base location in Subnautica 2?
- Is thermal power better than solar power?
- Where should I build my second base?
- Do I need multiple bases in Subnautica 2?
- Summary
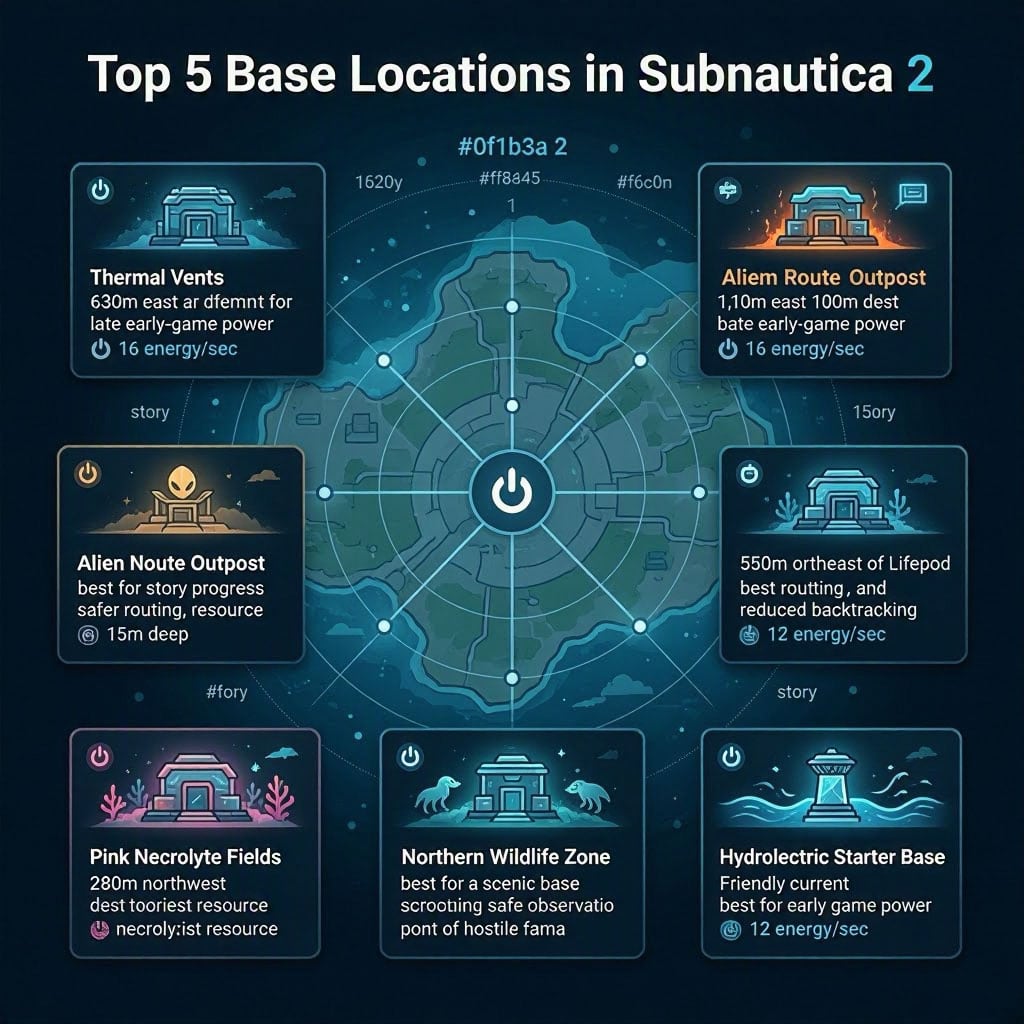
↖ Best Subnautica 2 Base Locations Overview
| Location | Position | Best For | Core Advantage |
|---|---|---|---|
| Thermal Vents | 630 m east, 100 m deep | Mid-game power | 16 energy/sec thermal power |
| Alien Route Outpost | 1,150 m east, 100 m deep | Story progression | Cuts travel and Leviathan risk |
| Pink Necrolyte Fields | 280 m northwest, 15 m deep | Scenic base | Great view, necrolycyst access |
| Northern Wildlife Zone | 250 m north | Observation base | Safe scouting of hostile fauna |
| Hydroelectric Starter Base | Near Lifepod, current 50 m northeast | Early power | 12 energy/sec turbine power |
↖ 1. Thermal Vents Base: Best Power Location in Subnautica 2
Build here when your base starts eating power.
The thermal vents sit around 630 meters east of the Lifepod and roughly 100 meters down. The area is hotter and more dangerous than the shallows, but the payoff is huge: thermal power.
↖ Why This Spot Works
Thermal plants give up to 16 energy per second when placed correctly.
That beats:
| Power Source | Max Output | Main Weakness |
|---|---|---|
| Solar Panel | 8 energy/sec | Drops at night |
| Hydroelectric Turbine | 12 energy/sec | Needs current |
| Thermal Plant | 16 energy/sec | Needs thermal vents |
If you run scanner rooms, power cell chargers, battery chargers, modification stations, or too many lights, this is the fix.
↖ How to Build It
Thermal Plant cost:
| Material | Amount |
|---|---|
| Titanium | 3 |
| Copper | 3 |
| Gold | 3 |
Place the Thermal Plant as close to the vent as possible. Watch the output number. You want 16. Lower numbers mean bad placement.
Build several plants nearby. If you see the blue power link, the network is connected.
↖ Resources Nearby
This location also has strong mid-game materials:
- Quartz for windows and glass
- Gold for electronics
- Titanium for base rooms and expansion
↖ Best Build
Use this as your main power base.
Recommended modules:
- Scanner Room
- Moonpool
- Power Cell Charger
- Battery Charger
- Large storage wall
- Windows facing the vents
Result: stable power day and night. No more blackouts when the sun drops.
↖ 2. Alien Route Outpost: Best Second Base for Story Progression
This is the base that saves time.
The location is around 1,150 meters east of the Lifepod and about 100 meters deep, near a major alien structure. It sits along the route the story naturally pushes you toward.
↖ Why You Build Here
The pain point is obvious: swimming back to your starter base after every mission wastes time, food, water, and vehicle charge.
Worse, you may have to cross dangerous territory repeatedly.
Build here and you get a proper forward outpost.
↖ What to Install
| Module | Reason |
|---|---|
| NOA Terminal | Progress story without returning to the Lifepod |
| Bio Bed | Respawn near mid-game objectives |
| Battery Charger | Keep tools ready |
| Fabricator | Craft food, water, medkits, and parts |
| Moonpool | Recharge and park your vehicle |
| Storage Lockers | Dump mission materials |
↖ Nearby Resources
This area has enough materials to support a full outpost:
- Titanium
- Copper
- Quartz
- Silver
Silver is the standout. It is not everywhere, and having it close cuts down on annoying resource runs.
↖ Best Use
Use this as your second base.
Not a decoration project. Not a luxury build. A real survival hub.
Result: less backtracking, fewer risky Leviathan crossings, faster story progress.
↖ 3. Pink Necrolyte Fields: Best Scenic Base Location
This one is for players who still care where they live.
The Pink Necrolyte Fields are around 280 meters northwest of the Lifepod and only 15 meters deep. Easy to reach. Easy to build. Very hard to beat visually.
↖ Why It Is Worth Building
The glowing pink coral makes the base look excellent, especially at night. With enough windows, the whole room gets that soft alien glow.
This is the best early location for a beautiful shallow-water base.
↖ Practical Value
It is not just a postcard spot. You also get necrolycysts nearby.
| Resource | Use | How to Get It |
|---|---|---|
| Necrolycyst | Crafting material | Cut from necrolyte growths with the multi-tool |
If your recipes need necrolycysts, building here saves repeat trips.
↖ Best Build
Go heavy on glass.
Recommended setup:
- Windowed multipurpose room
- Glass corridor or viewing nook
- Grow bed on the roof
- Soft interior lights
- Small crafting and storage area
Result: a safe, efficient, good-looking early base with unique material access.
↖ 4. Northern Wildlife Base: Best Observation Spot
This base is about control.
Head roughly 250 meters north of the Lifepod. The area has some of the most varied early-game wildlife, including more dangerous creatures.
↖ Why Build Here
If you keep getting jumped by unfamiliar fauna, build an observation base.
From inside, you can learn patrol routes, creature behavior, and safe exit paths. That knowledge matters more than extra armor when you are still under-equipped.
↖ Wildlife Value
| Creature Type | Why It Matters |
|---|---|
| Marrow Breach | Early dangerous predator to study safely |
| Nibbler Mangoes | Social fish, usually seen in groups |
| Hammerhead-style fish | Distinct movement and behavior patterns |
↖ Best Build
Keep it small.
Use:
- Glass compartment
- Fabricator
- Emergency storage
- Medkit supply
- Exterior lights facing patrol paths
Do not overbuild here. This is a scouting post, not your capital city.
Result: safer exploration, better route knowledge, fewer panic swims.
↖ 5. Hydroelectric Starter Base: Best Early Game Power Setup
This is the best practical starter base for most players.
The natural current sits about 50 meters northeast of the Lifepod. That makes it perfect for early hydroelectric turbine power.
↖ Why It Beats Basic Solar
Solar is fine for your first few rooms. Then night hits, chargers drain the grid, and the base goes dark.
Hydroelectric power is steadier.
| Power Source | Max Output | Best Stage |
|---|---|---|
| Solar Panel | 8 energy/sec | First base only |
| Hydroelectric Turbine | 12 energy/sec | Early game |
| Thermal Plant | 16 energy/sec | Mid-game onward |
↖ Turbine Cost
| Material | Amount |
|---|---|
| Titanium | 3 |
| Copper | 3 |
| Silver | 3 |
Place the turbine directly in the current. Watch the output. You want 12. If it shows 0, it is not catching the flow.
↖ Pro Building Tip
Build near your base first.
When you build within base range, the builder can pull materials from nearby storage. If you build too far away, you need the materials in your inventory.
Best method:
1. Start the turbine near your base.
2. Use stored materials automatically.
3. Move it into the current.
4. Link power back with Power Transmitters.
Result: early renewable power without wasting inventory space or extra trips.
↖ Best Base Network Strategy in Subnautica 2
One huge base is usually inefficient.
A network is better.
| Base Type | Best Location | Job |
|---|---|---|
| Starter Base | Lifepod / hydro current | Food, water, early crafting |
| Second Base | Alien route | Story progress and respawn |
| Power Base | Thermal vents | Heavy energy use |
| Scenic Base | Pink Necrolyte Fields | Home base and necrolycysts |
| Scout Base | Northern wildlife zone | Creature observation |
↖ Recommended Build Order
1. Hydroelectric Starter Base
Build storage, fabricator, food prep, and basic power.
2. Alien Route Outpost
Add NOA Terminal, Bio Bed, charger, and emergency supplies.
3. Thermal Vents Base
Move heavy power systems here: scanner, moonpool, chargers.
4. Optional Scenic or Wildlife Base
Build for comfort, observation, or specialized resources.
This route keeps your survival loop tight. You spend less time commuting and more time progressing.
↖ FAQ
↖ What is the best overall base location in Subnautica 2?
The Thermal Vents are the best overall mid-game base location. They offer 16 energy/sec thermal power, plus nearby gold, quartz, and titanium.
↖ What is the best early game base location in Subnautica 2?
Build near the Lifepod hydroelectric current, about 50 meters northeast. It gives early access to food, water, crafting materials, and 12 energy/sec turbine power.
↖ Is thermal power better than solar power?
Yes. Thermal power is stronger and more reliable. Solar tops out around 8 energy/sec and drops at night. Thermal can reach 16 energy/sec and runs constantly.
↖ Where should I build my second base?
Build your second base around 1,150 meters east of the Lifepod, near the alien route. It cuts travel time, supports story progression, and reduces repeated dangerous crossings.
↖ Do I need multiple bases in Subnautica 2?
Yes, if you want efficient progression. A small base network beats one oversized base. Use each location for a job: power, crafting, story progress, scouting, or resource access.
↖ Summary
The best Subnautica 2 base locations depend on what problem you need to solve.
Build near the Lifepod current for early renewable power. Push east to the Alien Route Outpost for faster story progression. Move into the Thermal Vents when your base needs serious power. Use the Pink Necrolyte Fields for a beautiful shallow home with necrolycyst access. Add a Northern Wildlife Base if you want safer scouting.
Best practical route: Hydroelectric Starter Base ➔ Alien Route Outpost ➔ Thermal Vents Base. That path gives the cleanest mix of power, safety, resources, and progression speed.

Most Popular Posts
- Best Base Locations in Subnautica 2: Top 5 Early and Late Game Spots
- Subnautica 2 Power Storage Guide: How to Unlock Backup Base Power and Survive the Night
- Subnautica 2 Resource Guide: Best Locations for Silver, Lithium, Deepwing Eggs, Metal Farms, and Late-Game Materials
- Subnautica 2 Best Base Locations: Safe Starts, Resource Hubs, Power Spots, and Late-Game Bases
- Subnautica 2 Best Biomes for Base Building: Ranked by Safety, Resources, and Practical Value
- Subnautica 2 Tadpole Upgrades Guide: Blueprint Locations, Depth Module, Armor, Charger & Tadpole Pens Code
Popular Category Lists
- Grow a Garden / (286)
- ARC Raiders / (271)
- CoD: Black Ops 7 / (166)
- Monopoly Go / (148)
- MLB 26 / (148)
- Star Citizen / (125)
- Steal a Brainrot / (89)
- ARK Survival Ascended / (81)
- Sailor Piece / (68)
- Forza Horizon 6 / (65)
- Diablo IV / (61)
- Blox Fruits / (61)
- Adopt Me / (56)
- CoD: BLACK OPS 6 / (55)
- Grow a Garden 2 / (51)
- Path of Exile 2 / (48)
- Monster Hunter Wilds / (46)
- Windrose / (44)
- Path of Exile / (40)
- Bee Swarm Simulator / (36)