


 0
0ARC Raiders Best Blueprints: Unlocks That Change Your Raids
- KIVRI
- Share
- ARC Raiders
- 01/02/26
- 1438
Blueprints are the quiet economy of ARC Raiders. They don't just unlock gear—they unlock options: faster resets, safer extracts, cleaner ARC clears, and the ability to take fights on your terms.
I've collected a little over 70% of the blueprint pool, and the biggest lesson was painfully simple: selling blueprints early is the slow way to progress. Trading them, stacking them, and unlocking the right keystone blueprints first is what makes your account feel like it's accelerating instead of treading water.
- Top 10 Essentials Blueprints Ranked
- The Blueprint Rule Most Players Miss: Trade > Sell
- Why trading wins
- Practical trading rule
- What to Unlock and How to Use It
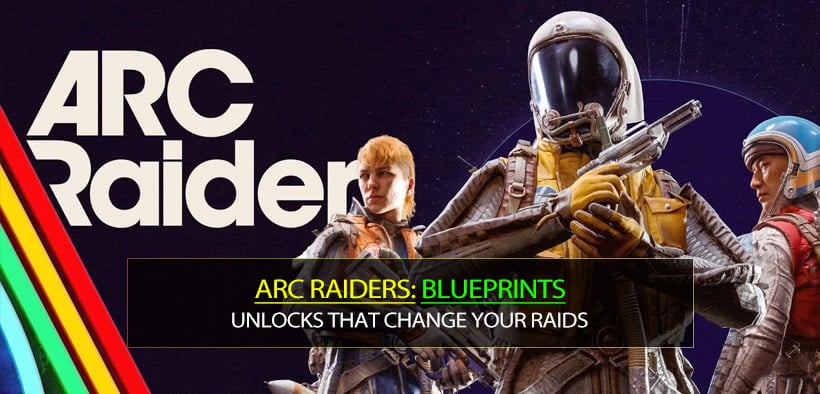
- 1) Trigger 'Nade(The Fight-Ending Blueprint)
- 2) Snap Hook (Mobility Is a Weapon)
- 3) Defibrillator (The Reset Button That Wins Raids)
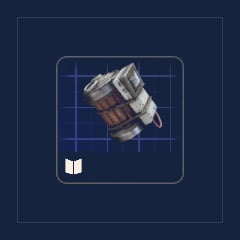
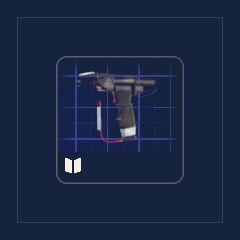
- 4) Venator (Best PvP Value Per Cost)
- 5) Survivor Augment MK3 (Looting) — The Best All-Around Augment
- 6) Anvil (Versatile Heavy Hitter)
- 7–9) Heavy / Medium / Light Gun Parts (Progression Gatekeepers)
- 10) Wolfpack (ARC Deletion on a Budget)
- What Should I Unlock First?
- FAQ
- 1) Should I ever sell a blueprint?
- 2) I play mostly solo—does Defibrillator still matter?
- 3) Are gun parts really top 10 material compared to flashy utilities?
- 4) Snap Hook or Trigger first?
- 5) What's the single best budget power blueprint here?
- Closing
↖ Top 10 Essentials Blueprints Ranked
Use this table to decide what to chase first; then I'll explain the why and the how.
| Rank | Blueprint | Type | Why You Need It (Short) | Best Use Case | Common Mistake |
|---|---|---|---|---|---|
| 1 | Trigger 'Nade | Utility / Damage | Fight-winning burst on your timing | Team wipes, door/cover denial | Detonating late or alone without info |
| 2 | Snap Hook | Mobility | Instant reposition + high ground access | Engage and disengage | Using both charges to enter and having none to leave |
| 3 | Defibrillator | Team sustain | Fast reset mid-fight, prevents full collapse | Squad PvP, event chaos | Defibbing in the open without smoke/cover |
| 4 | Venator | Weapon | Elite PvP value per cost (non-purple economy win) | Close-mid PvP, building fights | Forcing long-range duels |
| 5 | Survivor Augment MK3 (Looting) | Augment | Slots + medium shield + downed regen | Loot runs, ARC hunts, general raids | Treating it as loot-only and skipping fights you could win |
| 6 | Anvil | Weapon | Versatile heavy hitter for players + ARC | Two-tap pressure, mixed ranges | Over-peeking while slow-firing |
| 7 | Heavy Gun Parts | Progression | Unlocks high-tier weapon upgrades | Endgame crafting | Ignoring it until you're ready |
| 8 | Medium Gun Parts | Progression | Needed for the mid-tier upgrade ladder | Reliable weapon scaling | Spending parts on weapons you don't actually run |
| 9 | Light Gun Parts | Progression | Early upgrades + crafting flexibility | Budget builds, starter consistency | Selling parts because they look common |
| 10 | Wolfpack | Utility / ARC control | Cost-efficient ARC deletion tool | Leapers / high-threat ARC | Treating it like a panic button instead of planned value |
↖ The Blueprint Rule Most Players Miss: Trade > Sell
Here's the mindset shift that sped up my progression the most.
↖ Why trading wins
If you discover you're stuck missing one key blueprint for weeks, then your problem is usually liquidity, not luck. Blueprints are barter power.
In my own stash management, I held roughly ~20 duplicate blueprints instead of selling them for around ~100,000 total value. I got far more than 100k worth back through trades because:
- I could target specific missing essentials (parts/augments/utility),
- I avoided wasting time farming RNG drops,
- I upgraded my raid capability sooner, which increased extraction rate, which increased income anyway.
This means you should treat spare blueprints like a currency reserve, not pocket change.
↖ Practical trading rule
- Never sell a blueprint that is: mobility, team sustain, or progression-gated (gun parts).
- Sell only when: you already have the blueprint, you already have multiple duplicates, and you need immediate crafting cash for a planned raid set.
↖ What to Unlock and How to Use It
↖ 1) Trigger 'Nade(The Fight-Ending Blueprint)
This is the most unfair utility in the game because it lets you convert information into instant damage on your timing.
Why it's #1
- Massive damage potential
- Detonation control = you choose the moment
- Punishes grouped teams, tight rooms, predictable cover
How I use it (repeatable pattern)
1. Get info first (audio, teammate ping, line-of-sight confirmation).
2. Force them to commit (they tuck behind cover or hold a doorway).
3. Throw trigger 'Nade where their exit path will be, not where they are standing.
4. Detonate when you hear/see the shift.
If you find you're doing damage but not getting downs, then you're probably detonating late or throwing it at the wrong geometry (hitting cover edges instead of the route behind it).
Common pitfalls
- Throwing it as an opener with zero info
- Detonating while they still have two clean escape routes
- Using it solo without a follow-up push angle
↖ 2) Snap Hook (Mobility Is a Weapon)
Nothing else replicates what Snap Hook provides: instant high ground, weird angles, and the ability to leave a losing fight.
Why it's #2
Because mobility creates choice. Choice creates wins.
If you discover you keep losing to third parties, then you don't need more damage—you need the ability to break contact. Snap Hook is exactly that.
The two-charge discipline
- Charge 1: take position or force an off-angle
- Charge 2: reserved for escape unless it's a guaranteed cleanup
The easiest way to die with Snap Hook is spending both charges to go in and then realizing the fight changed.
↖ 3) Defibrillator (The Reset Button That Wins Raids)
In squad play, the team that resets faster usually wins—especially around events or noisy objectives.

Why it matters
- Prevents a down from turning into a full wipe
- Restores fighting capacity quickly
- Forces enemies to thirst (overextend) or lose tempo
Safe defib checklist
If you find defibs keep turning into double downs, then do this:
- Smoke or hard cover first
- Clear the closest angle (even one second of patience matters)
- Defib, then immediately reposition together
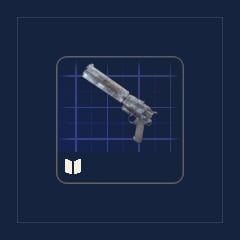
↖ 4) Venator (Best PvP Value Per Cost)
Venator stays elite because it's brutally effective against players without demanding top-tier rarity budgets.
Why it's essential
- Strong close-mid time-to-kill profile
- Upgrades stay comparatively affordable for its output
- You can run it often without bankrupting your stash
What this means in practice
If you want to PvP more but fear the gear tax, Venator lets you take more fights per week. More fights = more learning = higher extraction rate.
Don't misuse it
It's not a long-range sniper substitute.
If you keep losing outdoors, pair your playstyle with cover-to-cover movement instead of ego-peeking open sightlines.
↖ 5) Survivor Augment MK3 (Looting) — The Best All-Around Augment
People pigeonhole this as the loot augment, but that's underselling it.
.jpg)
Why it's top-tier
- Big backpack capacity (20 slots)
- Enables medium shield
- Downed health regeneration = better clutch odds
Where it shines
- Key room runs
- ARC hunts (you can carry expensive utility safely)
- General I don't know what this raid becomes loadouts
If you discover your raids keep ending because one mistake snowballs, the downed regen and extra capacity reduce how often a single error becomes a total loss.
↖ 6) Anvil (Versatile Heavy Hitter)
Anvil is the do most things well weapon that carries progression because it performs against both players and ARC.
Why it's essential
- High damage per shot
- Strong at mixed ranges
- Useful across multiple raid goals (PvP, PvE, overwatch)
The trade-off
Slow fire punishes sloppy peeks.
If you find you're losing Anvil duels, then you're likely:
- re-peeking the same angle,
- taking fights without a reset plan,
- or trying to spam shots instead of timing them.
↖ 7–9) Heavy / Medium / Light Gun Parts (Progression Gatekeepers)
These three are boring until you realize they're the locks on the best upgrades.
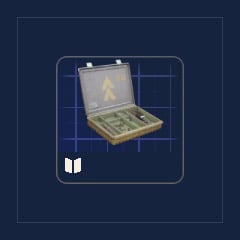
Why they're non-negotiable
- Without parts, you get soft-locked out of meaningful weapon scaling.
- Your weapons stagnate, and suddenly every fight feels like you're behind.
How to prioritize spending
If you discover you're always short on parts, then your issue is usually waste, not income:
- Stop upgrading weapons you don't actually raid with.
- Pick 1–2 core weapons per tier and invest deliberately.
Here's the spending logic I follow:
| Part Type | When It Matters Most | Spend On | Avoid Spending On |
|---|---|---|---|
| Light | Early consistency | Starter AR/SMG you truly run | Try once weapons |
| Medium | Midgame power spike | Main PvP weapon upgrades | Niche experiments |
| Heavy | Endgame ceiling | Your best-in-slot core kit | Anything you won't replace your current main for |
↖ 10) Wolfpack (ARC Deletion on a Budget)
Wolfpack is one of the best cost-to-impact blueprints in the game for dealing with ARC threats fast.
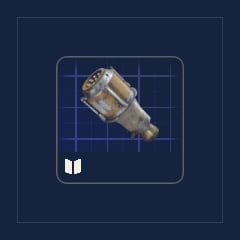
Why it belongs in the top 10
It's not just damage—it's time saved and risk reduced.
Here's the practical comparison I use:
- If a teammate brings a high-cost ARC weapon (plus ammo), and you bring Wolfpack, your single throw can nearly erase a high-threat target like a leaper.
- That means fewer bullets spent, less time exposed, and fewer third-party invitations.
If you discover your ARC hunts keep turning into PvP interruptions, then faster clears are your best defense—Wolfpack helps you finish and leave.
The common mistake
Treating Wolfpack as a panic button.
Planned use is stronger: throw when the target commits to a path or animation window, not when it's already on top of you.
↖ What Should I Unlock First?
Different players need different first wins.
| Your Goal | Unlock Path (Top Priority First) | Why This Works |
|---|---|---|
| Win more PvP fights | Trigger → Snap Hook → Defib → Venator | Damage + angle control + faster resets |
| Survive more raids (solo) | Snap Hook → Venator→ Survivor MK3 → Trigger | Mobility + consistent gun + safety net |
| Progress crafting faster | Gun Parts (Light/Med/Heavy) → Anvil → Venator | Removes upgrade bottlenecks |
| Farm ARC efficiently | Wolfpack → Survivor MK3 → Defib → Snap Hook | Faster kills + safer utility carry + escape |
↖ FAQ
↖ 1) Should I ever sell a blueprint?
If you discover you're constantly missing key unlocks, then selling is usually a trap. I only sell when it's a duplicate and I need immediate cash for a planned crafting session.
↖ 2) I play mostly solo—does Defibrillator still matter?
It drops in priority for solo, but it becomes mandatory the moment you duo/trio regularly. If your sessions are 80% squad raids, keep it in your top three.
↖ 3) Are gun parts really top 10 material compared to flashy utilities?
Yes, because they unlock your long-term power curve. If you ignore parts, you'll feel strong for a day and underpowered for weeks.
↖ 4) Snap Hook or Trigger first?
If you discover you die because you can't disengage, pick Snap Hook first. If you die because you can't convert advantages into downs, pick Trigger first.
↖ 5) What's the single best budget power blueprint here?
Venator. It gives you repeatable PvP strength without requiring the most expensive tier of gear.
↖ Closing
These ten blueprints aren't just good items. They're the blueprints that change what your raids can become: you reset faster (Defib), reposition smarter (Snap Hook), delete threats efficiently (Wolfpack), scale your weapons (Gun Parts), and end fights decisively (Trigger). If you build your blueprint priorities around options instead of hype, your progression stops feeling random—and starts feeling earned.

Most Popular Posts
- ARC Raiders Riven Tides Key Room Guide: Best Hotel Keys, Loot Routes, Secure & Crane Storage
- ARC Raiders Damage Fireflies Trial Guide: Best Farm Method on Buried City Night Raid
- ARC Raiders Riven Tides Update: New Map & Items, ARC Turbine, Rewards, and Best Early Strategy
- ARC Raiders Bettina Guide: Best Build, Buffs, and How to Use It Against ARC
- Arc Raiders Season 4 Riven Tides Update, Rewards, Safe Skins, and Release Timeline
- ARC Raiders Solo Search Supply Drops Guide: Best Buried City Route, Beacon Locations
Popular Category Lists
- Grow a Garden / (286)
- ARC Raiders / (262)
- CoD: Black Ops 7 / (166)
- Monopoly Go / (146)
- MLB 26 / (145)
- Star Citizen / (112)
- Steal a Brainrot / (89)
- Sailor Piece / (68)
- ARK Survival Ascended / (67)
- Diablo IV / (61)
- Forza Horizon 6 / (60)
- Blox Fruits / (60)
- CoD: BLACK OPS 6 / (55)
- Adopt Me / (53)
- Path of Exile 2 / (48)
- Monster Hunter Wilds / (46)
- Windrose / (44)
- Path of Exile / (40)
- Grow a Garden 2 / (40)
- Bee Swarm Simulator / (36)


