


 0
0ARC Raiders Solo Search Supply Drops Guide: Best Buried City Route, Beacon Locations
- KITE
- Share
- ARC Raiders
- 04/18/26
- 1590
If you're trying to push a high Search Supply Drops score in ARC Raiders, Buried City is easily the best map to do it on. After running this challenge across different maps and routes, this is the one that consistently gives the fastest beacon checks and the cleanest rotations.
Buried City is small, vertical, and easy to read from high ground. You can spot most active beacon positions quickly, rotate between them without much downtime, and stay ahead of other players if you move decisively. Right now, it's also the only map where top-end scores can jump much higher because of a double-activation bug on some beacons.
- Why Buried City Is the Best Map
- What makes Buried City so strong
- How Scoring Works
- Important scoring note
- Best Loadout for Solo Runs
- The Current Double-Activation Bug
- Best Route Strategy
- What works best
- Buried City Supply Drop Beacon Locations
- Gas Station Bug
- What happens there
- FAQ
- What is the best map for Search Supply Drops in ARC Raiders?
- How many points does each supply drop give?
- Do you get points for opening the supply drop?
- What is the highest realistic score on Buried City?
- Which beacon is bugged on Buried City?
- Final Takeaway
↖ Why Buried City Is the Best Map
This trial is all about speed. We are not farming crates first; we are racing to activate beacons before someone else does.
↖ What makes Buried City so strong
| Advantage | Why it matters |
|---|---|
| Compact layout | Less travel time between beacon spawns |
| Rooftop visibility | Easier to spot beacon lights from above |
| Fast rotations | You can chain multiple beacons in one loop |
| Predictable route flow | Fewer wasted detours compared to larger maps |
From experience, larger maps give you too much dead time. On Buried City, you spend more of the run scoring and less of it searching.
↖ How Scoring Works
The challenge is straightforward:
1. Find a radio beacon
2. Interact with it
3. Call in the flare
4. Get points for the activation
↖ Important scoring note
At the moment, the points come from calling in the drop, not from searching the crate.
That means:
- If you activate the beacon, you get the points
- If another player gets there first, that score is gone
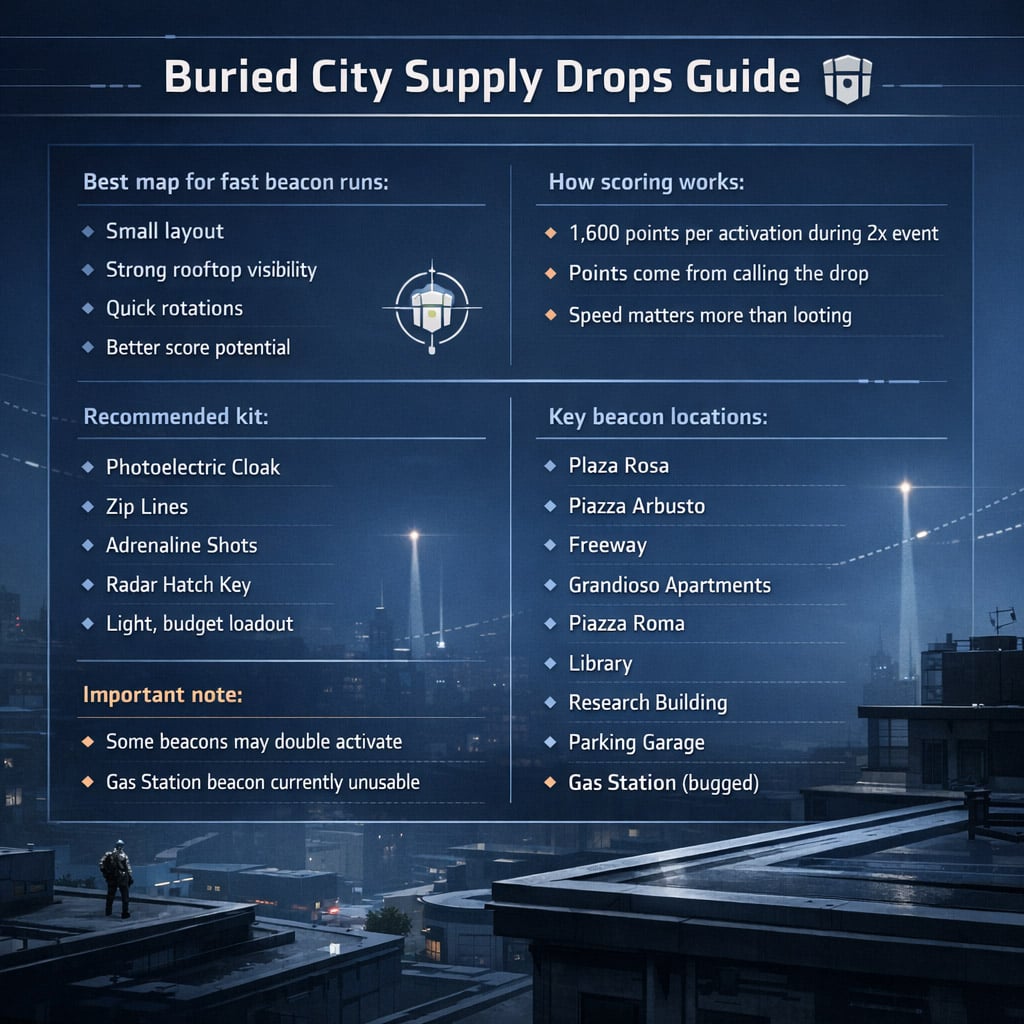
- During a 2x event, each activation is worth 1,600 points
This is why route speed matters so much more than looting.
↖ Best Loadout for Solo Runs
You don't need to overbuild for this. A light kit ARC Raiders Items works better.
| Item | Why bring it |
|---|---|
| Photoelectric Cloak | Helps during Close Scrutiny when avoiding players matters |
| Zip Lines | Speeds up rooftop movement |
| Adrenaline Shots | Useful for fast rotations |
| Radar Hatch Key | Safer extraction to Speranza |
| Budget weapon | Enough to survive, without risking too much gear |
A quick practical note: I would not overpack here. In my own runs, expensive utility usually adds less value than simple movement and a clean extract. Close Scrutiny can get messy fast, and losing a heavy kit for a trial run never feels good.
↖ The Current Double-Activation Bug
This is the part that affects leaderboard-level scores.
On some Buried City beacons, you can sometimes interact twice. After the first flare goes up, the prompt may still remain. If that happens and you activate it again, you can get a second score payout.
| Situation | Points |
|---|---|
| Normal activation | 1,600 |
| Bugged double activation | 3,200 |
In normal conditions, runs tend to cap around 9,600 points. With the bug, scores can go higher. A run reaching 11,200 is realistic if the beacon RNG lines up and no one steals your route.
I'm not a fan of bug-dependent strategies in guides, but right now it's part of the reality of this trial, so it's worth documenting clearly.
↖ Best Route Strategy
The winning approach is simple: get high, scan fast, move immediately.
↖ What works best
- Start by taking high ground
- Look for beacon lights across the map
- Prioritize activation over looting
- Keep moving in a smooth loop
- Watch for other players' flares
If you see a flare go up across the map, that usually means you just lost potential points. In some cases, it may be more than one beacon's value if that location was bugged and could have been activated twice.
You can also use the in-game map once you're close enough to a beacon, but it's more of a backup tool than a primary one. Rooftop visibility is still the fastest way to read the map.
↖ Buried City Supply Drop Beacon Locations
Each run usually gives 4 to 5 active beacons from this pool of 9 locations.
| Location | Notes |
|---|---|
| Plaza Rosa roof | Easy to spot from nearby rooftops |
| Piazza Arbusto houses | Fast check if you stay elevated |
| Freeway middle | More exposed than rooftop spawns |
| Grandioso Apartments roof | Good visibility point |
| Piazza Roma top | Near the zip line |
| Library roof | Quick to confirm from height |
| Research Building roof | Good mid-route stop |
| Parking Garage roof | Usually fast to access |
| Gas Station roof | Currently bugged and unusable |
Once you learn these nine spots, the trial becomes much more consistent.
↖ Gas Station Bug
The Gas Station beacon is currently the bad spawn to watch for.
↖ What happens there
- The beacon appears
- You cannot interact with it
- You lose the points tied to that spawn
| If this happens... | Best move |
|---|---|
| You want a top score | Leave and re-queue |
| You're just farming casually | Finish the run anyway |
If you are pushing leaderboard numbers, this one spawn can ruin the ceiling of an otherwise great attempt.
↖ FAQ
↖ What is the best map for Search Supply Drops in ARC Raiders?
Buried City is the best map because it is compact, easy to scan from rooftops, and fast to rotate.
↖ How many points does each supply drop give?
During a 2x event, each successful beacon activation gives 1,600 points.
↖ Do you get points for opening the supply drop?
No. Right now, the points come from calling in the drop, not from looting it.
↖ What is the highest realistic score on Buried City?
A strong normal run is around 9,600 points. With bugged double activations, runs over 11,000 are possible.
↖ Which beacon is bugged on Buried City?
The Gas Station beacon is currently not interactable.
↖ Final Takeaway
Buried City is the clear best choice for Solo Search Supply Drops because it lets us play fast, see more, and waste less time between beacon checks. If you stay on rooftops, keep your kit light, and focus on activations first, your runs become much more consistent.
The big scores come from clean routing, fast recognition, and a bit of luck with the current double-activation bug. Even without perfect RNG, this is still the most reliable map for putting up strong numbers.

Most Popular Posts
- ARC Raiders Riven Tides Key Room Guide: Best Hotel Keys, Loot Routes, Secure & Crane Storage
- ARC Raiders Damage Fireflies Trial Guide: Best Farm Method on Buried City Night Raid
- ARC Raiders Riven Tides Update: New Map & Items, ARC Turbine, Rewards, and Best Early Strategy
- ARC Raiders Bettina Guide: Best Build, Buffs, and How to Use It Against ARC
- Arc Raiders Season 4 Riven Tides Update, Rewards, Safe Skins, and Release Timeline
- ARC Raiders Solo Search Supply Drops Guide: Best Buried City Route, Beacon Locations
Popular Category Lists
- Grow a Garden / (286)
- ARC Raiders / (262)
- CoD: Black Ops 7 / (166)
- Monopoly Go / (146)
- MLB 26 / (144)
- Star Citizen / (111)
- Steal a Brainrot / (89)
- Sailor Piece / (68)
- ARK Survival Ascended / (66)
- Diablo IV / (61)
- Forza Horizon 6 / (60)
- Blox Fruits / (60)
- CoD: BLACK OPS 6 / (55)
- Adopt Me / (53)
- Path of Exile 2 / (48)
- Monster Hunter Wilds / (46)
- Windrose / (44)
- Path of Exile / (40)
- Grow a Garden 2 / (38)
- Bee Swarm Simulator / (36)


