0
0ARK Survival Ascended Burrowbuck Hidey Hole Base Guide: Best Starter Layout, Storage, and PvP Tips
- LUKE
- Share
- ARK Survival Ascended
- 05/28/26
- 929
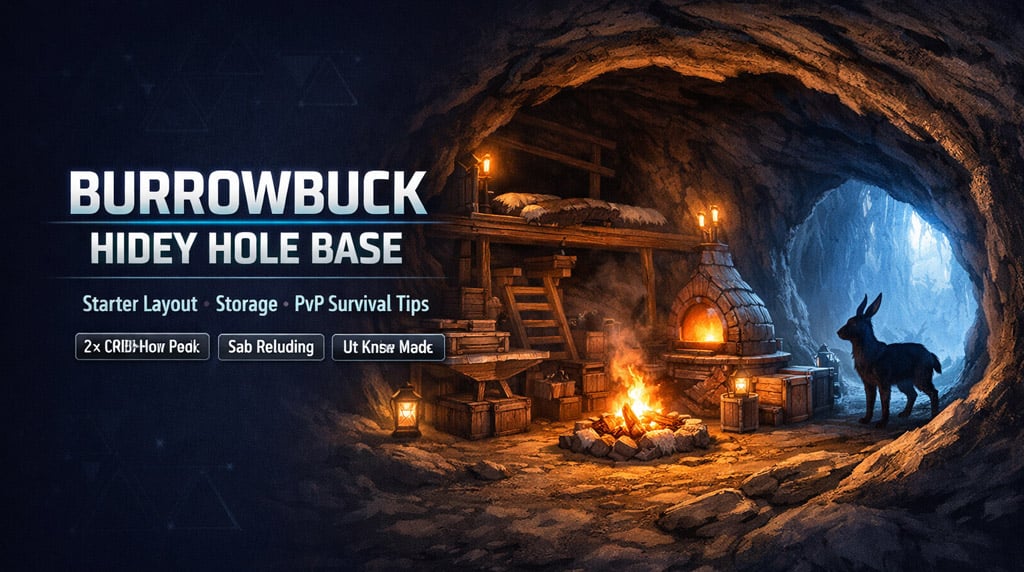
The Burrowbuck Hidey Hole is one of the best early-game shelters in ARK: Survival Ascended. It gives us a hidden cave space, enough room for core crafting, and a safer place to stash loot while we scout or build a real base. The catch is simple: it lasts around 2 days, and we need to refresh it by entering and leaving before the timer expires.
Use it as a starter base, not a forever base.
- ARK Survival Ascended Burrowbuck Hidey Hole Basics
- Best Burrowbuck Hidey Hole Base Layout
- How to Build the Burrowbuck Starter Base
- 1. Start With the Main Platform
- 2. Add Pillars and Supports
- 3. Build the Stairs Before the Stations
- Lower Level: Food, Storage, and Burrowbuck Parking
- Middle Level: Smithy and Forge Setup
- Upper Level: Bed, Blueprints, and Backup Gear
- PvP Tips for Burrowbuck Hidey Hole Bases
- What PvP Players Should Care About
- Best Storage Strategy
- Burrowbuck Hidey Hole vs Other Starter Bases
- Final Build Checklist
- FAQ
- How long does the Burrowbuck Hidey Hole last?
- Can we enter the Hidey Hole without the Burrowbuck?
- Is the Burrowbuck Hidey Hole good for PvP?
- What should we place first inside the Hidey Hole?
- Can the Burrowbuck fit inside the base?
- Summary
↖ ARK Survival Ascended Burrowbuck Hidey Hole Basics
The Hidey Hole works like a small temporary cave. Once the Burrowbuck creates it, we can enter the space and build inside.
| Feature | Practical Value |
|---|---|
| 2-day timer | Refresh often or risk losing the setup |
| Hidden cave interior | Safer than a beach hut |
| Buildable space | Fits bed, smithy, forges, storage, food stations |
| Repeatable layout | Interior is consistent enough to reuse this build |
| Small tame parking | Fits the Burrowbuck and a few compact utility tames |
The value is speed. We get a hidden base running fast, then use it to farm toward a stronger location.
If you are on PvP, do not hoard everything here. A hidden starter is still a starter.

↖ Best Burrowbuck Hidey Hole Base Layout
The strongest layout is vertical. Floor space is tight, so we stack functions across three levels.
| Level | Purpose | Key Items |
|---|---|---|
| Lower Level | Food, entry storage, tame support | Campfire, Cooking Pot, Feeding Trough, Preserving Bin, boxes |
| Middle Level | Crafting and smelting | Smithy, 2–3 Refining Forges, cabinet |
| Upper Level | Respawn and valuables | Bed, bookshelf, mortar and pestle, backup storage |
This gives us a clean loop:
Enter ➔ dump loot ➔ cook/feed ➔ craft/smelt ➔ sleep/log out upstairs.
That loop matters. In a small base, bad pathing wastes more time than bad decoration.
↖ How to Build the Burrowbuck Starter Base
↖ 1. Start With the Main Platform
Place the first foundation near the upper side ledge of the cave.
Then expand with ceilings or extra foundations where the terrain allows.
Keep this first platform clean. It sets the entire snap grid.
Do this:
- Place the first foundation against the side wall.
- Extend a small platform along the cave edge.
- Leave room for stairs.
- Avoid blocking the entrance.
- Test walking space before placing stations.
If the first piece is off, everything after it feels awkward. Fix it early.
↖ 2. Add Pillars and Supports
Use pillars, thin pillars, and beams to frame the build.
This is not just for looks. Supports make the interior easier to read. You instantly know where floors, edges, and stairs are.
| Piece | Use |
|---|---|
| Pillars | Anchor raised platforms |
| Thin Pillars | Support without blocking movement |
| Beams | Define edges and make the build cleaner |
| Railings | Prevent messy movement and improve visibility |
| Scaffolding | Fills corners and sells the built-in cave base look |
Keep supports tight to walls. The middle of the cave is movement space.
↖ 3. Build the Stairs Before the Stations
Place stairs at the back or side so they climb toward the middle platform, then toward the upper room.
Good stair placement is the difference between a smooth base and a rage trap.
Rules that work:
- Keep stair landings empty.
- Do not place storage at the bottom of stairs.
- Keep the Burrowbuck away from stair turns.
- Add railings after stairs work.
- Test movement while carrying resources.
If you keep bumping into a forge, box, or tame, move it. Small bases punish clutter.
↖ Lower Level: Food, Storage, and Burrowbuck Parking
The lower level is the workhorse. This is where we handle quick access items.
| Item | Why It Belongs Here |
|---|---|
| Campfire | Early cooking and warmth |
| Cooking Pot | Recipes and utility cooking |
| Feeding Trough | Keeps the Burrowbuck and small tames fed |
| Preserving Bin | Slows food spoilage |
| Storage Boxes / Barrels | Quick dump storage near entry |
Park the Burrowbuck along one side wall. Not in the middle. Not near stairs.
If you bring extra tames, keep it minimal. One Burrowbuck plus one small utility tame is fine. More than that turns the cave into a parking garage with teeth.
↖ Middle Level: Smithy and Forge Setup
The middle platform should be pure production.
Place the Smithy close to storage. Put 2–3 Refining Forges beside it or along the wall.
| Station | Best Use |
|---|---|
| Smithy | Metal tools, saddles, repairs |
| Refining Forges | Metal, charcoal, early progression |
| Cabinet | Ingots, hide, fiber, parts |
| Small Boxes | Overflow resources |
This setup cuts walking time. Farm metal, dump it into forges, move ingots into the smithy, craft upgrades.
That is the whole point of the Hidey Hole: safer early progression with less surface exposure.
↖ Upper Level: Bed, Blueprints, and Backup Gear
The upper level is for your safest essentials.
Place the Bed first. Everything else comes after.
| Item | Purpose |
|---|---|
| Bed | Respawn and logout point |
| Bookshelf | Blueprint storage |
| Mortar and Pestle | Narcotics, sparkpowder, paste prep |
| Cabinet | Backup armor, weapons, tools |
| Light Source | Visibility without clutter |
Keep the bed accessible. A blocked bed is worse than no bed. ARK will find a way to make that painful.
Use this floor for backup kits, not bulk junk.
↖ PvP Tips for Burrowbuck Hidey Hole Bases
The Burrowbuck Hidey Hole feels like a mini rathole, but it is not a full rathole. Treat it like a temporary stash base.
↖ What PvP Players Should Care About
| Risk | Counterplay |
|---|---|
| Timer decay | Refresh before the 2-day limit |
| Discovery | Avoid obvious high-traffic areas |
| Quick raid loss | Split loot across multiple boxes |
| Entry camping | Keep spare kits upstairs |
| Cluttered movement | Keep stairs and center path clear |
| Overconfidence | Move valuables to a real base later |
Do not rely on hiding forever. On PvP servers, locations spread fast. Scouts check weird spots. Players know the meta.
The Hidey Hole buys time. Use that time.
↖ Best Storage Strategy
Do not put everything in one box. That is beginner behavior.
Split loot by risk and purpose.
| Storage Location | Store Here |
|---|---|
| Lower boxes | Wood, thatch, fiber, stone, basic food |
| Middle cabinet | Metal, hide, chitin, tools, crafting parts |
| Upper cabinet | Backup armor, weapons, emergency kits |
| Bookshelf | Blueprints |
| Hidden small box | Emergency kit, spare tools, recovery items |
If someone breaks in and finds only basic resources first, we bought ourselves a little value. Not a miracle. Just value.
↖ Burrowbuck Hidey Hole vs Other Starter Bases
| Base Type | Best Use | Weakness |
|---|---|---|
| Burrowbuck Hidey Hole | Hidden starter crafting base | Timer-based, limited room |
| Beach Hut | First few minutes | Easy to find, easy to raid |
| Cliffside Starter | Early expansion | More visible |
| The Center Rathole | PvP tribe survival | Often known, contested, mesh risk |
| Main Turret Base | Long-term home | Expensive and slow to build |
The Hidey Hole beats a beach hut. It does not beat a real defended base.
Use it during the awkward early phase: farming, scouting, crafting, and preparing.
↖ Final Build Checklist
Before logging out, check this list.
| Need | Item | Done |
|---|---|---|
| Respawn | Bed | Yes |
| Crafting | Smithy, Mortar and Pestle | Yes |
| Smelting | 2–3 Refining Forges | Yes |
| Food | Campfire, Cooking Pot, Preserving Bin | Yes |
| Storage | Boxes, cabinet, bookshelf | Yes |
| Tame Care | Feeding Trough | Optional but strong |
| Movement | Clear stairs and entry path | Mandatory |
| Timer | Hidey Hole refreshed | Mandatory |
If movement feels bad, remove decoration first. Function beats cozy every time.
↖ FAQ
↖ How long does the Burrowbuck Hidey Hole last?
It appears to last around 2 days. Entering and leaving seems to refresh the timer. Do not gamble with it. Refresh before logging off.
↖ Can we enter the Hidey Hole without the Burrowbuck?
Yes. After the Burrowbuck creates the Hidey Hole, we can enter without riding it.
↖ Is the Burrowbuck Hidey Hole good for PvP?
Yes, as a temporary starter stash. No, as a permanent base. Use it to farm, craft, hide early loot, and move into a stronger base later.
↖ What should we place first inside the Hidey Hole?
Place the foundation, then stairs, then bed, then smithy, forges, and storage. Decoration comes last.
↖ Can the Burrowbuck fit inside the base?
Yes. Park it along a side wall near the lower level. Keep it away from stairs and crafting stations.
↖ Summary
The Burrowbuck Hidey Hole base is a strong early-game option in ARK: Survival Ascended. It is hidden, compact, and practical. Build it vertically: food and tame support below, crafting in the middle, bed and valuables upstairs.
Refresh the 2-day timer. Split your loot. Keep stairs clear. Move high-value items once your main base is ready.
Used correctly, this little cave buys us exactly what early ARK players need most: time, safety, and a clean path into metal progression.

Most Popular Posts
- ARK Survival Ascended Genesis 1 Best Loot and Hexagon Farm Guide
- ARK Survival Ascended 2026 Update Guide: Lost Colony Fixes, Trait Upgrades, Creature Changes
- ARK Survival Ascended Umbra Guide: Spawn Location, Taming Steps, Abilities, Skill Tree & Worth
- ASA Best Boss Fighting Creatures: Ranked for Boss Arenas, Titans, and Mini Bosses
- ARK Survival Ascended Ship Guide: Best Ships, Sailing Controls, Cannons, Skills, Farming & PvP Uses
- ASA Evo Brontosaurus Guide: Taming, Abilities, Saddles, Spawn Locations & Best Uses
Popular Category Lists
- Grow a Garden / (286)
- ARC Raiders / (262)
- CoD: Black Ops 7 / (166)
- Monopoly Go / (146)
- MLB 26 / (145)
- Star Citizen / (112)
- Steal a Brainrot / (89)
- Sailor Piece / (68)
- ARK Survival Ascended / (67)
- Diablo IV / (61)
- Forza Horizon 6 / (60)
- Blox Fruits / (60)
- CoD: BLACK OPS 6 / (55)
- Adopt Me / (53)
- Path of Exile 2 / (48)
- Monster Hunter Wilds / (46)
- Windrose / (44)
- Path of Exile / (40)
- Grow a Garden 2 / (40)
- Bee Swarm Simulator / (36)