0
0 Created: Oct 15,2026 | RuneScape: Dragonwilds
Runescape Dragonwilds Best Jewelry & Fight Cave Loadout Guide

Equipping the wrong trinket in RuneScape: Dragonwilds will either drain your repair shards mid-run or drop your maximum health below one-shot thresholds in the Burning Spire. Lock in the Salve Amulet for dedicated undead farming, switch to the Amulet of Glory for safe critical-hit scaling and +5 defence, and reserve the Unholy Symbol strictly for encounters where you can dodge every heavy attack.
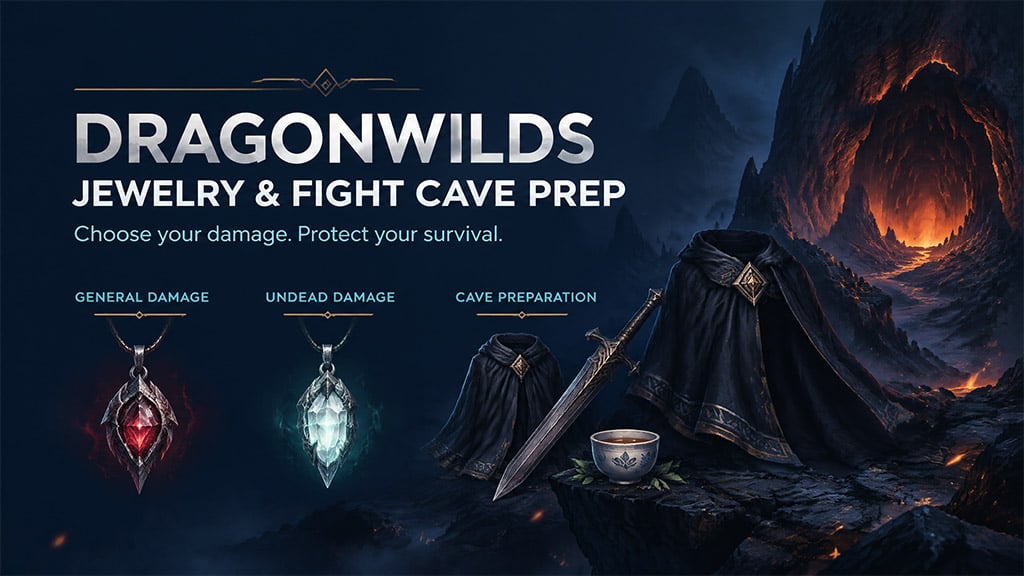
- Best Jewelry: Choose by Target and Survival Margin
- Jewelry Decision Table
- Salve's Hidden Cost: Hits, Not Farming Time
- How to Test Ring-Slot Stacking Without Skewing Numbers
- Gear Progression: Upgrade the Weapon You Can Sustain
- Primary Weapon Selection Matrix
- Fight Cave Preparation: Budget for the Full 30-Wave Run
- Secure the Free +4 Defence Upgrade First
- Pre-Entry Fight Cave Checklist
- FAQ (Frequently Asked Questions)
- What is the best jewelry in Dragonwilds?
- What are the exact stats on the Amulet of Glory?
- Can you still equip the Unholy Symbol and Amulet of Glory together?
- How do you unlock and craft the Obsidian Cape?
- Do you need Tier 7 gear to clear the Fight Cave?
Best Jewelry: Choose by Target and Survival Margin
Your jewelry slot dictates both your burst ceiling and your margin for error. If an accessory boosts your output by 15% but causes a standard KotHaar combo to become fatal, drop the damage trinket immediately.
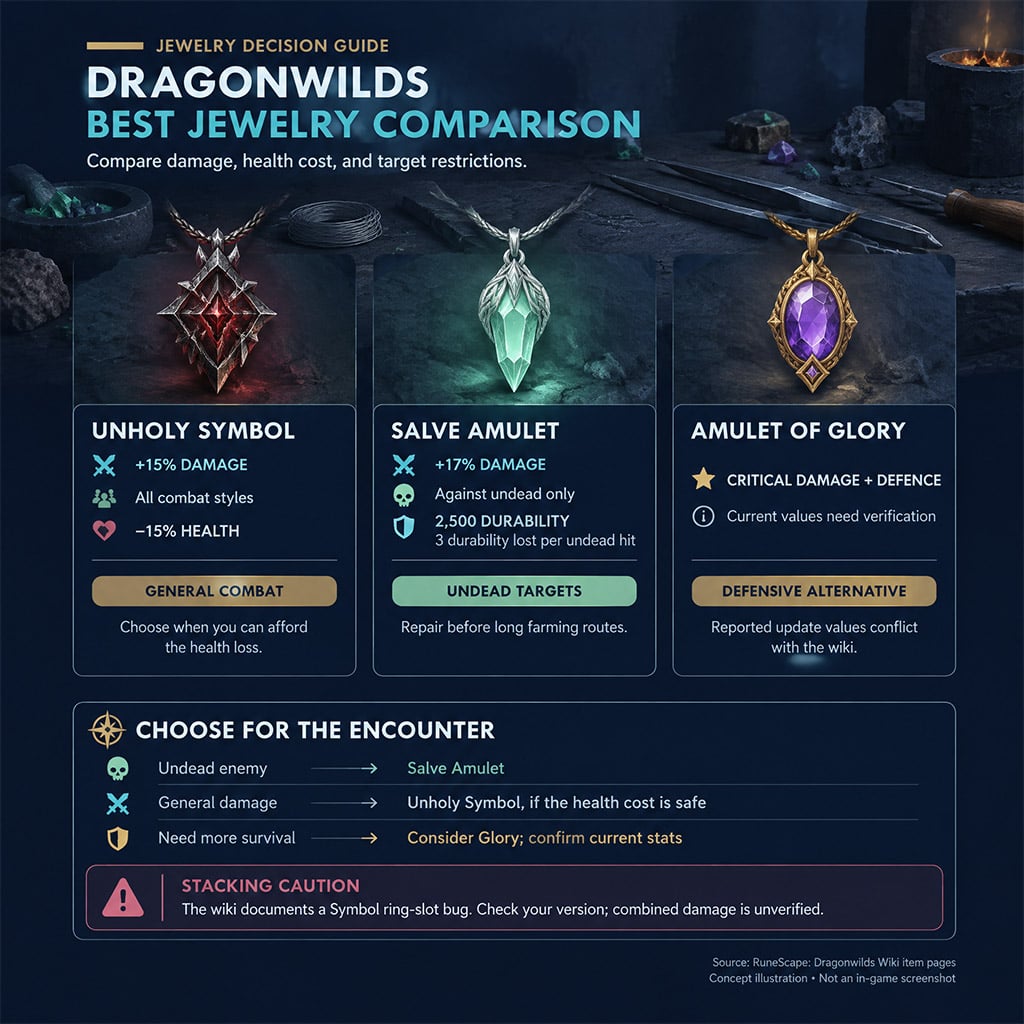
Jewelry Decision Table
Compare unconditional damage against target-locked multipliers and critical-hit scaling before crafting at the Jeweler's Bench.
| Jewelry | Verified Effect & Durability | Unlock Requirement | When to Use It | When to Avoid It |
|---|---|---|---|---|
| Salve Amulet | +17% Damage vs. Undead; 2,500 Durability (-3 per hit) | Exchange stone dwarven tablet (Skekven Kara vault) with Doric | Confirmed undead farming routes and undead boss phases | Non-undead zones or extended multi-target trips without repair materials |
| Amulet of Glory | +25% Critical Damage and +5 Defence (All Styles); 2,500 Durability | Find and study the Commemorative Coin vestige | Progression fights, Fight Cave waves, and high-crit builds needing extra mitigation | Builds with near-zero critical hit chance seeking flat base-damage increases |
| Unholy Symbol | +15% Damage (All Styles); -15% Max Health; Repairs cost 5 Vault Shards | Complete Wanted! quest from Vannaka in Dowdun Reach | Speed-farming familiar enemies with predictable, dodgeable telegraphs | Wave survival or boss fights where -15% HP removes your healing buffer |
| Symbol + Amulet Combo | +15% Base Damage + Amulet bonuses (-15% Max Health still applies) | Active client bug places Unholy Symbol in the Ring slot | Burst testing when your current patch build allows dual-equipping | Any core progression loadout that collapses once the ring-slot bug is patched |
Salve's Hidden Cost: Hits, Not Farming Time
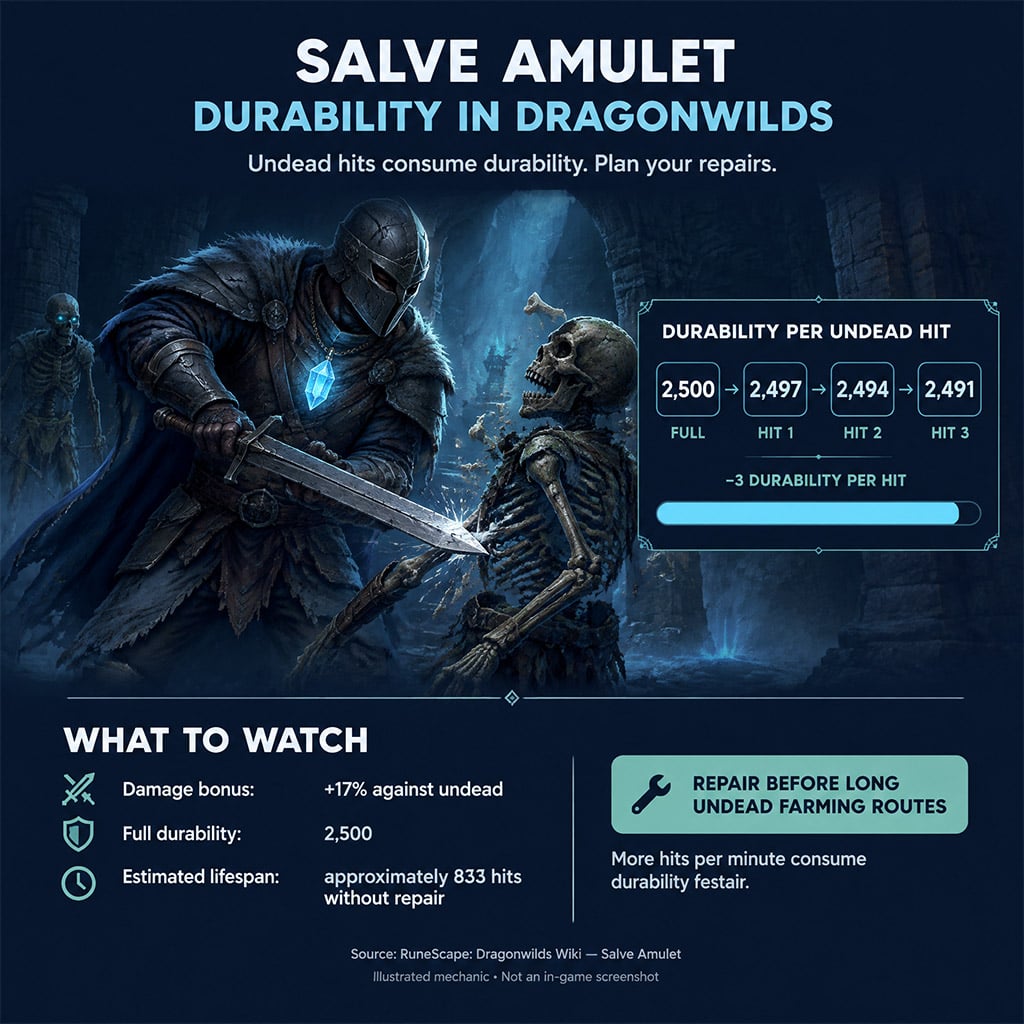
The Salve Amulet carries 2,500 durability and loses 3 durability per hit landed on undead enemies, giving you roughly 833 hits before breaking. Because durability drains per strike rather than per minute, rapid multi-hit weapons burn through the amulet far faster than heavy two-handed weapons.
- Repair before starting an undead circuit: Check your durability bar after your first loop through a zone to gauge your exact per-run wear rate.
- Verify enemy classification: Do not assume every monster in a spooky biome counts as undead; if the 17% bonus does not trigger, swap to the Amulet of Glory immediately.
How to Test Ring-Slot Stacking Without Skewing Numbers
Because a documented bug allows the Unholy Symbol to equip in the ring slot alongside a neck-slot amulet, players often miscalculate their true DPS gain by mixing critical hits with standard attacks.
1. Isolate your baseline: Strike the same enemy type with an identical weapon and zero active buffs while wearing neither item.
2. Test individual pieces: Record standard non-crit damage with the Unholy Symbol alone, then test the Amulet of Glory alone.
3. Separate crit pools: Glory boosts critical damage by 25%, whereas Symbol boosts all damage by 15%. Log normal hits and critical strikes in separate columns so a lucky crit streak does not trick you into thinking base damage stacked multiplicatively.
Gear Progression: Upgrade the Weapon You Can Sustain
When farming Umbral Sands, finish upgrading your primary combat weapon before pouring ascension materials into secondary off-style backups. Your real-world DPS depends on how safely you can exploit boss attack windows and sustain ammunition or runes across a 30-wave gauntlet.
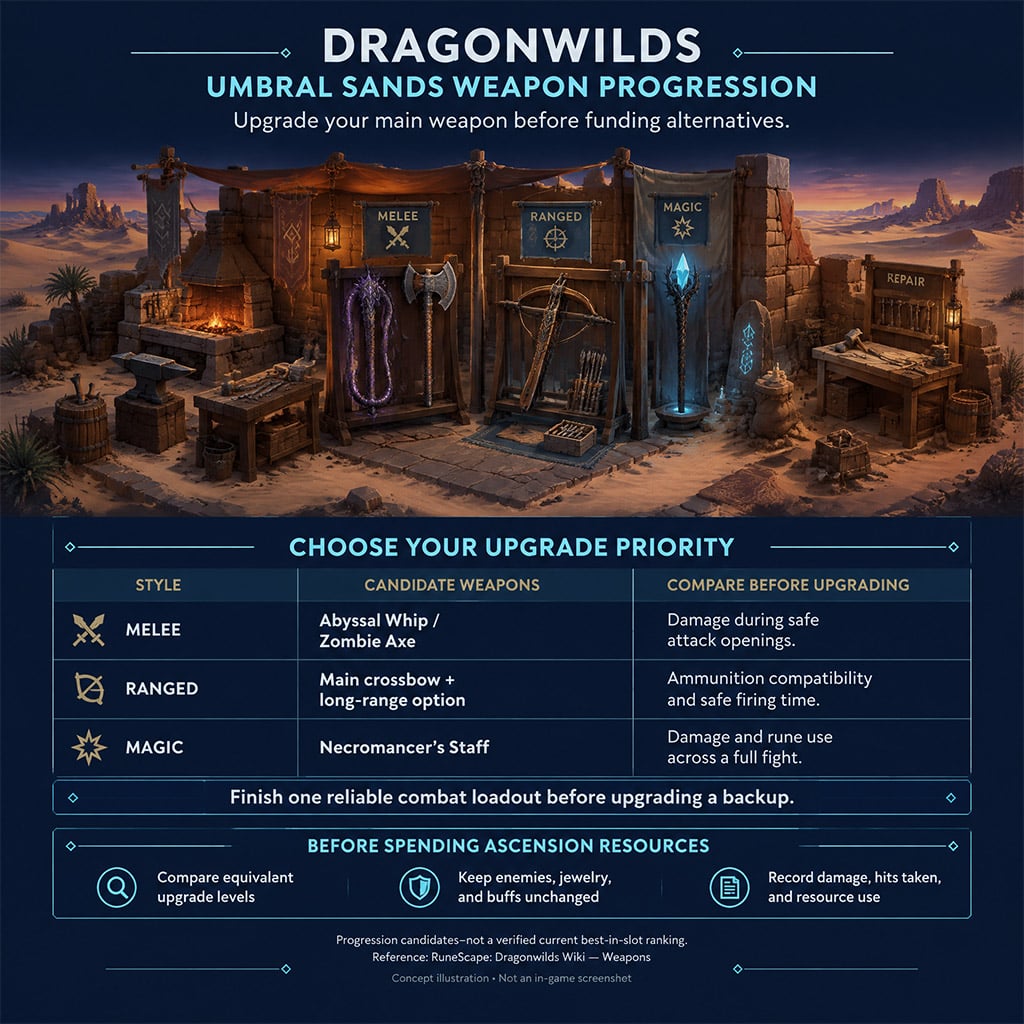
Primary Weapon Selection Matrix
Evaluate your next craft at the Blacksmith's Bench, Fletching Bench, or Mystic Forge using these operational constraints from the Weapons progression tier.
| Combat Style | Primary Progression Route | Operational Bottleneck to Manage |
|---|---|---|
| Melee | Abyssal Whip or Zombie Axe | Punish window speed: Measure total damage landed during a safe 3-second boss opening, not isolated single-hit numbers. |
| Ranged | Primary Crossbow + Long-Range Bow | Bolt upkeep and reload timing: Track total bolts consumed per full run and avoid relying on unpatched ammo-saving glitches. |
| Magic | Necromancer's Staff (or top Battlestaff) | Rune drain: Calculate total rune expenditure across all waves to ensure your inventory does not run dry before the final boss. |
Fight Cave Preparation: Budget for the Full 30-Wave Run
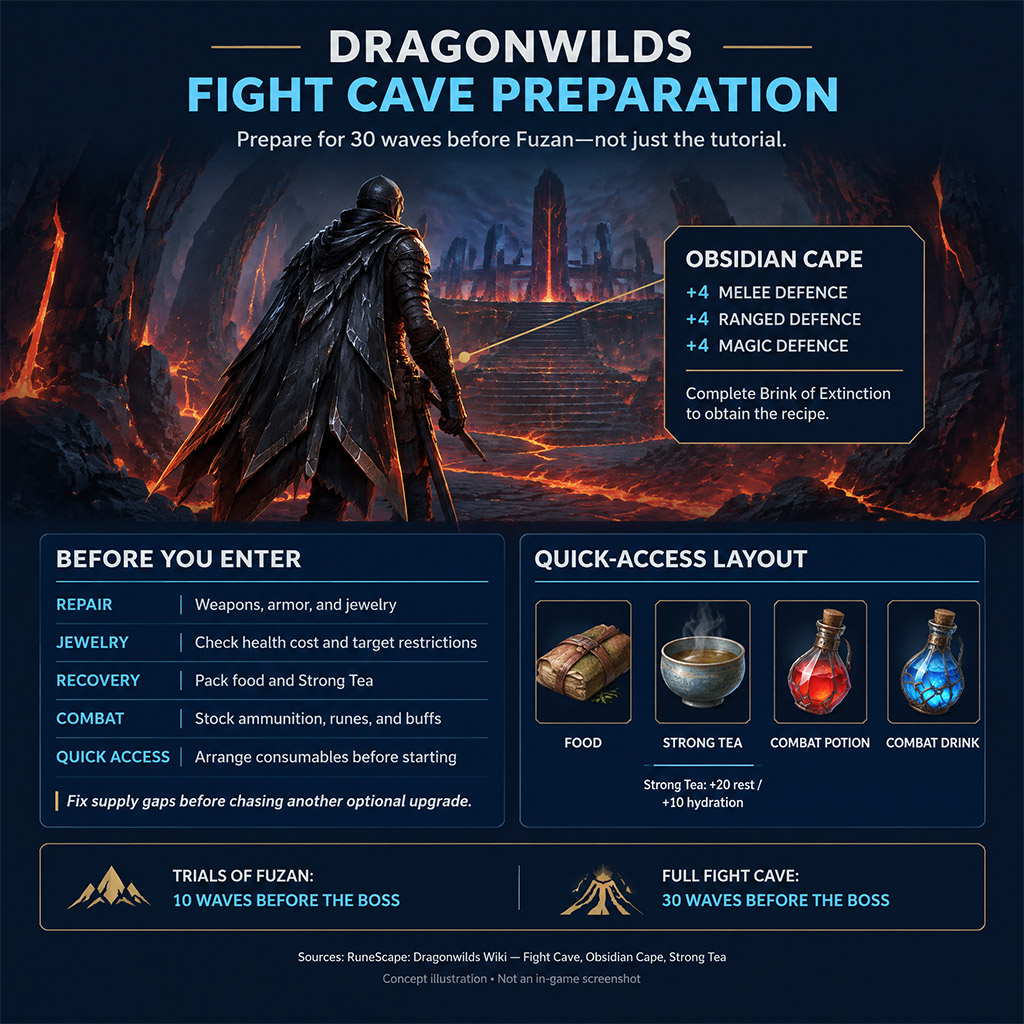
Located inside The Burning Spire in Umbral Sands, the Fight Cave unlocks during Icthlarin's Little Helper. Do not confuse the introductory quest version (Trials of Fuzan, which runs for 10 waves) with the full Fight Cave (30 waves before Fuzan).
Each wave spawns between 2 and 20 KotHaar enemies (including KotHaar-Hur, KotHaar-Ket, and mini-bosses) that scale in power level, while the arena itself launches environmental firebolts across the floor. Worse, the game enforces a strict 10-second timer between waves to swap gear and apply buffs.
Secure the Free +4 Defence Upgrade First
Before stepping into The Burning Spire, complete the Brink of Extinction quest to earn the Plate of Pure Obsidian vestige. Study the vestige and head to an Armour Bench to craft the Obsidian Cape.
- Combat Stats: Grants +4 Melee Defence, +4 Ranged Defence, and +4 Magic Defence.
- Crafting Cost: Requires zero materials and carries 0.0 weight, making it an instant, zero-downside survivability boost against multi-style KotHaar waves.
Pre-Entry Fight Cave Checklist
Stock your inventory for the full 30-wave endurance test, not the 10-wave quest trial.
| Loadout Category | Mandatory Pre-Entry Action | Tactical Reason |
|---|---|---|
| Weapons & Armor | Repair all equipped pieces to 100% at their crafting benches | Prevents mid-wave weapon breakage against high-HP KotHaar mini-bosses |
| Neck & Ring Slots | Equip Amulet of Glory (+5 Def) over Unholy Symbol unless dodging is flawless | Preserves your full 100% health pool against arena firebolts and swarming mobs |
| Back Slot | Craft and equip the Obsidian Cape | Locks in weightless +4 tri-brid defence at zero material cost |
| Strong Tea | Cook at a Cooking Range (1 Ground Tea Leaves + 3 Clean Water) and bind to hotbar | Restores 20 Rest and 10 Hydration per drink (stacks up to 99 at 1.0 weight) |
| Healing & Combat Potions | Stock dedicated HP food and combat buffs in separate quick-slots | Strong Tea only manages stamina/hydration; it will not heal hitpoints after firebolt hits |
| Ammo & Runes | Pack 1.5x the ammunition or runes used during your deepest practice run | Eliminates dry-firing during waves 20–30 when KotHaar density peaks at 20 enemies |
FAQ (Frequently Asked Questions)
What is the best jewelry in Dragonwilds?
The Salve Amulet is the strongest choice against undead targets (+17% damage), while the Amulet of Glory (+25% critical damage and +5 defence across all styles) is the best all-around progression trinket. Use the Unholy Symbol (+15% all damage) only when you can safely absorb its 15% maximum health penalty.
What are the exact stats on the Amulet of Glory?
In Patch 0.12.0, the Amulet of Glory provides a 25% increase to critical damage and +5 defence for melee, ranged, and magic attacks, backed by 2,500 durability. You unlock its crafting recipe by finding and studying the Commemorative Coin vestige.
Can you still equip the Unholy Symbol and Amulet of Glory together?
Yes, an active client bug currently allows the Unholy Symbol to be equipped in the ring slot while wearing another amulet around your neck. Test this interaction on your current patch before entering endgame content, as you still suffer the 15% health reduction and the bug can be hotfixed at any time.
How do you unlock and craft the Obsidian Cape?
Complete the Brink of Extinction quest to receive the Plate of Pure Obsidian vestige, then study it to learn the blueprint. Interact with any Armour Bench to craft the Obsidian Cape for free—it requires zero crafting materials, weighs 0.0, and adds +4 defence to all three combat styles.
Do you need Tier 7 gear to clear the Fight Cave?
No, Tier 7 equipment is not a hard requirement to enter or clear the 30-wave Fight Cave. Fully repairing your primary weapon, equipping the Obsidian Cape and Amulet of Glory for +9 combined defence, and managing your 10-second inter-wave recovery windows with Strong Tea and healing food matter far more than chasing a full Tier 7 set.

I’m Amara Okafor, a Nigerian Contributing Writer at GGWTB covering sports, racing, and driving games, alongside casual mobile titles. My guides focus on timing a pass, finding a braking point, and choosing upgrades that suit your playstyle. For shorter sessions, I keep the priorities clear: less menu-hopping, more time playing.
Most Popular Posts
- RuneScape Dragonwilds: Dreaming Stone Shards Route & Puzzle Guide
- RuneScape: Dragonwilds Best Weapons by Power Level and Core Upgrade Priority
- RuneScape Dragonwilds Early Game Guide: What to Build & Upgrade First
- RuneScape Dragonwilds Best Weapons: Tier Scaling & Upgrade Traps
- RuneScape Dragonwilds Skill Training Guide: Routes, Trade-Offs, Priorities
- RuneScape Dragonwilds: Best Lodestone Locations and Fast Travel Routes
Popular Category Lists
- ARC Raiders / (349)
- Grow a Garden / (294)
- CoD: Black Ops 7 / (167)
- Star Citizen / (162)
- MLB 26 / (159)
- Monopoly Go / (152)
- ARK Survival Ascended / (127)
- Steal a Brainrot / (99)
- Blox Fruits / (74)
- Adopt Me / (74)
- Forza Horizon 6 / (72)
- Sailor Piece / (68)
- Grow a Garden 2 / (68)
- Diablo IV / (62)
- CoD: BLACK OPS 6 / (55)
- Aion 2 / (49)
- Path of Exile 2 / (48)
- Monster Hunter Wilds / (46)
- Windrose / (44)
- Donut SMP / (41)