0
0 Created: Apr 1,2026 | Star Citizen
Star Citizen 4.7 Best Radar Upgrade: Military A or Competition B

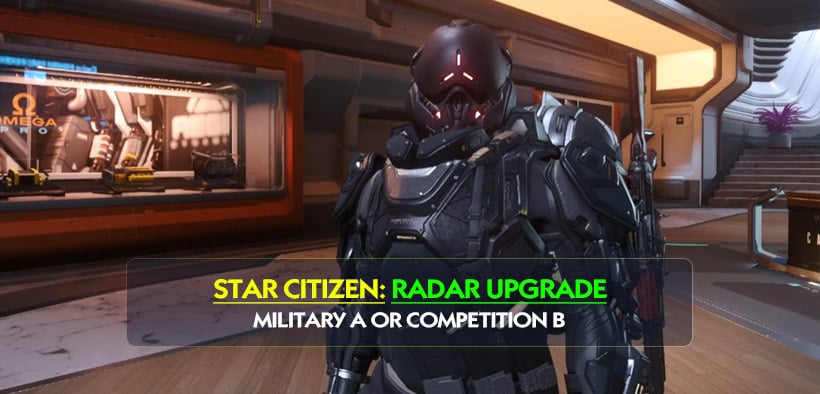
Star Citizen 4.7 changed radar more than many players expected. It is no longer just a background component for scanning. Radar now affects how far out your aim assist kicks in, so upgrading it can make combat feel noticeably better. After testing the current options, the short answer is simple: most players should choose either Military A or Competition B, depending on how much power they usually give radar.
- Why Radar Matters in 4.7
- Where to Buy Radar Upgrades
- Best Radar Choices in Star Citizen 4.7
- Military A vs Competition B
- Pick Military A if:
- Pick Competition B if:
- What Most Players Should Buy
- FAQ
- Is Military A the best radar in Star Citizen 4.7?
- Is Competition B better than Military A?
- Does radar affect aim assist now?
- Where do I buy radar upgrades?
- Should stealth players use the same radar?
- Final Takeaway
Why Radar Matters in 4.7
The key change is easy to understand: more radar power = longer aim-assist range.
That matters because in real fights, getting pips earlier means you can start applying pressure sooner. If you run low radar power, you need to get closer before aim assist appears. On paper that sounds minor. In practice, especially in PvP or bounty hunting, it changes how cleanly you open an engagement.
From a player perspective, this is the main takeaway: stock radar is no longer something we can ignore.
Where to Buy Radar Upgrades
The easiest place to buy radar upgrades is:
Omega Pro, New Babbage
Once there, go to the radar section and pick the correct size for your ship.
Best Radar Choices in Star Citizen 4.7
For most non-stealth builds, there are really only two radar choices worth focusing on.
| Radar | Best For | Why It Stands Out |
|---|---|---|
| Military A | Low radar power setups | Better aim-assist range when running fewer pips |
| Competition B | High radar power setups | Strong value when fully powered, with low power cost |
That is the practical shortlist. If you are not building around stealth, these are the options most players should compare first.
Military A vs Competition B
Here is the simplest way to decide.
| Radar | Low-Power Performance | Max Range Potential | Recommendation |
|---|---|---|---|
| Military A | Better | Higher top-end potential | Best if you usually run only 1 pip |
| Competition B | Weaker | Very efficient for the cost | Best if you regularly power radar harder |
Pick Military A if:
- you usually leave radar at low power
- your ship often needs power for shields, weapons, or thrusters
- you want a radar that still performs well without heavy investment
Pick Competition B if:
- you are comfortable putting more power into radar
- you want strong range without excessive power draw
- you actively manage power during combat
From my own testing mindset, this is where the difference shows up most: Military A feels more forgiving, while Competition B feels better when your loadout and flying style actually support it.
What Most Players Should Buy
If you want the shortest, most useful answer:
- Buy Military A if you are unsure
- Buy Competition B if you know you will actively power radar
Why? Because many ships already feel power-tight in combat. We are feeding shields, weapons, and movement at the same time. In those situations, a radar that performs better with less commitment is often the smarter real-world pick.
That is also where many best in slot discussions go wrong: players chase the highest stat number, but ignore what their ship can realistically sustain in an actual fight.
FAQ
Is Military A the best radar in Star Citizen 4.7?
For many players, yes. It is the safer all-around choice, especially if radar does not get a lot of power during combat.
Is Competition B better than Military A?
It can be, but only if you are willing to invest more power into radar. If not, Military A is usually the better practical pick.
Does radar affect aim assist now?
Yes. In 4.7, radar directly affects aim-assist range, which is why upgrading it matters much more than before.
Where do I buy radar upgrades?
The most straightforward place is Omega Pro in New Babbage.
Should stealth players use the same radar?
Not always. If you are building for stealth, EM signature matters more, so you should not follow a pure range recommendation blindly.
Final Takeaway
Star Citizen 4.7 made radar a real combat component. That is the big shift. If you are still running stock, you are probably giving up useful aim-assist range for no good reason.
For most players:
- Military A = best low-power choice
- Competition B = best high-power choice
That makes the upgrade path pretty straightforward. Pick based on how you actually manage power in fights, not just which radar has the flashiest number on the stat sheet.

Most Popular Posts
- Star Citizen 4.9 Ship Buying Guide: What to Buy, Skip, and Prioritize
- Star Citizen 4.9 Salvage Guide: Easy AUEC from Battaglia Ship in Distress + Golem Module Fix
- Star Citizen 4.9 Hull C Cargo Hauling Guide: Make Millions aUEC Without Autoload
- Star Citizen 4.9 Alleso Money Guide: Best Pyro Trade Route for Fast aUEC
- Star Citizen 4.9 Battaglia Missions: CQ7 Rifle Locations, Loot Routes & Bug Fixes
- Star Citizen 4.9 Money Guide: Best Beginner Combat Gauntlet Farm for Millions of aUEC
Popular Category Lists
- ARC Raiders / (351)
- Grow a Garden / (294)
- CoD: Black Ops 7 / (167)
- Star Citizen / (162)
- MLB 26 / (159)
- Monopoly Go / (152)
- ARK Survival Ascended / (128)
- Steal a Brainrot / (99)
- Blox Fruits / (74)
- Adopt Me / (74)
- Forza Horizon 6 / (72)
- Sailor Piece / (68)
- Grow a Garden 2 / (68)
- Diablo IV / (62)
- CoD: BLACK OPS 6 / (55)
- Aion 2 / (50)
- Path of Exile 2 / (48)
- Monster Hunter Wilds / (46)
- Windrose / (44)
- Donut SMP / (41)