0
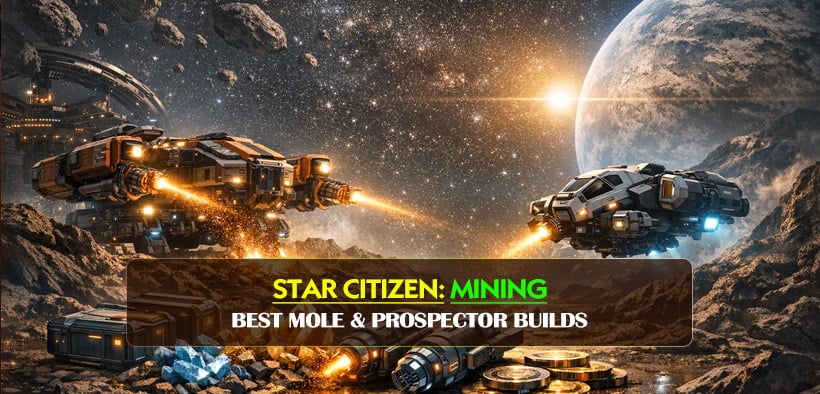
0Star Citizen 4.7 Mining Loadouts: Best MOLE & Prospector Builds
- RCHM
- Share
- Star Citizen
- 03/25/26
- 27824
If you're updating your Star Citizen 4.7 mining loadout, the short version is simple: Helix II is still your main breaker, Hofstede is the safest all-round laser, and Impact II works best as a support tool rather than a primary rock cracker.
We've tested similar setups enough to know one thing: mining profits do not come from raw power alone. What matters is how well your loadout handles resistance, green-zone control, and inert material. That's why the best builds in 4.7 feel balanced, not just strong.
- Best MOLE Loadout in Star Citizen 4.7
- Recommended MOLE Build
- Why this setup works
- Best MOLE Loadout for Solo vs Multicrew
- Solo MOLE
- Multicrew MOLE
- Best Prospector Loadout in Star Citizen 4.7
- Recommended Prospector Build
- Why Hofstede S1 is the best default
- When to use Helix S1
- Which Laser Should You Pick?
- Practical Mining Tips for 4.7
- Keep these in mind
- FAQ
- What is the best MOLE mining loadout in Star Citizen 4.7?
- What is the best Prospector loadout in 4.7?
- Is Hofstede better than Helix?
- Is Impact II worth using?
- Final Thoughts
↖ Best MOLE Loadout in Star Citizen 4.7
For the MOLE, the strongest setup is to give each turret a clear role instead of forcing every laser to do the same job.
↖ Recommended MOLE Build
| Turret | Laser | Modules | Role |
|---|---|---|---|
| Front | Helix II | 2x Surge, 1x Rieger-C3 / Ryer C3 | Main breaker |
| Port | Hofstede | Focus III, Rieger-C3 / Ryer C3 | Control + support |
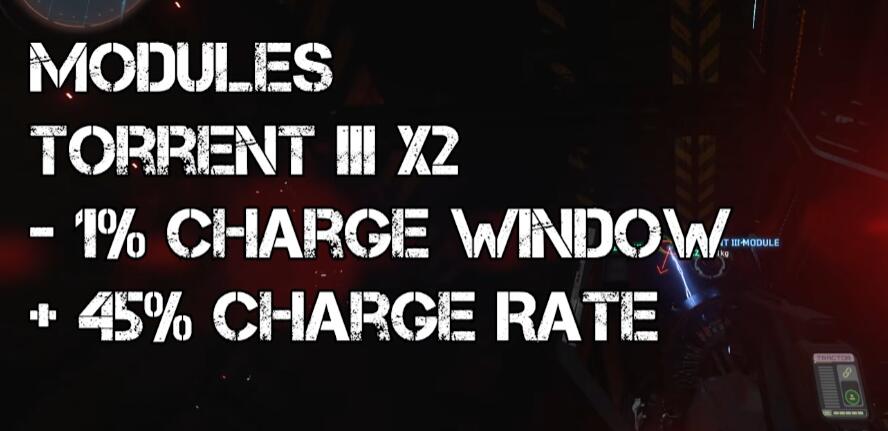
| Side / Utility | Impact II | 2x Torrent III, 1x Focus III | Stability support |
↖ Why this setup works
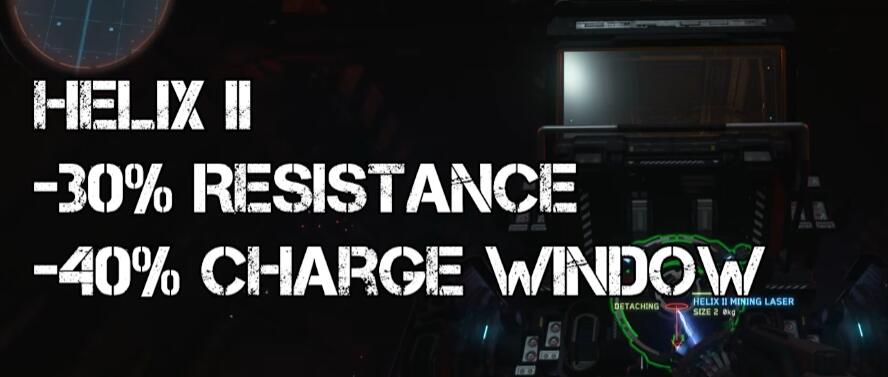
Helix II
This is the laser we use when a rock simply refuses to move. With double Surge, Helix II gives the MOLE the power to handle high-resistance rocks that weaker heads struggle to crack.
In real mining runs, this is the turret that carries the ship on larger deposits.
Hofstede
Hofstede is still the most complete laser in the game for general mining. It helps with:
- lower resistance
- less inert material
- larger optimal charge window
- faster charge control
That combination is why we rate it so highly. It is not just strong on paper; it makes mining noticeably easier.

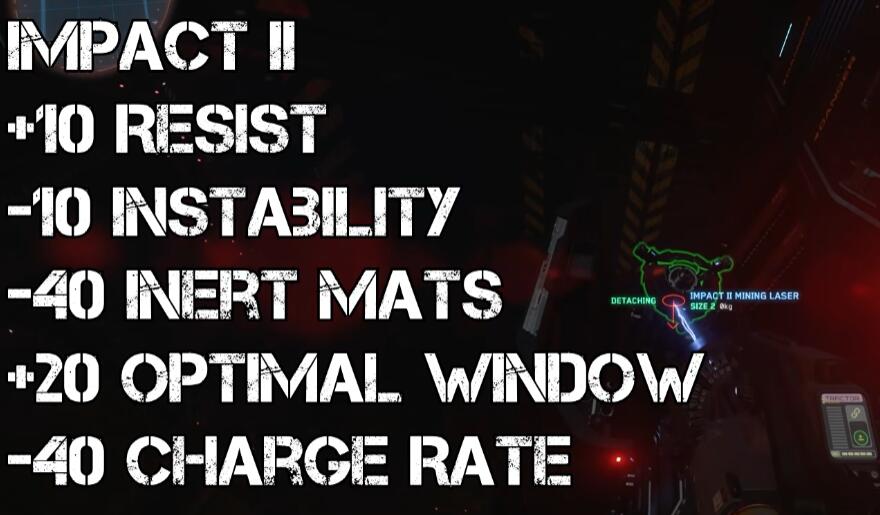
Impact II
Impact II is more niche. It reduces instability well, but the trade-off is slower charge behavior and higher resistance. So, we don't treat it as a main laser. We use it as a support beam, especially in multicrew or controlled solo setups.
↖ Best MOLE Loadout for Solo vs Multicrew
Your best build changes a little depending on how you mine.
↖ Solo MOLE
| Best Choice | Why |
|---|---|
| Helix II front | Gives you enough power for hard rocks |
| Hofstede support | Makes charge control easier |
| Impact II or yield-focused module swap | Better utility depending on your route |
If you mine solo most of the time, we usually lean toward passive comfort and consistency. If you find that inert material is eating into profits, swap some utility into cleaner extraction-focused module choices.
↖ Multicrew MOLE
| Best Choice | Why |
|---|---|
| Helix II | Primary breaking power |
| Hofstede | Best support laser for charge control |
| Impact II | Useful as a dedicated stabilizer |
With a crew, specialization matters more. One player pushes power, another manages control, and the whole break feels much safer.
↖ Best Prospector Loadout in Star Citizen 4.7
The Prospector is much simpler, and that's a good thing. You only get one laser slot, so your setup should be easy to use and reliable.
↖ Recommended Prospector Build
| Ship | Laser | Module | Best For |
|---|---|---|---|
| Prospector | Hofstede S1 | Focus III | Most players, safer solo mining |
| Prospector | Helix S1 | Rieger-C3 / Ryer C3 | More aggressive miners |
↖ Why Hofstede S1 is the best default
For most players, Hofstede S1 + Focus III is the best Prospector loadout.
Why? Because it gives you a bigger margin for error. You can stay a bit safer, manage the green zone more comfortably, and bring back cleaner value. If you're newer to mining, that matters a lot more than squeezing out a little extra theoretical power.
↖ When to use Helix S1
If you already know how to manage tougher rocks and tighter control windows, Helix S1 is still a valid option. It's just less forgiving.
↖ Which Laser Should You Pick?
Here's the simple version.
| Laser | Best At | Weak Point | Who Should Use It |
|---|---|---|---|
| Helix | Breaking hard rocks | Less forgiving | Experienced miners |
| Hofstede | All-round mining | Slight instability trade-off | Almost everyone |
| Impact | Stability support | Weak as a main breaker | MOLE support crews |
If you are unsure, pick Hofstede. It is the easiest recommendation because it solves the most problems at once.
↖ Practical Mining Tips for 4.7
A good loadout helps, but clean execution still matters more.
↖ Keep these in mind
- Do not trigger Surge too early. Save it for the moment a rock needs a real push.
- Use Hofstede to make bad rocks manageable. That wider green zone is a huge quality-of-life boost.
- Keep your distance. We've all lost components by getting greedy on a crack.
- If profits feel weak, check inert material first. Sometimes the issue is not the rock, it's the module setup.
These small decisions are what separate a smooth mining run from a frustrating one.
↖ FAQ
↖ What is the best MOLE mining loadout in Star Citizen 4.7?
For most players:
- Front: Helix II + 2x Surge + 1x Rieger-C3 / Ryer C3
- Port: Hofstede + Focus III + Rieger-C3 / Ryer C3
- Support: Impact II + 2x Torrent III + 1x Focus III
This gives you the best mix of power, control, and flexibility.
↖ What is the best Prospector loadout in 4.7?
For most miners, it's:
Hofstede S1 + Focus III
It is the safest and most consistent setup for solo mining.
↖ Is Hofstede better than Helix?
For most players, yes.
Helix is better for raw breaking power. Hofstede is better if you want an easier, cleaner, and more forgiving mining experience.
↖ Is Impact II worth using?
Yes, but mainly on the MOLE as a support laser. It is not the best choice as your main breaker.
↖ Final Thoughts
The best Star Citizen 4.7 mining loadouts are the ones that match how you actually play.
If we want the short answer:
- MOLE: Helix II + Hofstede + Impact II
- Prospector: Hofstede S1 + Focus III
That setup gives you strong break potential, better control, and more reliable results across both solo and crew mining. In real gameplay, that balance usually earns more than chasing the most aggressive build possible.

Most Popular Posts
- Star Citizen Covalex Cargo Hauling 4.8: Fast Reputation Route, Best Ships, and Master Unlocks
- Star Citizen 4.8 Solo Ship Guide: Best Purchasable PvP & PvE Ships, Loadouts, Components
- Star Citizen 4.8 Salvage Guide: Best RMC Farming, Adagio Rep, and Ships to Use
- Star Citizen 4.8 Best Component Blueprints: Fast Farming Roadmap for Crafting
- Star Citizen 4.8.3 XenoThreat Event Guide: Fast Points, Best Missions, Rewards, and Ship Strategy
- Star Citizen 4.8 aUEC Farming Guide: Best Money Methods, First Ships, and Fast Progression
Popular Category Lists
- Grow a Garden / (285)
- ARC Raiders / (260)
- CoD: Black Ops 7 / (166)
- Monopoly Go / (146)
- MLB 26 / (143)
- Star Citizen / (110)
- Steal a Brainrot / (89)
- Sailor Piece / (68)
- ARK Survival Ascended / (65)
- Diablo IV / (60)
- Forza Horizon 6 / (59)
- Blox Fruits / (59)
- CoD: BLACK OPS 6 / (55)
- Adopt Me / (52)
- Path of Exile 2 / (48)
- Monster Hunter Wilds / (46)
- Windrose / (44)
- Path of Exile / (40)
- Grow a Garden 2 / (37)
- Bee Swarm Simulator / (36)