0
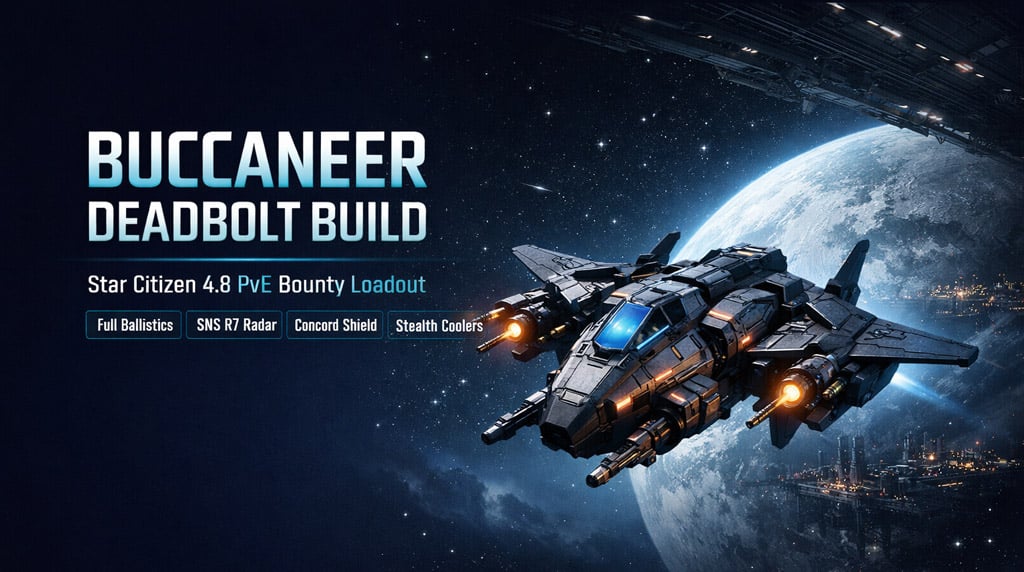
0Star Citizen 4.8 Buccaneer Build Guide: Cheap Full Deadbolt Loadout for PvE Bounties
- RCHM
- Share
- Star Citizen
- 05/28/26
- 1145
The Drake Buccaneer is a fragile knife with engines strapped to it. In Star Citizen 4.8, a full Deadbolt ballistic loadout turns it into one of the best low-cost PvE grinders for bounties and combat gauntlets.
It is not safe. It is not flexible. It is not a looting ship.
But if you fly clean, rearm often, and use speed instead of armor, it kills fast.
- Best Buccaneer Full Deadbolt Build in Star Citizen 4.8
- Weapon Setup: Full Deadbolts
- Why Ballistics Beat Lasers Here
- Best Components for the Star Citizen 4.8 Buccaneer
- Best Radar: SNS R7 Competition Grade B
- Best Shield: Concord Size 1 Grade A Civilian
- Best Coolers: Stealth Grade B
- Where to Buy the Buccaneer Loadout
- Buying Priority
- Buccaneer Power Management
- How to Fight With the Full Deadbolt Buccaneer
- Target Priority
- Ammo Discipline
- Best Missions for This Buccaneer Build
- Buccaneer vs Avenger Titan
- FAQ
- Is the Buccaneer good in Star Citizen 4.8?
- Is full Deadbolt Buccaneer worth it?
- What is the best shield for the Buccaneer?
- Why use SNS R7 Competition radar?
- Can the Buccaneer kill a Constellation?
- Summary
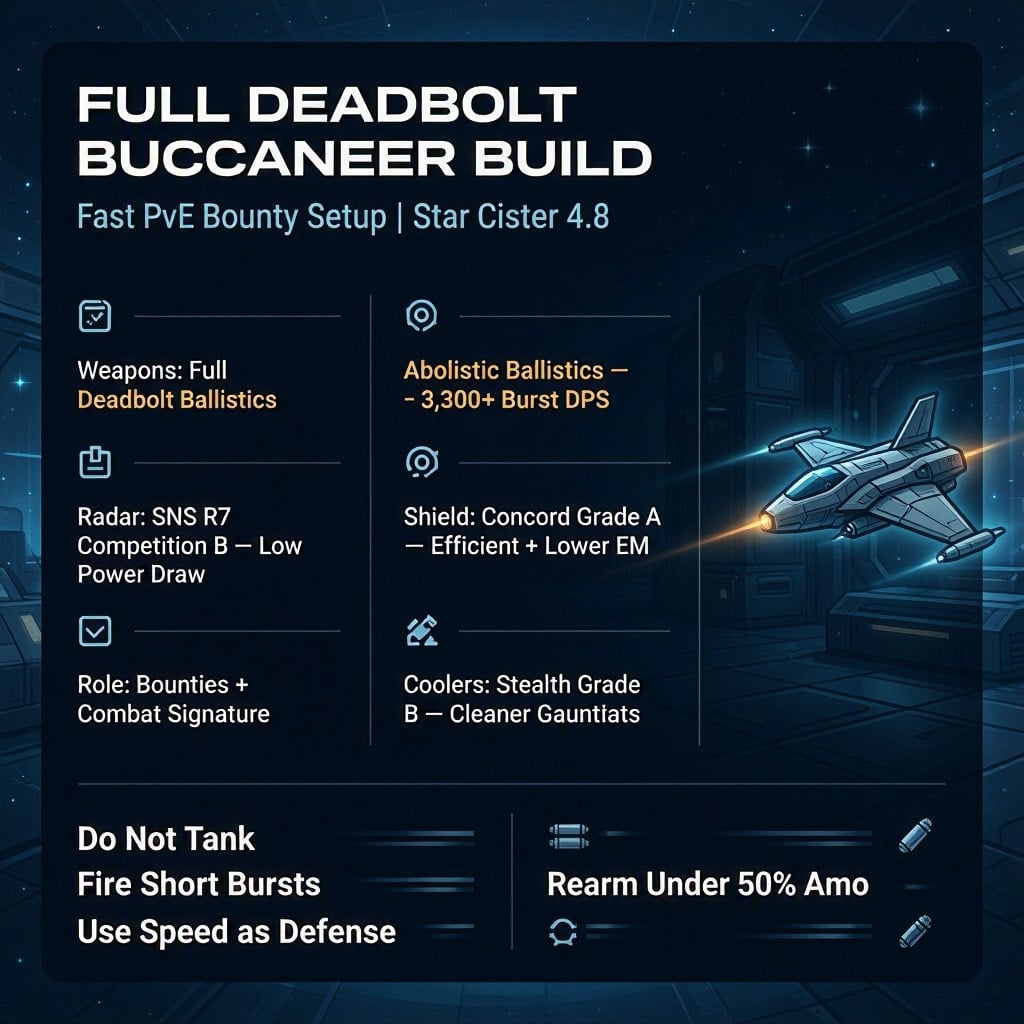
↖ Best Buccaneer Full Deadbolt Build in Star Citizen 4.8
This build is made for one job: delete PvE targets before they punish your weak hull.
| Slot / Component | Recommended Pick | Why It Works |
|---|---|---|
| Main weapons | Full Deadbolt ballistic loadout | High burst damage, strong PvE kill speed |
| Radar | SNS R7 Competition Grade B | Good aim assist range, low power draw |
| Shield | Concord Size 1 Grade A Civilian | Efficient shield with lower EM signature |
| Coolers | Stealth Grade B coolers | Helps keep signature under control |
| Quantum drive | Any preferred stealth/travel drive | Low combat impact |
| Role | Bounties / Combat Gauntlets | Fast kills, fast reputation gain |
↖ Weapon Setup: Full Deadbolts
Run the Buccaneer with Deadbolt ballistic cannons across available hardpoints.
| Weapon Type | Role |
|---|---|
| Deadbolt III | Main punch against medium ships |
| Deadbolt I | Extra pressure and finishing damage |
| Full ballistic setup | Maximum burst DPS |
Expected burst damage can sit around 3,300+ DPS, depending on exact fitting and patch balance.
That number matters. NPC fights often give short damage windows. Deadbolts make those windows count.
↖ Why Ballistics Beat Lasers Here
Ballistics fit the Buccaneer because they solve two problems:
- High alpha damage kills targets faster.
- No weapon capacitor drain makes power management easier.
- Gimbaled fire helps conserve ammo against bigger ships.
The downside is obvious: ammo.
If you spray, you run dry. If you fire short, clean bursts, the build prints reputation and credits.
↖ Best Components for the Star Citizen 4.8 Buccaneer
The Buccaneer has tight power limits. Do not blindly install the highest grade part everywhere. Build around balance.
↖ Best Radar: SNS R7 Competition Grade B
Use the SNS R7 Competition Grade B radar.
| Radar | Pros | Cons |
|---|---|---|
| SNS R7 Competition B | Low power, strong aim assist | Slightly less range |
| Grade A Military radar | More aim assist range | Higher power demand |
A Grade A military radar gives roughly 150m more aim assist range.
Not worth it for this setup.
The SNS R7 needs only about 2 power pips, which leaves more power for weapons, shields, and engines. On a Buccaneer, that matters more than a little extra range.
↖ Best Shield: Concord Size 1 Grade A Civilian
Run the Concord Size 1 Grade A Civilian shield.
| Shield | Why Use It? |
|---|---|
| Concord Grade A Civilian | Lower power use, lower EM signature |
| FR-66 Military | Around 170 more HP, but higher demand |
The FR-66 has slightly more shield HP.
The Concord is the smarter fit because the Buccaneer needs efficiency. Lower EM also helps reduce missile pressure. It will not make you stealthy, but it helps.
↖ Best Coolers: Stealth Grade B
Use Stealth Grade B coolers.
They are not glamorous. They are useful.
| Cooler Type | Verdict |
|---|---|
| Stealth Grade B | Best fit for low-signature PvE |
| Military coolers | Overkill for this build |
| Cheap civilian coolers | Temporary only |
Stealth coolers help keep the ship's signature cleaner, which is valuable on a fighter with one Size 1 shield and weak hull HP.
↖ Where to Buy the Buccaneer Loadout
The easiest route is around New Babbage and Port Tressler.
| Location | Buy Here |
|---|---|
| Omega Pro, New Babbage | Radar, shields, ship components |
| CenterMass, New Babbage | Deadbolts and backup weapons |
| Platinum Bay, Port Tressler | Stealth Grade B coolers |
↖ Buying Priority
If credits are tight, buy in this order:
1. Deadbolt weapons
2. Concord shield
3. SNS R7 radar
4. Stealth Grade B coolers
5. Quantum drive upgrades
Damage comes first. Then survival. Then refinement.
A half-built Buccaneer feels bad. A finished one farms.
↖ Buccaneer Power Management
This is where many players ruin the build.
The Buccaneer cannot waste power. The goal is to keep the core systems fed:
| System | Priority | Reason |
|---|---|---|
| Weapons | High | Deadbolts are the build |
| Shields | High | Only one Size 1 shield |
| Engines | High | Speed is your defense |
| Radar | Medium | Needs enough for aim assist |
| Misc. | Low | Avoid waste |
The SNS R7 Competition radar makes this easy because it does not fight your main systems for power.
If your shields feel weak, engines feel sluggish, or aim assist drops off, check your power pips before blaming the ship.
↖ How to Fight With the Full Deadbolt Buccaneer
The Buccaneer is not a bruiser. Do not trade face-to-face.
Use this loop:
1. Close fast
2. Fire short Deadbolt bursts
3. Break away before shields collapse
4. Reset angle
5. Repeat
↖ Target Priority
| Enemy | Difficulty | Tactic |
|---|---|---|
| Mustang / light fighters | Easy | Burst and finish |
| Gladius / Sabre | Easy-medium | Stay mobile |
| Vanguard | Medium | Avoid long trades |
| Freelancer | Easy-medium | Big target, punish it |
| Constellation | Doable | Rearm first, use gimbals |
Against a Constellation, do not ego-duel the nose guns. Attack from angles, use gimbals, and disengage early.
↖ Ammo Discipline
Deadbolts are powerful, but ammo is the tax.
| Situation | Action |
|---|---|
| Under 50% ammo | Rearm before heavy missions |
| Constellation target | Rearm first |
| Desyncing target | Stop spraying |
| Long combat gauntlet | Check ammo before accepting |
If you run dry mid-fight, that is usually not a build problem. That is trigger discipline.
↖ Best Missions for This Buccaneer Build
Use this ship for PvE combat. Nothing else.
| Mission Type | Rating | Reason |
|---|---|---|
| Verified Bounties | Excellent | Fast kills, reputation gain |
| Combat Gauntlets | Excellent | High burst damage shines |
| Medium ship combat | Good | Deadbolts hit hard |
| Loot-heavy missions | Bad | Storage is tiny |
| Long unsupported patrols | Risky | Ammo and repairs become an issue |
The Buccaneer has about 250K storage, which is basically nothing for looting.
Treat it as a combat tool. Not a daily driver.
↖ Buccaneer vs Avenger Titan
The Avenger Titan is the safer choice.
The Buccaneer is the sharper one.
| Category | Buccaneer | Avenger Titan |
|---|---|---|
| Pure combat | Better | Good |
| Size profile | Smaller | Larger |
| Shields | Weaker | Stronger |
| Cargo | Poor | Good |
| Forgiveness | Low | Higher |
| PvE kill speed | Excellent | Good |
Pick the Buccaneer if you want a dedicated fighter.
Pick the Titan if you want cargo, comfort, and more room for mistakes.
For bounty grinding, I prefer the Buccaneer. It kills faster and gets hit less when flown properly.
↖ FAQ
↖ Is the Buccaneer good in Star Citizen 4.8?
Yes. The Drake Buccaneer is strong in Star Citizen 4.8 as a dedicated PvE fighter. It has excellent speed, a small profile, and heavy firepower for its size. Its weakness is durability.
↖ Is full Deadbolt Buccaneer worth it?
Yes, if you are farming bounties or combat gauntlets. The full Deadbolt loadout gives high burst damage and fast kills. Just manage ammo carefully.
↖ What is the best shield for the Buccaneer?
The Concord Size 1 Grade A Civilian shield is the best practical choice for this build. It uses less power and has lower EM signature than military options.
↖ Why use SNS R7 Competition radar?
The SNS R7 Competition Grade B radar gives strong aim assist while using low power. A military radar has slightly more range, but the extra power demand is not worth it here.
↖ Can the Buccaneer kill a Constellation?
Yes. A full Deadbolt Buccaneer can kill a Constellation, but you should rearm first, use gimbals, avoid frontal trades, and disengage before shields fail.
↖ Summary
The Star Citizen 4.8 full Deadbolt Buccaneer build is cheap, nasty, and effective.
Use this setup:
| Component | Best Pick |
|---|---|
| Weapons | Full Deadbolt ballistic loadout |
| Radar | SNS R7 Competition Grade B |
| Shield | Concord Size 1 Grade A Civilian |
| Coolers | Stealth Grade B |
| Role | PvE bounties and combat gauntlets |
Fly it like an interceptor.
Do not tank.
Do not loot.
Do not spray ammo.
Hit hard, break off, rearm often, and the Buccaneer will carry your bounty grind far beyond what its price suggests.

Most Popular Posts
- Star Citizen Covalex Cargo Hauling 4.8: Fast Reputation Route, Best Ships, and Master Unlocks
- Star Citizen 4.8 Solo Ship Guide: Best Purchasable PvP & PvE Ships, Loadouts, Components
- Star Citizen 4.8 Salvage Guide: Best RMC Farming, Adagio Rep, and Ships to Use
- Star Citizen 4.8 Best Component Blueprints: Fast Farming Roadmap for Crafting
- Star Citizen 4.8.3 XenoThreat Event Guide: Fast Points, Best Missions, Rewards, and Ship Strategy
- Star Citizen 4.8 aUEC Farming Guide: Best Money Methods, First Ships, and Fast Progression
Popular Category Lists
- Grow a Garden / (286)
- ARC Raiders / (262)
- CoD: Black Ops 7 / (166)
- Monopoly Go / (146)
- MLB 26 / (144)
- Star Citizen / (111)
- Steal a Brainrot / (89)
- Sailor Piece / (68)
- ARK Survival Ascended / (66)
- Diablo IV / (61)
- Forza Horizon 6 / (60)
- Blox Fruits / (60)
- CoD: BLACK OPS 6 / (55)
- Adopt Me / (53)
- Path of Exile 2 / (48)
- Monster Hunter Wilds / (46)
- Windrose / (44)
- Path of Exile / (40)
- Grow a Garden 2 / (38)
- Bee Swarm Simulator / (36)