0
0Star Citizen M80 Best Loadout: Deadbolt 5 + M6A for PvE, Combat Gauntlet, and Hammerheads
- KETE
- Share
- Star Citizen
- 06/11/26
- 904
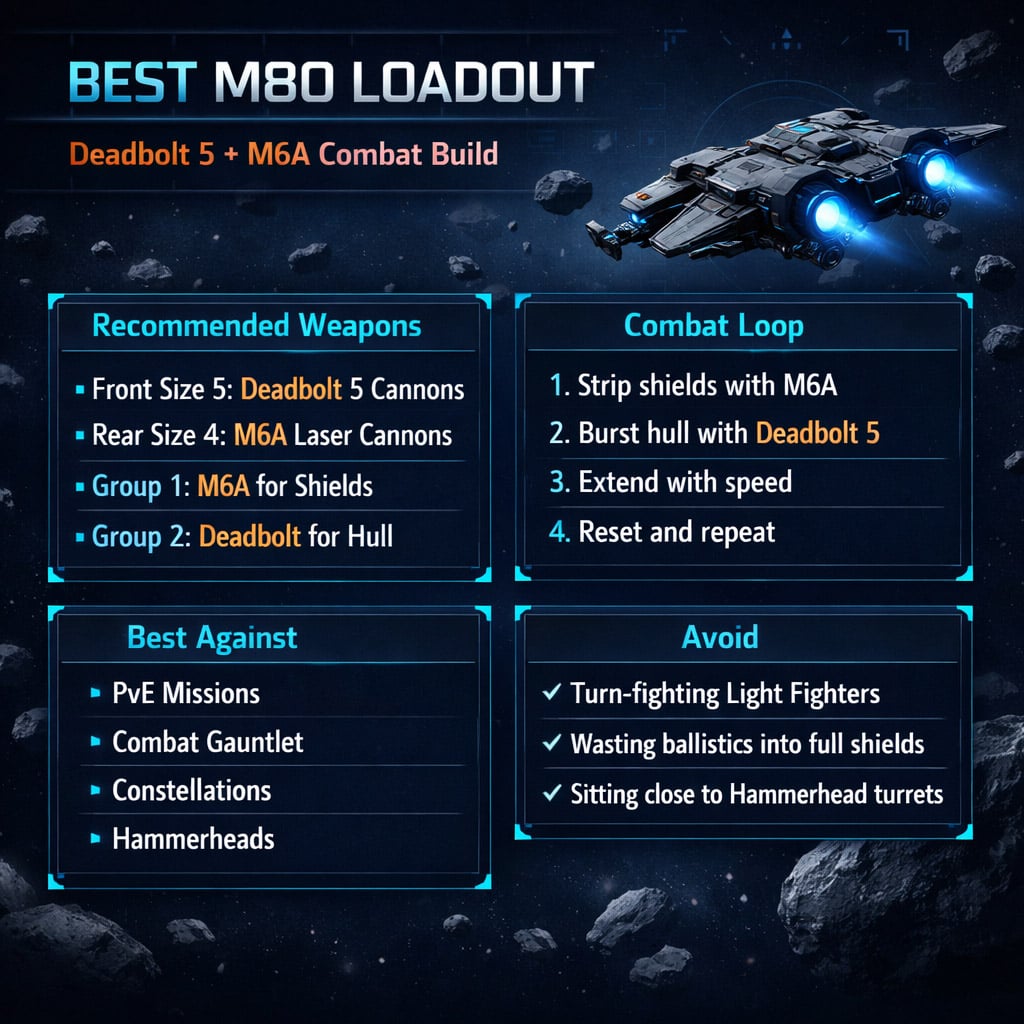
The best M80 build right now is simple: Deadbolt 5s on the front, M6As on the rear.
Gatlings are fun. Deadbolts hit harder. M6As make the whole setup work because they strip shields without burning ballistic ammo.
If you fly the M80 like a light fighter, you lose.
If you fly it like a fast strike ship, it deletes targets.
- Best M80 Loadout in Star Citizen
- Why Deadbolt 5 + M6A Is the Best M80 Build
- Core Damage Loop
- M80 Weapon Comparison
- AD4B Gatlings
- Deadbolt 5 Cannons
- M6A Laser Cannons
- M80 Power Management for M6A Loadout
- How to Fly the M80 Correctly
- Against Light Fighters
- Against Medium Ships
- Against Hammerheads
- Missile Use on the M80
- M80 Loadout by Playstyle
- Common M80 Mistakes
- Turn-Fighting Light Fighters
- Shooting Ballistics Into Full Shields
- Staying Too Close to Hammerheads
- Using One Weapon Group
- Ignoring Ammo Cost
- FAQ
- What is the best M80 loadout in Star Citizen?
- Are AD4B Gatlings good on the M80?
- Can the M80 kill a Hammerhead?
- Should I use full ballistic weapons on the M80?
- How should I fight small ships in the M80?
- Summary
↖ Best M80 Loadout in Star Citizen
Use this setup for the strongest all-round M80 PvE build.
| Slot | Weapon | Job |
|---|---|---|
| Front Size 5 | Deadbolt 5 ballistic cannons | Heavy hull damage |
| Rear Size 4 | M6A laser cannons | Shield stripping |
| Weapon Group 1 | M6As | Open shields |
| Weapon Group 2 | Deadbolt 5s | Finish hull |
| Missiles | Mixed Size 1 / Size 3 | Escort clear or shield pressure |
This loadout works because it fixes the M80's biggest problem: wasting ballistic ammo into shields.
M6As do the shield work.
Deadbolt 5s do the killing.
↖ Why Deadbolt 5 + M6A Is the Best M80 Build
The M80 is not built to orbit-fight. It is built for boom-and-zoom combat.
That means:
- Build range.
- Turn in.
- Hit hard.
- Extend out.
- Repeat.
For that style, alpha damage matters more than constant spray.
↖ Core Damage Loop
| Phase | Weapon | Result |
|---|---|---|
| Shield pressure | M6A | Drops shield face safely |
| Hull burst | Deadbolt 5 | Punishes exposed structure |
| Reset | M80 speed | Avoids turret fire |
| Repeat | Both groups | Kills large targets reliably |
This is why the build feels better than full Gatlings in serious fights.
It has a clean job split: lasers break shields, ballistics break ships.
↖ M80 Weapon Comparison
All three major weapon choices have value. Only one setup gives the best balance.
| Loadout | Best For | Problem | Verdict |
|---|---|---|---|
| Full AD4B Gatlings | Light fighters, fun PvE | Burns ammo fast | Fun, not efficient |
| Full Deadbolts | Medium and large ships | Less forgiving vs small ships | Strong but clunky |
| Deadbolt 5 + AD4B | Mixed targets | Weak shield control | Good hybrid |
| Deadbolt 5 + M6A | PvE, Connies, Hammerheads | Needs power tuning | Best overall |
↖ AD4B Gatlings
AD4Bs feel great. They throw a wall of rounds and make small ships easier to tag.
Use them if:
- You mostly fight light targets.
- You want forgiving aim.
- You do not care about ammo cost.
- You value fun over efficiency.
Do not rely on full Gatlings against Hammerheads. You will dump thousands of rounds and watch shields recover.
↖ Deadbolt 5 Cannons
Deadbolt 5s are mandatory if you want the M80 to hit like it should.
They are best when:
- You use boom-and-zoom attacks.
- You target medium or large ships.
- You fire in clean passes.
- You avoid turn-fighting light fighters.
They miss more than Gatlings, but each hit matters.
↖ M6A Laser Cannons
M6As are the shield tool.
They let you pressure shields without spending ballistic ammo. That matters in longer fights and especially against Hammerheads.
The only downside is power. You need to feed the weapon capacitor.
↖ M80 Power Management for M6A Loadout
The M6A setup needs power tuning. Do not starve the ship, but give weapons enough energy to work.
| System | Priority | Why |
|---|---|---|
| Weapons | High | Keeps M6As firing |
| Shields | High | Survive attack passes |
| Engines | Medium-high | M80 lives through speed |
| Radar | Medium | Enough for lock range |
| Coolers | Medium | Adjust if overheating |
A practical setup is to pull a little from coolers, shields, engines, or radar and push it into weapons.
If your M6As run dry too fast, add weapon power.
If you are taking too much damage, give power back to shields or engines.
↖ How to Fly the M80 Correctly
The M80 wins through speed and burst damage, not turn rate.
↖ Against Light Fighters
Do not turn-fight Arrows, Gladius, or Hornets.
Use this:
1. Extend away.
2. Re-enter at speed.
3. Fire during the nose-on window.
4. Break off before they get behind you.
5. Repeat.
If a light fighter is sitting on your tail, you already made the mistake. Use the M80's speed to reset.
↖ Against Medium Ships
Medium targets are where this build shines.
Best sequence:
1. Open with M6As.
2. Strip or weaken shields.
3. Swap to Deadbolt 5s.
4. Burst exposed hull.
5. Extend before turret fire stacks up.
This works well against targets like Constellations, Freelancers, Vanguards, and Firebirds.
↖ Against Hammerheads
The Hammerhead is the real loadout test.
Full Gatlings struggle here.
Deadbolt 5 + M6A works.
| Step | Action | Reason |
|---|---|---|
| 1 | Kill escorts first | Removes pressure |
| 2 | Stay near max effective range | Reduces turret damage |
| 3 | Use M6As on one shield face | Forces shield collapse |
| 4 | Fire Deadbolt 5s into exposed hull | Converts pressure into damage |
| 5 | Use asteroids if available | Breaks line of sight |
| 6 | Reset often | Prevents shield loss |
Do not sit close to a Hammerhead.
Do not trade face-to-face.
Keep range, work one shield face, and punish it when it opens.
↖ Missile Use on the M80
Missiles help, but they are not the build.
Use them for:
| Use Case | Best Target | Why |
|---|---|---|
| Opening volley | Escorts | Clears annoying small ships |
| Shield pressure | Large ships | Starts the damage cycle |
| Finisher | Damaged targets | Saves chase time |
| Disruption | Straight-line targets | Forces defensive movement |
Do not spam missiles into low-value targets. Restock costs add up fast.
↖ M80 Loadout by Playstyle
| Playstyle | Recommended Loadout | Why |
|---|---|---|
| Maximum fun | Full AD4B Gatlings | Loud, simple, satisfying |
| Light fighter hunting | AD4B + Deadbolt 5 | Easier tracking plus burst |
| General PvE | M6A + Deadbolt 5 | Best balance |
| Hammerhead hunting | M6A + Deadbolt 5 | Best shield and hull cycle |
| Low power management | Full ballistic | Simpler systems |
| Better ammo efficiency | M6A + Deadbolt 5 | Lasers save ammo |
For most pilots, the answer is clear:
Run M6As with Deadbolt 5s.
↖ Common M80 Mistakes
↖ Turn-Fighting Light Fighters
Bad idea. The M80 is fast, not nimble.
If you try to circle a Gladius, you are giving it the fight it wants.
↖ Shooting Ballistics Into Full Shields
Use M6As first. Save Deadbolt ammo for exposed hull.
↖ Staying Too Close to Hammerheads
Hammerhead turrets punish greed. Stay out, reset, and use terrain.
↖ Using One Weapon Group
Do not bind everything together.
Separate M6As and Deadbolts for control and ammo efficiency.
↖ Ignoring Ammo Cost
Full ballistic builds feel great until the restock bill arrives. Fire with purpose.
↖ FAQ
↖ What is the best M80 loadout in Star Citizen?
The best overall M80 loadout is two Deadbolt 5 ballistic cannons with two M6A laser cannons. Use M6As to strip shields, then Deadbolt 5s to destroy the hull.
↖ Are AD4B Gatlings good on the M80?
Yes, but mainly for light targets and casual PvE. AD4Bs are fun and forgiving, but they burn ammo quickly and struggle against heavy shielded targets like Hammerheads.
↖ Can the M80 kill a Hammerhead?
Yes. Use M6As to pressure one shield face, then hit exposed hull with Deadbolt 5s. Stay near max effective range and avoid sitting inside turret coverage.
↖ Should I use full ballistic weapons on the M80?
Full ballistic works, but it is less efficient. You waste ammo into shields. A mixed M6A + Deadbolt 5 setup gives better control and longer combat endurance.
↖ How should I fight small ships in the M80?
Use boom-and-zoom. Do not turn-fight. Extend, re-approach, fire during a clean pass, then leave before the target gets behind you.
↖ Summary
The best M80 loadout is:
| Slot | Weapon |
|---|---|
| Front Size 5 | Deadbolt 5 ballistic cannons |
| Rear Size 4 | M6A laser cannons |
| Group 1 | M6As for shields |
| Group 2 | Deadbolts for hull |
This build gives the M80 what it needs: shield pressure, burst damage, ammo efficiency, and Hammerhead kill potential.
Gatlings are fun.
Deadbolts are lethal.
M6As make the setup reliable.
Fly fast. Hit hard. Reset often.

Most Popular Posts
- Star Citizen Covalex Cargo Hauling 4.8: Fast Reputation Route, Best Ships, and Master Unlocks
- Star Citizen 4.8 Solo Ship Guide: Best Purchasable PvP & PvE Ships, Loadouts, Components
- Star Citizen 4.8 Salvage Guide: Best RMC Farming, Adagio Rep, and Ships to Use
- Star Citizen 4.8.3 XenoThreat Event Guide: Fast Points, Best Missions, Rewards, and Ship Strategy
- Star Citizen 4.8 Best Component Blueprints: Fast Farming Roadmap for Crafting
- Star Citizen 4.8 aUEC Farming Guide: Best Money Methods, First Ships, and Fast Progression
Popular Category Lists
- Grow a Garden / (286)
- ARC Raiders / (267)
- CoD: Black Ops 7 / (166)
- Monopoly Go / (147)
- MLB 26 / (146)
- Star Citizen / (122)
- Steal a Brainrot / (89)
- ARK Survival Ascended / (77)
- Sailor Piece / (68)
- Forza Horizon 6 / (65)
- Diablo IV / (61)
- Blox Fruits / (61)
- CoD: BLACK OPS 6 / (55)
- Adopt Me / (55)
- Path of Exile 2 / (48)
- Grow a Garden 2 / (48)
- Monster Hunter Wilds / (46)
- Windrose / (44)
- Path of Exile / (40)
- Bee Swarm Simulator / (36)