


 0
0Windrose OP Guide: Combat, Skills, Gear, Food, Jewelry, and Armor Sets
Windrose gets a lot harder once you leave the opening area. In our runs, the biggest mistake was not bad combat, but walking into the Foothills and later zones with weak stamina, half-finished gear, and no real buff setup. If you want to feel strong fast, the answer is not one secret Windrose items. It is stacking the systems the game gives you early.
what matters most, what to do first, and what gives the biggest return for your time.
- What Actually Makes You Overpowered in Windrose
- First Priority: Fix Your Combat and Stamina
- What to focus on in fights
- Best Early Stat and Talent Priority
- Recommended stat order
- Best one-handed talents
- Gear Upgrades Matter More Than Most Players Expect
- Keep these updated
- Best Armor Strategy: Get the Set Bonus
- Real progression tip
- Weapon Ascension and Jewelry: Fast Power Spikes
- Weapon ascension
- Jewelry upgrades
- Do Not Skip the War Boar
- Food and Elixirs Are Mandatory for Harder Zones
- Practical advice
- Small Boost, Big Value: Rested Bonus
- Best Order to Get Strong Fast
- FAQ
- What is the fastest way to become overpowered in Windrose?
- What stat should I level first?
- Is the war boar worth unlocking?
- Are food buffs really that important?
- What armor set is good for one-handed builds?
- Should I upgrade jewelry early?
- Final Notes
↖ What Actually Makes You Overpowered in Windrose
In practical terms, being overpowered means three things:
- you do enough damage to end fights cleanly
- you have enough stamina to keep attacking, blocking, and moving
- you stop getting punished by small mistakes
That happens when we combine:
- upgraded gear
- a useful armor set bonus
- ascended jewelry or weapons
- proper food buffs
- the right stat and talent choices
If one of these is missing, the build usually feels worse than it should.
| Power Source | Why It Matters |
|---|---|
| Gear upgrades | Keeps you on curve with enemy level |
| Armor set bonuses | Adds strong passive combat value |
| Jewelry | Easy damage and stamina gains |
| Food + elixirs | Big HP and stat spike |
| Talents + stats | Smooth out your whole build |
↖ First Priority: Fix Your Combat and Stamina
The early combat trap is holding block too much. That feels safe, but it usually leads to worse fights because stamina stops regenerating while you hold block.
A better habit is:
- block on timing, not panic
- look for perfect blocks
- break enemy shield/posture
- punish the stun window
There is also a small but important mechanic many players miss: after taking damage, part of your lost health can be recovered if you hit back quickly. That rewards aggression.
↖ What to focus on in fights
| Mechanic | What You Should Do |
|---|---|
| Enemy shield breaks | Stay aggressive for free damage |
| Your stamina is low | Stop panic-blocking and reset |
| You take damage | Counterattack quickly for partial recovery |
| Boss or elite fight | Play for posture break windows |
If you keep running out of stamina, that is your first stat problem to fix.
↖ Best Early Stat and Talent Priority
From actual play, Endurance is the stat that makes the biggest early difference. More stamina means smoother combat, better defense, and fewer bad deaths.
↖ Recommended stat order
1. Endurance
2. Vitality
3. Your weapon scaling stat
- Strength
- Agility
- Precision
- Mastery
The good part is that respeccing is flexible, so you do not need to stress over perfect choices.
↖ Best one-handed talents
If you are using a one-handed build, these are the most reliable talents:
| Talent | Why It's Good |
|---|---|
| Executioner's Grace | Healing after kills saves resources |
| Deadly Finale | Strong damage during extended combos |
| Duelist | Great for bosses and single-target fights |
| Quick Strikes | Simple, efficient one-handed damage |
If you find boss damage lacking, move points into single-target value. If normal fights are draining your healing, prioritize sustain.
↖ Gear Upgrades Matter More Than Most Players Expect
One of the fastest ways to feel weak is entering a new region with gear below the local enemy curve. In Windrose, even a small level gap can make combat drag.
↖ Keep these updated
- weapon level
- armor level
- crafting benches
- upgrade modules
If your damage suddenly feels bad in the Foothills, check gear level first before changing your whole build.
↖ Best Armor Strategy: Get the Set Bonus
Armor is not only about defense. The real value is often the set effect.
A strong example is the Flabustia set for one-handed builds:
| Pieces Equipped | Bonus |
|---|---|
| 2 pieces | Attacks consume 20% less stamina |
| 4 pieces | One-handed weapon damage +15% |
That is a very efficient setup because it fixes stamina and damage at the same time.
↖ Real progression tip
In our experience, many players miss full set bonuses because they assume every piece drops from exploration. That is not the case. You can often find hats, gloves, and boots in the world, but chest and pants blueprints are usually bought from port merchants, including vendors in places like Tortuga.
If your set is stuck at 2 or 3 pieces, check shops.
↖ Weapon Ascension and Jewelry: Fast Power Spikes
Once your core gear is stable, the fastest way to push your numbers is through weapon ascension and jewelry upgrades.
↖ Weapon ascension
A good weapon gets much better when ascended:
- better perk strength
- better trait quality
- stronger scaling value
The Razor Sword is a strong example for one-handed players and can be found from Blackbeard pirate camp chests in the Foothills.
↖ Jewelry upgrades
Jewelry is one of the cleanest min-max systems in the game.
Good early examples:
- Ring of Bravery for melee damage
- Necklace of Endurance for more stamina
| Upgrade Type | Why It's Worth It |
|---|---|
| Weapon ascension | Makes a good weapon scale better |
| Melee/ranged ring | Easy direct damage increase |
| Stamina necklace | Makes combat smoother immediately |
If you find yourself choosing between saving materials forever or upgrading gear you already use, the better play is usually upgrading what is already carrying your build.
↖ Do Not Skip the War Boar
One of the best practical unlocks in the early-midgame is the war boar, Truffle.
You unlock it in the Foothills by:
- finding the correct Ancient Farm
- collecting 3 ritual pots from nearby ruins
- bringing 20 meat to the altar
| Unlock | Why It Helps |
|---|---|
| Truffle the War Boar | Pulls aggro and makes group fights safer |
This is not flashy, but it is extremely useful. In solo play especially, it makes messy fights much more manageable.
↖ Food and Elixirs Are Mandatory for Harder Zones
If you want a real power spike, food is not optional.
Using 2 foods + 1 elixir gives:
- much more max HP
- bonus stats
- better stamina or damage, depending on the recipe
This is one of the biggest differences between a build that feels average and one that feels prepared.
| Buff Type | Main Benefit |
|---|---|
| Food slot 1 | HP + extra stat |
| Food slot 2 | More total survivability/value |
| Elixir | Bonus damage for hard fights |
↖ Practical advice
- always carry two different foods
- use elixirs before bosses
- build a farm early if you want consistent buffs without wasting time gathering everything by hand
↖ Small Boost, Big Value: Rested Bonus
The rested/comfort buff is easy to forget, but it helps more than it looks.
By checking in at your base or ship, you get better stamina regeneration. Since stamina controls almost everything in combat, this is a free boost you should refresh before boss attempts or difficult runs.
| System | Benefit |
|---|---|
| Comfort level | Extends buff duration |
| Rested bonus | Better stamina regeneration |
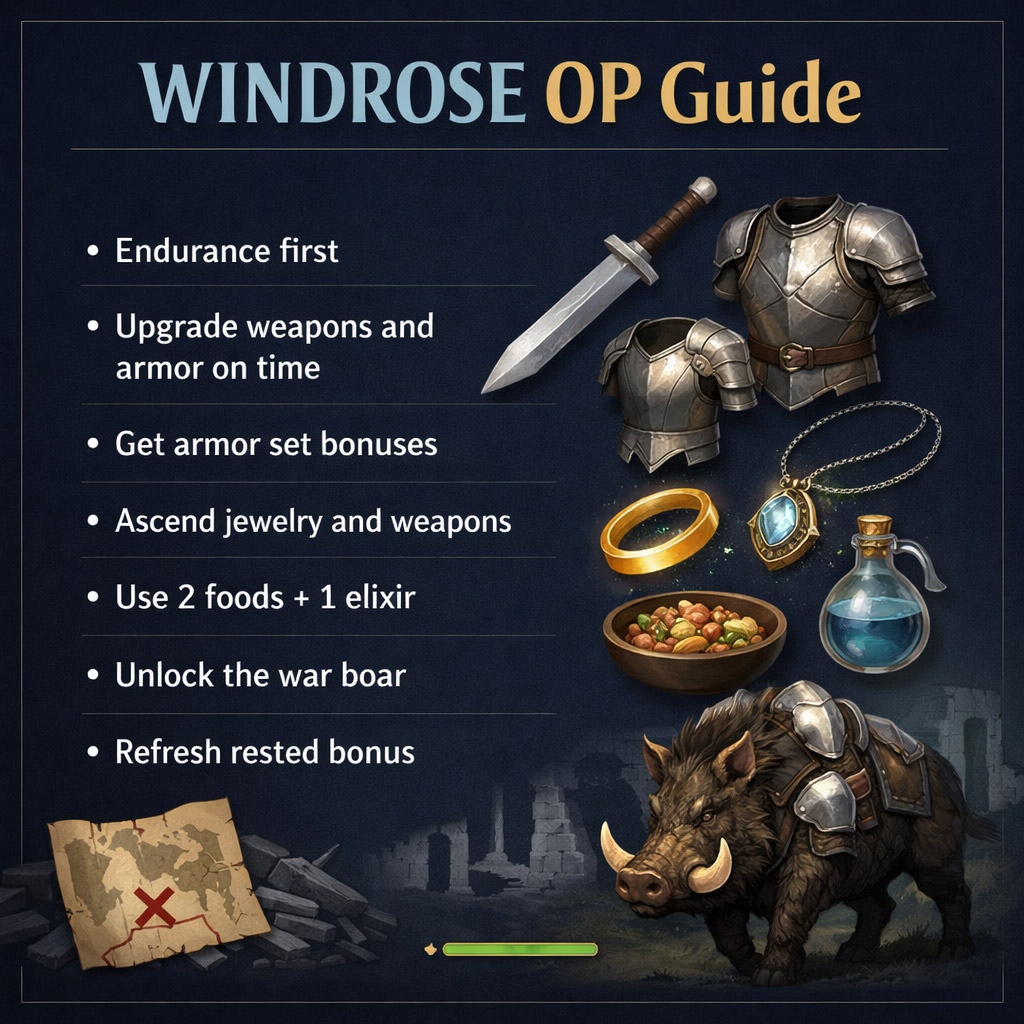
↖ Best Order to Get Strong Fast
If you want the cleanest progression path, use this order:
1. Raise Endurance early
2. Keep weapon and armor level updated
3. Get at least a 2-piece armor set bonus
4. Upgrade jewelry that fits your build
5. Ascend a weapon you already like
6. Unlock the war boar in the Foothills
7. Always use 2 foods + 1 elixir
8. Refresh your rested bonus before hard content
This route gives the most reliable results without overcomplicating your setup.
↖ FAQ
↖ What is the fastest way to become overpowered in Windrose?
Stack the basics first: gear upgrades, Endurance, food buffs, jewelry, and armor set bonuses. That gives a much bigger power jump than hunting one rare item.
↖ What stat should I level first?
For most builds, Endurance is the best early stat because stamina affects both offense and defense.
↖ Is the war boar worth unlocking?
Yes. It is one of the best early utility unlocks because it helps control aggro in difficult multi-enemy fights.
↖ Are food buffs really that important?
Yes. Food and elixirs are one of the biggest hidden power spikes in the game.
↖ What armor set is good for one-handed builds?
The Flabustia set is a strong option thanks to its stamina reduction and one-handed damage bonuses.
↖ Should I upgrade jewelry early?
If the jewelry already fits your build, yes. It is one of the fastest ways to gain practical power.
↖ Final Notes
If Windrose suddenly feels punishing, the problem usually is not your reflexes. Most of the time, it is missing layers of progression: not enough stamina, weak food buffs, unfinished armor bonuses, or unupgraded accessories.

Most Popular Posts
- Windrose Best Weapons Tier List, Traits, and Build Picks
- Windrose Completion Guide: Max Comfort, Weapons, Armor, Quests and Missable Items
- Windrose Best Rings, OP Necklaces, Blackbeard Maps & Upgrade Tips
- Windrose Best Starter Build Guide: OP Rapier + Pistol Setup for Early to Mid Game
- Windrose Agility Build Guide: Best Stats, Weapons, Talents, Food and Boss Setup
- Windrose OP Guide: Combat, Skills, Gear, Food, Jewelry, and Armor Sets
Popular Category Lists
- Grow a Garden / (286)
- ARC Raiders / (263)
- CoD: Black Ops 7 / (166)
- Monopoly Go / (146)
- MLB 26 / (145)
- Star Citizen / (113)
- Steal a Brainrot / (89)
- ARK Survival Ascended / (70)
- Sailor Piece / (68)
- Forza Horizon 6 / (61)
- Diablo IV / (61)
- Blox Fruits / (60)
- CoD: BLACK OPS 6 / (55)
- Adopt Me / (53)
- Path of Exile 2 / (48)
- Monster Hunter Wilds / (46)
- Windrose / (44)
- Path of Exile / (40)
- Grow a Garden 2 / (40)
- Bee Swarm Simulator / (36)


