0
0Windrose Precision Rapier Build: Best OP Setup for Bosses, Camps, Boarding, Solo, and Co-op
The Precision Rapier build is the cleanest high-damage setup in Windrose because it fixes the usual hybrid-build problem: wasted stats.
Most melee/ranged builds split scaling. This one does not. Rapiers and pistols both scale with Precision, so every point boosts your melee DPS and pistol burst at the same time.
- Why Precision Rapier Is OP in Windrose
- Best Windrose Precision Rapier Builds
- Rapier of a Thousand Cuts Build
- Thousand Cuts Rotation
- Rapier of Devastation Build
- Devastation Rotation
- Where to Find the Best Rapiers
- Best Pistol for Precision Rapier Builds
- Best Armor for Precision Rapier Build
- Thousand Cuts Armor
- Devastation Armor
- Armor Sources
- Best Jewelry for Precision Rapier Build
- Best Food and Elixirs for Precision Build
- Best Talents for Precision Rapier Build
- Talent Path
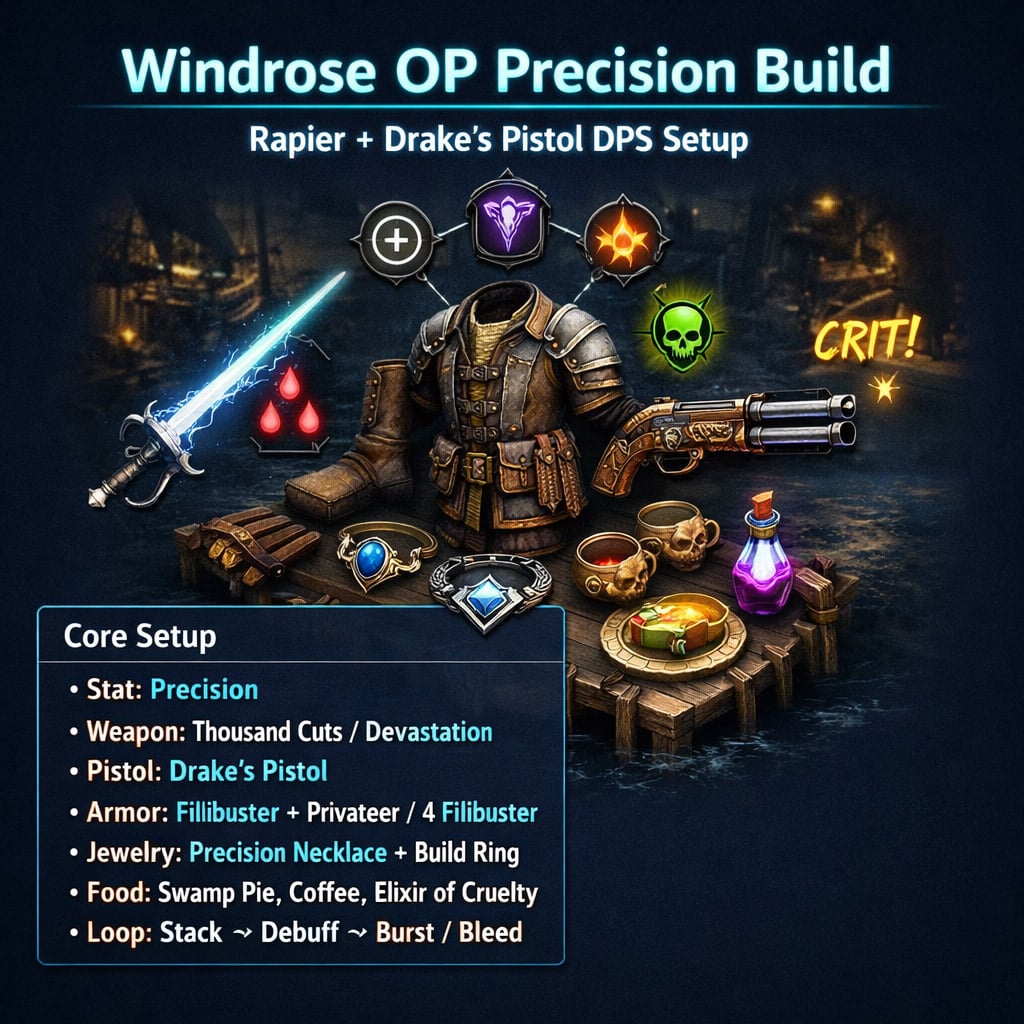
- Complete Precision Rapier Build Setup
- Best Precision Rapier Build by Activity
- Common Precision Rapier Mistakes
- FAQ
- What is the best Precision Rapier build in Windrose?
- Is Rapier of Devastation better than Rapier of a Thousand Cuts?
- What stat should I level for Rapier builds?
- What is the best pistol for Rapier builds?
- Why does my Precision Rapier build feel weak?
- Summary
That is why this setup crushes bosses, POI camps, naval boarding, solo runs, and co-op fights.
↖ Why Precision Rapier Is OP in Windrose
The build works because of single-stat scaling.
| Stat | Typical Weapons | Verdict |
|---|---|---|
| Strength | Heavy melee | Strong, slower, less flexible |
| Agility | Cutlass, blunderbuss | Good for group clearing |
| Precision | Rapier, pistol | Best stat efficiency |
With Precision, we are not building two weak weapons. We are stacking one stat that powers both parts of the kit.
Result: better damage, cleaner gearing, stronger boss uptime, and fewer wasted points.
↖ Best Windrose Precision Rapier Builds
There are two S-tier versions.
| Build | Weapon | Core Mechanic | Difficulty | Best Use |
|---|---|---|---|---|
| Bleed Sustain | Rapier of a Thousand Cuts | 5 Bleed stacks + temporal health | Medium | Solo, bosses, safe clears |
| Burst Combo | Rapier of Devastation | 8 Plague stacks + Vulnerability burst | Hard | Max DPS, skilled play |
Pick Thousand Cuts if you want consistency.
Pick Devastation if you can execute clean burst windows.
↖ Rapier of a Thousand Cuts Build
Rapier of a Thousand Cuts is the safer setup.
Each hit applies Bleed, up to 5 stacks. At epic tier, bleed damage restores temporal health. That means you can deal damage while backing off and recovering.
↖ Thousand Cuts Rotation
| Step | Action |
|---|---|
| 1 | Dash in |
| 2 | Light attack until 5 Bleed stacks |
| 3 | Dash out |
| 4 | Let bleed tick |
| 5 | Re-enter on poise break |
| 6 | Fire Drake's Pistol to burst or finish |
This is the best version for most players. It is forgiving, safe, and still hits hard.
Use it for:
- Solo bosses
- Naval boarding
- Cursed runs
- POI farming
- Players still learning perfect blocks
If you die often with Devastation, switch to Thousand Cuts. You will clear more consistently.
↖ Rapier of Devastation Build
Rapier of Devastation is the high-skill damage ceiling.
Light attacks apply Plague Marks, up to 8 stacks. Once stacked, apply Vulnerability with Drake's Pistol, then land a heavy attack.
↖ Devastation Rotation
| Step | Action |
|---|---|
| 1 | Light attack to build 8 Plague stacks |
| 2 | Perfect block to maintain pressure |
| 3 | Swap to Drake's Pistol |
| 4 | Fire to apply Vulnerability |
| 5 | Swap back |
| 6 | Heavy attack for burst |
This build punishes sloppy play. If you miss the pistol shot, heavy attack, or stack count, your burst falls apart.
Run Devastation if you like:
- Weapon swapping
- Perfect blocks
- Burst timing
- Co-op boss windows
- Speed-kill farming
↖ Where to Find the Best Rapiers
Both top rapiers come from POI chests.
| Item | Source | Notes |
|---|---|---|
| Rapier of a Thousand Cuts | POI chests | Can drop early in Coastal Jungle |
| Rapier of Devastation | POI chests | Random exploration drop |
| Drake's Pistol | Loot progression | Best pistol for both builds |
Good early farming spots:
- Traveler camps
- Blackbeard camps
- Hands camps
- Coastal Jungle POIs
Windrose uses a knockout-style loot system. Bad chest luck still helps long term. Keep clearing POIs instead of constantly changing farm routes.
↖ Best Pistol for Precision Rapier Builds
Use Drake's Pistol.
It fires two fast shots, hits hard, and at epic tier applies Vulnerability, which increases damage taken by the target.
| Build | Drake's Pistol Use |
|---|---|
| Thousand Cuts | Burst, execute, break poise |
| Devastation | Mandatory Vulnerability setup |
| Solo | Safe ranged pressure |
| Co-op | Team damage amplification |
For Devastation, Drake's Pistol is not a bonus. It is part of the combo.
If your burst feels weak, check this:
- Did you reach 8 Plague stacks?
- Did you apply Vulnerability?
- Did your heavy attack actually land?
Miss one, and the build loses its point.
↖ Best Armor for Precision Rapier Build
Armor depends on your rapier and comfort level.
↖ Thousand Cuts Armor
| Setup | Pieces | Best For |
|---|---|---|
| DPS/Crit | 2 Filibuster + 2 Privateer | Fast bleed stacking |
| Tanky Solo | 2 Conquistador + 2 Pikeman | Boss safety |
2 Filibuster + 2 Privateer gives reduced attack stamina cost and more crit chance. This is the best damage setup for Thousand Cuts.
Use 2 Conquistador + 2 Pikeman if bosses are deleting you. Damage drops, but your mistake tolerance goes up.
↖ Devastation Armor
| Setup | Bonus | Why |
|---|---|---|
| 4 Filibuster | 15% one-handed damage | Buffs heavy burst |
Devastation wants one thing: a massive heavy attack. 4-piece Filibuster supports that directly.
↖ Armor Sources
| Armor Set | Source |
|---|---|
| Filibuster's Attire | Rogue Buccaneers |
| Privateer's Regalia | People of Tortuga |
| Conquistador's Armor | Smugglers of Port Royale |
| Pikeman's Armor | Smugglers of Port Royale |
↖ Best Jewelry for Precision Rapier Build
Jewelry is where many players throw away damage.
Upgrade it. Do not leave base accessories on.
| Slot | Best Pick | Use |
|---|---|---|
| Necklace | Major Necklace of Precision | Scales rapier and pistol |
| Ring: Thousand Cuts | Major Spear Thrower's Ring | Boosts pierce damage |
| Ring: Devastation | Major Warrior Ring | Boosts special weapon damage |
The necklace is mandatory. It gives Precision, and Precision boosts both weapons.
For rings:
- Thousand Cuts wants pierce damage.
- Devastation wants special weapon damage for burst.
If your build feels weaker than expected, check accessory ascension first.
↖ Best Food and Elixirs for Precision Build
Food is not optional in serious fights.
| Consumable | Effect | Priority |
|---|---|---|
| Swamp Pie | +20 Precision | Mandatory |
| Coffee | Max health + 20 Endurance | High |
| Elixir of Cruelty | +8% all damage | High |
| Infused Elixir of Cruelty | Longer duration | Best for long runs |
Swamp Pie is huge. It is basically 20 extra damage-stat points for both rapier and pistol.
Use Elixir of Cruelty before bosses, cursed zones, and hard POI chains.
Assign Black Axel to your cooking fire before crafting epic food. Extra food procs save a lot of farming time.
↖ Best Talents for Precision Rapier Build
Take these first.
| Talent | Effect | Why It Matters |
|---|---|---|
| Surgical Cuts | +9% crit chance with one-handed melee | More rapier DPS |
| Disciplined Fencer | Perfect block restores 15% gun reload | More Drake's Pistol uptime |
These two talents make the build feel complete.
Surgical Cuts boosts every rapier exchange.
Disciplined Fencer turns perfect blocks into faster pistol reloads.
That means defense becomes damage.
↖ Talent Path
| Stage | Focus |
|---|---|
| Early | Melee damage + survivability |
| Mid | Crit, stamina, block support |
| Late | Balance melee and ranged damage |
If you cannot perfect block consistently, take more survival early. Respec later once your timing improves.
↖ Complete Precision Rapier Build Setup
| Slot | Thousand Cuts | Devastation |
|---|---|---|
| Main Weapon | Rapier of a Thousand Cuts | Rapier of Devastation |
| Pistol | Drake's Pistol | Drake's Pistol |
| Main Stat | Precision | Precision |
| Armor | 2 Filibuster + 2 Privateer | 4 Filibuster |
| Safe Armor | 2 Conquistador + 2 Pikeman | Not ideal |
| Necklace | Major Necklace of Precision | Major Necklace of Precision |
| Ring | Major Spear Thrower's Ring | Major Warrior Ring |
| Food | Swamp Pie | Swamp Pie |
| Drink | Coffee | Coffee |
| Elixir | Elixir of Cruelty | Elixir of Cruelty |
| Talents | Surgical Cuts + Disciplined Fencer | Surgical Cuts + Disciplined Fencer |
↖ Best Precision Rapier Build by Activity
| Activity | Best Pick | Reason |
|---|---|---|
| Solo bosses | Thousand Cuts | Safer sustain |
| POI camps | Both | Choose safety or speed |
| Naval boarding | Thousand Cuts | Better in messy melee |
| Co-op bosses | Devastation | Team creates burst windows |
| Speed farming | Devastation | Faster if executed cleanly |
For most players, Thousand Cuts clears more content with fewer deaths.
For practiced players, Devastation kills faster.
↖ Common Precision Rapier Mistakes
| Mistake | Fix |
|---|---|
| Splitting stats | Stack Precision |
| Ignoring jewelry | Upgrade necklace and ring |
| No Swamp Pie | Use +20 Precision food |
| No Elixir of Cruelty | Use +8% damage before hard fights |
| Wrong ring | Match ring to rapier |
| Devastation burst is weak | Stack 8 Plague + apply Vulnerability |
| Running out of stamina | Use Coffee or Filibuster |
| No perfect blocks | Practice for reload uptime |
Most weak Precision builds are missing one of three things: upgraded jewelry, food buffs, or proper pistol timing.
↖ FAQ
↖ What is the best Precision Rapier build in Windrose?
The best all-around setup is Rapier of a Thousand Cuts, Drake's Pistol, 2 Filibuster + 2 Privateer, Major Necklace of Precision, Major Spear Thrower's Ring, Swamp Pie, Coffee, and Elixir of Cruelty.
↖ Is Rapier of Devastation better than Rapier of a Thousand Cuts?
Only if you execute well. Devastation has higher burst, but Thousand Cuts is safer and more consistent. For most solo players, Thousand Cuts is better.
↖ What stat should I level for Rapier builds?
Level Precision. It scales both rapiers and pistols, which makes it the most efficient stat for this build.
↖ What is the best pistol for Rapier builds?
Drake's Pistol. It deals strong burst and applies Vulnerability at epic tier, which is essential for Devastation and useful for Thousand Cuts.
↖ Why does my Precision Rapier build feel weak?
Usually because you skipped one of the core pieces: Precision jewelry, Swamp Pie, Elixir of Cruelty, correct ring choice, or Drake's Pistol Vulnerability timing.
↖ Summary
The Windrose Precision Rapier build is OP because one stat powers the whole kit.
Precision boosts rapier damage and pistol damage, so your melee pressure, ranged burst, and debuff windows all scale together.
Best default setup:
| Slot | Pick |
|---|---|
| Weapon | Rapier of a Thousand Cuts |
| Pistol | Drake's Pistol |
| Stat | Precision |
| Armor | 2 Filibuster + 2 Privateer |
| Necklace | Major Necklace of Precision |
| Ring | Major Spear Thrower's Ring |
| Food | Swamp Pie |
| Drink | Coffee |
| Elixir | Elixir of Cruelty |
| Talents | Surgical Cuts + Disciplined Fencer |
Run Thousand Cuts for reliable clears and safer solo play.
Run Devastation for max burst if you can execute: 8 Plague stacks → Drake's Pistol Vulnerability → heavy attack.

Most Popular Posts
- Windrose Best Weapons Tier List, Traits, and Build Picks
- Windrose Completion Guide: Max Comfort, Weapons, Armor, Quests and Missable Items
- Windrose Best Rings, OP Necklaces, Blackbeard Maps & Upgrade Tips
- Windrose Best Starter Build Guide: OP Rapier + Pistol Setup for Early to Mid Game
- Windrose OP Guide: Combat, Skills, Gear, Food, Jewelry, and Armor Sets
- Windrose Agility Build Guide: Best Stats, Weapons, Talents, Food and Boss Setup
Popular Category Lists
- Grow a Garden / (286)
- ARC Raiders / (262)
- CoD: Black Ops 7 / (166)
- Monopoly Go / (146)
- MLB 26 / (144)
- Star Citizen / (111)
- Steal a Brainrot / (89)
- Sailor Piece / (68)
- ARK Survival Ascended / (66)
- Diablo IV / (61)
- Forza Horizon 6 / (60)
- Blox Fruits / (60)
- CoD: BLACK OPS 6 / (55)
- Adopt Me / (53)
- Path of Exile 2 / (48)
- Monster Hunter Wilds / (46)
- Windrose / (44)
- Path of Exile / (40)
- Grow a Garden 2 / (38)
- Bee Swarm Simulator / (36)