0
0Arc Raiders Mobility Tree Build: Perk-by-Perk Value and Take Guides
- KITE
- Share
- ARC Raiders
- 12/22/25
- 1849
The Arc Raiders Mobility tree is tempting because it promises what every Raider wants: escape options, better repositioning, and monkey movement. But once you test perks side-by-side, you realize it's not a uniform power boost—some nodes meaningfully change fights, others barely move the needle.
- 1) Mobility Is Worth It—But Not Everything in It
- Summary Table: Mobility Tree Value at a Glance
- 2) Perk-by-Perk Breakdown
- Nimble Climber (small buff, real exposure reduction)
- The Two Stamina Perks (the backbone)
- Slip and Slide (slope tech, not universal value)
- Sturdy Ankles (thin value, usually just a gateway)
- Carry the Momentum (cool on paper, awkward in fights)
- Calming Stroll (the wait, why am I slower? perk)
- Crawl Before You Walk (squad value is absurd; solo value exists too)
- Effortless Roll (high ROI, measurable)
- Off-the-Wall (route unlocker)
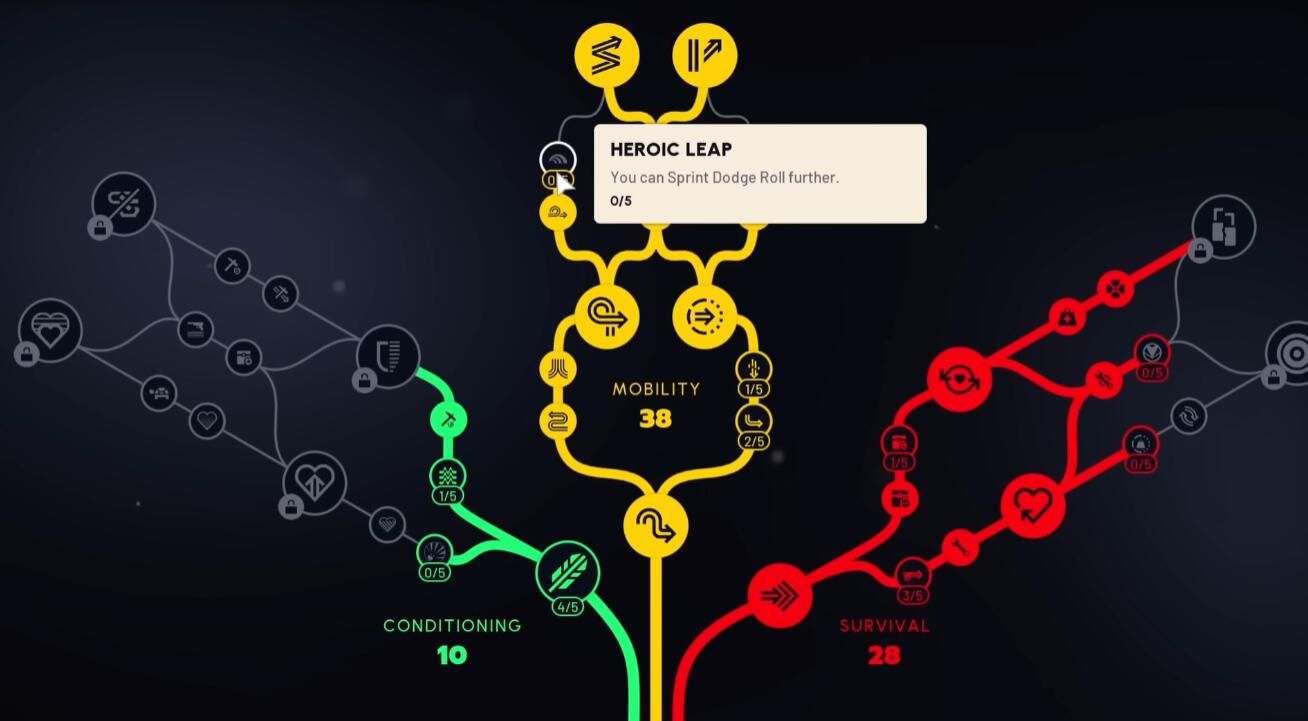
- Heroic Leap (negligible)
- Ready to Roll (keybind skill beats skill points)
- Vigorous Vaulter (noticeable, practical)
- End-Tree Synergy: Vaultspring + Vaults on Vaults on Vaults (the monkey engine)
- 3) When 20 Points in Mobility Makes Sense
- 4) Two Practical Point Paths
- Solo Get Out Alive Path
- Squad Monkey Angles Path
- FAQ
- Is the Mobility tree worth it overall?
- What are the top two Mobility perks for raw win-rate?
- Should I take Calming Stroll?
- Is Off-the-Wall a must?
- Why do people still dump 20+ points into Mobility?
- Summary
↖ 1) Mobility Is Worth It—But Not Everything in It
Most players will end up investing ~20 points in Mobility because the tree contains a few always-on perks that raise your baseline survival. The trap is assuming every node is equally valuable.
↖ Summary Table: Mobility Tree Value at a Glance
This is the table I wish I had before I spent points because movement is cool.
| Tier | Perks (Mobility Tree) | Real Value | Who Should Take It | My Take |
|---|---|---|---|---|
| Must-have | Main stamina perks (both) | Consistent, raid-defining | Everyone | Stamina is the currency of survival and repositioning |
| Must-have | Effortless Roll | Huge consistency boost (more rolls per stamina) | Everyone who fights or escapes under pressure | One of the best ROI nodes in the tree |
| Strong | Vigorous Vaulter | Noticeable climb speed boost (~10–25% depending on height) | Vertical movers, building fighters | Directly reduces getting shot while climbing time |
| Strong | End-tree synergy (Vaultspring + Vaults on Vaults on Vaults) | Enables repeated vault/ledge tech without stamina collapse | Monkey players, route abusers | High ceiling; strongest when you actually use tech |
| Situational | Nimble Climber | Small but real vault speed (~7% in my timing) | Players who vault a lot while under threat | Not flashy, but exposure time matters |
| Situational | Off-the-Wall | Unlocks otherwise impossible jumps | Creative flankers, map nerds | Great when you have routes; mid when you don't |
| Situational (Squad-biased) | Crawl Before You Walk | Downed reposition + can be abused during revive | Squads, coordinated teams; also solo clutches | Quietly powerful, wins chaotic fights |
| Situational | Slip and Slide | Better downhill; meh on flat + costs stamina | Players who use slopes intentionally | Good route tech, poor general value |
| Low priority | Carry the Momentum | Niche; breaks easily (stamina/roll cancels, cooldown) | Straight-line runners, disengage specialists | Feels cool; rarely decides outcomes |
| Low priority / Often skip | Calming Stroll | Regen is real, but movement speed loss is painful | Slow-play looters who walk a lot | Often worse than just jogging smartly |
| Avoid (ROI) | Heroic Leap | Negligible in practice | Almost nobody | I cut it entirely |
| Avoid (ROI) | Sturdy Ankles | Minor fall damage reduction (~low single digits / ~5% feel) | Only as a gateway node | Pay 5 points to save a bandage energy |
| Avoid (mostly) | Ready to Roll | Doesn't meaningfully expand safe fall roll in practice | Only if your roll timing is genuinely bad | Keybind + timing fixes this cheaper than points |
↖ 2) Perk-by-Perk Breakdown
↖ Nimble Climber (small buff, real exposure reduction)
In my frame-by-frame timing, Nimble Climber looks like roughly a ~7% vault speed increase. That's not dramatic, but vaulting is also a moment where you can't fight back.
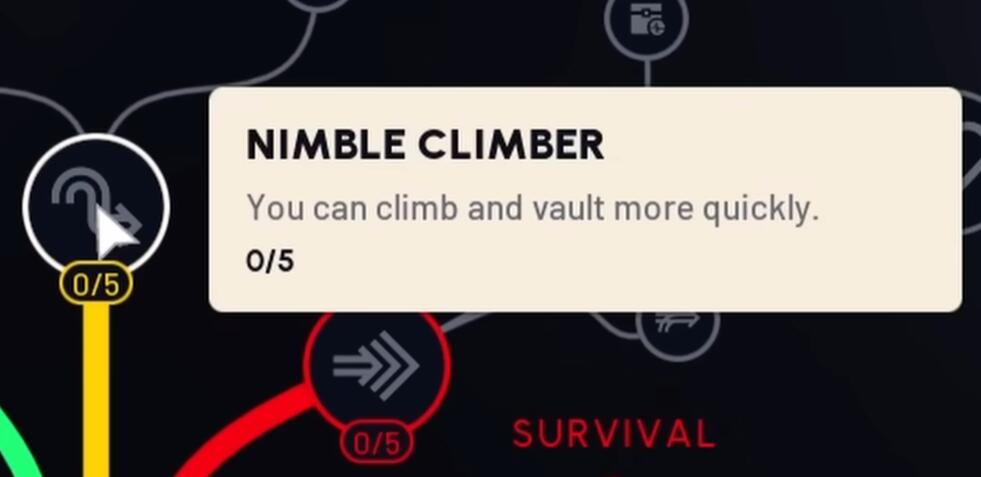
- Why it matters: less time stuck in an animation = fewer free shots for the enemy.
- If you often die mid-vault, then even small reductions are meaningful.
- If your deaths are mostly crossing open ground, this won't solve that.
↖ The Two Stamina Perks (the backbone)
These are the boring nodes that are secretly the strongest investment.
- More stamina and/or better stamina handling impacts: sprint length, roll economy, repositioning, chase/escape, and how often you're forced into slow movement.
- If you've ever died because you ran out of stamina at the worst time, you already know why these are mandatory.
↖ Slip and Slide (slope tech, not universal value)
On flat ground, the difference is unimpressive. On hills, it becomes noticeably better—but now you're paying stamina for it.
- If you route around downhill lines, it can be great.
- If you fight inside compounds/buildings, it's often a stamina sink that makes your next roll weaker.
↖ Sturdy Ankles (thin value, usually just a gateway)
It appears to reduce fall damage by about ~5% in feel testing, but it's hard to measure perfectly without a dedicated damage readout.
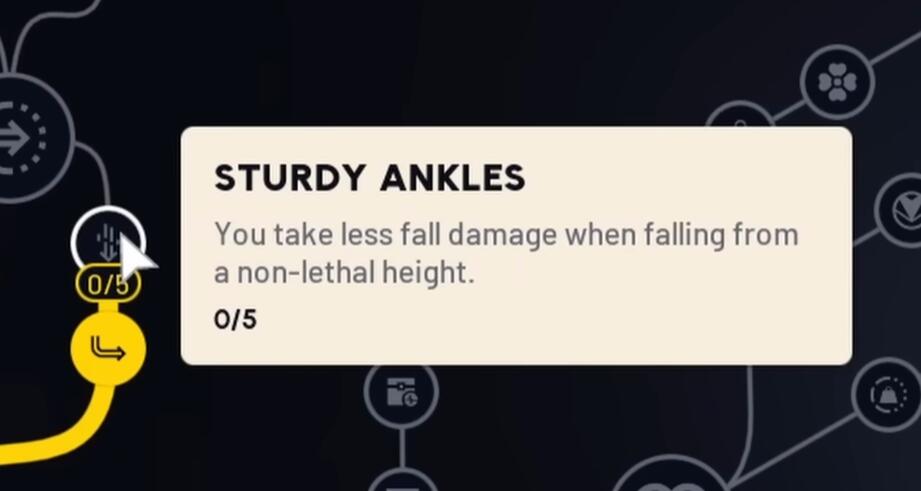
- What this implies: it rarely changes dead vs alive, and more often changes low HP vs slightly less low HP.
- I treat it as gateway tax if I need deeper nodes.
↖ Carry the Momentum (cool on paper, awkward in fights)
It's situational because real fights rarely let you roll then sprint in a clean straight line without another roll, stamina break, or angle change.
- Cancels easily, cooldown feels long.
- If you mostly disengage in straight lines, you might extract value.
- Otherwise, it's a luxury pick.
↖ Calming Stroll (the wait, why am I slower? perk)
The stamina regen while walking is real. The problem is the opportunity cost: walking is slow, and time is danger.
- In multiple comparisons, it often ends up worse than simply jogging with decent stamina management.
- If you habitually walk (faster than crouch, quieter than sprint), you might still like it—but it's not a slam dunk.
↖ Crawl Before You Walk (squad value is absurd; solo value exists too)
This perk is quietly nasty because it changes downed-state agency.
- Squad trick: when a teammate starts reviving you, you can crawl and effectively drag the revive into cover.
- Solo clutch: reposition to avoid instant thirst / buy time for chaos.
If your team fights around revives, this perk earns its points.
↖ Effortless Roll (high ROI, measurable)
This is one of the clearest before vs after perks.
In my roll-count comparisons:
- Sprint dodge rolls: roughly 3 → 5
- Regular dodge rolls: roughly 6 → 11
What this implies: you get more angle breaks, more explosive dodges, more escape attempts—per fight.
↖ Off-the-Wall (route unlocker)
Not game-breaking, but it enables jumps that are otherwise impossible.
- If you're creative with routes, it creates real flanks and escapes.
- If you play ground level standard lanes, you'll rarely notice it.
↖ Heroic Leap (negligible)
I couldn't justify it after testing. It's the type of perk you forget exists because it doesn't change decisions or outcomes.
↖ Ready to Roll (keybind skill beats skill points)
It doesn't meaningfully let you roll from much higher falls. A dedicated roll keybind + pressing slightly before impact gives a generous window already.
- If you truly struggle with roll timing, it can be a comfort pick.
- Otherwise, points are better elsewhere.
↖ Vigorous Vaulter (noticeable, practical)
Depending on climb height, I see roughly ~10% up to ~25% faster climbs.
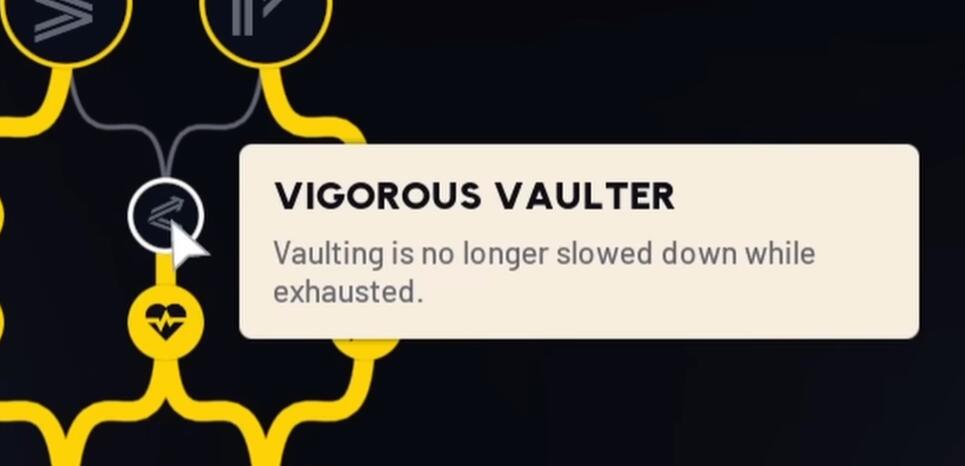
- This is strong because climbing is a vulnerability window.
- If you fight in vertical spaces, this is a real survivability perk.
↖ End-Tree Synergy: Vaultspring + Vaults on Vaults on Vaults (the monkey engine)
These work best together because they turn ledge/vault interactions into repeatable movement loops without stamina collapse.
- Enables frequent ledge grabs and traversal tech.
- Helps with mobility patterns that include catching ledges to reduce fall damage risk.
- High ceiling—but only if you actually build routes and play around it.
↖ 3) When 20 Points in Mobility Makes Sense
- If you win fights by repositioning, Mobility scales hard—20 points is normal.
- If you lose raids due to information and discipline (opening containers too long, getting third-partied, bad rotations), Mobility won't fix the core problem.
| Your common death reason | Mobility investment | Better complementary focus |
|---|---|---|
| Chased down / can't break LOS | High (stamina + rolls + vault speed) | Add survivability second |
| Dying mid-rotation / out of stamina | High (stamina first) | Route discipline |
| Getting ambushed while looting | Medium | Loot speed / awareness perks |
| Mines/explosives deleting you | Medium | Conditioning/mitigation tools |
↖ 4) Two Practical Point Paths
↖ Solo Get Out Alive Path
1. Stamina perks (foundation)
2. Effortless Roll (fight/escape consistency)
3. Vigorous Vaulter + Nimble Climber (reduce exposure windows)
4. Optional: Off-the-Wall if you truly use vertical routes
5. Skip: Heroic Leap, Sturdy Ankles (unless gating), usually Calming Stroll
If you notice you die while vaulting/climbing, then push the vault/climb speed earlier.
↖ Squad Monkey Angles Path
1. Stamina perks
2. Effortless Roll
3. Crawl Before You Walk (revive dragging wins fights)
4. End-tree synergy (Vaultspring + Vaults on Vaults on Vaults)
5. Add Off-the-Wall if your squad actually routes around it
6. Use Slip and Slide only if you route slopes deliberately
If your squad fights around revives, Crawl Before You Walk is value you'll feel immediately.
↖ FAQ
↖ Is the Mobility tree worth it overall?
Yes—because stamina and roll economy are universally valuable. The mistake is thinking the whole tree is equal.
↖ What are the top two Mobility perks for raw win-rate?
The two stamina perks and Effortless Roll. They affect nearly every raid, fight, and escape.
↖ Should I take Calming Stroll?
Only if you intentionally walk a lot and play slower rotations. In many real situations, it's simply slower than jogging smartly.
↖ Is Off-the-Wall a must?
No. It's a ceiling perk. If you don't route around it, it becomes a point sink.
↖ Why do people still dump 20+ points into Mobility?
Because the end-tree tech perks combine with stamina and roll economy to create a playstyle that wins by angle creation and disengage reliability, not by raw DPS.
↖ Summary
Mobility is absolutely worth investing in, but you should treat it like a tree with spikes of value rather than a smooth progression. Lock in stamina + Effortless Roll first, then decide whether you're building a survival baseline (solo) or a tech-enabled movement identity (squad monkey). The rest is point efficiency—and not getting scammed by perks that sound cooler than they perform.

Most Popular Posts
- Arc Raiders Canto Guide: Best Build, Solo vs Trios Tips, and Blueprint Farm
- ARC Raiders Assessors Guide: Easy Solo Loot Strategy With or Without Smoke Grenades
- ARC Raiders Riven Tides Key Room Guide: Best Hotel Keys, Loot Routes, Secure & Crane Storage
- ARC Raiders Damage Fireflies Trial Guide: Best Farm Method on Buried City Night Raid
- ARC Raiders Scrappy Guide: Best Fruits, and What Apricots & Agave Actually Drop
- ARC Raiders Riven Tides Update: New Map & Items, ARC Turbine, Rewards, and Best Early Strategy
Popular Category Lists
- Grow a Garden / (283)
- ARC Raiders / (248)
- CoD: Black Ops 7 / (164)
- Monopoly Go / (145)
- MLB 26 / (133)
- Star Citizen / (99)
- Steal a Brainrot / (87)
- Sailor Piece / (67)
- CoD: BLACK OPS 6 / (55)
- Forza Horizon 6 / (54)
- Blox Fruits / (54)
- ARK Survival Ascended / (50)
- Path of Exile 2 / (48)
- Adopt Me / (47)
- Monster Hunter Wilds / (46)
- Diablo IV / (45)
- Windrose / (43)
- Path of Exile / (40)
- Battlefield 6 / (34)
- Bee Swarm Simulator / (32)