0
0 Created: Apr 25,2026 | ARC Raiders
Best Epic-Only Loadout in ARC Raiders: Our Buried City PvP Guide

If you're trying to win more fights in ARC Raiders without over-investing in top-end gear, an epic-only loadout is the sweet spot. In our runs, the setup that performs most consistently is not the one with the flashiest stat line—it's the one that helps us fight in tight spaces, reset quickly, and survive the third party.
Buried City is where this matters most. Fights there rarely stay clean for long. You'll brawl in stairwells, subway entrances, rooftops, and extract lanes, often with another team already rotating in. That's why we value close-range stopping power, smokes, and fast healing more than theoretical max damage.
- Best Epic-Only Loadout in ARC Raiders
- Why this setup is strong
- Why It Works So Well in Buried City
- What usually decides these fights
- Practical takeaway
- How We Play This Loadout
- 1. Hold the escape route
- 2. Use smoke with a purpose
- 3. Don't chase every runner
- Best Weapon Pairings
- Common Mistakes to Avoid
- FAQ
- What is the best epic-only loadout in ARC Raiders?
- Is the Volcano still worth using in 2026?
- Why is smoke so important?
- Should we always push after cracking someone?
- Final Thoughts
Best Epic-Only Loadout in ARC Raiders
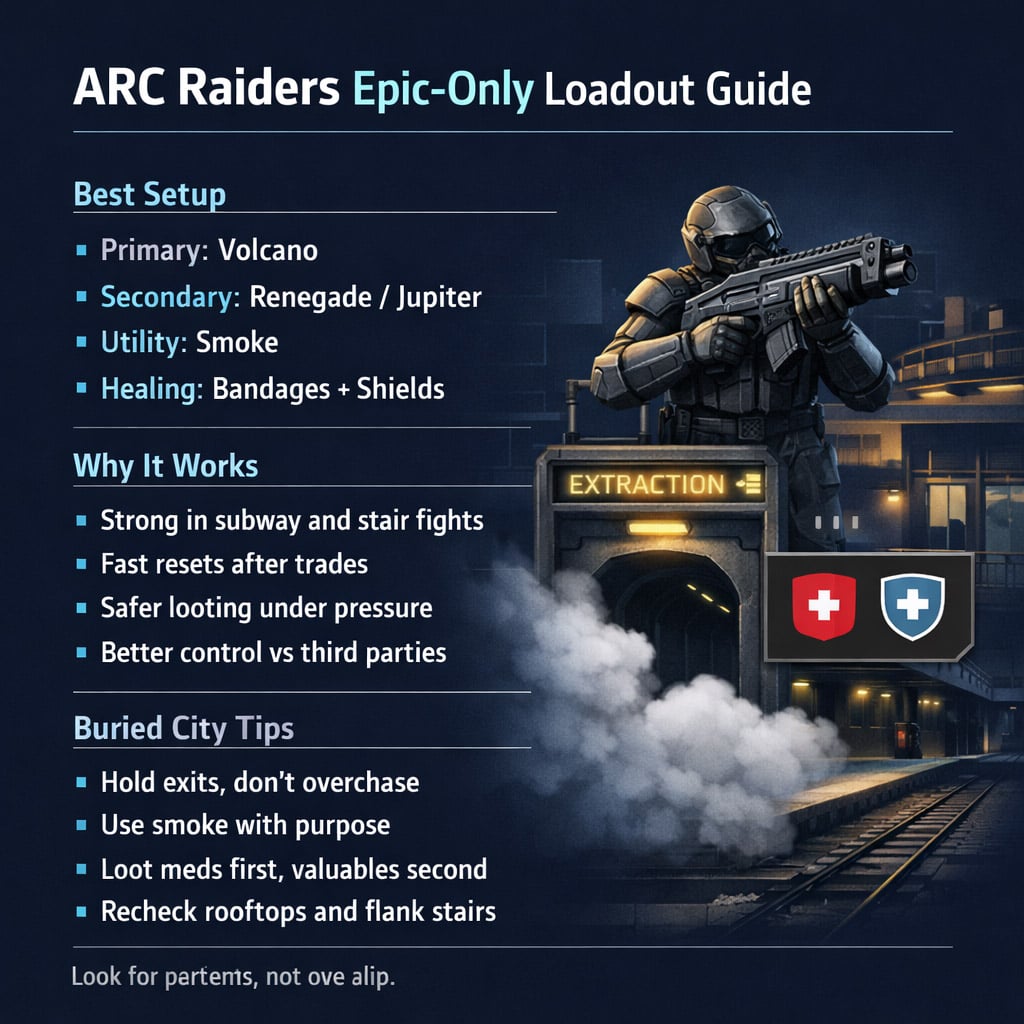
This is the loadout we trust most for Buried City PvP.
| Slot | Pick | Why It Works |
|---|---|---|
| Primary | Volcano | Excellent burst in stairs, tunnels, and close peeks |
| Secondary | Renegade / Jupiter | Gives you better follow-up at mid-range |
| Tactical | Smoke | Best tool for resets, looting, and crossing open angles |
| Utility | Flares / info tool | Helps track players in subway routes and roof fights |
| Healing | Bandages + shields | Lets you re-peak instead of giving up space |
Why this setup is strong
The Volcano is the anchor here. In Buried City, a lot of fights happen at awkward, compressed angles. If you catch a player pushing stairs or turning a corner underground, the Volcano can end that duel almost immediately.
The other half of the build is smoke. This is what makes the kit feel complete. We use it to:
- loot without getting beamed,
- reset after a trade,
- block rooftop sightlines,
- and hold control while another team rotates in.
That combination is why this loadout feels reliable instead of gimmicky.
Why It Works So Well in Buried City
Buried City rewards teams that can collapse fast and fight through cluttered terrain. Long-range setups still have value, but they often lose momentum once the fight moves indoors or underground.
What usually decides these fights
In our experience, Buried City fights are usually decided by:
- who controls the staircase,
- who denies the exit,
- who saves utility for the reset,
- and who loots faster without getting greedy.
That last point matters more than people think. We've had plenty of strong runs end badly because we stayed on bodies too long after a clean win.
Practical takeaway
If you notice fresh shots, shield sounds, or footsteps above you, take meds and ammo first, then reposition. The best loot is often on the next team, not the first one.
How We Play This Loadout
A good loadout only works if the decision-making matches it.
1. Hold the escape route
When a team is trapped in the subway or near an extract lane, we usually hold angles first instead of full-sending. Why? Because once players feel trapped, they make bad peeks.
If you force them to push into your angle, the Volcano does the rest.
2. Use smoke with a purpose
We don't throw smoke just because we took damage. We throw it when it buys something specific.
| Smoke Use | Best Result |
|---|---|
| After a knock | Safe loot or shield reset |
| Crossing open lanes | Breaks enemy tracking |
| Holding subway pressure | Forces predictable exits |
| Covering a teammate | Keeps your duo alive in long fights |
3. Don't chase every runner
This is one of the easiest ways to throw a good raid.
If a player bails and:
- pulls you into open sightlines,
- drags you away from loot,
- or separates you from your teammate,
then it's often smarter to hold the area and reset.
Not every escapee is worth the risk.
Best Weapon Pairings
The Volcano is the core piece, but the secondary should match your comfort level.
| Weapon | Best Use | Verdict |
|---|---|---|
| Volcano | Close-range fight closer | Best in Buried City |
| Renegade | Mid-range aggression | Great pairing |
| Jupiter | Premium all-around follow-up | Strong if you have it |
| Canto | Flexible upgrade option | Good if you know it well |
| Dabra | Situational pressure | Can pop off, but less consistent |
From our testing, Volcano + Renegade is the safest recommendation for most players. Volcano + Jupiter is stronger if you already have the loot and can afford the risk.
Common Mistakes to Avoid
Even a strong epic kit falls apart if you make these mistakes.
- Taking long-range ego fights with a close-range build
- Using smoke too early
- Looting before checking rooftops and stairs
- Pushing out of sync with your teammate
- Ignoring flank routes underground
If you find yourself dying right after winning a fight, it's usually not because the loadout failed. It's because the reset timing failed.
FAQ
What is the best epic-only loadout in ARC Raiders?
For Buried City, we recommend Volcano + Renegade or Jupiter, plus smokes, healing, and enough shields to reset after each trade.
Is the Volcano still worth using in 2026?
Yes. It's still one of the most practical epic-tier weapons for close-range PvP, especially in subway fights, stairs, and interior building pushes.
Why is smoke so important?
Because ARC Raiders fights rarely end after the first knock. Smoke gives you time to heal, loot, reposition, or survive the next team pushing in.
Should we always push after cracking someone?
No. If the enemy has better elevation, crossfire, or a second angle ready, forcing the push can lose the fight. Crack damage is only worth converting if your path is safe.
Final Thoughts
The best epic-only loadout in ARC Raiders is the one that helps you win the fight after the first fight. That's why we keep coming back to this setup. It gives us close-range confidence, safer resets, and more control in Buried City's most chaotic areas.

Most Popular Posts
- ARC Raiders Update 1.42: Phantom Targets Farming Guide (Glitched Wasps, Rewards, Regional Conditions)
- ARC Raiders Hullcracker Blueprints: Fastest Way to Complete The Major's Footlocker
- ARC Raiders Best Pop Trigger Strategy: Fast Phantom Targets Damage Guide
- ARC Raiders Subway Skin Guide: Unlock the Subterranean Outfit
- ARC Raiders Looting Mk. 3 Survivor Blueprint Guide: Best Blue Gate Route and Drop Locations
- ARC Raiders Medium & Heavy Gun Parts Blueprint Guide: Best Farm Route, Locations, and Refiner Crafting
Popular Category Lists
- ARC Raiders / (350)
- Grow a Garden / (294)
- CoD: Black Ops 7 / (167)
- Star Citizen / (162)
- MLB 26 / (159)
- Monopoly Go / (152)
- ARK Survival Ascended / (127)
- Steal a Brainrot / (99)
- Blox Fruits / (74)
- Adopt Me / (74)
- Forza Horizon 6 / (72)
- Sailor Piece / (68)
- Grow a Garden 2 / (68)
- Diablo IV / (62)
- CoD: BLACK OPS 6 / (55)
- Aion 2 / (50)
- Path of Exile 2 / (48)
- Monster Hunter Wilds / (46)
- Windrose / (44)
- Donut SMP / (41)