


 0
0How to Beat the High Priestess in Windrose: Easy Final Boss Guide
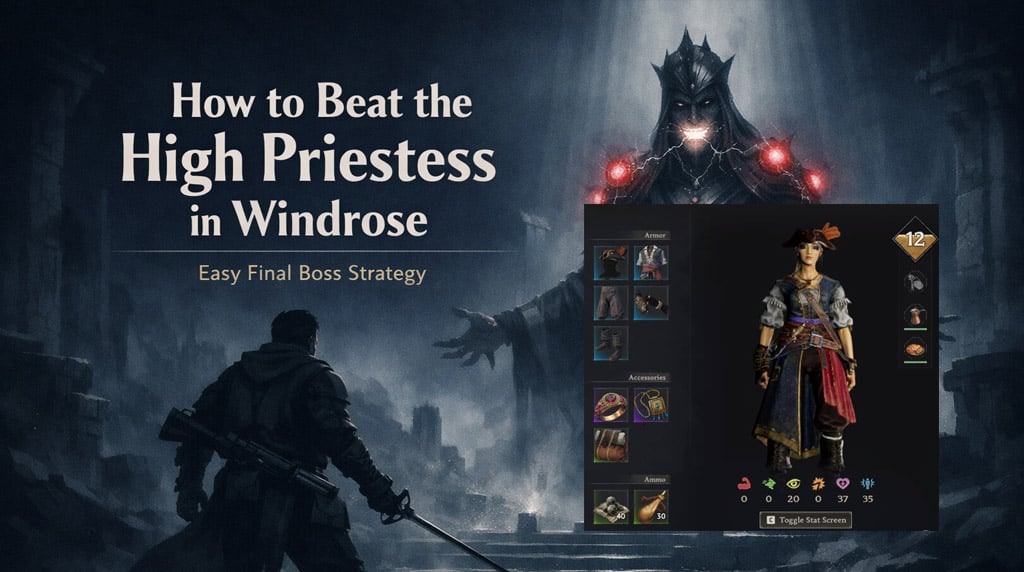
The High Priestess is the kind of final boss that looks harder than she really is. After a few test runs, the pattern becomes very clear: this fight is not about raw DPS as much as it is about positioning, weak-point damage, and using the stagger window correctly. Once we build around that, the fight becomes much more manageable, even with basic Windrose gear.
- What Actually Wins This Fight
- Best Weapons for the High Priestess
- Best Talents and Gear
- Recommended Setup
- Best Food and Consumables
- The Easiest Strategy
- Fight Loop
- Common Mistakes
- Quick Loadout Summary
- FAQ
- What is the easiest way to beat the High Priestess in Windrose?
- What is the best weapon for the High Priestess fight?
- Do we need legendary or special gear?
- Why is crit damage better than crit chance?
- What talent should we use?
- Final Thoughts
↖ What Actually Wins This Fight
The boss has weak points on her back, and breaking them is the entire key to the encounter.
Once those weak points are broken, she staggers and exposes her mouth. That mouth phase is where we do our real damage, because hits there are guaranteed critical strikes.
That changes how we should build.
| Fight Mechanic | What It Means for Us |
|---|---|
| Back weak points | We need good positioning and reliable ranged shots |
| Stagger phase | Save burst damage for this moment |
| Mouth hits always crit | Crit damage is better than crit chance |
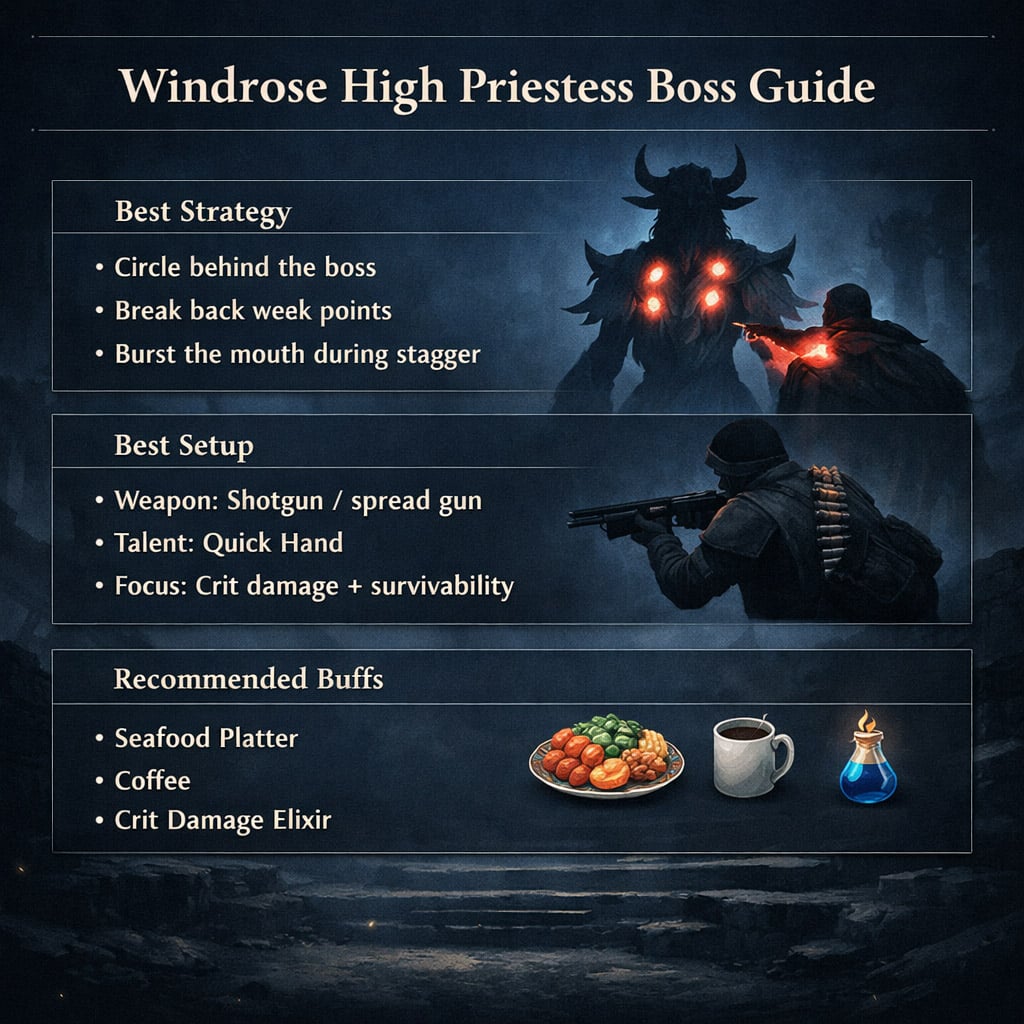
In other words, we are not trying to force constant uptime. We are trying to repeat a clean loop: get behind her, break weak points, then burst during stagger.
↖ Best Weapons for the High Priestess
From actual gameplay, shotgun-style weapons are the most reliable choice here.
Why? Because spread shots can hit multiple weak points at once when the angle is right. That makes the stagger happen faster, which makes the whole fight safer.
| Weapon Type | Rating | Why It Works |
|---|---|---|
| Shotgun / spread gun | Best | Can break multiple weak points quickly |
| Dragon's Breath Shotgun | Best if available | Great spread and strong passive |
| Rapier | Best melee pairing | Good burst during stagger windows |
| Single-shot ranged weapon | Usable | Less forgiving than a shotgun |
If you have the Rapier of Devastation, it pairs especially well with this fight. We can build its passive, then cash out during the stagger window for strong burst. If not, don't worry. Even green weapons are enough to win with this strategy.
That's an important point: this boss is much more about execution than gear rarity.
↖ Best Talents and Gear
The most valuable talent here is Quick Hand.
That might not sound flashy, but in practice it helps a lot. More reload speed means more chances to break weak points cleanly, and that gives us better control over the fight.
↖ Recommended Setup
| Category | Best Choice |
|---|---|
| Core Talent | Quick Hand |
| Main Weapon | Shotgun / spread gun |
| Melee Weapon | Rapier or Rapier of Devastation |
| Armor | Privateer Set |
| Ring | Cutthroat Ring |
| Stat Focus | Crit damage, survivability, pierce support |
The logic is simple. Since the boss's stagger phase already gives guaranteed crits, crit chance loses value. We get more out of crit damage and gear that helps us survive mistakes.
That's why the Privateer set and Cutthroat Ring are so effective in this fight.
↖ Best Food and Consumables
A simple food setup is enough.
| Buff | Why We Use It |
|---|---|
| Seafood Platter | Extra vitality for safer attempts |
| Coffee | Helps us fit more damage into the stagger |
| Crit damage elixir | Perfect for guaranteed crit windows |
I strongly recommend Seafood Platter if you have it. The extra vitality makes a noticeable difference, especially if you are still learning the fight. If materials are a problem, there's a helpful shortcut: the first boss has a guaranteed drop for it.
That alone makes preparation easier than it looks.
↖ The Easiest Strategy
Mechanically, this is a very simple boss once we stop fighting it the wrong way.
↖ Fight Loop
| Step | What We Do |
|---|---|
| 1 | Stay mobile and circle the boss |
| 2 | Dodge to get behind her |
| 3 | Shoot the weak points on her back |
| 4 | When she staggers, hit the mouth hard |
| 5 | Repeat until the fight ends |
That's the full plan.
If you discover that the fight feels messy, it usually comes from one of two things:
- we are spending too much time in front of the boss, or
- we are staying too far away and letting her use ranged attacks.
The safer approach is to stay close enough to rotate around her, rather than backing off in a straight line.
↖ Common Mistakes
These are the mistakes that make the fight feel harder than it should.
| Mistake | Why It Hurts | Fix |
|---|---|---|
| Using crit chance gear | Low value in this fight | Stack crit damage instead |
| Fighting from long range in front | Triggers ranged attacks | Stay mobile and rotate behind |
| Using poor weak-point weapons | Slower staggers | Bring a shotgun if possible |
| Wasting burst outside stagger | Lower total damage | Save your strongest attacks for the mouth |
| Ignoring survivability | Small errors become dangerous | Bring vitality food and solid armor |
Once we clean up these mistakes, the encounter becomes much more consistent.
↖ Quick Loadout Summary
If you just want the fast answer, use this:
| Slot | Recommendation |
|---|---|
| Ranged Weapon | Shotgun / Dragon's Breath Shotgun |
| Melee Weapon | Rapier / Rapier of Devastation |
| Talent | Quick Hand |
| Armor | Privateer Set |
| Ring | Cutthroat Ring |
| Food | Seafood Platter + Coffee |
| Extra | Crit damage elixir |
This is the easiest all-around setup I've tested for a consistent clear.
↖ FAQ
↖ What is the easiest way to beat the High Priestess in Windrose?
Circle behind her, break the weak points on her back with a shotgun-style weapon, then burst her mouth during the stagger window.
↖ What is the best weapon for the High Priestess fight?
A shotgun or spread-shot weapon is the best option because it can break weak points much faster than single-shot weapons.
↖ Do we need legendary or special gear?
No. This strategy works with basic green weapons as long as we play the mechanic correctly.
↖ Why is crit damage better than crit chance?
Because attacks on the mouth during the stagger phase are guaranteed critical hits, so crit damage gives more value.
↖ What talent should we use?
Quick Hand is the best general pick because it helps us break weak points faster and control the pace of the fight.
↖ Final Thoughts
The High Priestess is much easier once we stop treating her like a normal DPS race. This fight is built around a simple loop, and if we lean into that loop, the boss becomes very manageable.
Use a shotgun for weak points, build for crit damage and survivability, and save your burst for the mouth during stagger. With that setup, even a modest character can finish the fight cleanly.

Most Popular Posts
- Windrose Best Weapons Tier List, Traits, and Build Picks
- Windrose Completion Guide: Max Comfort, Weapons, Armor, Quests and Missable Items
- Windrose Best Rings, OP Necklaces, Blackbeard Maps & Upgrade Tips
- Windrose Best Starter Build Guide: OP Rapier + Pistol Setup for Early to Mid Game
- Windrose Agility Build Guide: Best Stats, Weapons, Talents, Food and Boss Setup
- Windrose OP Guide: Combat, Skills, Gear, Food, Jewelry, and Armor Sets
Popular Category Lists
- Grow a Garden / (286)
- ARC Raiders / (264)
- CoD: Black Ops 7 / (166)
- Monopoly Go / (146)
- MLB 26 / (145)
- Star Citizen / (114)
- Steal a Brainrot / (89)
- ARK Survival Ascended / (72)
- Sailor Piece / (68)
- Forza Horizon 6 / (62)
- Diablo IV / (61)
- Blox Fruits / (60)
- CoD: BLACK OPS 6 / (55)
- Adopt Me / (53)
- Path of Exile 2 / (48)
- Monster Hunter Wilds / (46)
- Windrose / (44)
- Grow a Garden 2 / (41)
- Path of Exile / (40)
- Bee Swarm Simulator / (36)


