


 0
0Windrose Best Early-Midgame Builds: Strong Setups for the Foothills
Windrose gets noticeably harder once the game starts throwing groups at us instead of single targets. That's usually the point where a pretty good build stops feeling good. After testing multiple level 8 setups in the Foothills, these three stood out for a simple reason: they solve real combat problems fast. One keeps us alive, one crushes enemies in melee, and one deletes threats before they can even close the gap.
This guide keeps things practical. We're focusing on early-midgame builds you can realistically use at level 8, not theorycrafted setups that only come together much later.
- Why These 3 Builds Work
- Build 1: Bleed Duelist
- How It Works
- Recommended Setup
- Stats and Talents
- Food
- Best Use
- Build 2: Bone Breaker Brawler
- How It Works
- Recommended Setup
- Stats and Talents
- Food
- Best Use
- Build 3: Sniper
- How It Works
- Recommended Setup
- Stats and Talents
- Food
- Important Notes
- Best Use
- Quick Build Comparison
- FAQ
- What is the best early-midgame build in Windrose?
- Which build is best for solo players?
- Is the Bone Breaker build worth using over the Sniper build?
- Why is Drake's Double-Barreled Pistol used in multiple builds?
- What's the biggest mistake with the Sniper build?
- Final Thoughts
↖ Why These 3 Builds Work
These builds are strong because each one is built around a clear job.
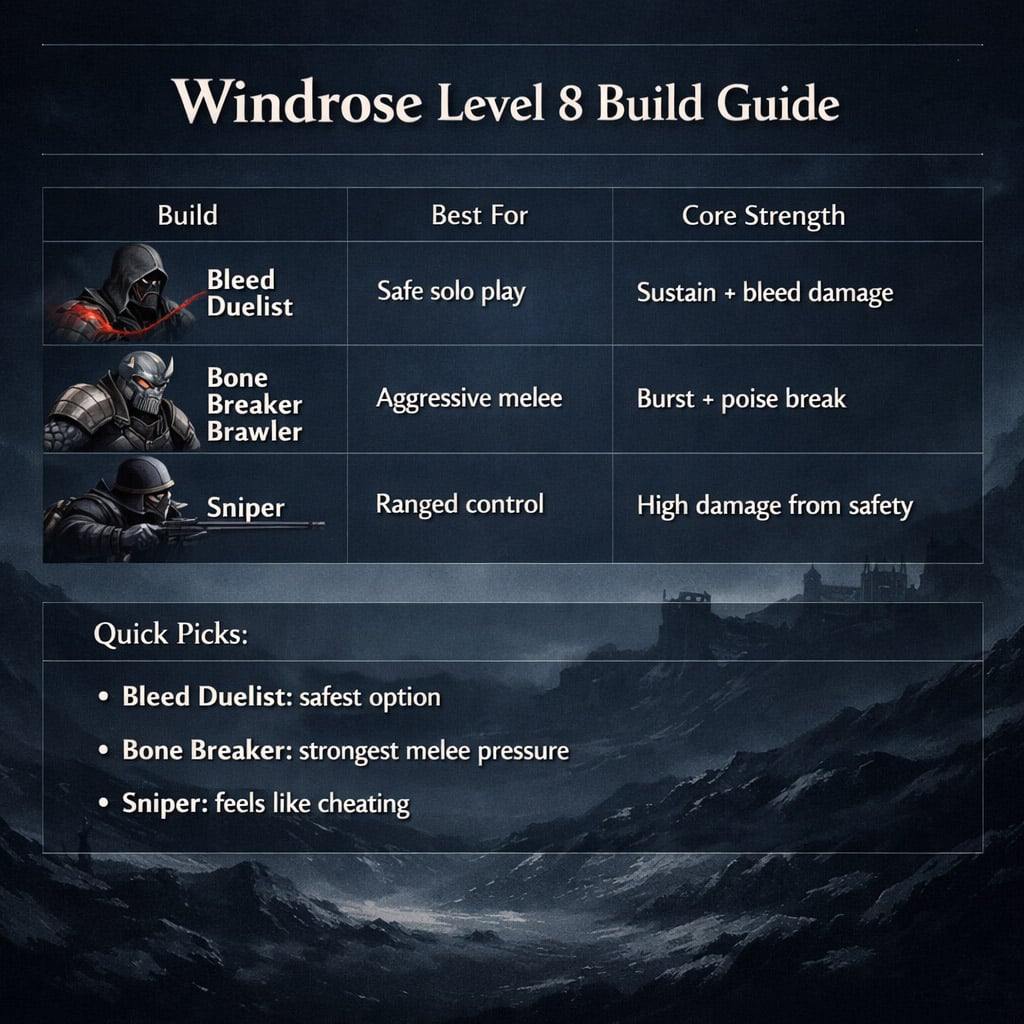
| Build | Best For | Core Strength | Trade-Off |
|---|---|---|---|
| Bleed Duelist | Safer solo play | Sustain + kite damage | Slower kills |
| Bone Breaker Brawler | Aggressive melee | Burst + poise break | Needs healing |
| Sniper | Ranged players | Very high safe damage | Ammo hungry |
From my own testing, the difference is less about raw damage on paper and more about how cleanly each build handles pressure. If you often get swarmed, the right build matters more than a few extra stat points.
↖ Build 1: Bleed Duelist
This is the safest of the three and the one I'd recommend first if you're still adjusting to Foothills combat.
↖ How It Works
We use the Rapier of a Thousand Cuts to apply bleed, then kite while the damage ticks. Once ascended, the rapier also helps restore temporary health while the target is bleeding. Pair that with Drake's Double-Barreled Pistol, which adds a 15% increased damage taken debuff, and the build becomes much more efficient than it looks at first glance.
That debuff also boosts bleed damage, which is the whole point of the setup.
↖ Recommended Setup
| Slot | Item |
|---|---|
| Main Weapon | Rapier of a Thousand Cuts (Ascended) |
| Secondary | Drake's Double-Barreled Pistol (Ascended) |
| Armor | 2x Tracker + 2x Pikeman |
| Ring | Spearthrower's Ring |
| Necklace | Necklace of Endurance |
↖ Stats and Talents
| Category | Setup |
|---|---|
| Stats | 12 Precision, 8 Vitality, 5 Endurance |
| Talents | 3 Agile, 3 Quick Strikes, 1 Executioner's Grace, 1 You Will Answer for This |
↖ Food
| Food | Reason |
|---|---|
| Spicy Chicken with Sweet Potatoes | Extra Vitality |
| Coconut Milk with Bananas / Sun Tonic / Coffee | Endurance support |
↖ Best Use
If you find yourself getting overwhelmed or taking messy fights, this build gives you room to recover. We poke, disengage, and let bleed do the work. It's not flashy, but it's reliable.
↖ Build 2: Bone Breaker Brawler
If the rapier build is about control, this one is about momentum. We go in, hit hard, and try to end the fight before enemies can stabilize.
↖ How It Works
The Bone Breaker rewards stamina management. In actual play, what matters is not just how much stamina we have overall, but how much of the bar is left during our attack window. That means short, efficient bursts are better than mindless swinging.
Once ascended, it gains +10% crit chance, which makes the build hit much harder than a standard bruiser setup.
↖ Recommended Setup
| Slot | Item |
|---|---|
| Main Weapon | Bone Breaker (Ascended) |
| Secondary | Drake's Double-Barreled Pistol (Ascended) |
| Armor | Full Privateer Set |
| Ring | Jaguar Ring |
| Necklace | Necklace of Endurance |
↖ Stats and Talents
| Category | Setup |
|---|---|
| Stats | 10 Strength, 6 Mastery, 5 Vitality, 4 Endurance |
| Talents | 3 Surgical Cuts, 3 Quick Strikes, 2 Deadly Final |
↖ Food
| Food | Reason |
|---|---|
| Burrito | Extra Mastery |
| Spicy Breaded Kebab | Extra Strength |
↖ Best Use
This is the build for players who like staying in melee and are comfortable with timing blocks or parries. It hits extremely hard and breaks poise fast, but you will need more healing Windrose items than with the bleed setup.
If you notice you're dying mid-combo, the usual issue is overcommitting after your stamina drops too low.
↖ Build 3: Sniper
This is the strongest-feeling build of the three, and honestly, it borders on silly in the early midgame.
↖ How It Works
The Reliable Musket is doing most of the heavy lifting here. It hits hard, reloads faster than other muskets once ascended, and gains +20% critical damage. Since headshots count as crits, we can lean into Precision and base damage instead of investing heavily into normal crit stacking.
In practice, that means same-level enemies often drop in one or two shots.
↖ Recommended Setup
| Slot | Item |
|---|---|
| Main Weapon | Reliable Musket (Ascended) |
| Secondary | Sturdy Rapier (Ascended) |
| Armor | Full Privateer Set |
| Ring | Spearthrower's Ring |
| Necklace | Necklace of Precision |
↖ Stats and Talents
| Category | Setup |
|---|---|
| Stats | 15 Precision, 5 Vitality, 5 Endurance |
| Talents | Bullseye, Deep Impact, 2 Bullet Storm |
↖ Food
| Food | Reason |
|---|---|
| Tangy Nut Roll | +5 Precision |
| Banana Muffin | +10 Precision |
↖ Important Notes
| Tip | Why It Matters |
|---|---|
| Do not use stone ammo | It reduces damage by 20% |
| Recruit the Cook | Helps duplicate crafted food |
| Recruit Mortar Joe | Increases gunpowder production by 50% |
↖ Best Use
If you like ranged combat and can hit headshots consistently, this is the strongest option here. It's especially effective in boarding encounters because we can clear enemies without putting ourselves in much danger.
The only real downside is upkeep. This build burns through ammo and food resources faster than the other two.
↖ Quick Build Comparison
Here's the simple version if you just want to decide fast.
| Build | Damage Style | Survivability | Ease of Use |
|---|---|---|---|
| Bleed Duelist | Damage over time | High | Easy |
| Bone Breaker Brawler | Burst melee | Medium | Medium |
| Sniper | Burst ranged | High with positioning | Medium |
If you want safety, pick the Bleed Duelist.
If you want aggressive melee, pick the Bone Breaker Brawler.
If you want the most broken-feeling setup, pick the Sniper.
↖ FAQ
↖ What is the best early-midgame build in Windrose?
For raw power, the Sniper build is the strongest. For consistency and survivability, the Bleed Duelist is the safer pick.
↖ Which build is best for solo players?
The Bleed Duelist is the best starting point for solo play because it gives us sustain, safer spacing, and more forgiving fights.
↖ Is the Bone Breaker build worth using over the Sniper build?
Yes, if you prefer melee. It's one of the best close-range builds at level 8 and performs especially well when we can control stamina and punish openings.
↖ Why is Drake's Double-Barreled Pistol used in multiple builds?
Because the 15% damage-taken debuff is extremely efficient on tougher enemies. It boosts overall damage without asking much from the player.
↖ What's the biggest mistake with the Sniper build?
Using weak ammo and playing too close. If you're running this setup, treat distance as part of your damage.
↖ Final Thoughts
These three builds are strong for different reasons, but all of them are practical at level 8 and strong enough to carry us through early Foothills content with much less friction.
The Bleed Duelist is the safest.
The Bone Breaker Brawler is the most aggressive.
The Sniper is the one that feels like cheating.
The best build is the one that fits how you naturally play under pressure. Once that clicks, Windrose early-midgame stops feeling overwhelming and starts feeling manageable.

Most Popular Posts
- Windrose Best Weapons Tier List, Traits, and Build Picks
- Windrose Completion Guide: Max Comfort, Weapons, Armor, Quests and Missable Items
- Windrose Best Rings, OP Necklaces, Blackbeard Maps & Upgrade Tips
- Windrose Best Starter Build Guide: OP Rapier + Pistol Setup for Early to Mid Game
- Windrose Agility Build Guide: Best Stats, Weapons, Talents, Food and Boss Setup
- Windrose OP Guide: Combat, Skills, Gear, Food, Jewelry, and Armor Sets
Popular Category Lists
- Grow a Garden / (286)
- ARC Raiders / (264)
- CoD: Black Ops 7 / (166)
- Monopoly Go / (146)
- MLB 26 / (145)
- Star Citizen / (114)
- Steal a Brainrot / (89)
- ARK Survival Ascended / (72)
- Sailor Piece / (68)
- Forza Horizon 6 / (62)
- Diablo IV / (61)
- Blox Fruits / (60)
- CoD: BLACK OPS 6 / (55)
- Adopt Me / (53)
- Path of Exile 2 / (48)
- Monster Hunter Wilds / (46)
- Windrose / (44)
- Grow a Garden 2 / (41)
- Path of Exile / (40)
- Bee Swarm Simulator / (36)


