0
0 Created: Apr 2,2026 | Star Citizen
How to Make Million Star Citizen aUEC Per Hour with Hull C Salvage?

After testing this route across multiple runs, one thing became very clear: the big aUEC is not in the salvage contract itself, but in the cargo inside the Hull C. That is the whole trick.
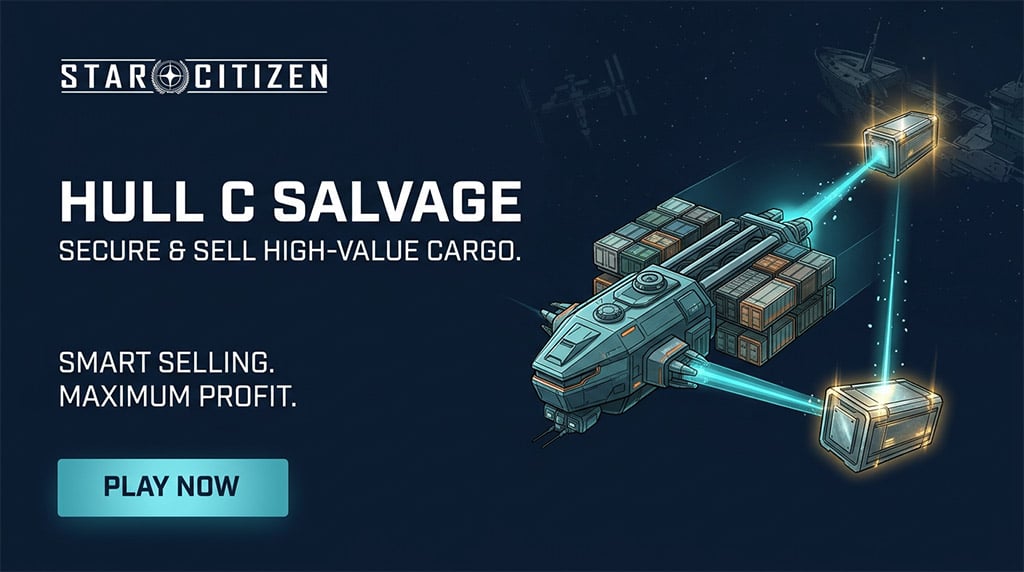
We are basically using cheap unverified salvage contracts to force the right wreck spawn, then loading the best cargo and selling it at TDD. When the cargo roll is strong and the market is not flooded, this can reach around 5 million Star Citizen aUEC in about an hour. Not every run will hit that number, but the method is strong enough to be worth farming.
- Why This Method Works
- The main idea
- Why Hull C is the best target
- What You Need
- Step-by-Step Route
- 1. Take the 5k salvage contract
- 2. Check for the 20k salvage mission
- 3. Fly to the Hull C and loot the right cargo first
- 4. Load tightly and leave before security becomes a problem
- 5. Abandon the mission and go sell
- Profit Breakdown
- Realistic expectation
- Common Mistakes
- FAQ
- How do we unlock the Hull C salvage contract?
- Is 5 million aUEC per hour consistent?
- What cargo should we always take first?
- Can a smaller cargo ship still use this method?
- Should we sell directly from the ship?
- Final Takeaway
Why This Method Works
This is really a cargo farming loop disguised as salvage.
The main idea
We do it in two parts:
1. Take the 5,000 aUEC unverified salvage mission
2. Unlock and cycle the 20,000 aUEC mission until it gives us a Hull C
Once we get the Hull C, we ignore the mission payout and focus on the cargo.
That matters because the contract cost is tiny compared to the value of a loaded wreck.
Why Hull C is the best target
From actual runs, Hull C is the wreck that makes this method worth the effort because it can carry a lot of 32 SCU containers.
| Target | Worth Farming? | Reason |
|---|---|---|
| Small salvage wrecks | Usually no | Too little cargo for the time spent |
| Random 20k wrecks | Sometimes | Inconsistent value |
| Hull C | Yes | Best chance at high-volume, high-value cargo |
What You Need
You do not need a perfect setup, but a better setup makes this much smoother.
| Requirement | Recommended | Why |
|---|---|---|
| Cargo ship | Hercules or another large hauler | Better fit for 32 SCU containers |
| Tractor tool | MaxLift | Needed for large cargo boxes |
| Starting aUEC | Enough for rerolls | You may need to abandon several 20k contracts |
| Sell point | Major TDD | Best place to cash out |
If you are using a smaller ship, the route still works. You just take fewer boxes and focus only on the most valuable cargo.
Step-by-Step Route
Here's the short version of the loop we want to run.
1. Take the 5k salvage contract
Go to:
- MobiGlas
- Contracts
- Unverified
- Salvage
Take the 5,000 aUEC mission and destroy the target ship.
Do it quickly. Do not waste time looting that first wreck unless you already know it is worth it.
2. Check for the 20k salvage mission
After finishing the first mission, go back to the contract list.
What we want is simple: a 20,000 aUEC Hull C contract.
If it is not a Hull C, abandon it and reroll.
3. Fly to the Hull C and loot the right cargo first
When you arrive, move fast. Security can show up, so this is not the time to browse.
Cargo priority should usually be:
| Priority | Cargo | Why |
|---|---|---|
| 1 | Stims | Highest value in most good runs |
| 2 | Medical Supplies | Strong second choice |
| 3 | Distilled Spirits | Good filler if you still have room |
This is where the profit comes from. Not every box is equal.
4. Load tightly and leave before security becomes a problem
Pack your ship as efficiently as possible. In practice, loading containers lengthwise often gives better space usage.
If the timer is getting low, leave with what you have. A safe half-to-three-quarter premium load is better than losing everything while trying to squeeze in one more crate.
5. Abandon the mission and go sell
Once your ship is loaded, abandon the contract and head to a city with a TDD.
You can sometimes sell directly from the ship, but in my experience that is where bugs start. The more reliable method is:
1. Move cargo into storage/freight elevator
2. Sell from storage at TDD
That takes a little longer, but it avoids partial-sale errors.
Profit Breakdown
The headline number comes from a strong Hull C pull with premium cargo.
| Example Run | Result |
|---|---|
| Contract fees | Low compared to cargo value |
| Cargo mix | Mostly Stims, plus Medical Supplies and some Distilled Spirits |
| Total sale | Around 5 million aUEC |
| Time spent | Roughly 1 hour |
Realistic expectation
This number is possible, but it is not guaranteed every run.
Your profit depends on:
- Hull C spawn quality
- Cargo type
- Market demand at the city
- Server stability
- How fast you load and leave
So the better way to think about it is this: 5 million is the high-end outcome, not the guaranteed average.
Common Mistakes
These are the mistakes that usually kill the run.
| Mistake | What Happens | Fix |
|---|---|---|
| Taking the wrong 20k mission | Lower profit | Only farm Hull C |
| Loading low-value cargo too early | Worse return per minute | Take Stims first |
| Staying too long | Security risk | Leave early if needed |
| Selling directly from ship | TDD errors | Sell from storage |
| Chasing a perfect full load | Lost time | Prioritize value over perfection |
From experience, the biggest trap is greed. The route is strongest when we stay disciplined.
FAQ
How do we unlock the Hull C salvage contract?
Start with the 5,000 aUEC unverified salvage mission, complete it, then cycle the 20,000 aUEC contracts until a Hull C appears.
Is 5 million aUEC per hour consistent?
It is possible, but not guaranteed. It depends on the cargo roll, current demand, and how cleanly the run goes.
What cargo should we always take first?
In most runs: Stims first, Medical Supplies second, Distilled Spirits third.
Can a smaller cargo ship still use this method?
Yes, but with lower efficiency. If you are in a smaller ship, focus only on the highest-value containers and leave the rest.
Should we sell directly from the ship?
You can try, but it is less reliable. Selling from storage/freight elevator is usually safer.
Final Takeaway
This is one of the best Star Citizen aUEC-making routes because it turns a cheap salvage contract into access to high-value trade cargo. That is the real loop.
The clean version is simple: unlock the chain, reroll until Hull C, take premium cargo first, leave before security, and sell through storage if TDD gets buggy. When the wreck is good and the market is healthy, the profit is big enough to justify the setup and the rerolls. Most importantly, it is a route we can repeat with a clear system instead of relying on guesswork.

Most Popular Posts
- Star Citizen 4.9 Ship Buying Guide: What to Buy, Skip, and Prioritize
- Star Citizen 4.9 Salvage Guide: Easy AUEC from Battaglia Ship in Distress + Golem Module Fix
- Star Citizen 4.9 Battaglia Contracts, Persistence Fixes, Best Loot, Scanning Changes, and Ship Rewards
- Star Citizen 4.9 Hull C Cargo Hauling Guide: Make Millions aUEC Without Autoload
- Star Citizen 4.9 Alleso Money Guide: Best Pyro Trade Route for Fast aUEC
- Star Citizen 4.9 NDB-30 Farming Guide: Free S3 Weapon Loot Loop
Popular Category Lists
- ARC Raiders / (350)
- Grow a Garden / (294)
- CoD: Black Ops 7 / (167)
- Star Citizen / (162)
- MLB 26 / (159)
- Monopoly Go / (152)
- ARK Survival Ascended / (127)
- Steal a Brainrot / (99)
- Blox Fruits / (74)
- Adopt Me / (74)
- Forza Horizon 6 / (72)
- Sailor Piece / (68)
- Grow a Garden 2 / (68)
- Diablo IV / (62)
- CoD: BLACK OPS 6 / (55)
- Aion 2 / (50)
- Path of Exile 2 / (48)
- Monster Hunter Wilds / (46)
- Windrose / (44)
- Donut SMP / (41)