0
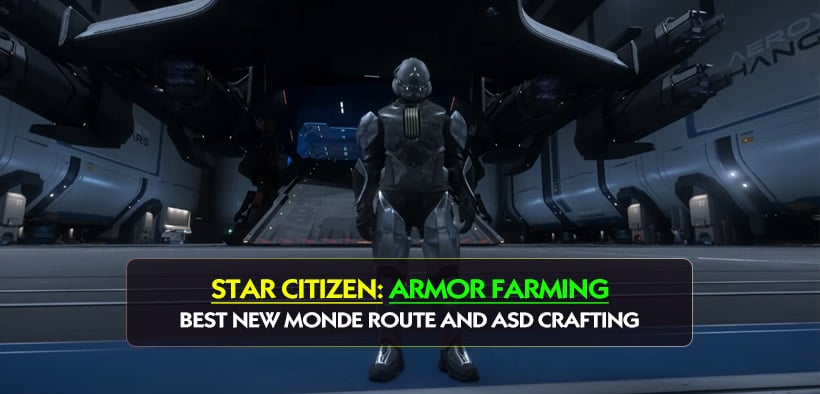
0Nyx 4.7 Armor Farming Guide: Best New Monde Route and ASD Crafting in Star Citizen
- KETE
- Share
- Star Citizen
- 03/30/26
- 3247
Getting armor in Star Citizen 4.7 is much easier when we stop treating every run like pure RNG. Right now, there are two practical routes: farm New Monde armor from an active breaker station, or unlock ASD armor through Project Hyperion and craft it later. One is better for fast loot today, the other is better if we want reliable access after wipes or losses.
From testing both loops, the simple answer is this: New Monde is the faster farm, while ASD is the smarter long-term investment.
- Best Armor Routes in 4.7
- New Monde Armor Farm: Fastest Current Method
- What you need
- First check: is the station active?
- Best loot flow
- What can drop here?
- ASD Armor Guide: Project Hyperion Route
- Why it's worth doing
- Crafting materials: what quality is enough?
- Which Armor Route Should You Do First?
- FAQ
- How do I know if the New Monde farm is worth running?
- Can I get the full New Monde set in one trip?
- Is Project Hyperion solo-friendly?
- Is ASD armor worth crafting in 4.7?
- What material quality should I aim for?
- Final Take
↖ Best Armor Routes in 4.7
If you only want the short version, this table covers the choice most players are making right now.
| Route | Best For | Difficulty | Main Reward |
|---|---|---|---|
| New Monde station farm | Fast armor loot | Medium | Armor pieces, weapons, materials |
| Project Hyperion / ASD | Long-term progression | Medium | ASD armor pieces, weapon drops, crafting path |
For most players, the best order is: farm New Monde first, then work on ASD.
↖ New Monde Armor Farm: Fastest Current Method
This is the route I'd recommend if you want armor in the same session and don't want to spend hours setting up crafting first.
↖ What you need
Before the run, make sure you have access:
| Requirement | Why It Matters |
|---|---|
| Contract access | Gets us to the breaker station area |
| Junior Contractor rep | Needed if contract access isn't unlocked yet |
| 175 shared contract | Best option if we only want loot, not a full mission chain |
If you don't have the contract yet, the cleanest fix is to grind mining missions until Junior Contractor.
↖ First check: is the station active?
This is the make-or-break step.
If the laser is firing, the station usually has power.
That means the interior is accessible and the loot route is worth attempting.
If there's no power, swap servers.
That one habit alone saves a lot of wasted time. In my own runs, dead stations were a bigger problem than the NPCs.
↖ Best loot flow
Once inside, keep it simple:
1. Enter through the top opening near the laser.
2. Push down to the loot area.
3. Kill NPCs first.
4. Find two access cards.
5. Open both secure storage rooms.
6. Move valuable loot toward extraction and leave.
The most common mistake is looting too early.
If you stop to check every body while enemies are still alive, you usually lose more time than you gain.
↖ What can drop here?
A good run can give us several useful pieces in one go.
| Possible Loot | Notes |
|---|---|
| Helmet | Common target piece |
| Arms | Often found, sometimes duplicated |
| Legs | Fairly realistic drop |
| Backpack | Can appear separately |
| Weapons / ammo | Nice bonus value |
| Crafting materials | Worth taking if inventory allows |
A full set in one run is possible, but not something I'd plan around.
Usually, we're farming set progress, not guaranteed completion.
↖ ASD Armor Guide: Project Hyperion Route
If New Monde is the quick loot option, Project Hyperion is the better route for players thinking ahead.
↖ Why it's worth doing
Hyperion matters because it gives us a more reliable path to ASD armor and ties into crafting. That makes it far more valuable than a one-off lucky drop.
| Benefit | Why It Matters |
|---|---|
| ASD armor piece access | Less dependent on random looting |
| Good mission payout | Solid value for time spent |
| Weapon drops | Extra reward beyond armor |
| Crafting relevance | Helps rebuild gear later |
From experience, the mission is soloable, but it plays much better if we bring a ranged weapon and stay patient. Server performance matters a lot here.
↖ Crafting materials: what quality is enough?
This is where a lot of players overthink the system.
| Material Quality | Recommendation |
|---|---|
| Below 500 | Skip for armor crafting |
| 500–600 | Fine for a basic usable craft |
| 600–700 | Solid range for most players |
| 800+ | Great if you can get it consistently |
The key material issue for ASD is Celeron, which is one of the more valuable Pyro resources. That's really the bottleneck.
Still, if your materials are above 500, crafting is already viable.
You do not need perfect materials to make the set worth using.
↖ Which Armor Route Should You Do First?
Here's the practical comparison.
| Question | Best Answer |
|---|---|
| Need armor quickly? | New Monde farm |
| Want a better long-term gear plan? | ASD / Hyperion |
| Playing solo? | Both work, but New Monde is faster |
| Want crafting progression too? | ASD / Hyperion |
My recommendation is straightforward:
- Run New Monde for immediate armor pieces
- Use Hyperion to build future ASD access
- Craft once your materials are comfortably 500+
That gives us short-term gear and long-term stability.
↖ FAQ
↖ How do I know if the New Monde farm is worth running?
Check the station first. If the laser is active, it usually means the station has power. If not, change servers instead of forcing the run.
↖ Can I get the full New Monde set in one trip?
Maybe, but don't expect it. Most runs are better thought of as partial set farming.
↖ Is Project Hyperion solo-friendly?
Yes, but patience matters. Bring a sniper or accurate rifle, and don't rush if the server is acting up.
↖ Is ASD armor worth crafting in 4.7?
Yes, especially if you want a set you can work toward again instead of relying on random drops.
↖ What material quality should I aim for?
500+ is the minimum usable line.
600–700 is already good enough for a practical craft.
↖ Final Take
If we keep this simple, the best 4.7 armor plan is to use New Monde for fast loot and ASD for long-term value.
New Monde is the route I'd use when I want results right away. Hyperion is the route I'd invest in when I want armor access to stay useful beyond one lucky session. That balance is what makes the current system work: farm now, craft later, and don't waste time on dead servers.

Most Popular Posts
- Star Citizen Covalex Cargo Hauling 4.8: Fast Reputation Route, Best Ships, and Master Unlocks
- Star Citizen 4.8 Solo Ship Guide: Best Purchasable PvP & PvE Ships, Loadouts, Components
- Star Citizen 4.8.3 XenoThreat Event Guide: Fast Points, Best Missions, Rewards, and Ship Strategy
- Star Citizen 4.8 Best Component Blueprints: Fast Farming Roadmap for Crafting
- Star Citizen 4.8 aUEC Farming Guide: Best Money Methods, First Ships, and Fast Progression
- Star Citizen 4.8 aUEC Guide: 3M+ Money per Hour with Salvage Cargo Runs
Popular Category Lists
- ARC Raiders / (291)
- Grow a Garden / (286)
- CoD: Black Ops 7 / (166)
- MLB 26 / (150)
- Monopoly Go / (148)
- Star Citizen / (129)
- ARK Survival Ascended / (91)
- Steal a Brainrot / (90)
- Sailor Piece / (68)
- Forza Horizon 6 / (67)
- Diablo IV / (62)
- Blox Fruits / (62)
- Adopt Me / (58)
- Grow a Garden 2 / (57)
- CoD: BLACK OPS 6 / (55)
- Path of Exile 2 / (48)
- Monster Hunter Wilds / (46)
- Windrose / (44)
- Path of Exile / (40)
- Bee Swarm Simulator / (37)