


 0
0Windrose Swamp Biome Guide: Prepare, Use the Bleed Sword, Beat Hans, and Reach the Swamp
The Swamp Biome in Windrose is the point where the game starts checking more than just your weapon level. Your personal gear matters, your ship upgrades matter, and your preparation matters a lot more than it did in earlier areas.
In our run, the smoothest route was simple: upgrade gear close to level 10, switch into a bleed-focused one-handed build, clear the required story camps, board the Unsinkable, beat Hans, then sail into the swamp and set up fast travel immediately. This guide keeps things practical so you can avoid the worst corpse runs and arrive ready to farm the next tier.
- Quick Swamp Preparation Checklist
- Best Weapon Choice: Rapier of Thousand Cuts
- Recommended Stat Setup
- Bleed Build Combat Tips
- Main Quest Path to the Swamp
- Unsinkable Ship Fight
- Recommended Ship Setup
- Fight Strategy
- Ancient Fire Sanctuary Tips
- Hans Boss Fight Strategy
- How to Beat Hans
- First Trip to the Swamp Biome
- First Swamp Landing Checklist
- Early Swamp Enemies and Materials
- FAQ
- What level should I be before entering the Swamp Biome in Windrose?
- Is the Rapier of Thousand Cuts good?
- What stat works best with the Rapier of Thousand Cuts?
- Does bleed restore temporal health?
- How do I beat the Unsinkable?
- How do I beat Hans?
- What should I do first in the Swamp Biome?
- Summary
↖ Quick Swamp Preparation Checklist
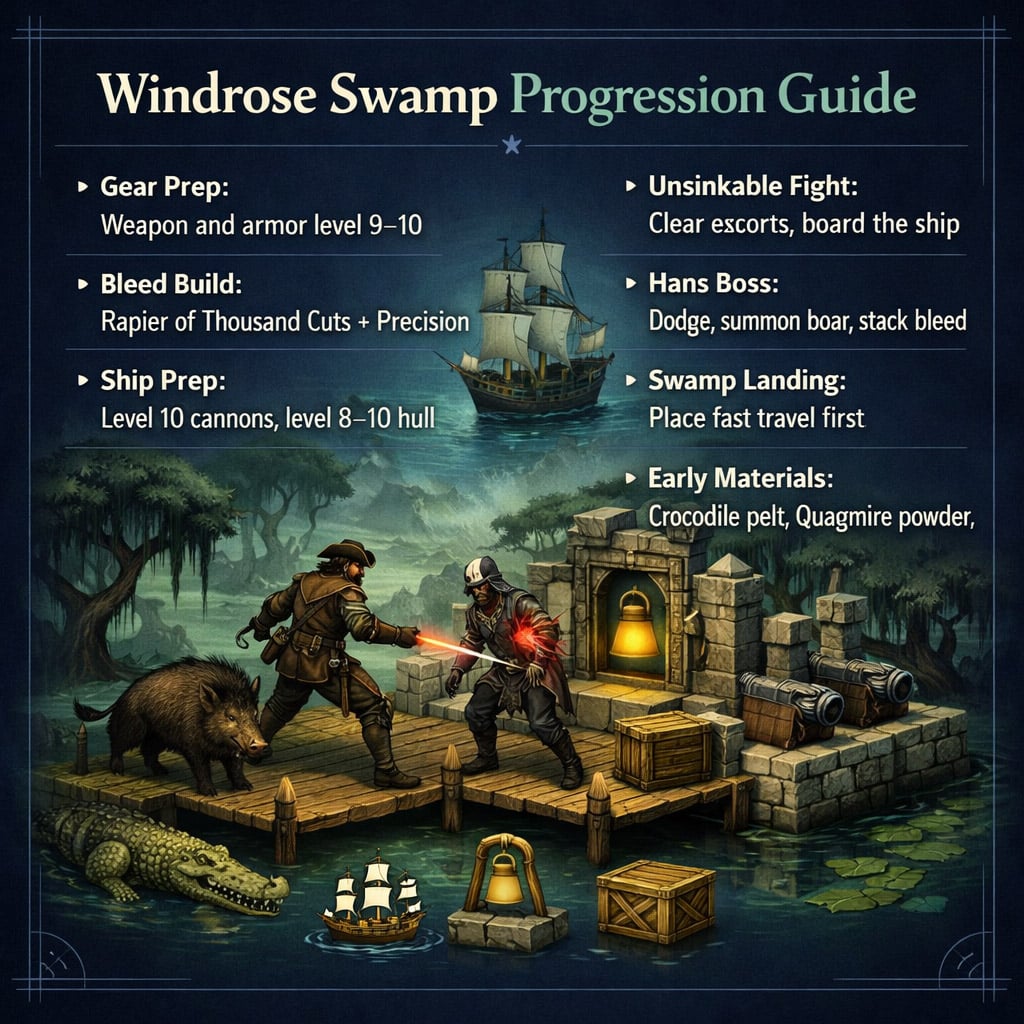
Before pushing the main quest toward the swamp, make sure your character and ship are not lagging behind. You do not need a perfect setup, but underleveled gear makes every fight slower and riskier.
| Prep Item | Recommended Target | Why It Matters |
|---|---|---|
| Main weapon | Level 10 | Keeps damage reliable |
| Armor | Level 9–10 | Helps survive camps and boss hits |
| Ship cannons | Level 10 | Makes naval fights much safer |
| Hull bracing | Level 8–10 | Prevents your ship from melting |
| Boarding gear | Level 7+ | Useful for the Unsinkable quest |
| Bandages / potions | 10+ healing items | Bosses and camps can snowball fast |
| Fast travel bell | Bring one | Essential before entering the swamp |
| Tent | Bring one | Saves time after deaths |
If your character gear is strong but your ship is weak, upgrade the ship first. The route to the swamp includes a required naval and boarding encounter, so ignoring ship upgrades can stop your progress.
↖ Best Weapon Choice: Rapier of Thousand Cuts
The Rapier of Thousand Cuts is one of the most fun weapons to use while progressing toward the swamp. It applies bleed stacks, which means enemies keep taking damage after you back away.
| Weapon Feature | Effect | Why It Helps |
|---|---|---|
| One-handed rapier | Fast melee style | Good for hit-and-run combat |
| Pierce damage | Scales with Precision | Works well after stat reset |
| Bleed stacks | Up to 5 stacks | Strong damage over time |
| Kiting potential | Hit, move, repeat | Safer against groups |
| Works with boar summon | Boar distracts enemies | Easier bleed setup |
The rapier is not always the fastest weapon for weak enemies, but it shines when fights get messy. You can apply bleed to multiple targets, back off, heal, and let the damage tick.
↖ Recommended Stat Setup
If you switch to the rapier, move your damage stats into Precision because the weapon deals pierce damage.
| Stat | Priority | Reason |
|---|---|---|
| Precision | High | Boosts pierce weapon damage |
| Endurance | High | Keeps stamina and survival stable |
| Agility | Low | Less useful for this rapier setup |
From testing, bleed damage does scale better as your weapon and stats improve. It is not just a flat number forever, so upgrading the rapier is worth it.
↖ Bleed Build Combat Tips
The bleed build works best when you stop trying to trade hits. Think of it as controlled pressure: poke enemies, create distance, repeat.
| Enemy Type | Best Approach |
|---|---|
| Basic pirates | Apply bleed and kite |
| Sergeants | Stack bleed, avoid long trades |
| Musketeers | Rush them first |
| Wolves | Avoid lock-on if movement feels awkward |
| Undead | Use direct hits; bleed feels weaker |
| Bosses | Use bleed as bonus damage, not your only plan |
The biggest threat in camps is usually the musketeer. If you leave ranged enemies alive, they can punish you while you are busy dodging melee attackers.
Also, bleed does not appear to trigger temporal health recovery by itself. You still need direct weapon hits to recover that temporary health.
↖ Main Quest Path to the Swamp
The route to the swamp is mostly linear, but there are a few difficulty spikes. The main steps are camp clearing, naval combat, a sanctuary puzzle, temple key collection, and the Hans boss fight.
| Quest Step | What You Do | Main Danger |
|---|---|---|
| Search pirate camps | Clear foothill camps | Musketeers and groups |
| Ruins / excavation | Loot ancient chests | Large enemy packs |
| Board the Unsinkable | Naval fight + boarding | Ship damage |
| Ancient Fire Sanctuary | Return fireballs | Pits and undead |
| Collect temple keys | Clear more camps | Repeated combat |
| Fight Hans | Temple boss | Long-range melee attacks |
| Sail to swamp | Reach new biome | High-level ships |
If you get stuck during any camp section, upgrade your weapon first. More damage shortens every fight and reduces the chance of being overwhelmed.
↖ Unsinkable Ship Fight
The Unsinkable quest is not just a ship battle. You also need to board the target, so ship and crew upgrades both matter.
↖ Recommended Ship Setup
| Ship Upgrade | Target Level |
|---|---|
| Cannons | 10 |
| Hull bracing | 8–10 |
| Boarding party gear | 7+ |
| Reload buff / grog | Optional but useful |
↖ Fight Strategy
| Step | Action |
|---|---|
| 1 | Use a reload-speed buff if available |
| 2 | Focus escort ships first |
| 3 | Aim for sails when enemies cluster |
| 4 | Damage the Unsinkable until boarding is possible |
| 5 | Board, summon boar, apply bleed |
| 6 | Clear the deck and return to your ship |
The bleed rapier feels great during boarding because enemies tend to group up. Summon your boar, tag enemies with bleed, and keep moving.
↖ Ancient Fire Sanctuary Tips
The sanctuary section is part puzzle, part combat area. You need to return fireballs to their correct places, while also dealing with hidden paths, thorn bushes, and undead enemies.
| Object / Hazard | What To Do |
|---|---|
| Fireballs | Return them to the proper holders |
| Heavy vases | Place on pressure spots |
| Thorn bushes | Cut with an axe |
| Dark areas | Light braziers or bring lantern fuel |
| Undead enemies | Fight patiently; they can feel tanky |
| Ancient chests | Check side paths before leaving |
If you fall into a lower pit area, look for breakable exits, climb paths, and interactable objects. The area is less deadly once you slow down and check the corners.
↖ Hans Boss Fight Strategy
Hans can hit hard and has long reach, but the fight is manageable if you avoid greed. This is not a boss where you want to stand still and trade.
| Boss Prep | Recommendation |
|---|---|
| Revival point | Set nearby |
| Healing items | Bring several potions and bandages |
| Food buff | Use before entering |
| Boar summon | Save for openings |
| Inventory | Empty extra loot first |
↖ How to Beat Hans
| Situation | Best Response |
|---|---|
| Boss starts attacking | Dodge away and watch the pattern |
| Boar is active | Use the opening to stack bleed |
| Ranged add appears | Deal with it quickly |
| Boss has bleed stacks | Back off and avoid damage |
| Boss is low health | Stay patient; do not rush |
The rapier works well here because bleed gives you chip damage while you reposition. Still, direct hits matter. Use bleed as extra pressure, not as a full replacement for clean attacks.
After the fight, you unlock story progress toward the swamp and can receive Soul Eater, a weapon with a special health-draining attack.
↖ First Trip to the Swamp Biome
Once the swamp route opens, sail carefully. The waters near the new biome can include much stronger ships, including level 13–15 enemies and large warships.
| Threat | Advice |
|---|---|
| Level 13 ships | Avoid unless prepared |
| Level 15 crews | Do not engage early |
| Warships | Keep distance |
| Floating loot | Grab only if safe |
| Unknown coast | Land carefully and scout |
The first thing you should do after reaching shore is place a fast travel bell. Do not explore first. The swamp is exactly the kind of place where curiosity gets you eaten.
↖ First Swamp Landing Checklist
| Action | Why It Matters |
|---|---|
| Gather 20 wood | Needed for fast travel |
| Place fast travel bell | Saves a long return trip |
| Set revival point | Protects against early deaths |
| Scout slowly | New enemies hit harder |
| Avoid deep water | Crocodiles can surprise you |
| Farm early materials | Needed for next upgrades |
↖ Early Swamp Enemies and Materials
The swamp introduces crocodiles, plague undead, and new crafting materials. Your level 10 gear will help, but enemies may still feel tankier than expected.
| Enemy / Material | Notes |
|---|---|
| Crocodile | Manageable, but dangerous near water |
| Undead plague enemy | Tanky; bleed may feel weaker |
| Crocodile pelt | Useful for upgrades |
| Crocodile tail | Swamp resource |
| Quagmire powder | New crafting material |
| Healing herbs | Useful recovery item |
| Bone meal | Crafting ingredient |
If your damage feels low, that is normal. The swamp is the next tier jump, so your first goal is to farm enough materials to upgrade again.
↖ FAQ
↖ What level should I be before entering the Swamp Biome in Windrose?
You can push toward the swamp around the recommended story level, but Windrose item level matters more. Aim for a level 10 weapon and mostly level 9–10 armor before the Hans fight and swamp trip.
↖ Is the Rapier of Thousand Cuts good?
Yes. It is especially good for kiting groups, boarding fights, and safer boss attempts. The bleed damage lets you keep pressure on enemies while moving away.
↖ What stat works best with the Rapier of Thousand Cuts?
Use Precision, because the rapier deals pierce damage. If you were using another weapon type before, reset your stats and move damage points into Precision.
↖ Does bleed restore temporal health?
Based on practical testing, bleed damage does not seem to restore temporal health by itself. You still need direct attacks to recover temporary health.
↖ How do I beat the Unsinkable?
Upgrade your ship, clear escort ships first, then board the Unsinkable. During boarding, summon your boar and use bleed to control grouped enemies.
↖ How do I beat Hans?
Use patience. Dodge his long-range attacks, summon your boar for openings, apply bleed when safe, and kill ranged adds quickly. Do not greed the final hits.
↖ What should I do first in the Swamp Biome?
Place a fast travel bell immediately. Then set a revival point, scout slowly, and start farming early swamp materials like crocodile pelt and quagmire powder.
↖ Summary
The Swamp Biome is a noticeable step up in Windrose, but it is much easier if we prepare in the right order. Upgrade your weapon and armor, strengthen your ship before the Unsinkable fight, and bring enough healing to handle long camp chains.
The Rapier of Thousand Cuts is a strong and fun choice for this stage. It lets us apply bleed, kite enemies, and handle groups more safely than many direct-damage weapons.
Once Hans is defeated and the swamp opens, do not rush inland. Land, place fast travel, set a revival point, and treat the first visit as a scouting and farming trip. That gives you a clean start in the next biome instead of a long, painful recovery run.

Most Popular Posts
- Windrose Best Weapons Tier List, Traits, and Build Picks
- Windrose Completion Guide: Max Comfort, Weapons, Armor, Quests and Missable Items
- Windrose Best Rings, OP Necklaces, Blackbeard Maps & Upgrade Tips
- Windrose Best Starter Build Guide: OP Rapier + Pistol Setup for Early to Mid Game
- Windrose OP Guide: Combat, Skills, Gear, Food, Jewelry, and Armor Sets
- Windrose Agility Build Guide: Best Stats, Weapons, Talents, Food and Boss Setup
Popular Category Lists
- Grow a Garden / (286)
- ARC Raiders / (262)
- CoD: Black Ops 7 / (166)
- Monopoly Go / (146)
- MLB 26 / (145)
- Star Citizen / (112)
- Steal a Brainrot / (89)
- Sailor Piece / (68)
- ARK Survival Ascended / (67)
- Diablo IV / (61)
- Forza Horizon 6 / (60)
- Blox Fruits / (60)
- CoD: BLACK OPS 6 / (55)
- Adopt Me / (53)
- Path of Exile 2 / (48)
- Monster Hunter Wilds / (46)
- Windrose / (44)
- Path of Exile / (40)
- Grow a Garden 2 / (40)
- Bee Swarm Simulator / (36)


