



 0
0 Created: Mar 20,2026 | ARC Raiders
Arc Raiders Blueprint Farming Guide: Safe and Fast Electromagnetic Storm Route

If your goal is to farm blueprints in Arc Raiders without forcing risky PvP, Electromagnetic Storm on Bluegate is still one of the most reliable choices. It was toned down compared to older loot conditions, but in practice it still works because the route is easy to control, the loot density is solid, and Snap Hook remains a realistic target.
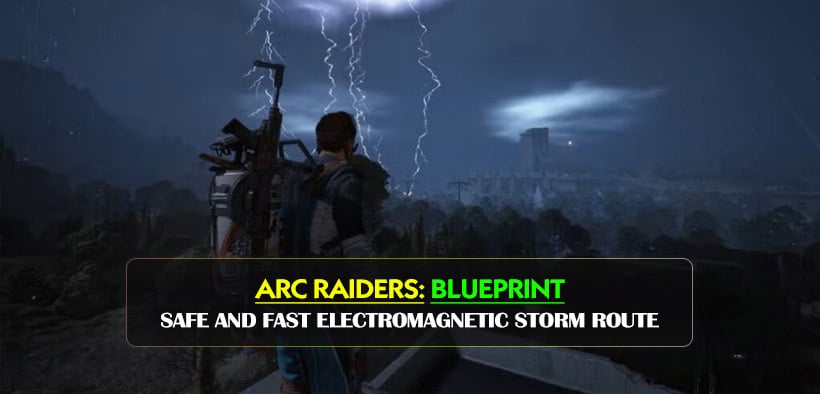
The key is not chasing one perfect container. From our runs, the most efficient blueprint farming comes from checking a high number of small loot points quickly—especially drawers, trash cans, and side buildings—then leaving before the raid turns messy. That approach is safer, more repeatable, and better for long-term farming.
- Why Electromagnetic Storm Is Still Worth Running
- Why it still works
- Practical takeaway
- Best Containers to Check
- Best Safe Route on Bluegate
- How we run it
- What a Good Run Looks Like
- How to Stay Safe While Farming
- Best Loot Priorities
- FAQ
- Is Electromagnetic Storm still good for blueprint farming?
- Where should we farm Snap Hook?
- Are low-item drawers worth checking?
- Are trash cans really worth looting?
- Should we fight other players on blueprint runs?
- Final Take
Why Electromagnetic Storm Is Still Worth Running
Electromagnetic Storm is no longer the highest-raw-blueprint condition in the game, but it remains one of the best for safe consistency.
Why it still works
- Lower pressure than more contested farming conditions
- Good route flow through village-style areas
- Strong number of drawer and trash can checks
- Still a good option for Snap Hook farming
Practical takeaway
If you want maximum volume, other conditions may be better.
If you want stable runs with lower risk, Electromagnetic Storm is still excellent.
That difference matters, because blueprint farming is really about successful extracts over time, not one lucky match.
Best Containers to Check
One of the biggest mistakes players make is skipping drawers with only a few visible items. We have seen blueprints drop from 2-item and 3-item drawers, so low-item containers are absolutely worth checking.
| Container | Priority | Why It Matters |
|---|---|---|
| Drawers | Very High | Best consistent source of blueprint checks |
| Trash Cans | Very High | Great for attachments and hidden value |
| Black Boxes | Medium | Good bonus loot, sometimes useful upgrades |
| Weapon Cases | Medium | More weapon value than blueprint value |
| Medical Drawers | Medium | Worth checking if already on route |
This is the real farming rule: more efficient checks beat fewer premium checks.
Best Safe Route on Bluegate
The strongest route is usually a village-to-side-buildings loop, then a controlled move toward extract. We want container density, simple rotations, and enough flexibility to leave early if another player already cleared the area.
| Route Segment | Loot Focus | Why It's Good |
|---|---|---|
| Village houses | Drawers, trash cans | Best early blueprint density |
| Back buildings | Drawers, black boxes | Fast follow-up checks |
| Small compound/puzzle area | Boxes, weapon case | Optional extra value if quiet |
| Housing stretch near extract | Medical drawers, houses | Lets us loot while rotating out |
How we run it
- Start in the highest-density housing area
- Check every drawer fully
- Rotate immediately if the place looks looted
- Keep moving toward extraction instead of doubling back
That last point is important. Safe blueprint farming works best when the route has a natural ending.
What a Good Run Looks Like
To keep this grounded, here's the kind of result that makes this route worth repeating.
| Sample Run Result | Outcome |
|---|---|
| Condition | Electromagnetic Storm |
| Blueprints Found | 6 |
| Main Route | Village → side buildings → housing → extract |
| Notable Finds | Multiple attachment blueprints |
| Target Item Found? | No Snap Hook in this run |
This is exactly why the route works. Even without the target blueprint, the run still produced strong value. That is what a good farming route should do: create repeatable chances and keep the raid profitable.
How to Stay Safe While Farming
Speed matters, but survival matters more. A blueprint route only works if we actually extract.
| Situation | Best Response | Reason |
|---|---|---|
| Area already looted | Leave immediately | Low value, higher risk |
| Arc aggro builds up | Break line of sight and reset | Saves meds and time |
| Open ground during storm | Move building to building | Reduces damage and exposure |
| Under 6 minutes left | Stop detouring and head to extract | Protects the run |
If you discover yourself checking just one more building with a full bag and low time, that is usually where the run starts going wrong.
Best Loot Priorities
Blueprint runs get much easier when we manage inventory well.
| Keep First | Keep If Space Allows | Drop First |
|---|---|---|
| Blueprints | Good attachments | Low-value ammo |
| Rare keys | Sellable trinkets | Common junk parts |
| High-tier mags/stocks | Useful recyclables | Weak duplicate loot |
The logic is simple: protect high-value, low-space items first.
If you find a blueprint late in the raid, make room immediately.
FAQ
Is Electromagnetic Storm still good for blueprint farming?
Yes. It is no longer the best condition for pure volume, but it is still one of the best for safe, repeatable blueprint runs.
Where should we farm Snap Hook?
Focus on drawer-heavy village areas on Bluegate during Electromagnetic Storm. Small houses and clustered loot spots give the best chance over time.
Are low-item drawers worth checking?
Yes. Blueprints can appear in drawers with only 2 or 3 items, so skipping them lowers your odds more than most players realize.
Are trash cans really worth looting?
Absolutely. Trash cans are one of the best side containers for attachments, value loot, and blueprint-adjacent drops.
Should we fight other players on blueprint runs?
Usually no. If the raid goal is farming, PvP is only worth taking when it is unavoidable or gives you a safer route forward.
Final Take
Electromagnetic Storm blueprint farming is still strong because it gives us something many other routes do not: control. We can move through dense loot areas, stack many quick checks, avoid unnecessary fights, and extract with steady value.
If you want the simple version:
- Start in village houses
- Loot all drawers and trash cans
- Do not skip low-item containers
- Rotate quickly if an area is already searched
- Head to extract before greed ruins the run
That is the safest and fastest way to farm blueprints consistently in Arc Raiders.

Most Popular Posts
- ARC Raiders Update 1.42: Phantom Targets Farming Guide (Glitched Wasps, Rewards, Regional Conditions)
- ARC Raiders Hullcracker Blueprints: Fastest Way to Complete The Major's Footlocker
- ARC Raiders Best Pop Trigger Strategy: Fast Phantom Targets Damage Guide
- ARC Raiders Subway Skin Guide: Unlock the Subterranean Outfit
- ARC Raiders Looting Mk. 3 Survivor Blueprint Guide: Best Blue Gate Route and Drop Locations
- ARC Raiders Medium & Heavy Gun Parts Blueprint Guide: Best Farm Route, Locations, and Refiner Crafting
Popular Category Lists
- ARC Raiders / (354)
- Grow a Garden / (294)
- CoD: Black Ops 7 / (167)
- Star Citizen / (163)
- MLB 26 / (159)
- Monopoly Go / (153)
- ARK Survival Ascended / (128)
- Steal a Brainrot / (99)
- Blox Fruits / (74)
- Adopt Me / (74)
- Forza Horizon 6 / (72)
- Sailor Piece / (68)
- Grow a Garden 2 / (68)
- Diablo IV / (62)
- CoD: BLACK OPS 6 / (55)
- Aion 2 / (52)
- Path of Exile 2 / (48)
- Monster Hunter Wilds / (46)
- Windrose / (44)
- Maplestory Classic / (42)






