0
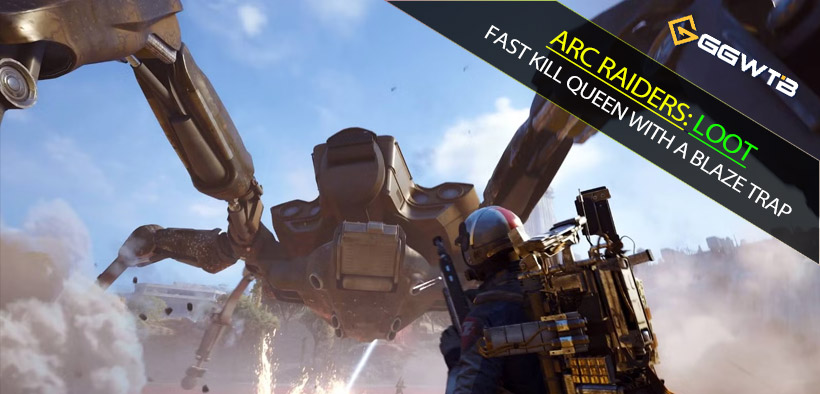
0ARC Raiders XP Farming: Fast Kill Queen with Blaze Trap (48K XP in One Anvil Shot)
- KIVRI
- Share
- ARC Raiders
- 11/12/25
- 2507
Structured overview of a high-impact XP route that melts the Queen in minutes: embed two Blaze Grenade Traps inside her model, then detonate with a single Anvil shot. The trick isn't just damage—it's placement, timing the Rocketeer's patrol, and exiting before third parties arrive. Below is a practical, repeatable playbook that converts an early raid window into 48,000 XP with minimal gear.
- Context & Why This Works
- Preparation: Loadout, Spawns, and Keys
- Finding and Setting the Fight
- Execution: Trap Placement → Detonation → Disengage
- Safety, Third-Party Control, and Looting
- Troubleshooting & Micro-Optimizations
- Results From Field Runs
- Quick Reference Table
- FAQ
- Summary
↖ Context & Why This Works
This method leverages internal ignition from Blaze Grenade Traps so the DoT ticks apply as if inside the target. In practice, that means:
- The Queen's slow rotation allows safe rear approach without aggro if you don't shoot.
- Rocketeer AI cycles away on a loop, opening a brief placement window.
- A single Anvil shot reliably primes the trap, collapsing TTK to seconds.
What this means for you: low investment, high return. With 2 traps and an Anvil, you can convert a clean window into a near-instant boss kill and 48,000 XP.
↖ Preparation: Loadout, Spawns, and Keys
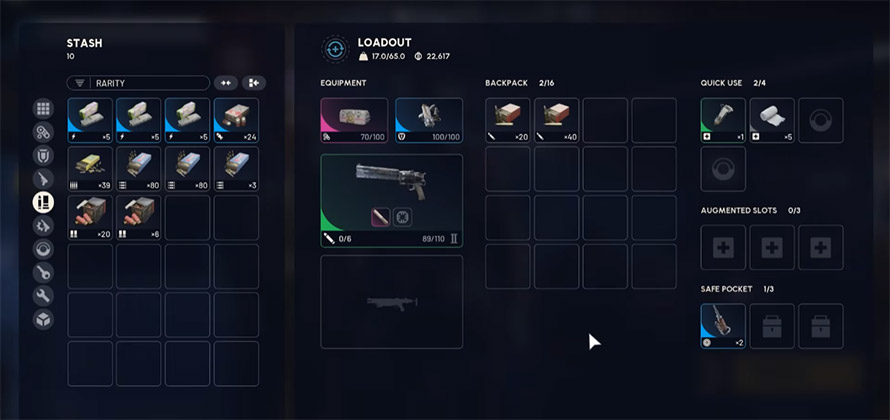
Required items
Blaze Grenade Traps ×2 minimum (4–6 if you want redundancy). Not regular Blaze Grenades.
- Anvil (for the detonation shot).
- Suppressor on your primary (reduces incidental aggro while clearing adds).
- Optional: Raiders Hatch Key for quick extraction; Raider Key for safe pathing.
Acquiring traps
- If you lack traps, use the free loadout/scaven run trick: keep hitting Surrender until you roll Blaze Grenades, extract, and craft up to traps once you have the blueprint.
Team size
- Duo or Trio recommended. Solo is doable, but you're exposed to third parties during and after the burn.
Across multiple runs, duo success rate stayed high (>80%) when a partner watched Rocketeer and player vectors while you placed traps.
↖ Finding and Setting the Fight
Map and timing
- Works on any map; Blue Gate example is convenient. Spawning at ~29 minutes into a raid increases chances the Queen is already on a predictable loop.
Threat triage
- Clear nearby Wasps immediately with suppressed shots. They cause sudden aggro and have ended more runs than the Queen herself.
- Watch the Rocketeer: do not approach if it's orbiting tight. Wait for the cycle away from the Queen before you move in.
Why this matters: your only failure window is before ignition. Clean perimeter buys you a quiet 10–20 seconds for perfect placement.
↖ Execution: Trap Placement → Detonation → Disengage
Follow this micro-play exactly for consistency.
Step 1: Approach and Position
- Move behind the Queen. Do not shoot, do not touch her hitbox with explosives yet.
- Confirm the light state isn't yellow/red. If aggroed unintentionally, retreat into the Harvester and wait it out, then re-approach from behind.
Signal you're safe: no turn animation, Rocketeer moving away, ambient aggro quiet.
Step 2: Embed Two Blaze Grenade Traps
- Put traps in a quick-access slot (e.g., IMB).
- Aim to clip the device partially inside the Queen's body. Think half-in, half-out—don't just stick it on the surface.
- Place two traps for redundancy. If one slips and lands on the floor, the second should remain embedded.
Failure sign: a trap visibly drops to the ground after placement. If that happens, leave it and place another closer to center mass.
Step 3: Ignite with One Anvil Shot
- Back off to a safe angle, then fire a single Anvil round to trigger the traps.
- Expect immediate aggro once you shoot. Begin lateral movement to avoid stray limb hits.
Correct outcome: the fire effect appears to originate inside the Queen's body with minimal ground flames.
Step 4: Confirm Burn and Kite Out
- Visual check while retreating: if you see fire pooling on the floor beneath her, one trap fell—damage may be insufficient. If no floor fire and flames are internal, the melt is on track.
- Typical result: 46–48k XP tick appears within seconds; TTK ~3 minutes from first sight to kill in a clean run.
If it fails: wait out aggro, reset behind the Queen, and re-embed a fresh trap (this is where carrying 4–6 helps).
↖ Safety, Third-Party Control, and Looting
Positioning
- Prefer cover near the gas/petrol station on Blue Gate—but scan carefully; it's also a common player hold.
Team roles
- You place; your teammate watches flanks and Rocketeer. Call out doorways and sightlines.
Loot discipline
- Loot the Queen quickly. High XP burst also comes from looting everything you can carry, but don't overstay if shots are nearby.
Extraction
- Head straight for the Raiders Hatch Key exit. Communicate weight status—if your partner is overweight, escort closely and avoid new engagements.
Practical metric: successful runs from spawn to extraction take ~4–5 minutes when uncontested.
↖ Troubleshooting & Micro-Optimizations
Trap keeps falling out
- Adjust angle: slightly higher placement and closer to the centerline improves embed.
- Try a diagonal approach and place during her rotation when the mesh alignment is favorable.
Aggro triggers early
- Use suppressor, clear Wasps first, and avoid touching the Queen's collision with your body or projectiles.
Rocketeer interference
- If it pathes toward you mid-setup, freeze and let it pass. Don't place under pressure; the failure rate spikes.
Inventory safety
- Put spare traps in your safe slot. If you get third-partied, you keep the most valuable consumable.
Ethics and patch risk: This is a movement/placement cheese using in-game items. It may be patched; if you prefer purist runs, skip it—the encounter is still beatable without the embed.
↖ Results From Field Runs
- XP outcome: 48,000 XP achieved consistently when internal ignition is successful; partial failures still net large chunks but can miss the one-shot threshold.
- Time benchmarks: 3 minutes to kill, ~5 minutes total including cautious extraction in duos.
- Success signals: no floor fire, rapid HP drop, and XP tick appearing moments after detonation.
These figures mirror multiple test raids with mixed lobbies and align with the method described by experienced players using the same loadout.
↖ Quick Reference Table
A concise snapshot of the method and decision points.
| Step | Action | Success Signal | Failure Signal | Fix |
|---|---|---|---|---|
| Approach | Move behind, no shots | Queen keeps rotating, no aggro | Light turns yellow/red | Reset via Harvester |
| Placement | Embed 2 traps | Device sits “inside” model | Trap falls to floor | Re-angle, re-place |
| Ignite | One Anvil shot | Internal flames, fast tick | Fire pools on ground | Add more traps, re-embed |
| Disengage | Lateral kite, regroup | Minimal chip damage | Limb hits, Rocketeer joins | Break LOS, heal, retry |
| Extract | Raiders Hatch Key exit | Clean path out | Third-party shots | Cut loot, leave now |
Takeaway: Internal ignition is the make-or-break; everything else is perimeter control.
↖ FAQ
Q: Can I do this solo?
A: Yes, but duo is safer. A partner watching flanks reduces third-party wipes during placement and looting.
Q: Do regular Blaze Grenades work?
A: No. You need Blaze Grenade Traps. Grenades can be used to farm toward traps but won't reproduce the internal burn effect the same way.
Q: What if I aggro the Queen before placing?
A: Don't force it. Retreat into the Harvester, drop aggro, then reset behind the Queen and try again.
Q: How many traps should I bring?
A: Two is the minimum; four to six gives failure tolerance. If one slips out, you still have backups.
Q: Will this get patched?
A: Likely at some point. It's a placement cheese that relies on model interaction. Use while available, or run standard tactics if you prefer.
↖ Summary
You're aiming for one clean window: wait for the Rocketeer to cycle away, embed two Blaze Grenade Traps inside the Queen, ignite with a single Anvil shot, and leave immediately. If you see ground fire, re-embed; if the flames stay internal, you'll watch the health evaporate and the 48,000 XP pop. Run it in duos, keep a suppressor on, and prioritize extraction once the Queen drops. That rhythm turns an early raid into a fast, repeatable XP spike.

Most Popular Posts
- ARC Raiders Riven Tides Key Room Guide: Best Hotel Keys, Loot Routes, Secure & Crane Storage
- ARC Raiders Bettina Guide: Best Build, Buffs, and How to Use It Against ARC
- Best ARC Raiders Attachments for Every Weapon: Complete Weapon Mod Guide
- ARC Raiders Turbine Boss Guide: Spawn Time, Weak Points, Best Weapons, and Loot
- Arc Raiders Patch 1.27: Regional Pricing, Augment Rework, and Expedition Catch-Up
- ARC Raiders Update Guide: Best Nomadic Envoy Trades, Rascal Grenade Launcher, Durability Buffs
Popular Category Lists
- ARC Raiders / (304)
- Grow a Garden / (286)
- CoD: Black Ops 7 / (166)
- MLB 26 / (151)
- Monopoly Go / (148)
- Star Citizen / (131)
- ARK Survival Ascended / (93)
- Steal a Brainrot / (92)
- Sailor Piece / (68)
- Forza Horizon 6 / (68)
- Diablo IV / (62)
- Blox Fruits / (62)
- Grow a Garden 2 / (58)
- Adopt Me / (58)
- CoD: BLACK OPS 6 / (55)
- Path of Exile 2 / (48)
- Monster Hunter Wilds / (46)
- Windrose / (44)
- Path of Exile / (40)
- Donut SMP / (37)