0
Created: May 1,2026 | ARC Raiders
ARC Raiders Turbine Boss Guide: Spawn Time, Weak Points, Best Weapons, and Loot

The Turbine is one of the nastiest ARC threats in ARC Raiders because it does not fight like a normal boss. It flies, relocates, drops mines, soaks damage through heavy armor, and can delete your shield with one lightning attack if you get greedy.
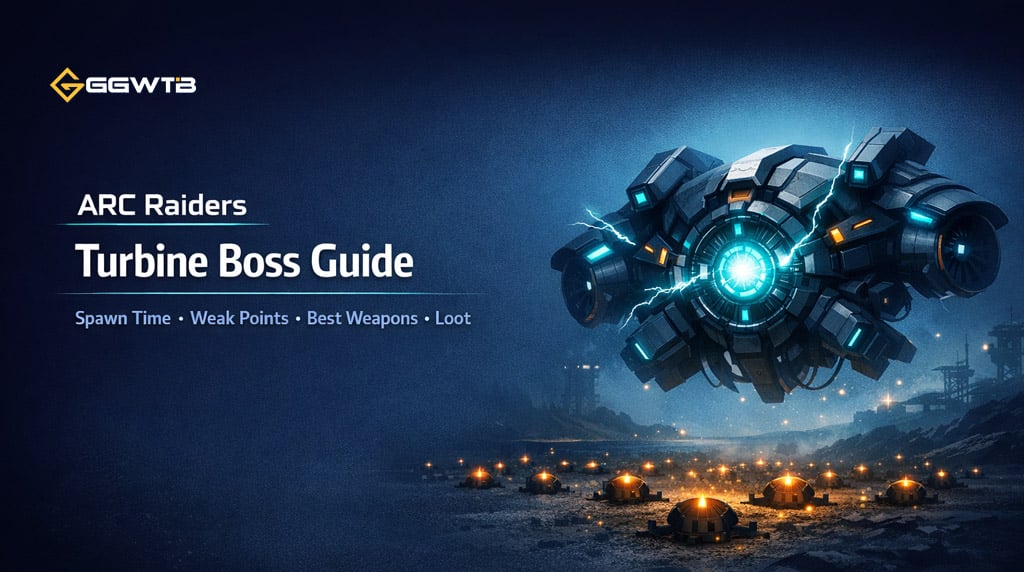
After testing the fight solo and comparing different approaches, the safest method is clear: bring ARC armor penetration, fight from cover, focus one armor plate, and only push hard when its weak points are exposed.
- Turbine Spawn Time and Location
- Best Weapons and Gear for the Turbine
- How the Turbine Fight Works
- Landed Mode
- Airborne Mode
- Best Strategy to Beat the Turbine
- Step-by-Step Strategy
- Solo Tip
- Common Mistakes That Get Players Killed
- Turbine Loot and Rewards
- FAQ
- Where does the Turbine spawn in ARC Raiders?
- What time does the Turbine spawn?
- Do night raids increase the Turbine spawn chance?
- What is the best weapon against the Turbine?
- How do we avoid the Turbine lightning attack?
- What are the Turbine weak points?
- Is the Turbine soloable?
- What does the Turbine drop?
- Where do we get the Powered Descender blueprint?
- Summary
This guide keeps things practical: where it spawns, how to survive its attacks, what ARC Raiders Items to bring, and whether the loot is worth the risk.
Turbine Spawn Time and Location
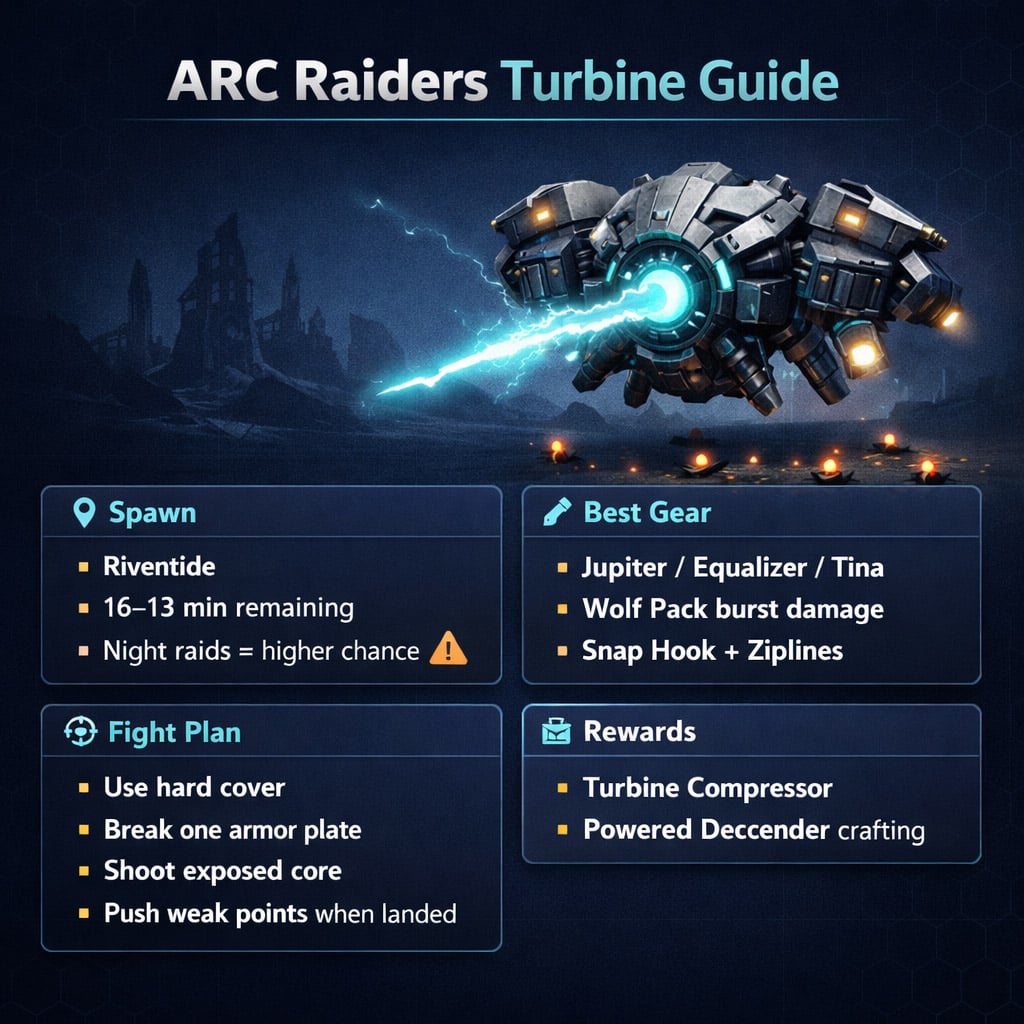
The Turbine does not spawn every match, so do not enter Riventide expecting a guaranteed boss fight. We should treat it as a high-value encounter that may or may not happen.
| Spawn Detail | What to Know |
|---|---|
| Map | Riventide |
| Spawn window | Around 16–13 minutes remaining |
| Guaranteed spawn? | No |
| Better spawn chance | Night raids |
| Multiple Turbines | Possible, but uncommon |
If the Turbine has not appeared by the 13-minute mark, it is usually better to continue looting, finish tasks, or extract instead of waiting around.
Night Riventide raids are the better option if we are specifically farming Turbine encounters. In our runs, treating the boss as a bonus objective worked better than building the whole raid around it.
Best Weapons and Gear for the Turbine
The Turbine has thick ARC armor, so low-penetration weapons feel terrible against it. You can shoot it for ages and barely make progress if you are not breaking plates or hitting exposed parts.
| Gear | Best Options | Why It Helps |
|---|---|---|
| Primary weapon | Jupiter, Equalizer, Tina | Strong ARC armor penetration |
| Burst damage | Wolf Pack | Good damage during armor phases |
| Heavy utility | Deadline | Strong if placed while it is landed |
| Mobility | Snap Hook, ziplines | Helps chase or escape repositioning |
| Healing | Shield and health items | Lightning hits extremely hard |
If you are solo, we recommend bringing at least a Jupiter, Equalizer, or Tina with plenty of ammo. Wolf Packs are also worth carrying because they help shorten the fight, especially when the boss is already damaged.
A Deadline can do strong damage, but placing it is risky. If you get too close and the Turbine lifts off, you can get burned underneath it and then finished by lightning. Very rude behavior from a floating machine, honestly.
How the Turbine Fight Works
The Turbine has two main states: landed mode and airborne attack mode. Knowing which phase you are in decides whether you should push damage or hide.
Landed Mode
When the Turbine lands, this is your best damage window. It exposes weak components, including yellow canisters protected by light plating.
| Landed Phase Detail | What We Should Do |
|---|---|
| Weak points exposed | Shoot yellow canisters and exposed core parts |
| Mines deployed nearby | Move slowly and check the ground |
| Short damage window | Deal burst damage, then retreat |
| Deadline opportunity | Place only if cover is close |
If you see it land, then push damage carefully. Do not tunnel vision. The minefield around it can punish you when you try to run away.
Airborne Mode
When the Turbine takes off, it becomes much more dangerous. It rotates, moves around the area, and fires a lightning attack that can wipe your shield and chunk your health.
| Airborne Threat | How to Counter It |
|---|---|
| Lightning projectile | Hide behind solid cover |
| Heavy armor | Focus one armor plate |
| Fast movement | Do not chase across open ground |
| Rotating body | Time shots instead of spraying |
The lightning attack is the main killer. One hit can remove shields and leave you badly damaged. A second hit can finish you before healing matters.
If the projectile is coming, stop shooting. Get behind cover first. Damage can wait; your extraction cannot.
Best Strategy to Beat the Turbine
The safest strategy is simple: fight from a building, break armor plates, then shoot the exposed core.
Step-by-Step Strategy
1. Find hard cover before you shoot.
A building with windows is ideal.
2. Start damage from safety.
Do not open the fight from open ground.
3. Focus one armor plate.
Random spraying spreads damage and wastes ammo.
4. Hide during lightning attacks.
If you peek at the wrong time, the Turbine will punish you fast.
5. Shoot the exposed core.
Once armor breaks, aim for the vulnerable inner section.
6. Push landed weak points when safe.
If it lands nearby and mines are manageable, hit the canisters hard.
7. Loot quickly and extract.
The boss can take long enough that the timer becomes a real problem.
Solo Tip
Soloing the Turbine is possible, but only if we play patiently. In our experience, the fight becomes much easier when we stop chasing it and instead let it come into angles where we already have cover.
If you have to cross open ground for more than a few seconds, you are probably taking a bad fight.
Common Mistakes That Get Players Killed
Most failed Turbine fights come from impatience, not lack of damage.
| Mistake | Why It Fails | Better Play |
|---|---|---|
| Fighting in the open | Lightning can kill fast | Fight from buildings |
| Spraying everywhere | Armor takes too long to break | Focus one plate |
| Ignoring mines | Retreat path becomes deadly | Check the ground first |
| Chasing too hard | Boss relocates faster than you | Use mobility or reset |
| Looting late | Timer may block extraction | Watch the clock |
| Bringing weak weapons | Fight drags forever | Use ARC penetration |
If you feel like the Turbine is taking no damage, the issue is usually armor focus. Break a plate first, then shoot the exposed core.
Turbine Loot and Rewards
The main reason to fight the Turbine is the Turbine Compressor, a key material for the Powered Descender.
| Reward | Where It Comes From | Use |
|---|---|---|
| Turbine Compressor | Main Turbine loot compartment | Crafting Powered Descender |
| ARC materials | Turbine wreckage | Crafting and upgrades |
| Extra parts | Smaller loot pieces | Additional resources |
| Powered Descender blueprint | Riventide containers | Unlocks crafting |
The Powered Descender lets you drop from height more safely, making it useful on tall structures and rooftops. It is not a jetpack, and it will not let you fly around freely. Think of it as controlled descent, not aerial freedom.
Timing matters too. If you activate it too late before landing, you can still take fall damage.
FAQ
Where does the Turbine spawn in ARC Raiders?
The Turbine spawns on Riventide, but it is not guaranteed every match.
What time does the Turbine spawn?
It usually appears between 16 and 13 minutes remaining in the raid.
Do night raids increase the Turbine spawn chance?
Yes. Night raids appear to have a higher chance for Turbine spawns, so they are better for farming.
What is the best weapon against the Turbine?
Use strong ARC armor-penetration weapons such as Jupiter, Equalizer, or Tina.
How do we avoid the Turbine lightning attack?
Use solid cover. Do not try to dodge it in the open. When the attack starts, hide first and shoot later.
What are the Turbine weak points?
When landed, it exposes yellow canisters and core components. When airborne, break armor plates first, then shoot the exposed inner core.
Is the Turbine soloable?
Yes, but it is gear-heavy. Bring strong weapons, extra ammo, healing, and mobility tools.
What does the Turbine drop?
The key drop is the Turbine Compressor, used to craft the Powered Descender.
Where do we get the Powered Descender blueprint?
The blueprint can be found in Riventide containers.
Summary
The Turbine is a tough boss, but it becomes much more manageable once we respect the fight's rhythm. Do not stand in the open, do not spray random armor, and do not chase it without cover.
The best plan is:
- Farm Riventide, especially night raids.
- Watch for the 16–13 minute spawn window.
- Bring Jupiter, Equalizer, or Tina.
- Use Wolf Packs for burst damage.
- Fight from buildings and hard cover.
- Break one armor plate at a time.
- Shoot weak points when it lands.
- Loot the Turbine Compressor and extract quickly.
Play it slow, shoot with purpose, and the Turbine goes from terrifying raid-ender to a very profitable boss fight.

Most Popular Posts
- ARC Raiders Update 1.42: Phantom Targets Farming Guide (Glitched Wasps, Rewards, Regional Conditions)
- ARC Raiders Best Pop Trigger Strategy: Fast Phantom Targets Damage Guide
- ARC Raiders Subway Skin Guide: Unlock the Subterranean Outfit
- ARC Raiders Frozen Trail Update Guide: Pendola Pass, Frigate & Meta Loadouts
- ARC Raiders Ascending the Mountain: Fast Loot Routes and Item Guide
- ARC Raiders Broken Guidance System and Dual Anvil Build Guide
Popular Category Lists
- ARC Raiders / (363)
- Grow a Garden / (296)
- CoD: Black Ops 7 / (167)
- Star Citizen / (165)
- MLB 26 / (159)
- Monopoly Go / (153)
- ARK Survival Ascended / (129)
- Steal a Brainrot / (99)
- Blox Fruits / (74)
- Adopt Me / (74)
- Forza Horizon 6 / (72)
- Sailor Piece / (68)
- Grow a Garden 2 / (68)
- Diablo IV / (62)
- Aion 2 / (58)
- CoD: BLACK OPS 6 / (55)
- Path of Exile 2 / (48)
- COD: Modern Warfare 4 / (48)
- Maplestory Classic / (47)
- Monster Hunter Wilds / (46)