0
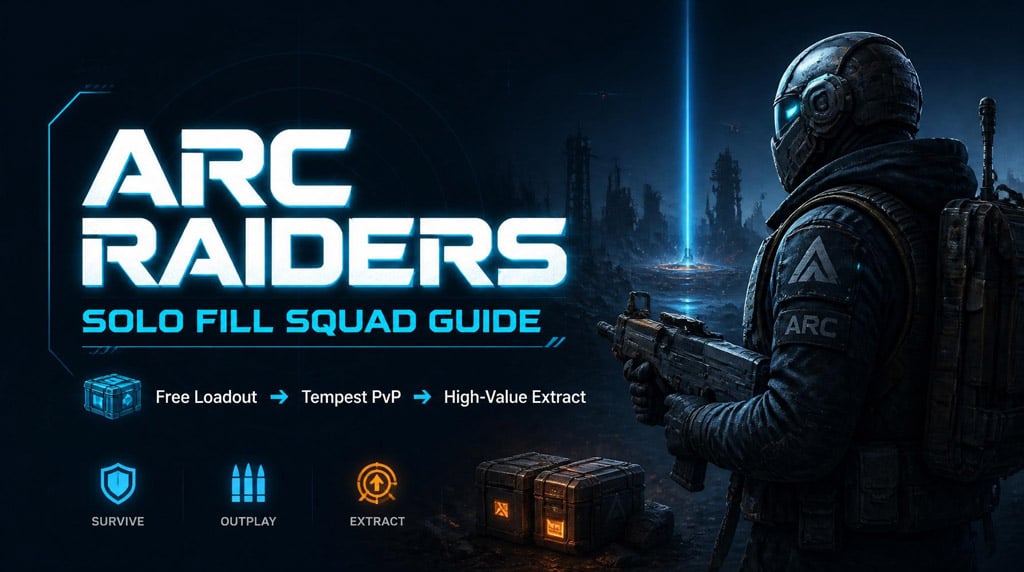
0ARC Raiders Solo Fill Squad Guide: Turn Free Loadouts into Tempest PvP Profit
- ELSA
- Share
- ARC Raiders
- 07/03/26
- 84
Free loadouts are not trash if we treat them correctly. In ARC Raiders Solo Fill Squad, the goal is simple: spawn cheap, avoid the first meat grinder, loot the aftermath, then fight with upgraded gear.
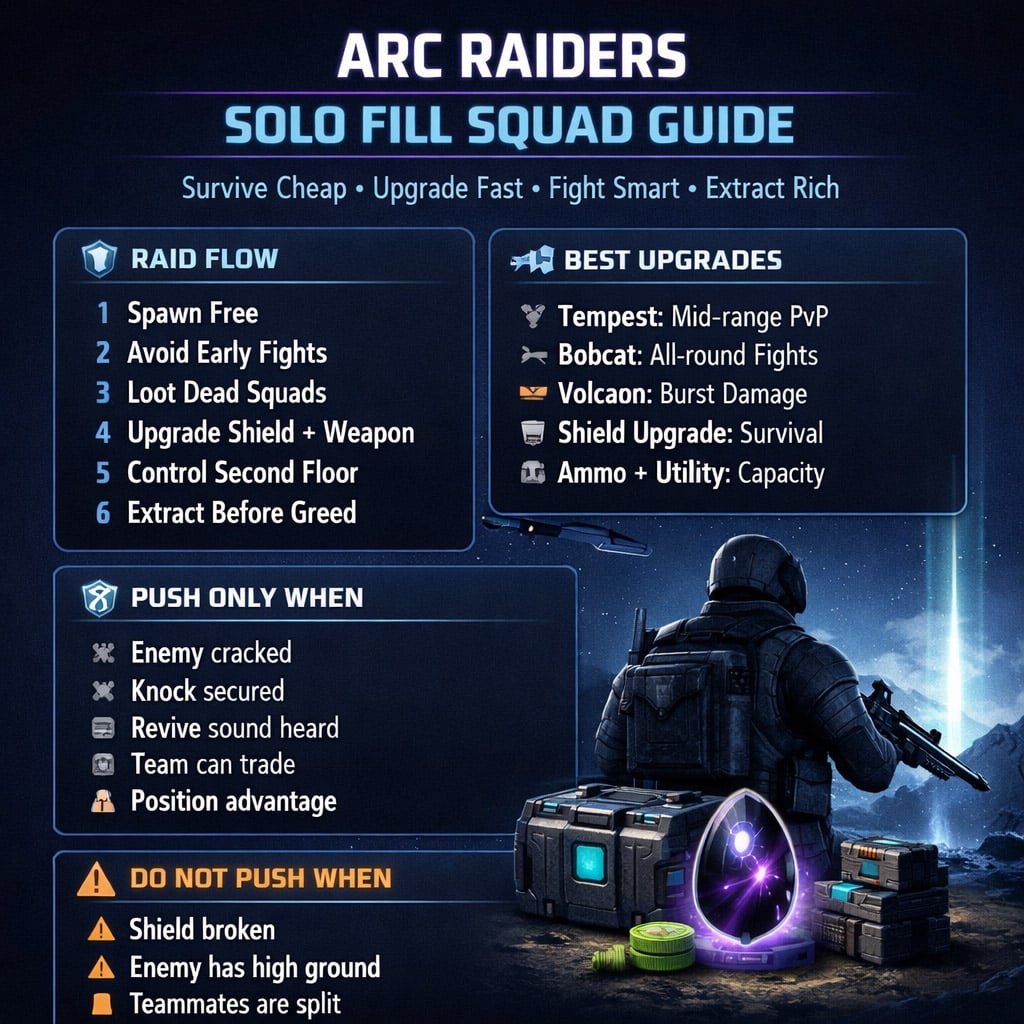
The cleanest path is usually: free kit ➔ safe loot ➔ better shield ➔ Tempest/Bobcat/Volcano ➔ controlled PvP ➔ extract.
- ARC Raiders Solo Fill Squad Strategy
- Early Raid: Survive First, Loot Second
- What to Do After Spawn
- Loot Priority
- Best Weapons to Upgrade Into
- Tempest PvP Guide: How to Abuse Its Strengths
- Best Tempest Positions
- Avoid These Fights
- The Second Floor Rule
- When to Push in Solo Fill Squad
- Push When
- Do Not Push When
- Looting After PvP Without Throwing
- Safe Loot Order
- Playing With Random Teammates
- ARC Raiders Raid Flow: Free Kit to Extraction
- Common Mistakes That Kill Runs
- FAQ
- Is Solo Fill Squad worth playing in ARC Raiders?
- What is the best Solo Fill Squad strategy?
- Is the Tempest good for PvP?
- When should we extract?
- How do we survive bad random teammates?
- Summary
↖ ARC Raiders Solo Fill Squad Strategy
Solo Fill Squad is chaotic, but that chaos creates value. More squads means more fights. More fights means more bodies. More bodies means more free upgrades.
We are not trying to win the first fight with a weak starter gun. We are trying to survive long enough to loot the players who did.
| Situation | Best Play | Why It Works |
|---|---|---|
| Weak free loadout | Avoid early duels | Bad gear loses fair fights |
| Late spawn | Scout dead zones | Early squads already traded |
| Random teammates rush | Trail behind | Use them for info, not as leaders |
| Bodies in open | Watch before looting | Loot is often bait |
| Bag reaches high value | Extract | Greed kills more raids than aim |
Rule: if your kit is bad, your first objective is not PvP. It is upgrading.
↖ Early Raid: Survive First, Loot Second
The first five minutes decide the run. Most players die because they hear shots and sprint at them with garbage gear.
Do not do that.
↖ What to Do After Spawn
- Check your weapon and shield.
- Avoid exposed high ground pushes.
- Listen for finished fights.
- Move toward corpses, not active crossfire.
- Loot fast, then leave the angle.
If you spawn late, that is often good. Late spawn means other squads may already be dead, injured, or extracting.
↖ Loot Priority
Take upgrades that change your survival immediately.
| Priority | Item | Reason |
|---|---|---|
| 1 | Better weapon | Turns the raid around |
| 2 | Shield upgrade | Keeps you alive in trades |
| 3 | Compatible ammo | No ammo = dead weight |
| 4 | Grenades / utility | Breaks campers and revives |
| 5 | Blueprints | Long-term account value |
| 6 | High-value loot | Extract profit |
Do not stand on a body sorting junk. Grab power items first. Organize later.
↖ Best Weapons to Upgrade Into
Once we find a real gun, the raid changes. We can stop hiding and start choosing fights.
| Weapon | Best Use | Playstyle |
|---|---|---|
| Tempest | Mid-range PvP, squad pressure | Hold angles, punish heals |
| Bobcat | Reliable all-round fights | Stable trading weapon |
| Volcano | Burst pressure | Punish close pushes |
| Stitcher | Backup / budget fights | Use until upgraded |
| Pharaoh | Risky opening weapon | Only works if shots land |
The Tempest is the main prize. It lets us pressure squads without overcommitting.
↖ Tempest PvP Guide: How to Abuse Its Strengths
The Tempest is strong because it controls space. It is not a magic wand. If you ego-swing three players in the open, you still die.
Use it where enemies are forced into predictable movement.
↖ Best Tempest Positions
- Second floors
- Staircases
- Doorways
- Narrow halls
- Zipline landings
- Loot-room exits
- Extract approaches
↖ Avoid These Fights
- Open rooftops with no cover
- Long sightlines against precision weapons
- Low ground under enemy control
- Rooms with too many unchecked doors
- Solo pushes into full squads
The Tempest wins when enemies have limited movement. Force them through doors, stairs, and tight angles.
↖ The Second Floor Rule
In ARC Raiders squad PvP, the second floor is usually the safest power position.
Ground floor gets pinched. Roof gets isolated. Second floor gives us cover, exits, and control.
| Position | Strength | Risk |
|---|---|---|
| Ground floor | Easy reset | High ground danger |
| Second floor | Best balance | Needs stair control |
| Roof | Strong vision | Easy to trap |
| Door hold | Great funnel | Weak to grenades |
| Basement route | Surprise flank | Hard to escape |
If enemies are above, do not climb into them for free. Wait for damage, a knock, a revive sound, or third-party pressure.
↖ When to Push in Solo Fill Squad
Bad players push because they are bored. Good players push because the fight is already won.
↖ Push When
- You knocked one.
- You cracked shields.
- You hear a revive.
- You hear healing.
- Another squad is pressuring them.
- Your team can trade.
- You have grenades or smokes ready.
↖ Do Not Push When
- Your shield is broken.
- You do not know enemy numbers.
- Your teammates are looting.
- A second squad is behind you.
- The enemy owns high ground.
- You must zipline into their aim.
A delayed push is often the correct push.
↖ Looting After PvP Without Throwing
Winning the fight is only half the raid. The other half is not dying while staring at backpacks.
↖ Safe Loot Order
1. Reload.
2. Recharge shield.
3. Listen.
4. Grab weapons, shields, ammo, utility.
5. Move to cover.
6. Sort inventory later.
| Item | Take? | Why |
|---|---|---|
| Tempest | Yes | Premium PvP weapon |
| Bobcat | Yes | Reliable upgrade |
| Volcano | Yes | Strong burst option |
| Shield upgrade | Yes | Immediate value |
| Blueprint | Yes | Permanent progress |
| Low-value clutter | No, unless safe | Not worth dying for |
If your bag is already strong, stop gambling. A 200k+ extract beats a dead 300k fantasy.
↖ Playing With Random Teammates
Solo Fill teammates can help, bait, panic, or vanish. Build your play around that.
Use short comms. No speeches.
| Bad Call | Good Call |
|---|---|
| They are over there. | Two above, second floor. |
| Help me! | One cracked, right door. |
| They are low. | Two cracked, push now. |
| We should move. | Reset second floor. |
If a teammate is noisy or making bad calls, filter them. Use useful info. Ignore panic.
Do not revive in a death trap. A bad revive turns one death into a full wipe.
↖ ARC Raiders Raid Flow: Free Kit to Extraction
Use this loop.
| Stage | Goal | Action |
|---|---|---|
| Spawn | Stay alive | Avoid early coin-flip fights |
| Early raid | Upgrade | Loot dead squads and safe areas |
| Mid raid | Take control | Find Tempest, shield, ammo |
| First fight | Win position | Hold stairs, doors, second floor |
| After wipe | Secure value | Fast loot, then move |
| Late raid | Protect profit | Stop chasing every sound |
| Final minute | Extract | Do not greed extra bodies |
This works because we are stacking advantages before fighting.
↖ Common Mistakes That Kill Runs
| Mistake | Why You Die | Fix |
|---|---|---|
| Rushing with free gear | You lose fair fights | Loot first |
| Climbing into high ground | Enemy pre-aims you | Rotate or wait |
| Looting before healing | Third party deletes you | Reset first |
| Ignoring ammo | Good gun becomes useless | Take ammo immediately |
| Following randoms blindly | Bad calls spread | Play your angle |
| Fighting in open space | Multiple teams shoot you | Force close angles |
| Reviving under pressure | Free kill for enemy | Clear or abandon |
Most deaths are not aim problems. They are timing problems.
↖ FAQ
↖ Is Solo Fill Squad worth playing in ARC Raiders?
Yes. It is risky, but it creates more loot and XP opportunities. More squads fight, more players die, and smart players can upgrade quickly from corpses.
↖ What is the best Solo Fill Squad strategy?
Start cheap, avoid early fights, loot dead squads, upgrade into Tempest, Bobcat, or Volcano, then take fights only with position or damage advantage.
↖ Is the Tempest good for PvP?
Yes. The Tempest is excellent for mid-range pressure, door control, stair fights, and punishing revives. It is strongest when enemies are trapped or already damaged.
↖ When should we extract?
Extract when your bag has strong value, your shield or ammo is low, teammates are dead, or the timer is close. Protecting a 200k+ run is smarter than chasing one more body.
↖ How do we survive bad random teammates?
Stay close enough to trade, but not close enough to die with them. Use short callouts, ignore panic noise, and never revive in a position that gets the whole squad killed.
↖ Summary
ARC Raiders Solo Fill Squad rewards patience, not blind aggression.
Enter with a free loadout. Avoid the early grinder. Loot dead squads. Upgrade into Tempest or another strong weapon. Fight from second floors, doors, stairs, and tight angles. Extract once the bag is worth protecting.
The winning loop is simple: survive cheap, upgrade fast, fight with advantage, leave before greed kills the run.

Most Popular Posts
- ARC Raiders Riven Tides Key Room Guide: Best Hotel Keys, Loot Routes, Secure & Crane Storage
- ARC Raiders Riven Tides Update: New Map & Items, ARC Turbine, Rewards, and Best Early Strategy
- ARC Raiders Bettina Guide: Best Build, Buffs, and How to Use It Against ARC
- Arc Raiders Season 4 Riven Tides Update, Rewards, Safe Skins, and Release Timeline
- Best ARC Raiders Attachments for Every Weapon: Complete Weapon Mod Guide
- ARC Raiders Turbine Boss Guide: Spawn Time, Weak Points, Best Weapons, and Loot
Popular Category Lists
- Grow a Garden / (286)
- ARC Raiders / (271)
- CoD: Black Ops 7 / (166)
- Monopoly Go / (148)
- MLB 26 / (148)
- Star Citizen / (125)
- Steal a Brainrot / (89)
- ARK Survival Ascended / (81)
- Sailor Piece / (68)
- Forza Horizon 6 / (65)
- Diablo IV / (61)
- Blox Fruits / (61)
- Adopt Me / (56)
- CoD: BLACK OPS 6 / (55)
- Grow a Garden 2 / (51)
- Path of Exile 2 / (48)
- Monster Hunter Wilds / (46)
- Windrose / (44)
- Path of Exile / (40)
- Bee Swarm Simulator / (36)